Uncharted: The Lost Legacy treasure locations to unlock the Treasure Hunter and Collector of Antiquities Trophies
Find all 68 trinkets across the game.
Uncharted: The Lost Legacy treasure locations are one of many things to find in the game.
Returning from previous Uncharted games, these are your standard collectibles hidden away in the game's many stages. There are a total of 68 to find, so be sure to keep a sharp eye out.
If you're looking for other Uncharted: The Lost Legacy collectibles, we have locations for photo opportunities, lockboxes and optional conversations, as well as Hoysala Token locations.
Uncharted: The Lost Legacy treasure locations
Treasure appears in every chapter in the game, with the first being mandatory.
Prologue
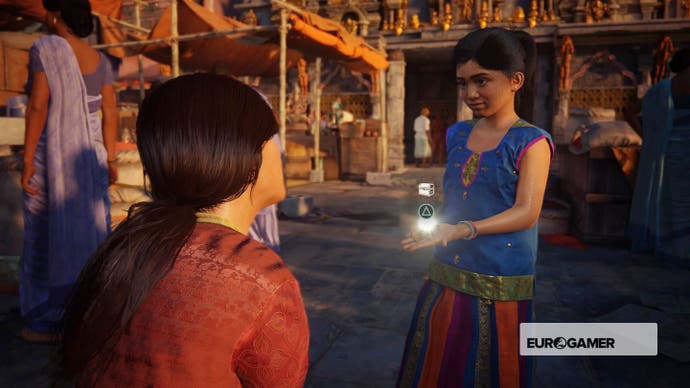
1. Ganesh Figurine - The very first treasure is also impossible to miss - the little girl will swipe the Ganesh model from your pocket as you push through the crowd just after the first photo opp. Ask her for it to add it your collection.
Chapter 1 - The Insurgency
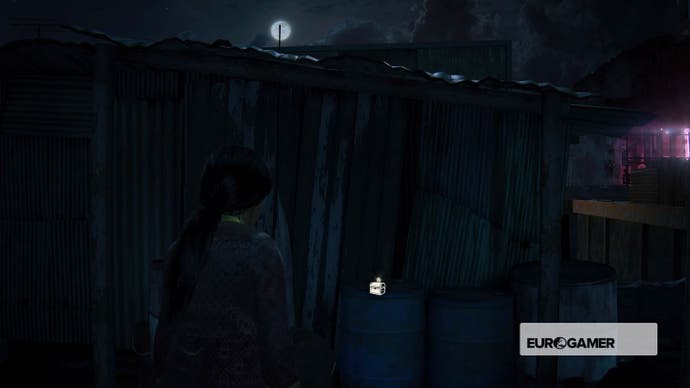
2. Sterling Silver Cigarette Case - The second - and only - treasure in this chapter can be found when you clamber onto the very first rooftop. Turn left and move through the washing lines. You'll find the loot next to some blue barrels.
Chapter 2 - Infiltration
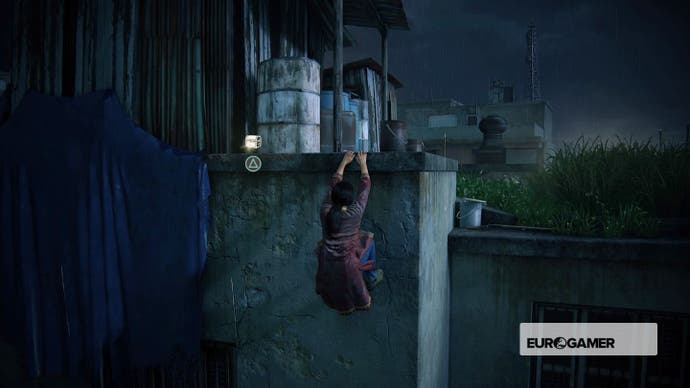
3. Bullet Whistle: Just after the tutorial message telling you about using long grass to hide from enemies, look to the right of the zipline. There's a small raised platform. Climb down and shimmy to the other side to find your next treasure.
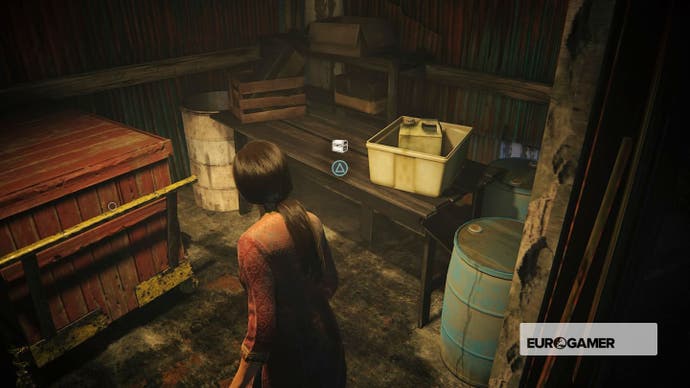
4. Military Service Lighter: Once you've ridden the zipline down and choked out the enemy just after the previous treasure, you'll see an illuminated shack with a movable crate. The treasure is on the desk beside it.
5. Utility Spork: Soon after you'll come across another movable crate on similar rooftop, pull the crate out and you'll find treasure number five underneath it.
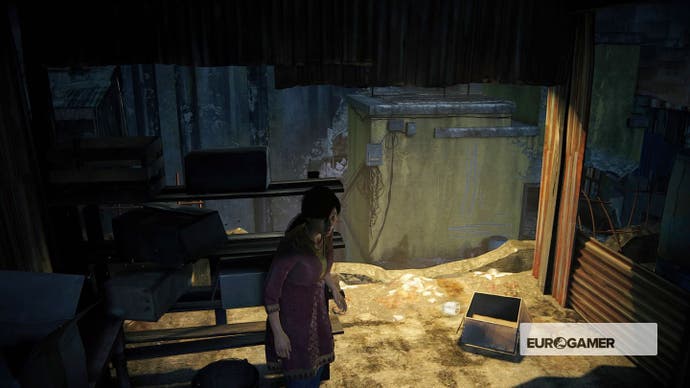
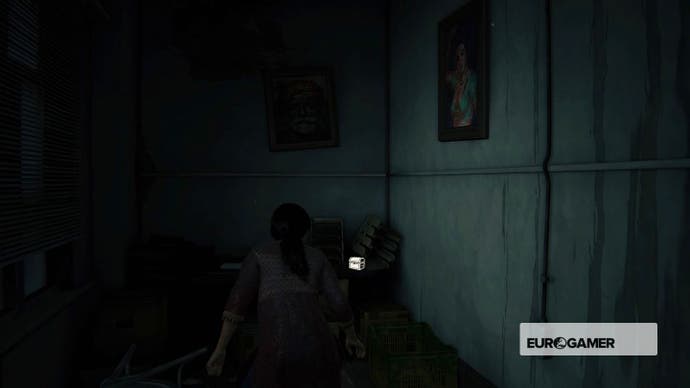
6. Travelling Inkwell: Your next shiny trinket can be found after you've broken the floor with the crate and leap over to the building on the other side.
As you enter the building, head to the left to find a short corridor and a treasure beneath two paintings.
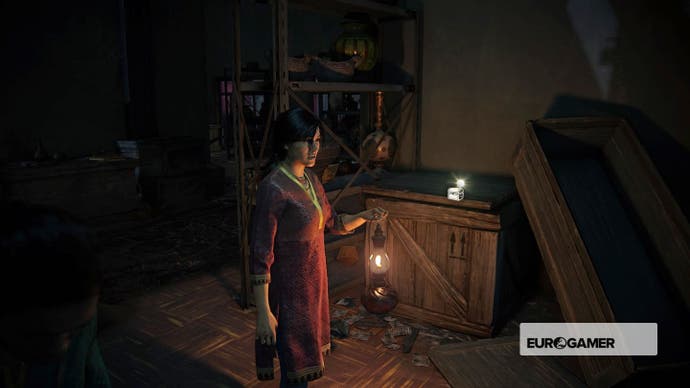
7. Tactical Compass: The final collectible of chapter two can be found in the artifact-filled storeroom at the top of the main building. Head to the back of the room and you'll find it behind some shelves next to some large, sloping windows.
Chapter 3 - The Homecoming
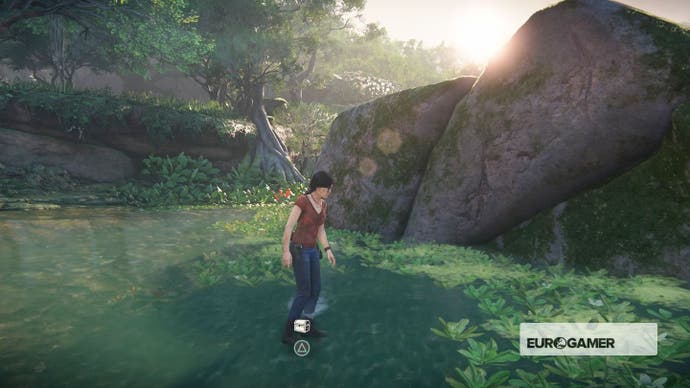
8. Gupta Empire Coins - Just after you disturb the Flamingo convention, you should see a large sloped rock in the middle of the area you're now in. In between it and the waterfall you'll find the next treasure twinkling in the water.
9. Silver Water Jar - After tying the winch on the jeep to the gates, a group of enemies will attack from your left. When they're dispatch, climb up onto the ledge and collect their weapons and grenades. To your left there should be a holed wall, use a grenade to bring it down and collect your prize.
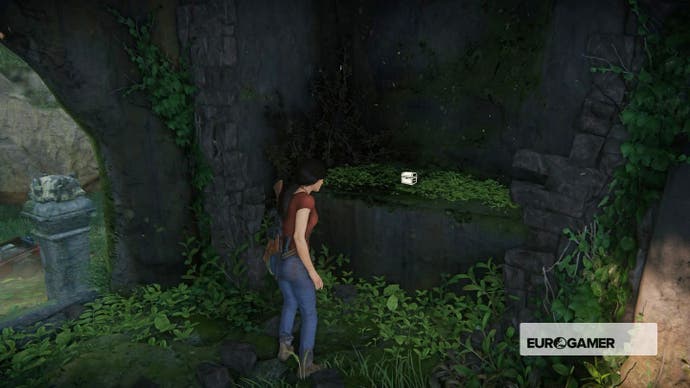
10. Golden Fish Statuette - Just before you cross the bridge overlooking the gate you pulled open with your jeep, look out for two waterfalls on your left-hand side. In between them there's a hidden alcove with a cleverly hidden treasure.
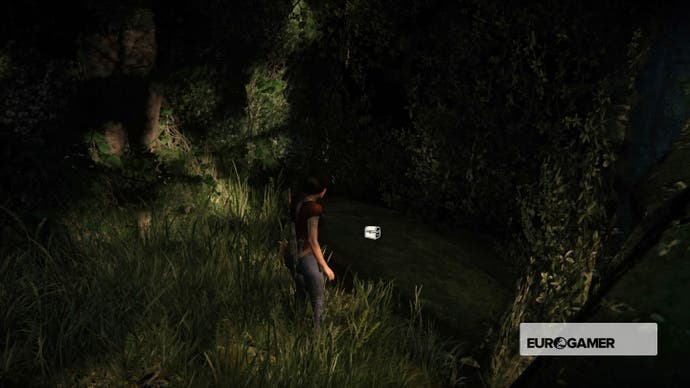
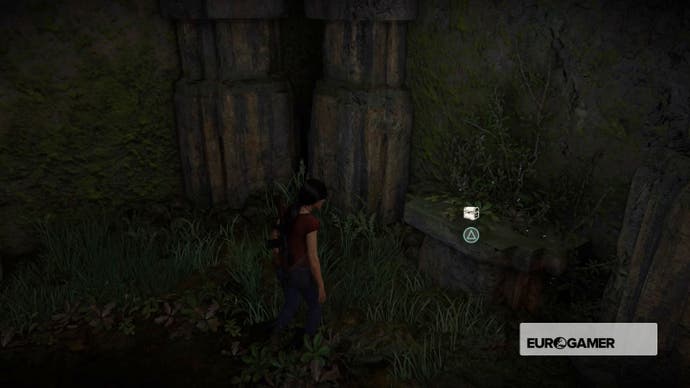
11. Mango Crystal Scent Flask - The next treasure on the list can be found once you open the large gate from above. Once you've climbed down and landed in the jeep, jump out and turn right. On the wall to your left there will be a treasure.
Chapter 4 - The Western Ghats
12. Inscribed Copper Plate - The next collectible on your list can be found inside the structure where you and Nadine got all chatty about primates. Head inside and you'll find a rather fetching Inscribed Copper Plate waiting for you in the middle of a shelf.
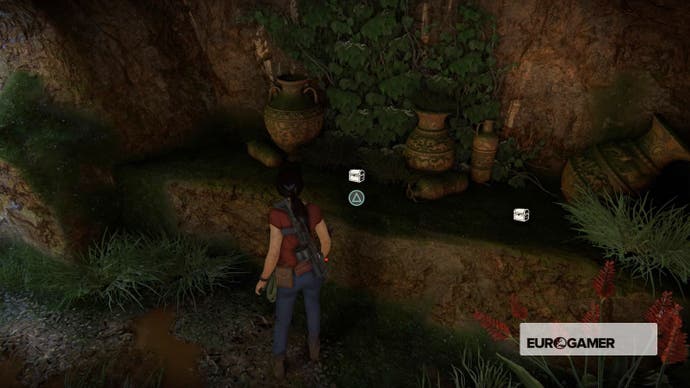
13. Hoysala Kukri - After all that map-wide searching, you now get another two treasures right there next to the previous one. To the left of the plate, you'll find a deadly-looking Hoysala Kukri. Grab it to add another trinket to your collection.
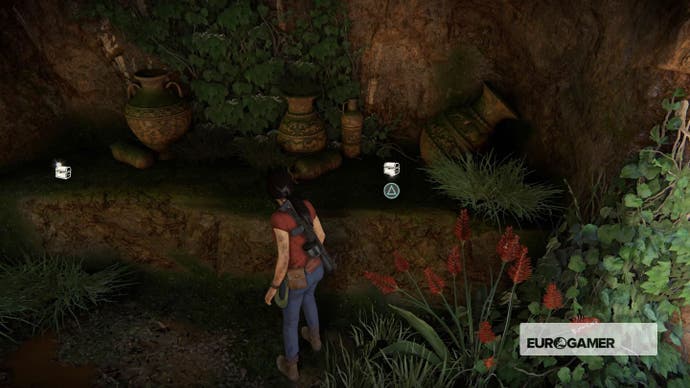
14. Silver Goblet - To the right of the plate you'll find the third of your three-for-one treasure bundle. This happens to be a rather fetching Silver Goblet that's just waiting to be stolen and swept into your trophy cabinet.
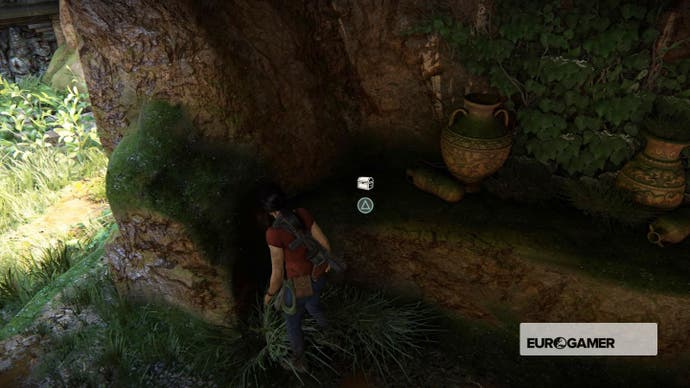
15. Miniature Bronze Cannon - Where you found the Queen's Ruby in the enclosed, non-vehicle area, go outside and find the lockbox on a raised platform near your jeep.
Crack that open, then you'll find you next treasure, a no doubt priceless Miniature Bronze Cannon. Grab it to add another conveniently placed treasure to your every growing collection of stolen items.
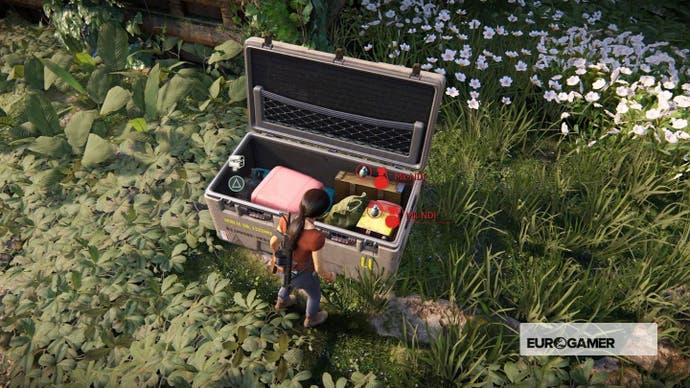
16. Jade Archer's Ring - Turn to your left and head towards the small stone tower on a larger raised platform. Climb to the top and you'll find another treasure waiting for you.
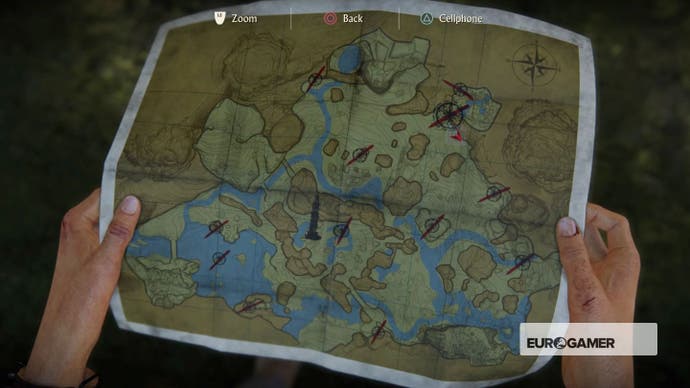
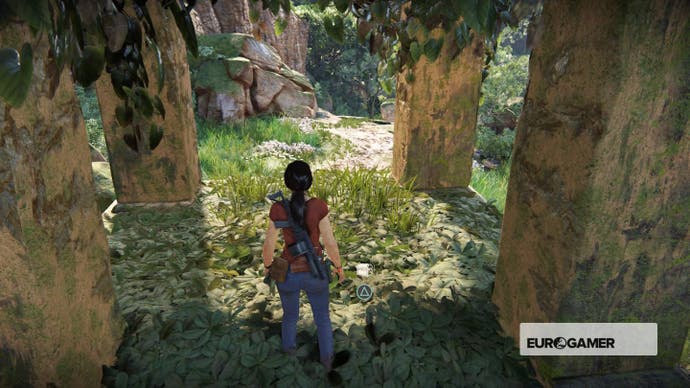
17. Hoysala Coin - Your next treasure can be found east of the previous treasure, near an abandoned truck belonging to Asav's mercenaries. Look for a large elephant statue. Climb up its left-hand side and you'll see a treasure in its eye socket.
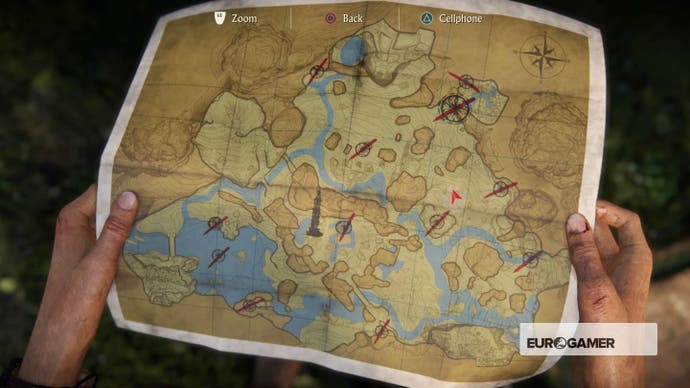
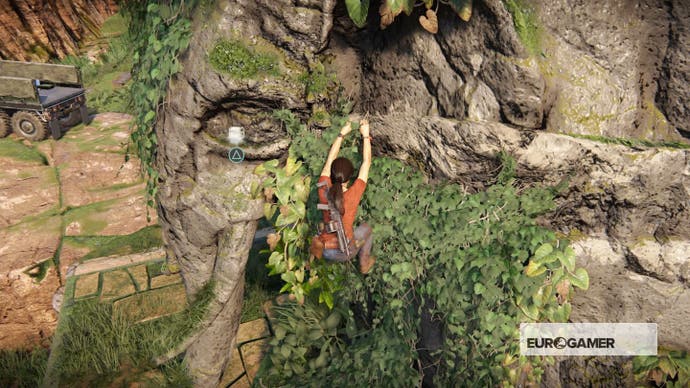
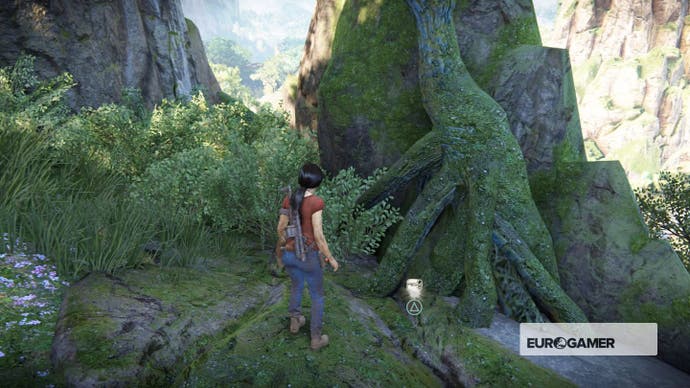
18. Ivory Casket -The next treasure on your itinerary is located in the bottom right-hand side of the map. There's a larger hilled area around here, simply drive to the top side and look out for a treasure at the bottom of a gnarled tree.
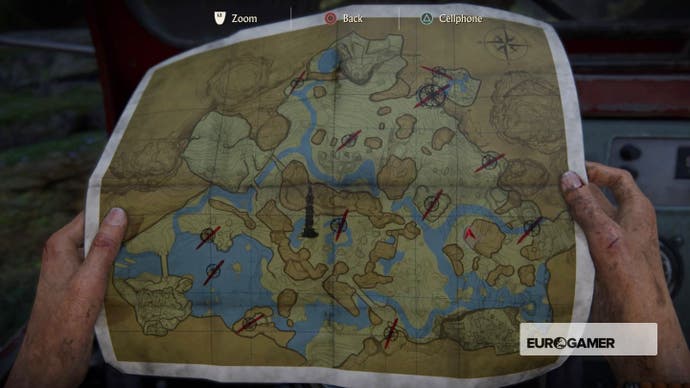
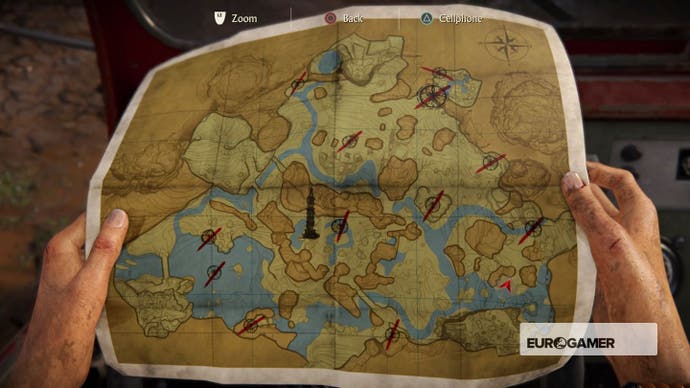
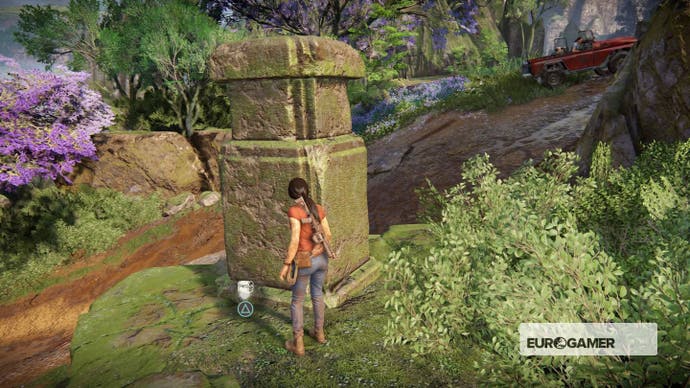
19. Stag Horn Box - The next treasure is located a short drive from the last, near the larger waterfall in the area. Drive part way up the mud slop, then jump out of your jeep. Move to the left-hand side of the slop (looking downwards) and mud slide to the raised area with the short stone column.
Jump up, and collect your prize on the other side.
20. Trinket Box - The 20th treasure on the list can be found near to the seventh lockbox, in the part of the mission where you come back from completing the Trident Fort. Follow the river down and look for a cave opening to your left. Drive you and you'll find the treasure on a rock to your right.
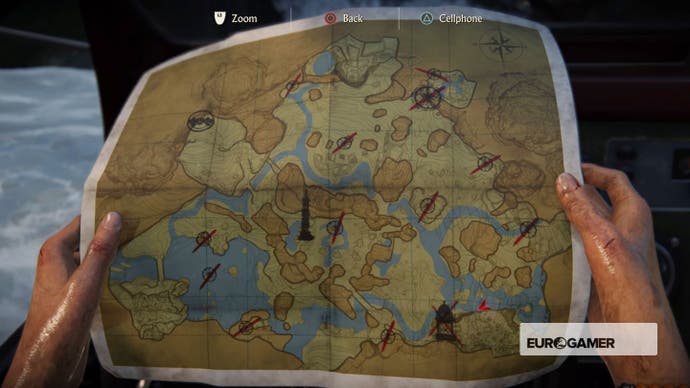
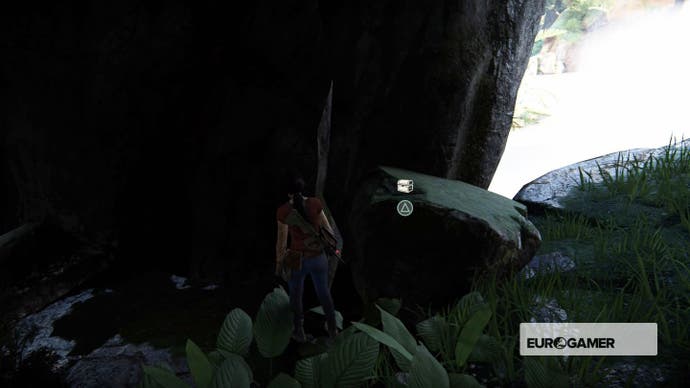
21. Ancient Stone Jar - The next treasure is just around the corner from the first. If you're still in the waterfall cave, back out, turn right and drop down to the next level of the flowing river. On a rock edge against the wall the water is flowing down, you'll find your 21st treasure.
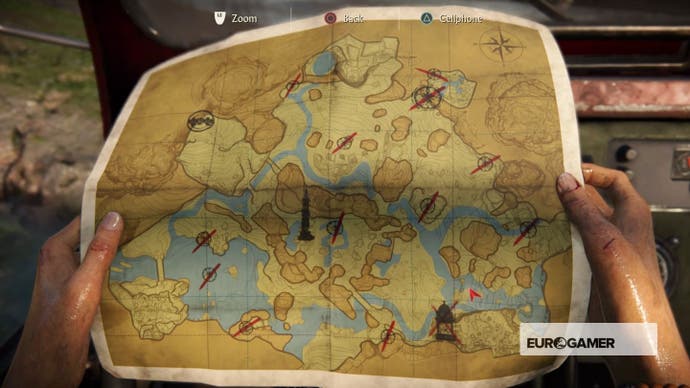
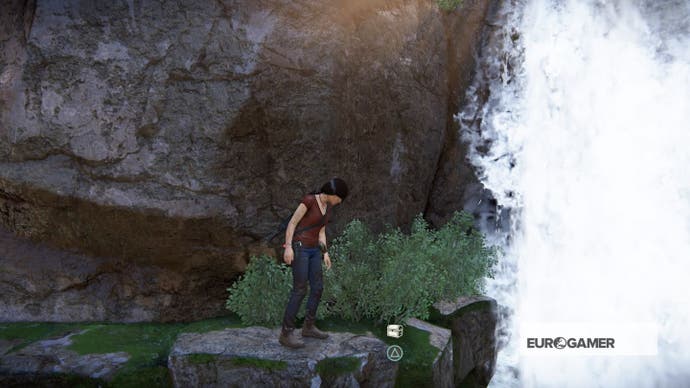
22. Medieval Indian Lock And Key - Head west from your the diamond-shaped yellow land and head for its left-hand side.You'll see a stone structure with water beside it. To the left-hand side of this structure there's some dark grey stone to climb. Clamber up and claim the treasure on the floor.
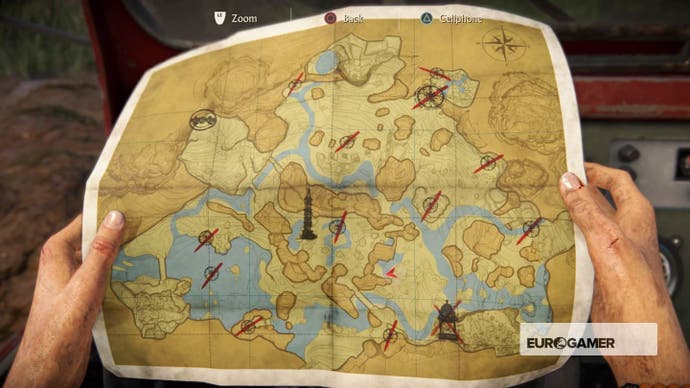
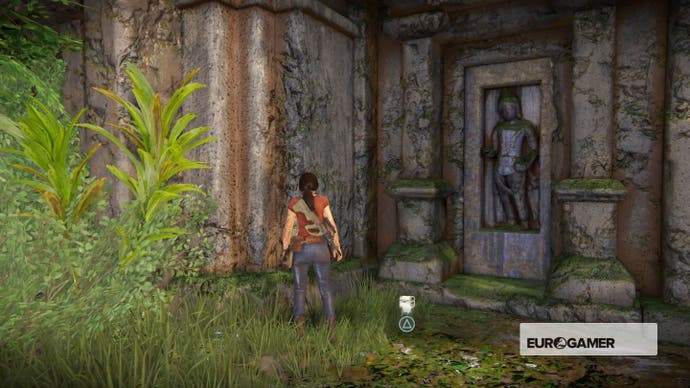
23. Rosewood Spice Box - Now head to the very top of this now fabled diamond-shaped land and turn left. Drive between the cliffs beside you until you see the large tower in the distance, and a small stone building to your left. The treasure can be found just in front of it.
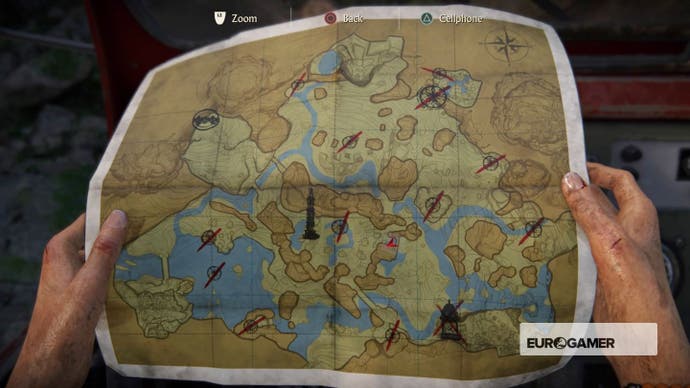
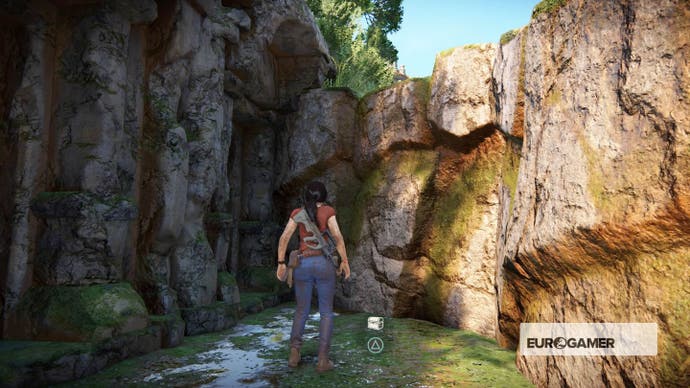
24. Leather Covered Binoculars - The next treasure on your list is located not far north of the elephant statue with the hidden underwater chamber. Grab it to add yet another trinket to your collection. Just how deep is Chloe's loot bag?
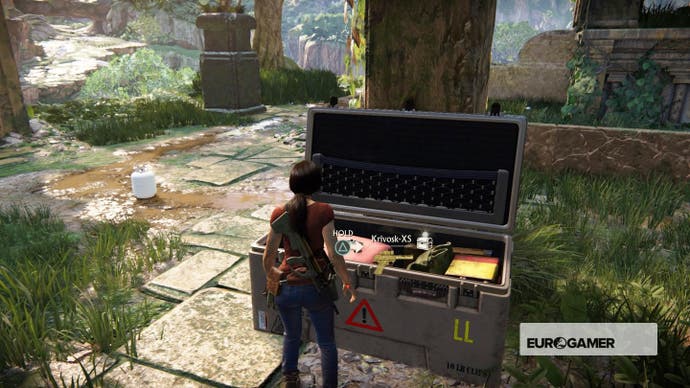
25. Engraved Gourd Jar - West of the large tower, you should see a small rock in the middle of a pool and a bridge made of tree roots further on. Underneath this bridge you'll find this another treasure to pocket and pilfer.
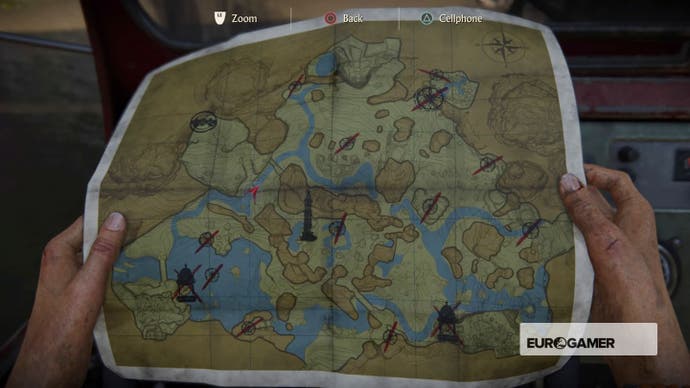
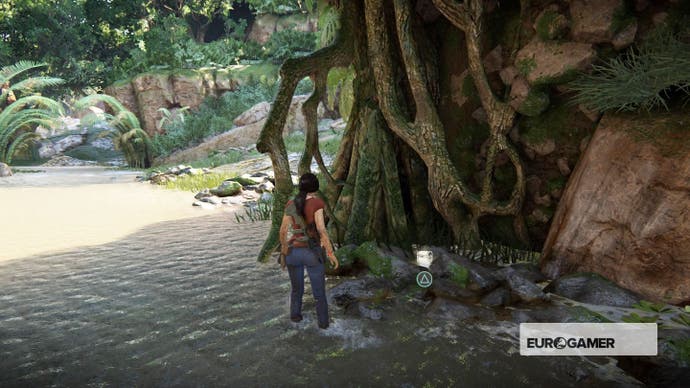
26. Serpent And Ladders Game - From where you picked up the previous treasure, turn right after passing under the bridge and walk/drive up the hill. To your left you should see a short flight or stone steps. Climb them, clamber into the opening on your right and you'll find a new treasure on a table in the next room.
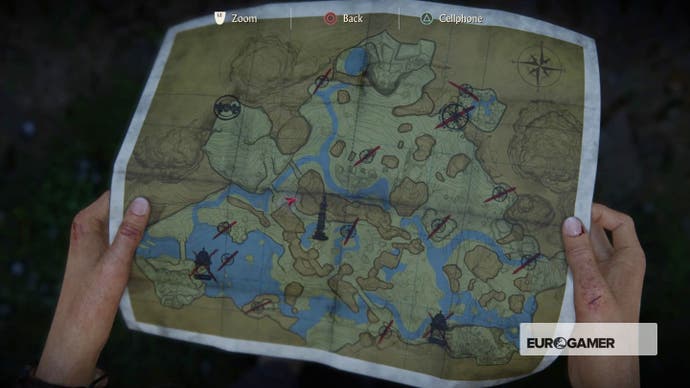
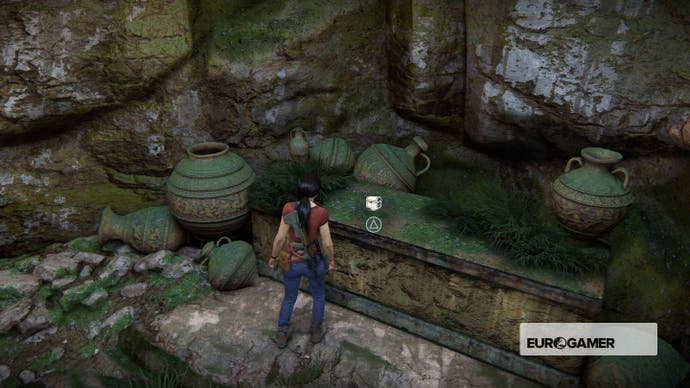
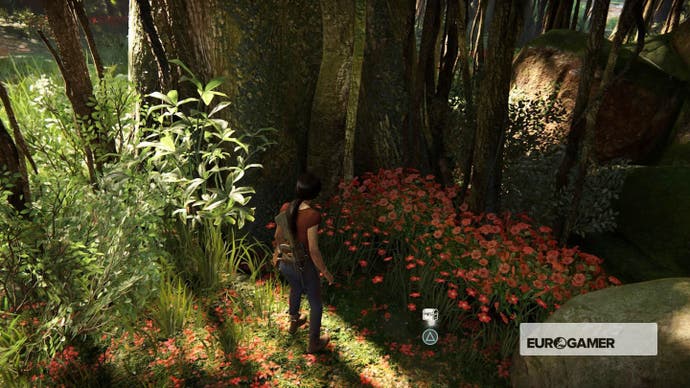
27. Nagfani Horn - Head to the north of the map and look for a large patch of red flowers beside a tree with sagging branches. Behind them you should find a short pillar and secret clearing with a treasure inside. Grab it!
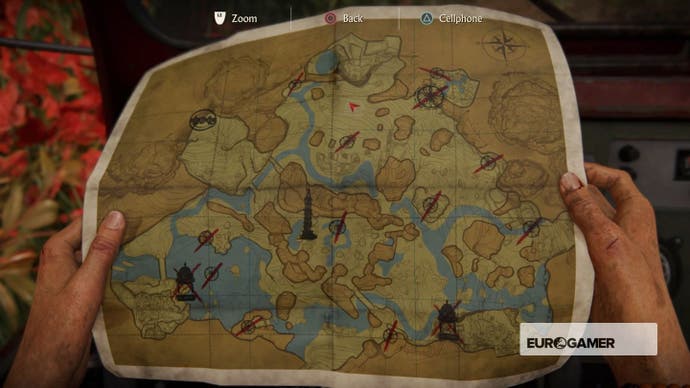
28. Jade Pendant - The next treasure is located next door to the cliff-side stone building you entered to get one of the Hoysala Tokens at the very north of the map. The building you need is to the right of the one with the horse puzzle. Climb up and the treasure is yours.
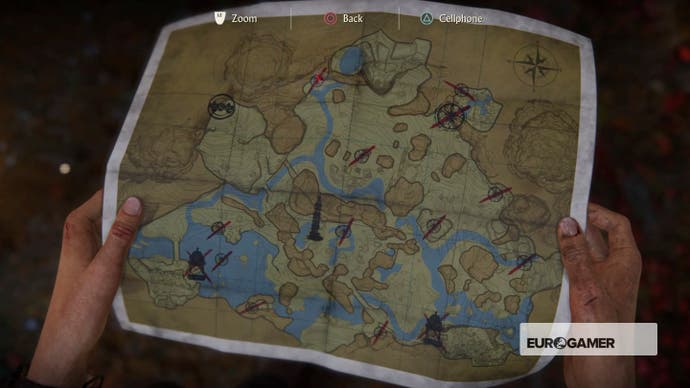
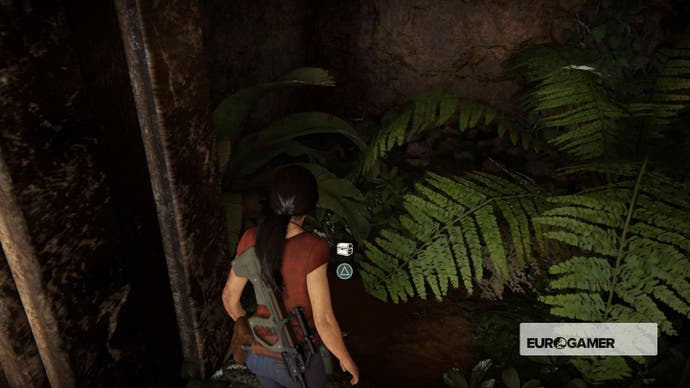
29. Butterfly Trinket - Once you've opened the 12th lockbox not far from the above Jade Pendant treasure, among all those extra grenades and a gun you'll find another conveniently concealed treasure. Grab it and tick another one of your list.
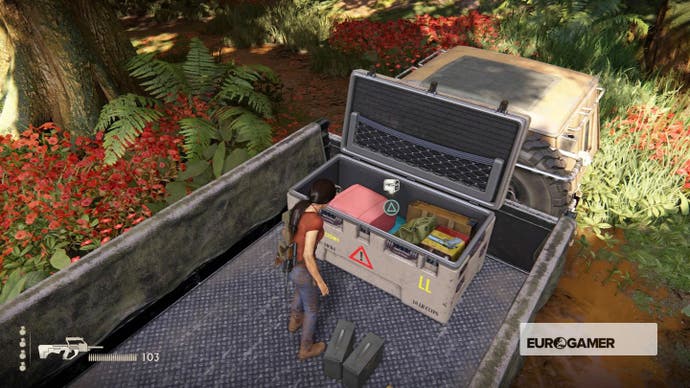
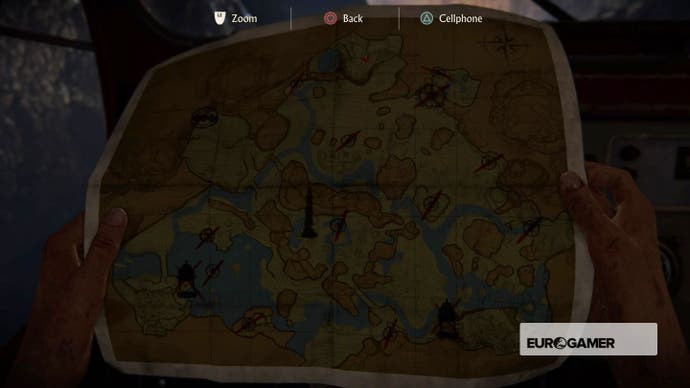
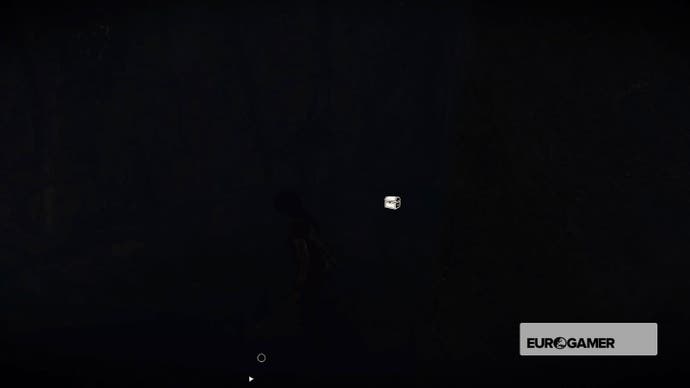
30. Metal Tiger Claws - In the same area as the previous treasure, look to the right of the waterfall and you'll see a cave opening. Drive through it and in the dark you should see the twinkle of a treasure. Jump out and nab your 30th treasure.
Chapter 5 - The Great Battle
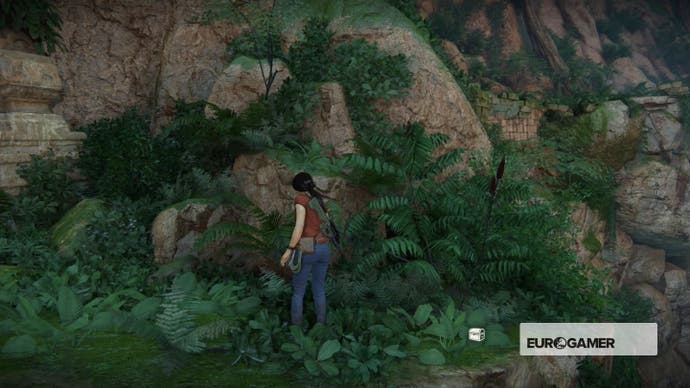
31. Padouk Tea Caddle - The first treasure of chapter five is really easy to find. While facing the giant waterfall statues and the set of ruined steps where you just had a chat with Nadine, turn left and follow the cliff edge to some bushes. The treasure will be in the undergrowth.
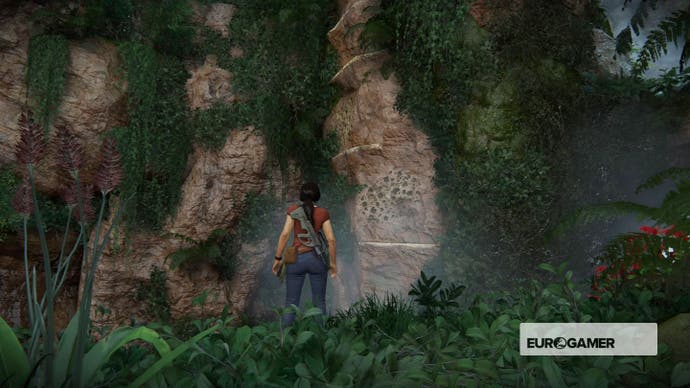
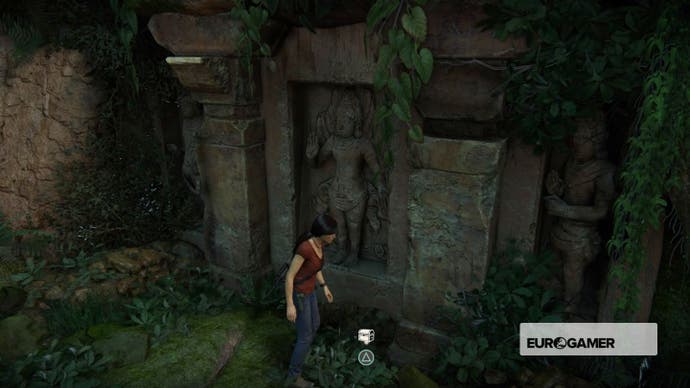
32. Engraved Ewer - To find the next treasure, turn 180-degrees from where you took the chapter's first photo opportunity and you'll see the following wall with climbing holds and piton patches. Ascend this climb then drop to the other side to find your treasure in front of some carvings.
33. Bidi Hookah Bowl - Another easy treasure can be found after ascending into the heart of the mountain with the giant indoor statues. Slide down your rope once, then again. Jump to the ground on the other side and find your treasure behind an elephant statue.
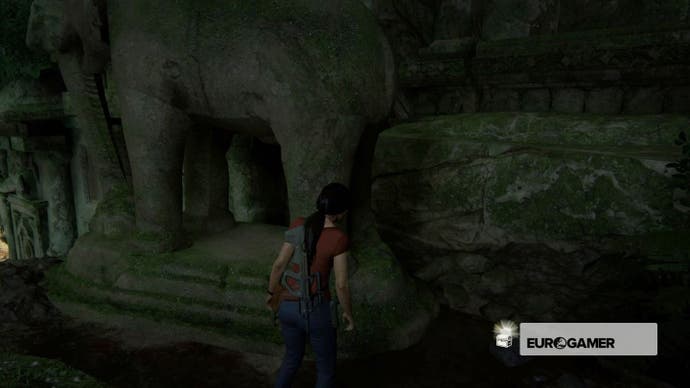
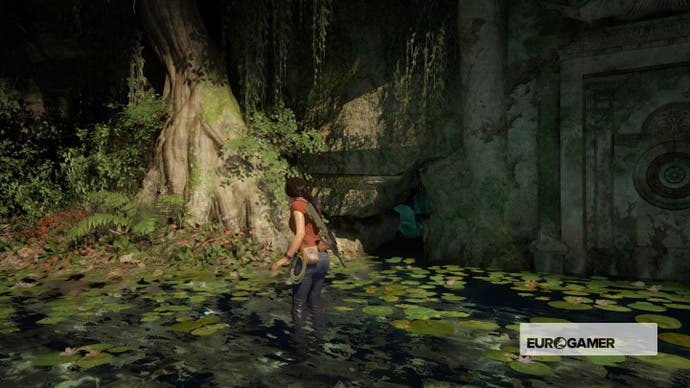
34. Gold Cased Ivory Dentures - The next treasure is well-hidden, but it's on your path through the mountain. Turn left at the elephant statue, head towards a pool of a water and find a small opening to your right. Crawl through and follow the meandering path littered with the dead. In the chamber that opens, turn right to find your next treasure.
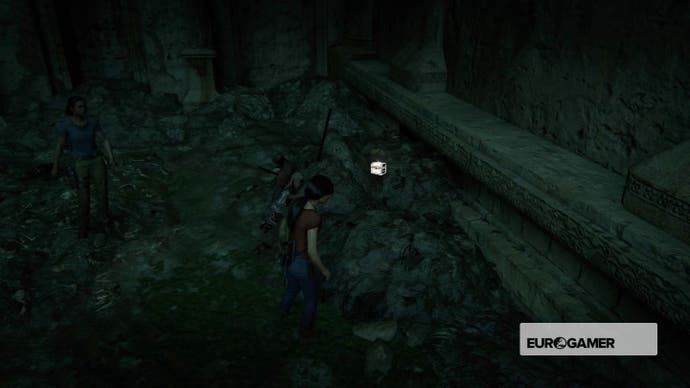
35. Palm Leaf Manuscript - Having left the chamber with the first central torch, you'll land in a pile of bones. Walk between the two new torches and head left away from the stairs. The next treasure is on the floor next to a wall with running water.
Note that between treasures 35 and 36 is the shadow puzzle, a particularly tricky challenge that can also net you an additional Trophy if you complete it in 10 moves or less.
36. Khanjarli Curved Dagger - Just after you smash through the doors away from the armoured car and plunge into the chamber below, turn right and look for your next treasure beneath a carving in the wall.
Chapter 6 - The Gatekeeper
37. 10th Century Oil Bottle - Just after entering the cow statue (and hearing the sound of Asav's men using explosives to make shortcuts), turn left, then right, then slide down the broken staircase. Turn right at the cow statue, then turn right to find the next treasure.
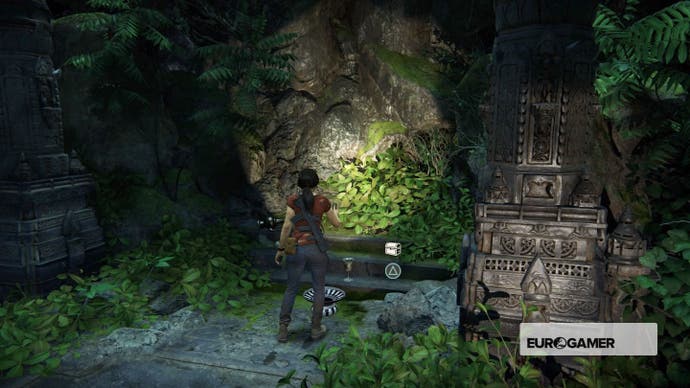
38. Aged Silver Anklet - To find the next treasure, follow the low path with the bats, then go right and follow the path around to the top of the platform. The trinket will be waiting for you at the top.
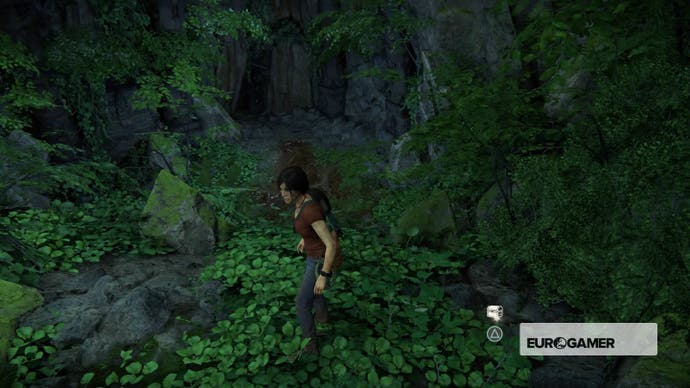
39. Ceremonial Sugar Hammer - Right from where you'll find yourself in the blue waters with the reunited family after the elephant ride, walk towards the small waterfall next to the slumped statute. To your left, will be a small ornate pedestal with a treasure waiting inside.
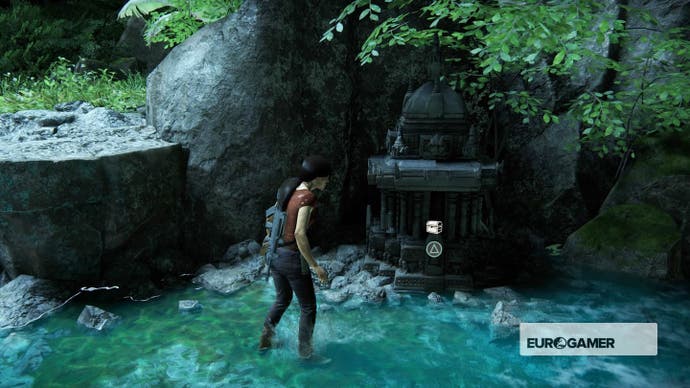
40. Agate Gemstone Box - The next treasure on your list can be found by turning around from where you took the previous photo and jumping back to the second platform. From here, you can grapple across to another platform and nab your next ancient goody.
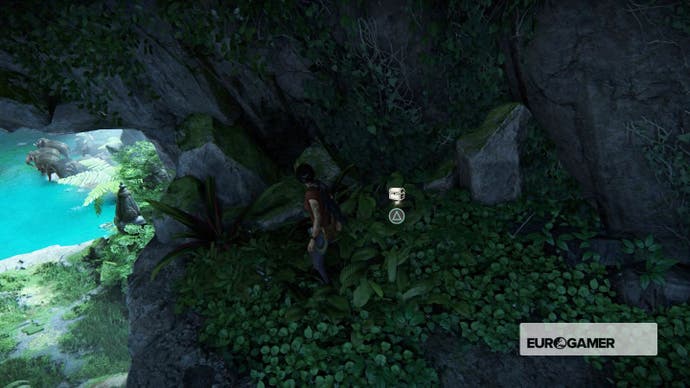
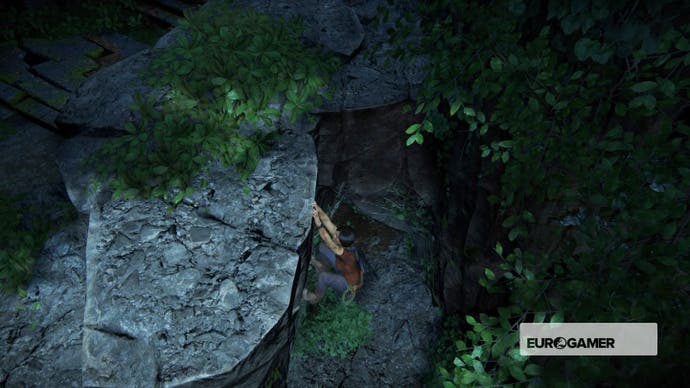
41. Raja Raja Gold Kahavanu - The final treasure and collectible in this chapter can be found by grappling from where you collected the previous treasure. Use your piton to clamber up to the top. Now hang down to your right (as shown in the first screenshot) and you'll see an opening.
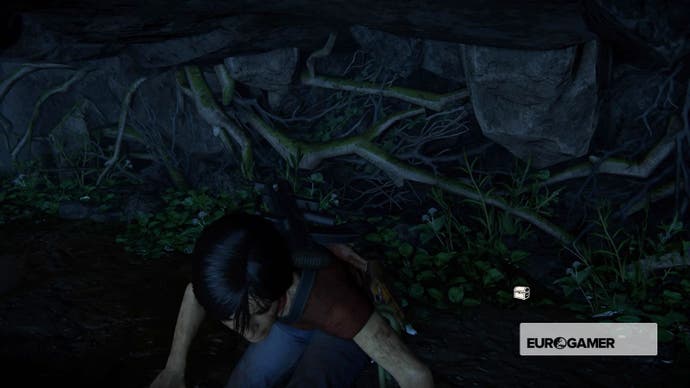
Climb down and you'll find the treasure just inside.
Chapter 7 - The Lost Legacy
42. Lakshmi Marriage Ornament - Having remarked on the hole Asav has made in the city, follow the path from one waterfall door to the other. Now turn right - you should see a small, window-like opening. Jump across and clamber in to collect this treasure.
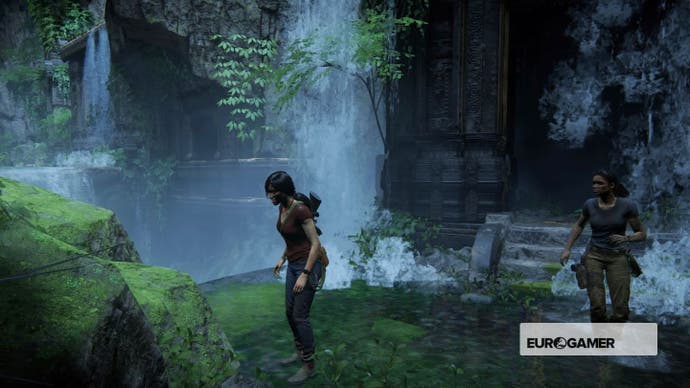
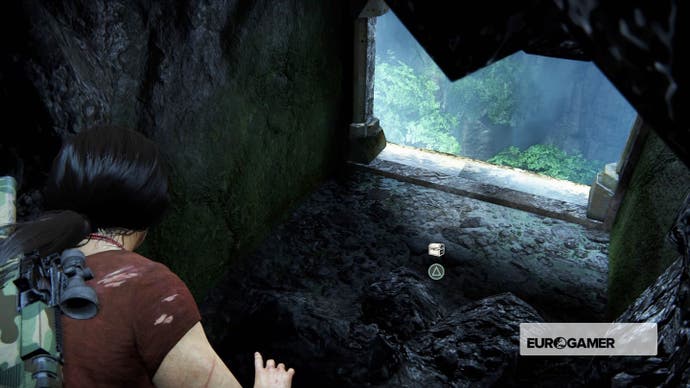
43. Hanuman Brass Bell - The next treasure can be found once you've climbed to the city layer with the ornate statues. Walk past the two statues sat together, then walk behind the structure behind them. Here you'll find your next ancient artefact.
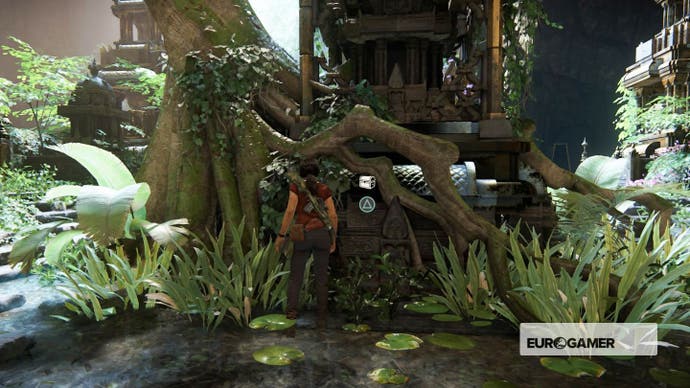
44. Enameled Betel Box - To grab this treasure, climb through the smoke-filled tunnel and drop down into a lush, green stone garden (this is where you'll see some insurgents blow the entrance). The treasure can be found in the greenery to the left of the door.
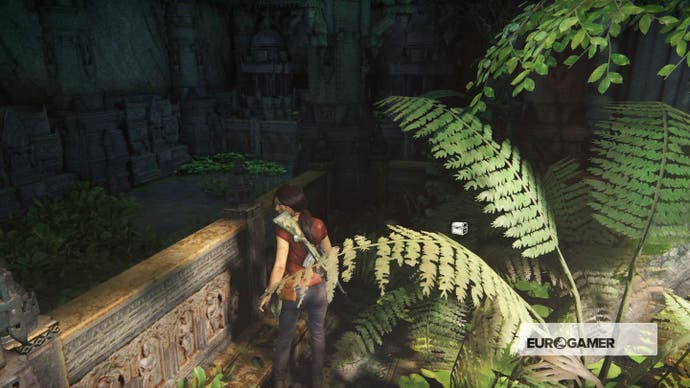
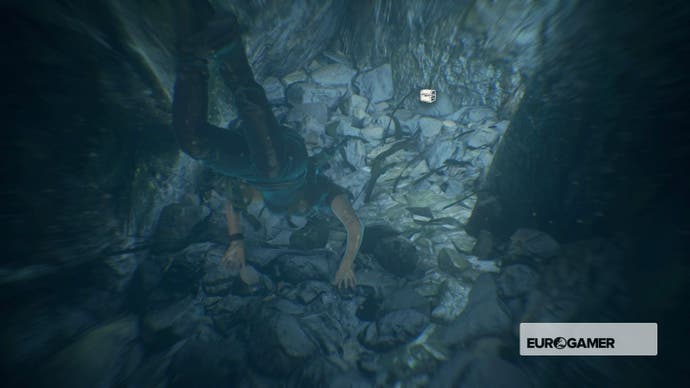
45. Jeweled Pipe Mouthpiece - This treasure can be really easy to miss. After swimming through the hole in the room blocked by insurgent explosives, you'll end up in flooded cave. Look for stone partition to your left, dive beneath the water and you'll find the treasure at the bottom.
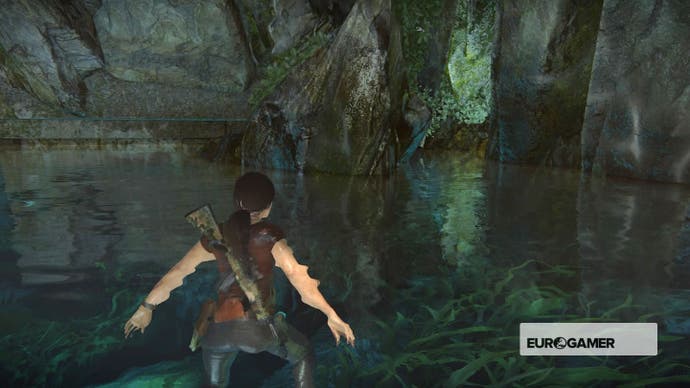
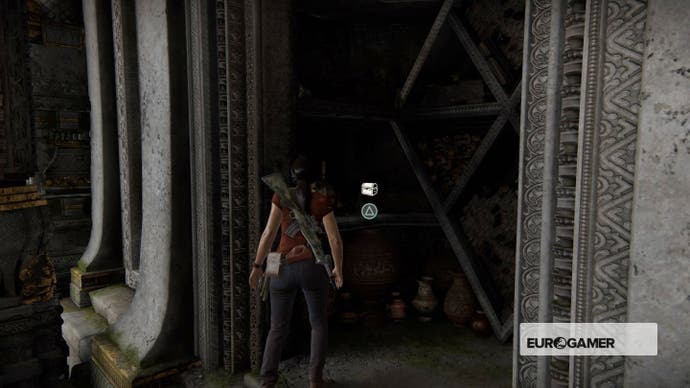
46. Handcarved Sheesham Breadbox - In the room with the giant ornate tusk, head towards the store room on the top left-hand side of the room (in the direction you first enter it). The next treasure will be on a shelf to the left.
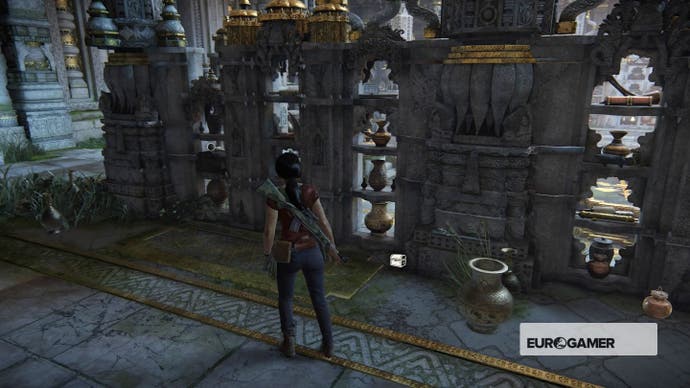
47. Silver Comb Perfume Flask - This treasure is located at the far end of the room with the ornate tusk. From the door your first enter the room, turn left, then right, follow the edge of the room to the end and turn right. On your right you'll find the treasure on the floor beside the ornate partition.
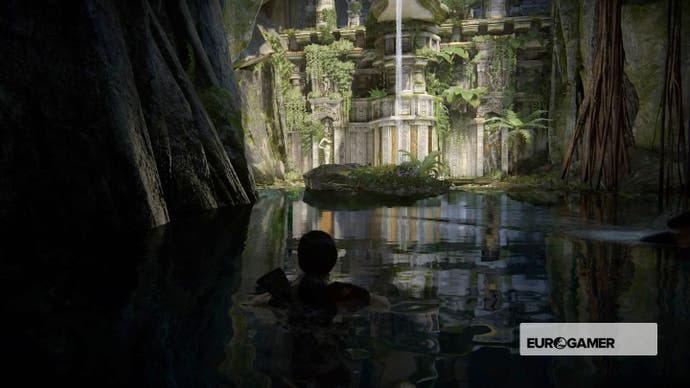
48. Bronze Deccan Incense Burner - Just after the room with the giant tusk, you'll find yourself in chamber separated by a deep pool of water. Jump down (don't worry, it's safe) and swim to the back left-hand corner (facing the long waterfalls). Dive down to the find the treasure.
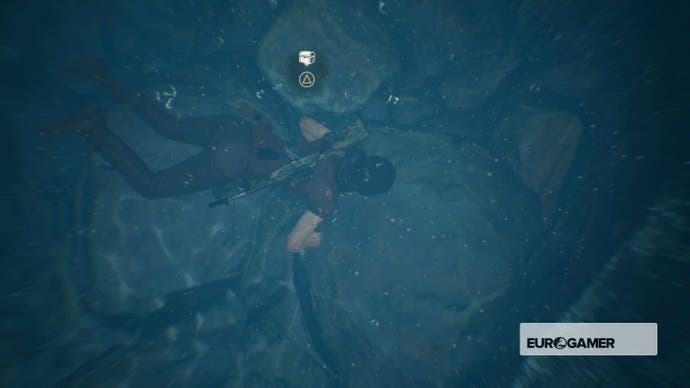
49. Satavahana Hourglass - Once you've got past the underwater vines with Nadine's help, you'll emerge into another flooded cave. Swim directly ahead and climb out onto the bank. On the floor to your right you'll find another treasure.
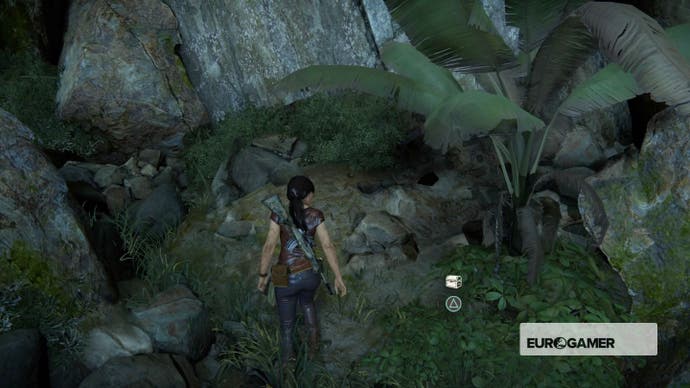
50. Chalukya Griffin Candlestick - In the room with the small pillars and the flooded floor, swim across the left-hand side and you'll find another treasure waiting for you behind one of the far pillars.
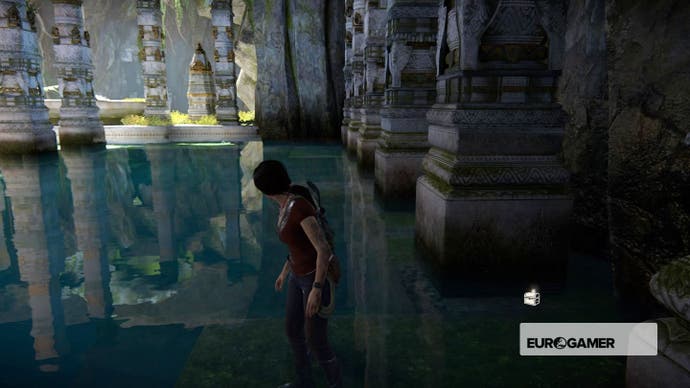
51 - Bronze Medallion Flask - In the vast chamber with the colossal Shiva statue, head to the left-hand side of the room and jump into the water. Swim behind the two large rocks jutting out of the water and dive down. On top of a rock you'll find your next treasure.
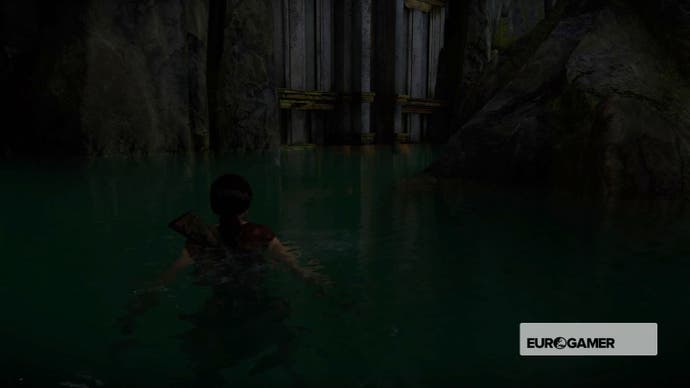
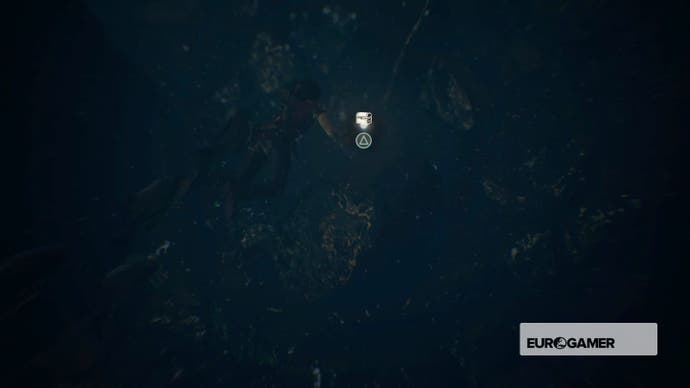
52 - Bichwa Dagger - In the vast chamber with the colossal Shiva statue, head directly for the giant cow's head and climb out of the water. There's a stone channel here, and you'll find the treasure right underneath the cow head.
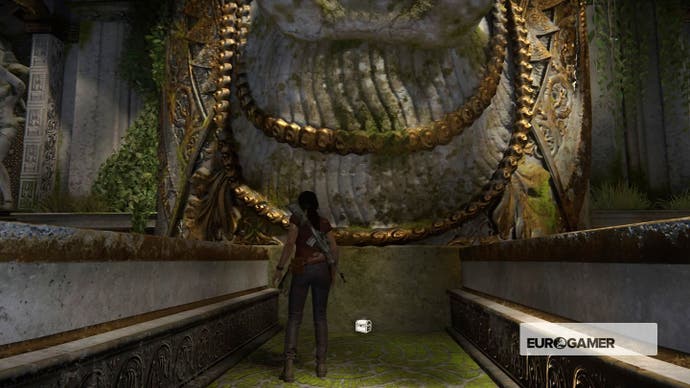
53 - Jadelte Bottle - In the vast chamber with the colossal Shiva statue, navigate around the statue's right-hand side until you find an empty area save for a lone treasure in the far left-hand corner.
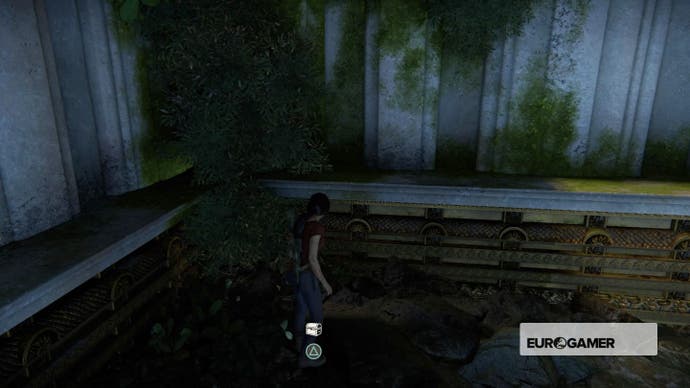
54 - Harappan Ivory Dice - In the vast chamber with the colossal Shiva statue, head to the left-hand side of the room and climb the ladder show in the first screenshot. At the top, climb the alcove to your right and clamber up onto the platform. The treasure can be found amid the foliage here.
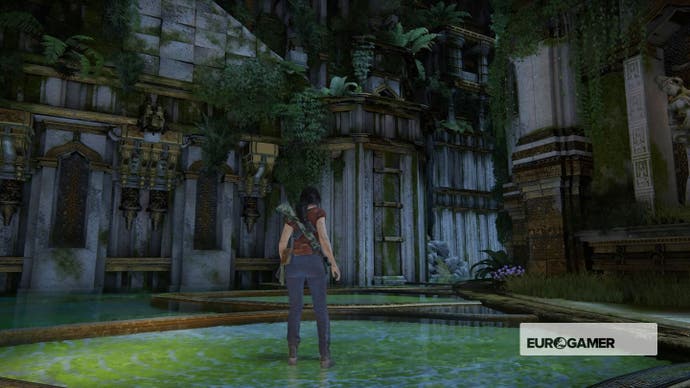
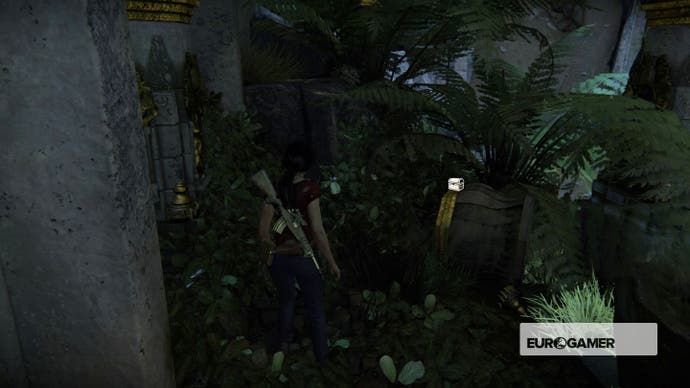
55 - Ivory Chess Pieces - After moving the lower right-hand arm of Shiva, jump across to the other arm, run towards the hand and you'll notice the balconies show in the first screenshot. Jump across, climb in and grab this treasure.
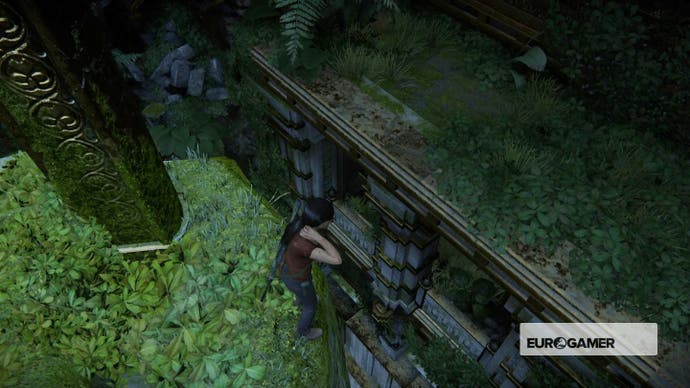
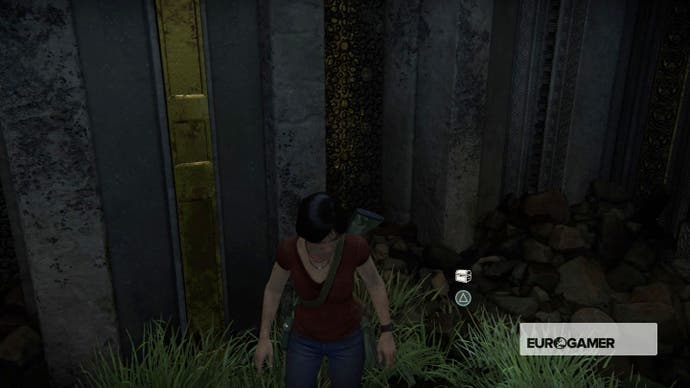
56 - Gold Chola Earrings - When you reach the second wheel switch in the giant Shiva chamber, run past it and climb the wall beyond. Follow the foliage around to the right-hand side to find this treasure on the floor.
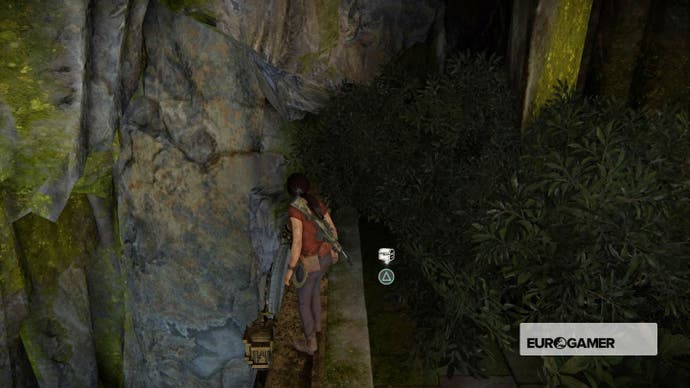
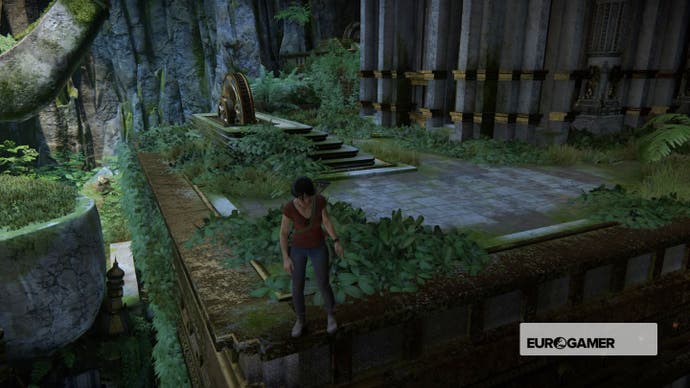
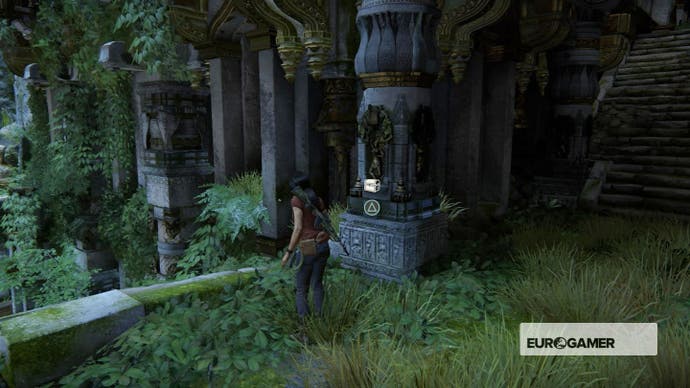
57 - Bridal Maang Tikka - When you reach the area with the third and fourth wheel switches, run past the fourth switch and hang from the position shown in the first screenshot. Drop down to the next level to find the treasure in an ornate box on the wall.
Chapter 8 - Partners
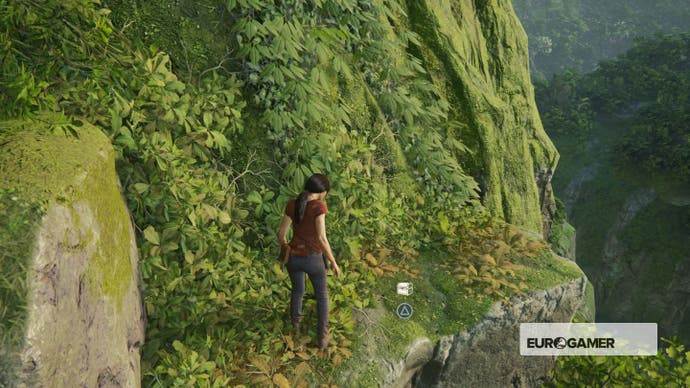
58 - Jeweled Snuff Bottle - As soon as the chapter begins, turn left and drop down to hang from the ledge. Shimmy along and you'll find the first treasure on an outcrop of rock.
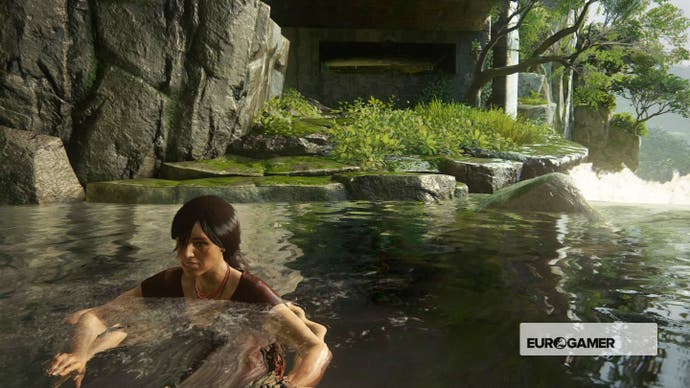
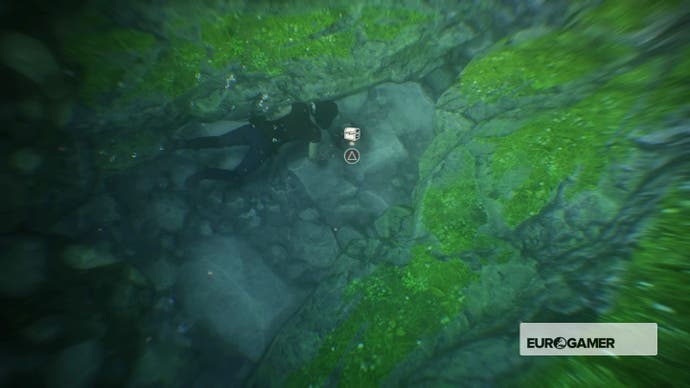
59 - Brass Ewer - After crossing the wooden plank and climbing through the narrow concrete opening, dive into the pool of water shown in the first screenshot. Swim down to find your next treasure at the bottom.
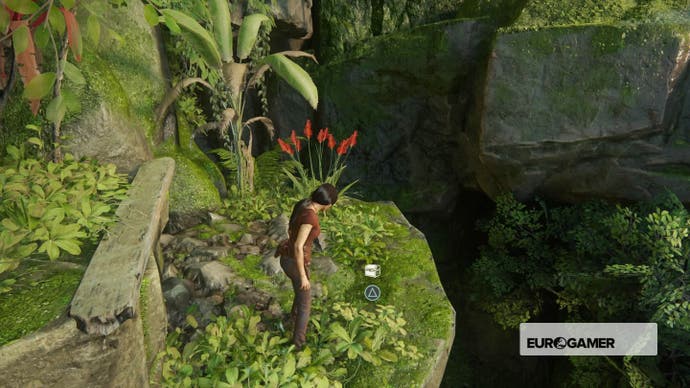
60 - Mamluk Brass Bowl - After crossing the wooden plank and climbing through the narrow concrete opening, climb the platforms to your left and follow them round to the right. Mud slide down and jump to your left. Climb this platform to collect the treasure at the top.
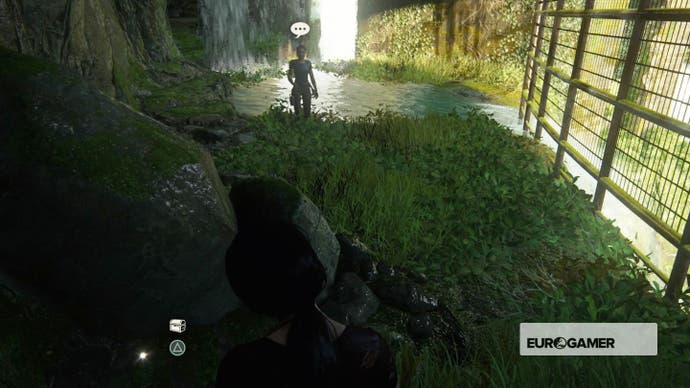
61 - Crescent Flask - After you've rope swung through the waterfall to safety, run down to a room with a large metal grate on one side. The treasure you're after is at the end of the room behind a slab of rock.
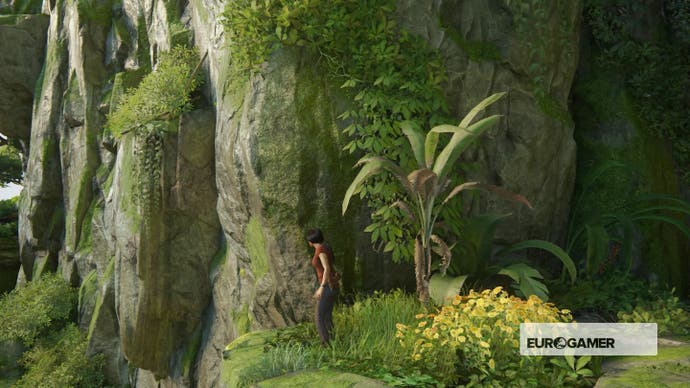
62 - Soapstone Jewelry Box - After sliding down the gravel slopes, hang down from the ledge in the area shown in the first screenshot. Climb across and up to find the treasure next to some wooden planks on a small outcrop of rock.
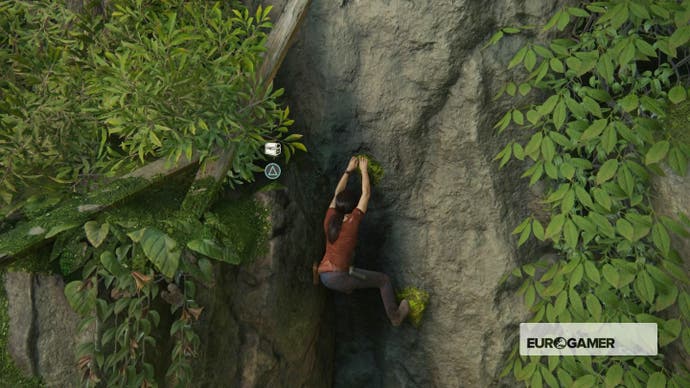
63 - Peacock Nut Cracker - As you're climbing over the rock archway (while Sam and Nadine try to find a way to help you up) climb down on the other side (see screenshot) and drop to the outcrop to grab this treasure.
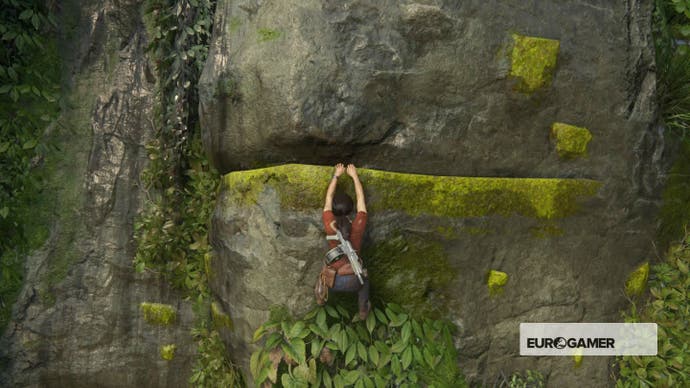
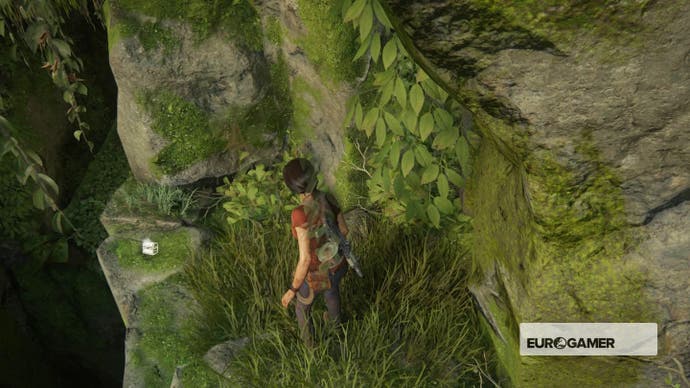
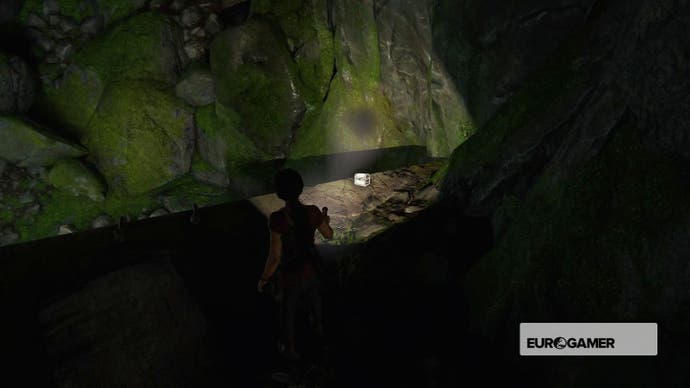
64 - British Powder Flask - After solving the easy train track puzzle, climb up the cliff face with Sam's help, immediately run behind him and turn left into a dark tunnel. At the edge of the tunnel you'll find your next treasure.
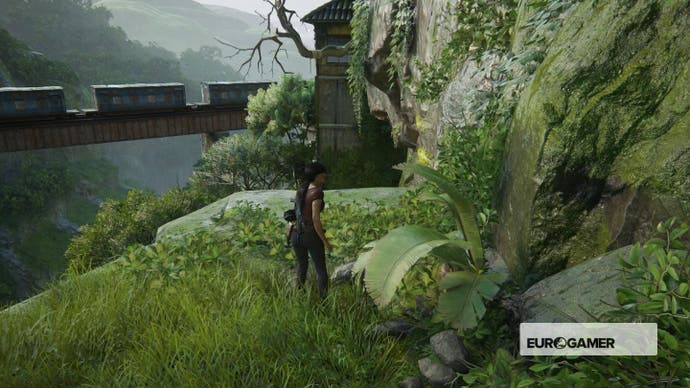
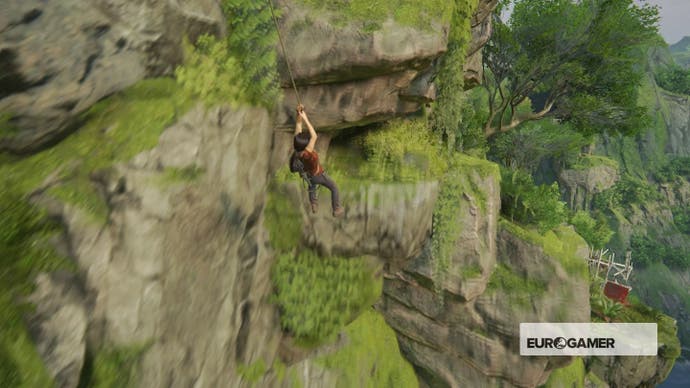
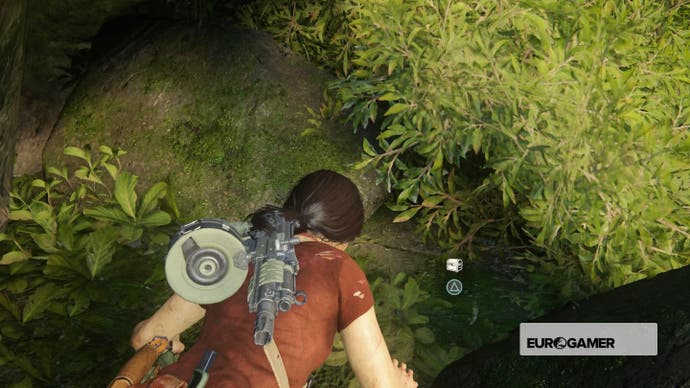
65 - Strange Skull - To collect one of the strangest treasures in the whole game, grappel onto the grappel point show in the first screenshot. Now turn around while swinging and start aiming for the gap shown in the second screen.
You'll find the treasure just inside. (If you rotate the skull a few times in the Treasures submenu, you'll unlock a trophy).
Chapter 9 - End of the Line
66 - United India Company Pistol - As soon as you board the train, jump over the barrier and climb up the windows onto the roof of the train car. You'll find a treasure just waiting to be grabbed.
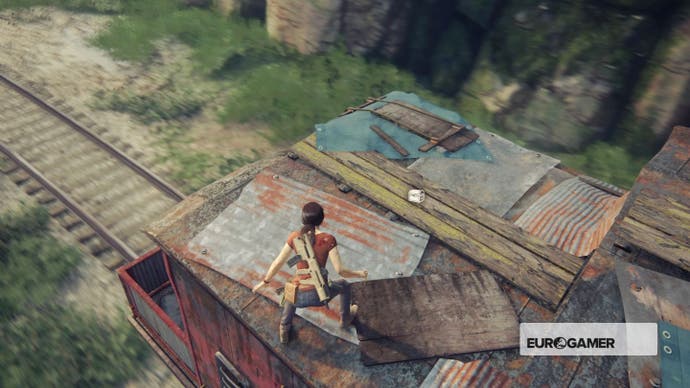
67 - Viceroy's Penbox - The penultimate treasure of the game can be found just after the pass the carriage with the two blue boxes. Shimmy around one side of the next carriage, then shimmy around the other side. Now turn around and grab the treasure at the back of this carriage.
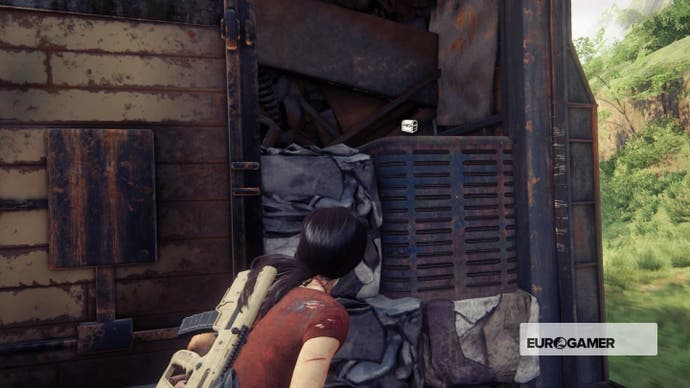
68 - United India Company Coins - The final treasure of the ninth chapter can be found after you've derailed part of the train with the mounted gun. Leap from the truck onto the train and move through two blue carriages.
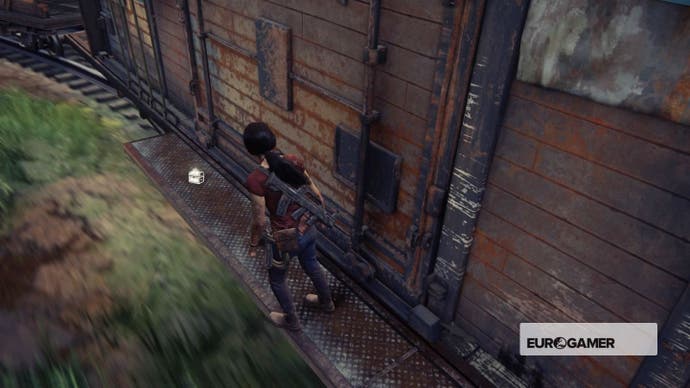
At the third carriage, shimmy around the left-hand side to find the treasure on a metal lip.
And you're done - if you have missed any, scroll up and check out each chapter's treasures to see what you need to get.
