Days Gone Nero Research Site locations, Nero Checkpoint locations and Nero Injector locations explained
Where to find everything Nero-related - from Research Sites to Injector locations - in Days Gone.
Days Gone Nero Research Sites and Nero Checkpoints are one of many types of collectibles and places to visit. Even in the post apocalypse there are still things worth searching for, and these are probably the ones you want to find first.
These areas feature Nero Injectors, which upgrade your maximum Health, Stamina or Focus - making them well worth the time and effort in tracking down.
We explain Nero Checkpoint locations and other Nero Injector locations we've found, and also a few things to keep in mind if you don't want to be surprised by a swarm of Freakers.
Looking for more things to do? Our Days Gone Horde locations can help.
Days Gone Nero Research Sites, Nero Checkpoints and Nero Injectors explained
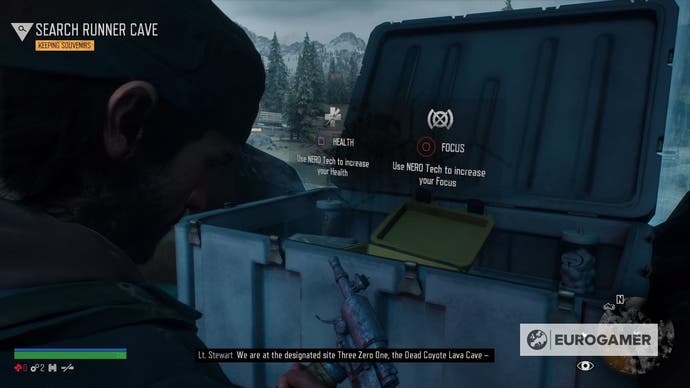
Found throughout Days Gone is the Nero Injector. This grants Deacon St. John the choice to upgrade either his maximum Health, Stamina, or Focus, the latter attached to an ability from the Ranged Combat skill tree, letting you slow down time while you're aiming.
There are 30 in total, and they are found in two types of locations - Nero Research Sites and Nero Checkpoints.
- Nero Research Sites can be found mostly inside of caves or around empty campsites, but some will require you to boost yourself with your bike.
- Nero Checkpoints are usually found in certain points of the map if you follow the main roads, and feature a locked facility that you'd absolutely want to crack open since, once inside, you'll find all sorts of resources (including Nero Recordings, which is another collectable).
What to do at Nero Research Sites
To access some Nero Research Sites, you're going to need at least the first level of the Nitrous upgrade, and whichever Acceleration upgrade is available for you in the closest mechanic.
These spots are usually given away by a crash site or a red beacon, and once discovered, they'll show up on your map. Keep in mind that they'll disappear once you use the Nero Injector and, unlike Checkpoints, they won't serve for fast travel.
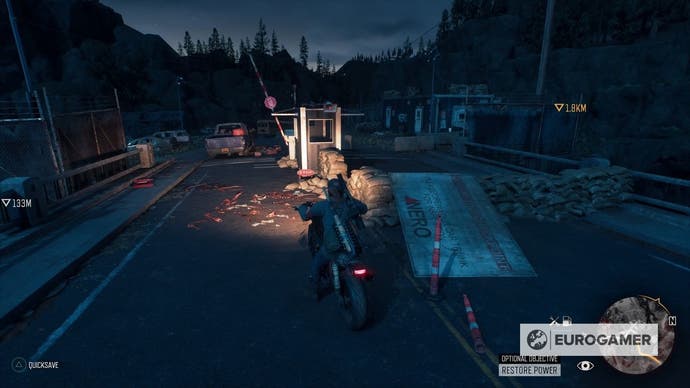
What to do at Nero Checkpoints
There are two things you need to take care of to open Nero Checkpoints: Finding a gas tank for a generator and then powering it up. There will always be one nearby, but sometimes you're going to need to climb on a rooftop to get to the other side of a fence, for example.
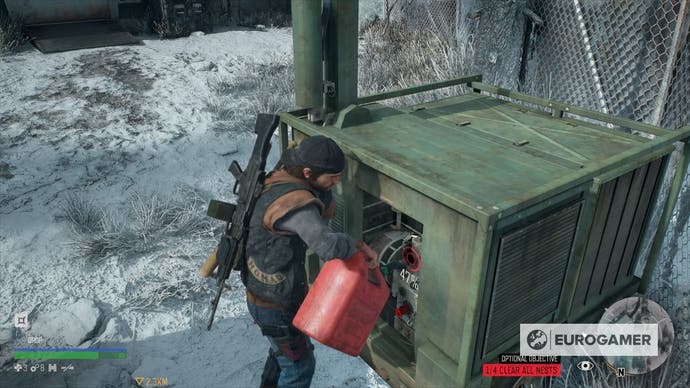
These aren't too complicated to nail down, but be aware of the underage Newts crawling on rooftops. Which are always harmless unless you get too close or you happen to be low on health.
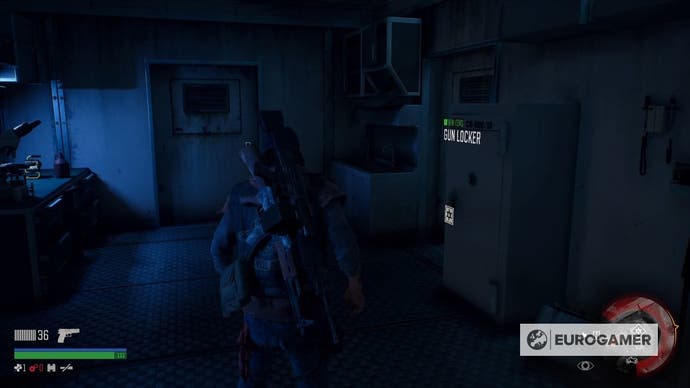
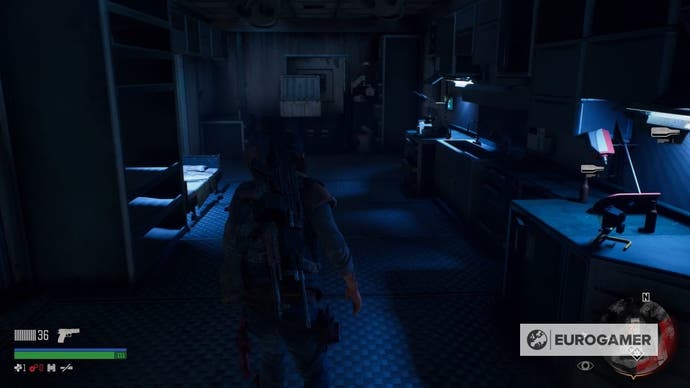
As for power, you'll need to find the switch, and sometimes there will be a fuse missing from the box. Yes, it's a hassle, but it's worth it. Along with the loot inside, you can access the weapons locker inside, make use of the bed inside to either save the game or rest, and use it as a fast travel waypoint.
How to turn off the speakers at Nero Checkpoints
If you're reckless unlocking the first Nero Checkpoint, you'll quickly find out that there are speakers connected to the generator. Once the power is back on, they'll automatically be turned on, blabbering an old recording as loudest as possible. This, of course, will track the attention of Freakers all around.
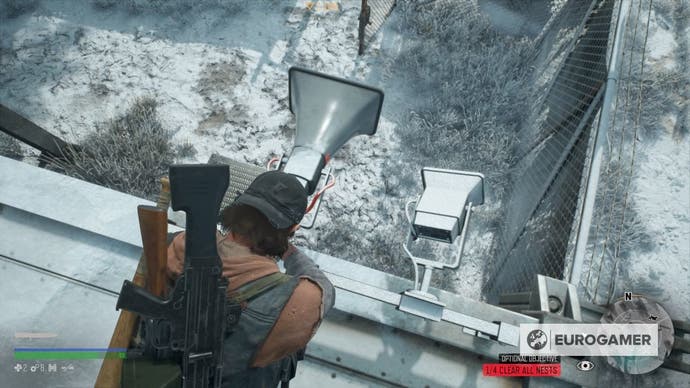
Right before you push that button, make sure to destroy them. You will want to climb and take them out one by one by cutting them off. Once more, beware of any Newts that may be laying around, along with holstering your gun so you don't make any sudden noises.
Days Gone Nero Research Site locations
As well as Nero Injectors found at each individual Nero Checkpoint, you can also find Nero Injectors at various other locations out in the world.
Here's our list of Nero Research Sites:
- Cascade - Nero Research Site location 1
- Cascade - Nero Research Site location 2
- Cascade - Nero Research Site location 3
- Cascade - Nero Research Site location 4
- Belknap - Nero Research Site location 1
- Belknap - Nero Research Site location 2
- Lost Lake - Nero Research Site location 1
- Lost Lake - Nero Research Site location 2
- Iron Butte - Nero Research Site location 1
- Crater Lake - Nero Research Site location 1
- Crater Lake - Nero Research Site location 2
- Crater Lake - Nero Research Site location 3
- Crater Lake - Nero Research Site location 4
- Crater Lake - Nero Research Site location 5
- Highway 97 - Nero Research Site location 1
- Highway 97 - Nero Research Site location 2
- Highway 97 - Nero Research Site location 3
- Highway 97 - Nero Research Site location 4
Cascade - Nero Research Site location 1
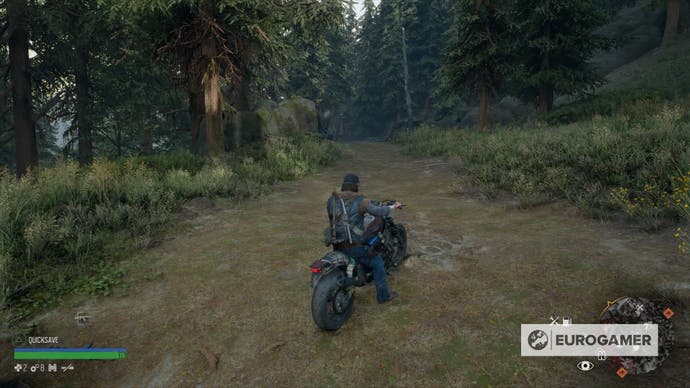
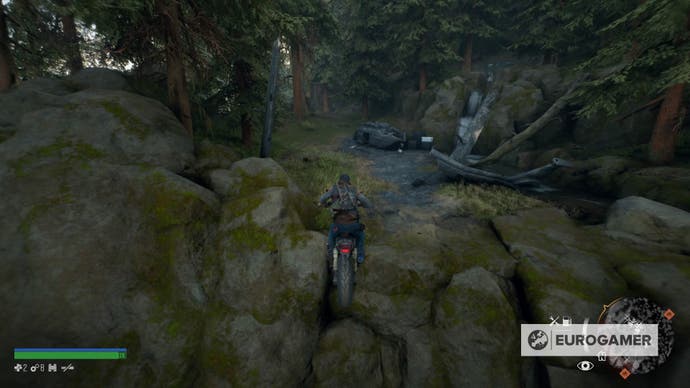
There are several research sites in the Cascade region, and keep in mind that you'll need to have nitrous installed on your bike for some of them. The first can be found in the southern side of the map, close to the entrance to Lost Lake. You'll see it higher than where Deacon can reach by just jumping, so you're gonna have to go to the other side and boost your way following the road.
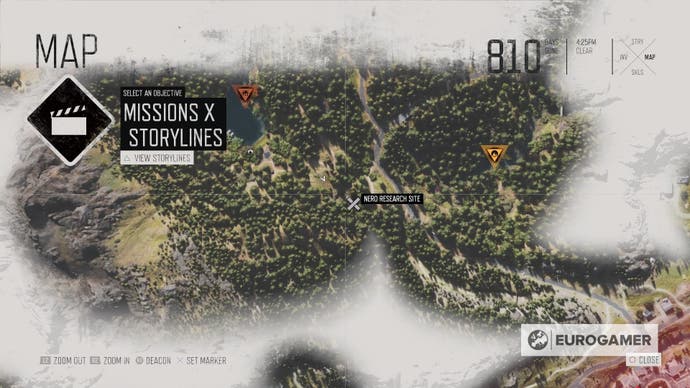
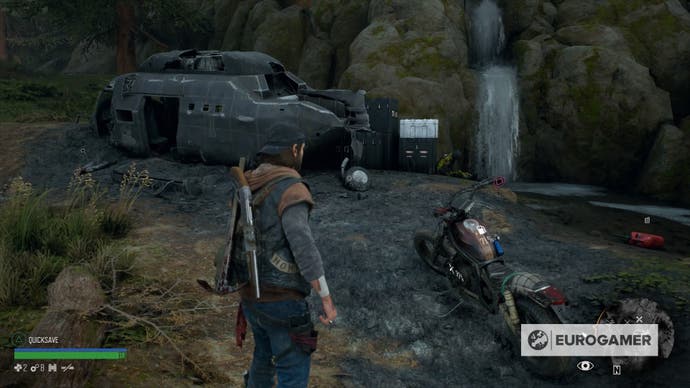
In the other side you'll find the crash site. Along with loot and a handy gas tank, you'll find a new Nero Injector, and the micro-recorder Flight Data Recording 2097.
Cascade - Nero Research Site location 2
Almost on the middle of the map, there's a place in the shape of a circle that is crossed in between by a road. Only a few steps away from it, you'll see a massive bridge where the train used to pass by.
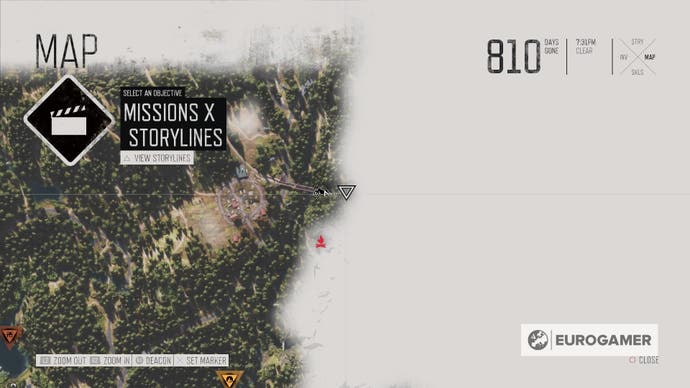
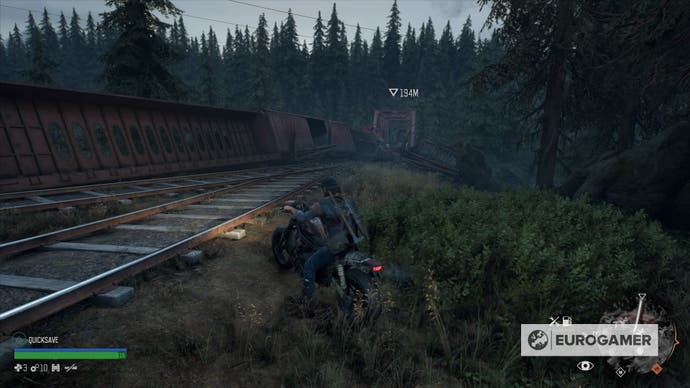

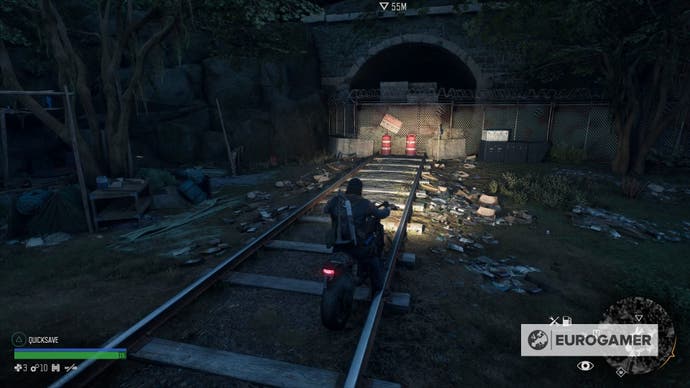
If you follow this track right until the end, you'll come across a new site, which awaits you with loot, a Nero Injector, and the Black Box Recording 1001.

Cascade - Nero Research Site location 3
Placed in the far east side of the region, you'll come across the Pioneer Cemetery Infestation Nest (unless you were smart enough to have cleared it already), and you'll see a small cabin.
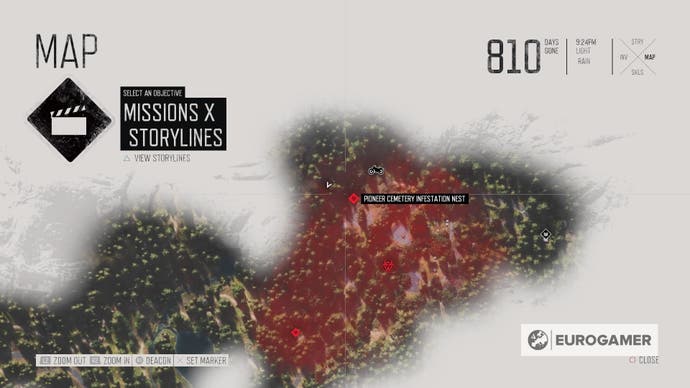
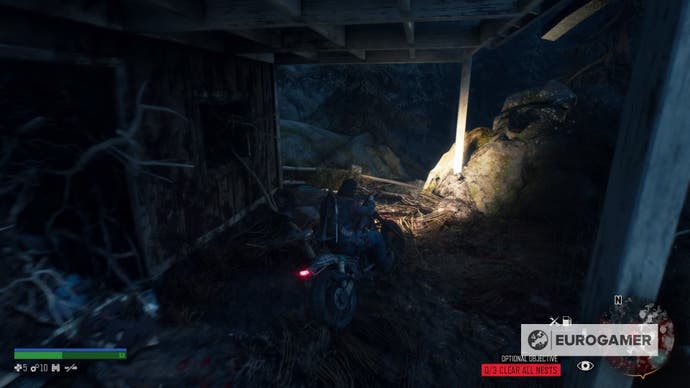
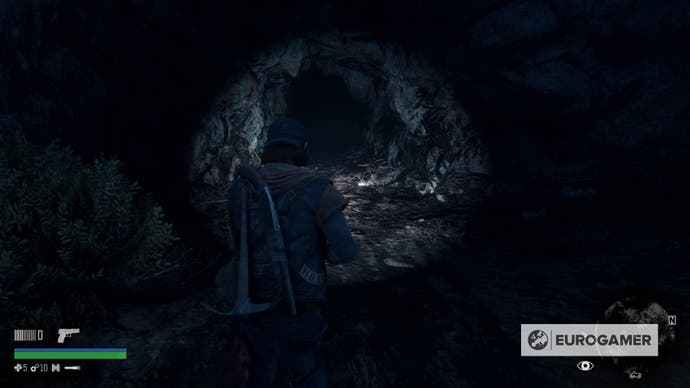
Follow it through down the path until the open field, and head towards the left side. You'll see a giant generator along with some supplies. Keep going until you're inside a cave.
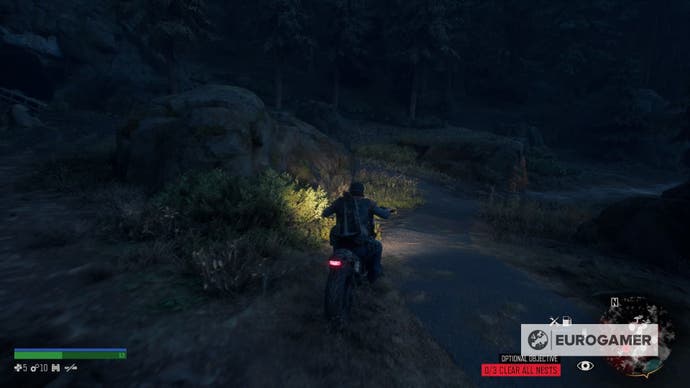
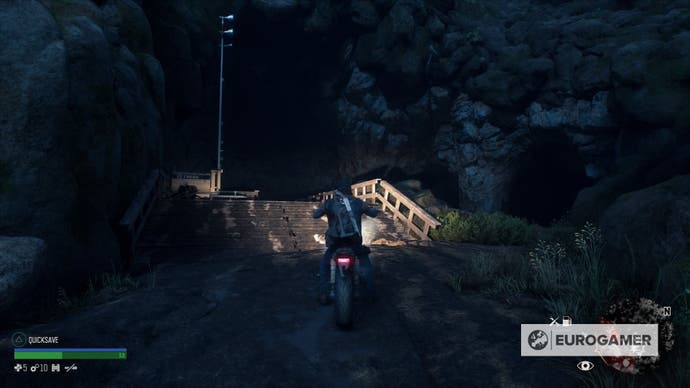
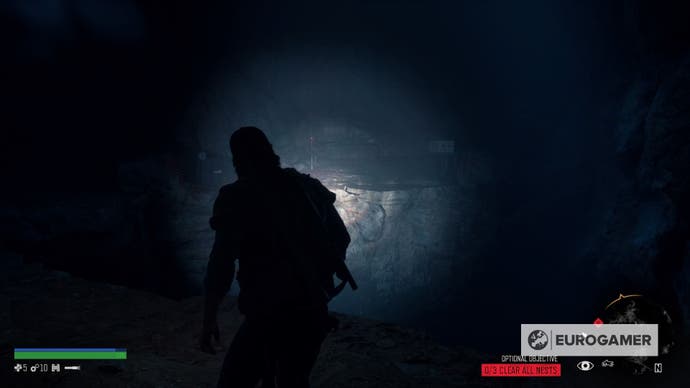
Don't worry about enemies inside. Just keep sprinting until you get to the end to grab a Nero Injector and the Research Field Note 9791
Cascade - Nero Research Site location 4
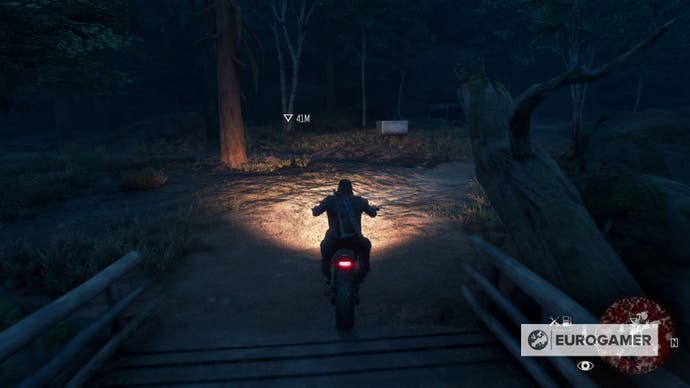
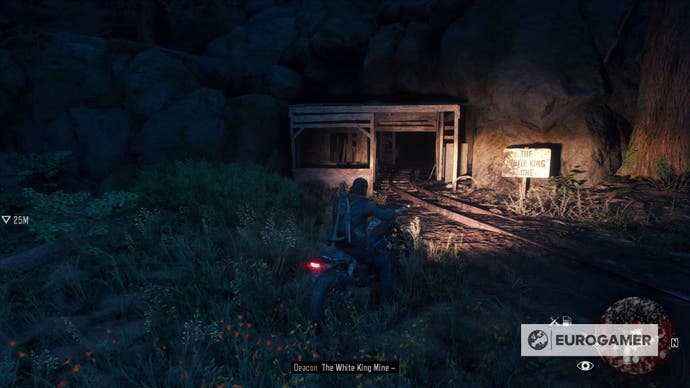
This one is on the opposite side, right in the upper left corner of the region. Get close to the location on the map and you'll hear Deacon reading a sign: The White King Mine.
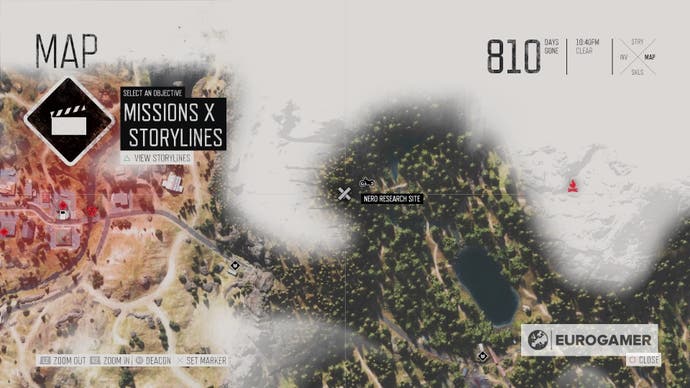
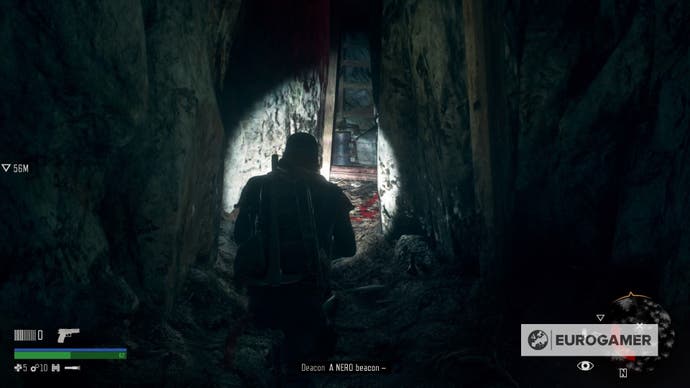
There will be a Horde inside, but that said, for us there were none - but be cautious all the same. Once you get to the end, you'll be able to obtain a new Nero Injector, along with the Research Field Note 1677.
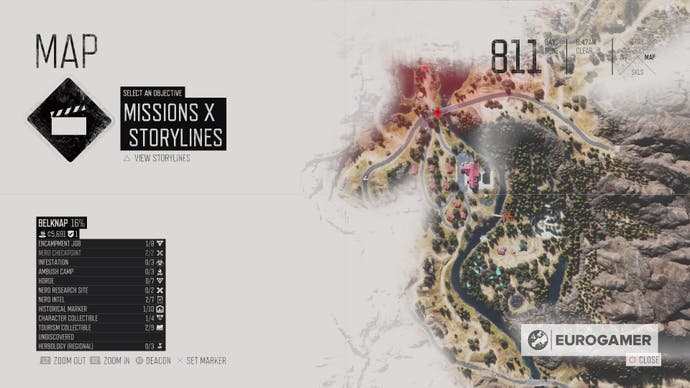
Belknap - Nero Research Site location 1
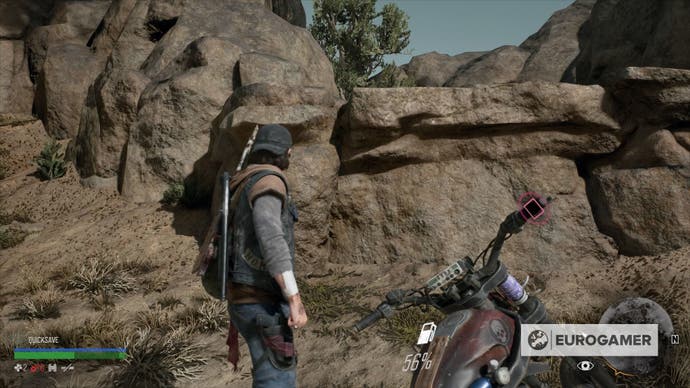
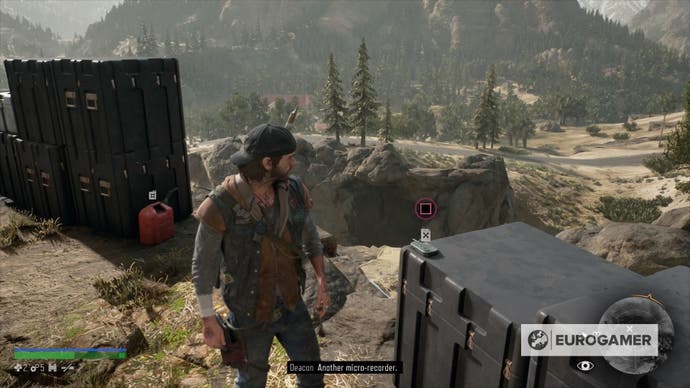
You're gonna have to head all the way to the left side of the region. In the location marked in the map, you'll see a ramp that leads to another crashing site. Gain as much speed as possible, and use your nitrous when you're getting close to the edge to get to the other side safely. Also, watch out since there might be a pack of wolves roaming around.
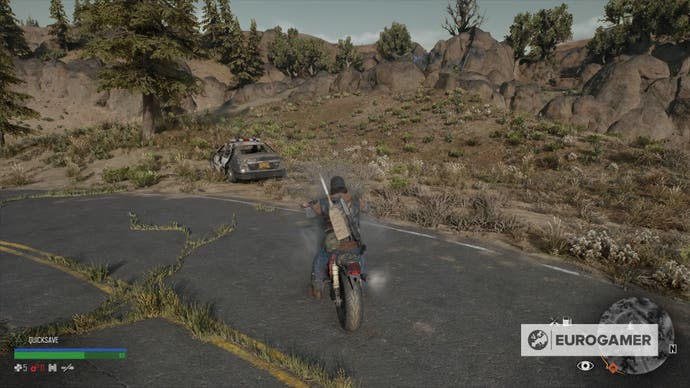
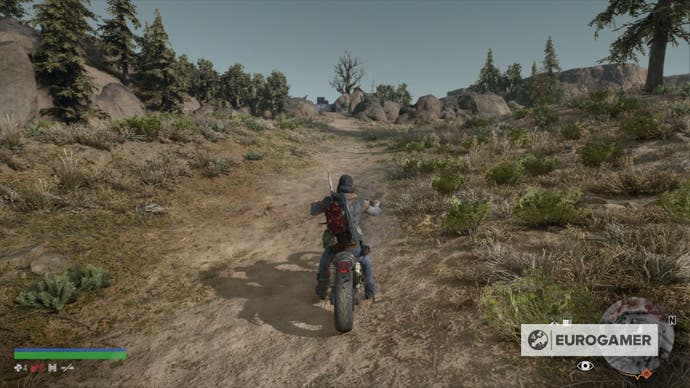
Once you land, head to the right side and climb your way to the top. There's a Nero Injector, a bunch of loot, and the Flight Data Recording 2041.
Belknap - Nero Research Site location 2
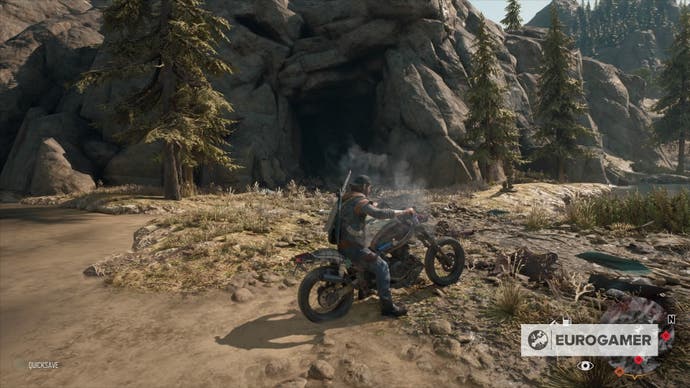
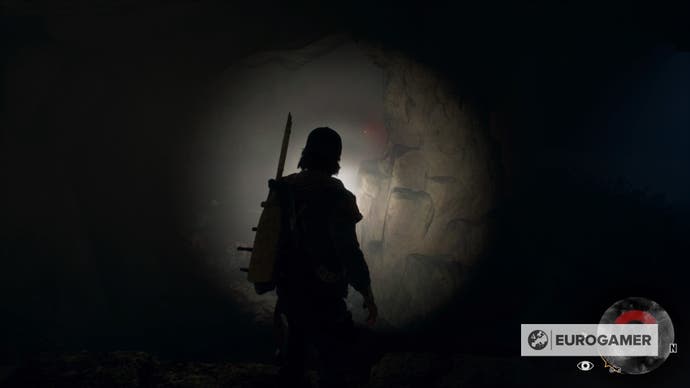
North from the previous research site, you'll have to enter yet another cave. Sadly, this one isn't as friendly as the others.
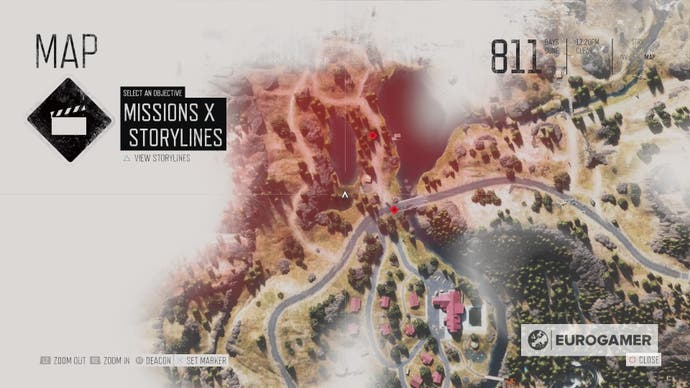
To make things even worse, there's not one or two freakers, but an entire Horde waiting for Deacon. Make sure to grab the best weaponry available along with molotovs, and once you clear it, don't forget to grab the Nero Injector along with the Research Field Recording 1577.
Lost Lake - Nero Research Site location 1
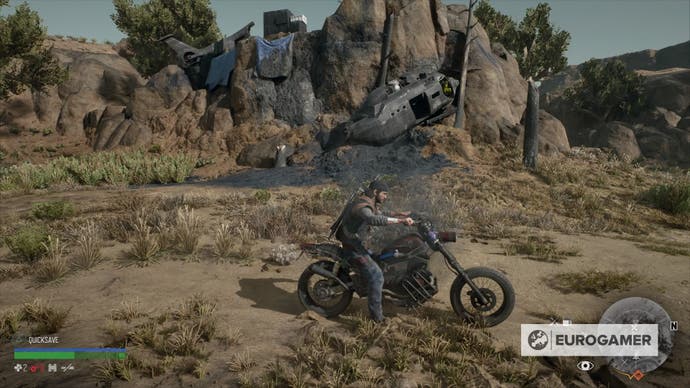
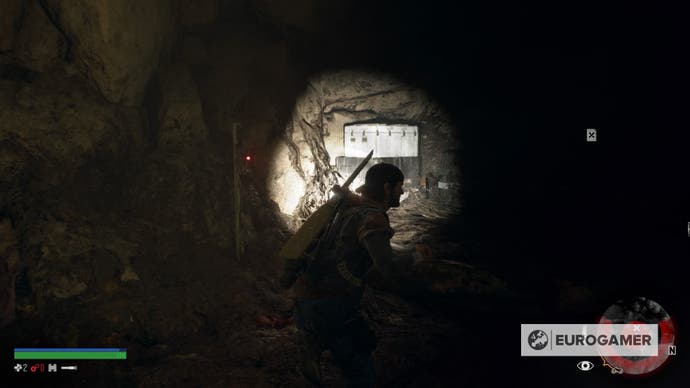
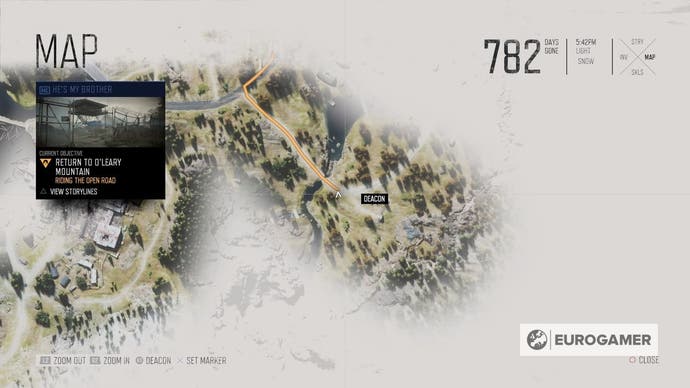
As well as Nero Checkpoint locations, there's one Nero Injector that isn't part of them, and can be easily missed. While you're roaming through the south of the Lost Lake region, you'll come across a location that isn't very clear on the map, and can only be accessed by using going through a ramp with your bike.
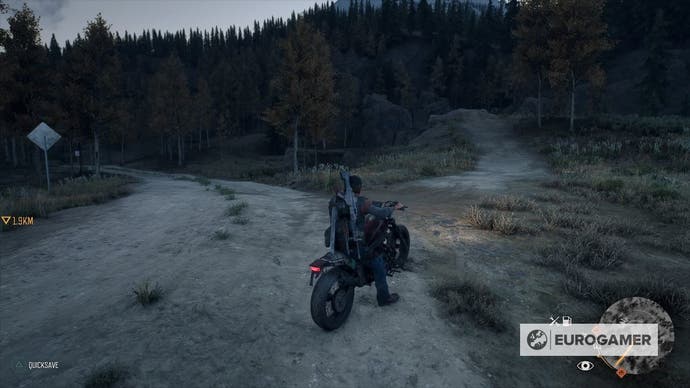
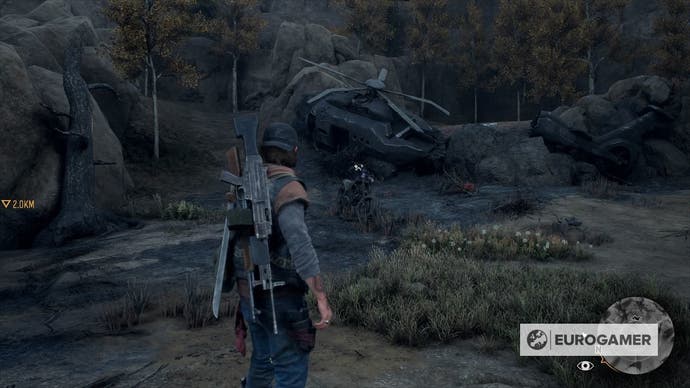
It might seem like nitrous is mandatory here, but if you already upgraded the bike (or at least ramped up its speed) you should be good to go. Try to gain as much acceleration as possible from the road in the path, and then jump to the other side.
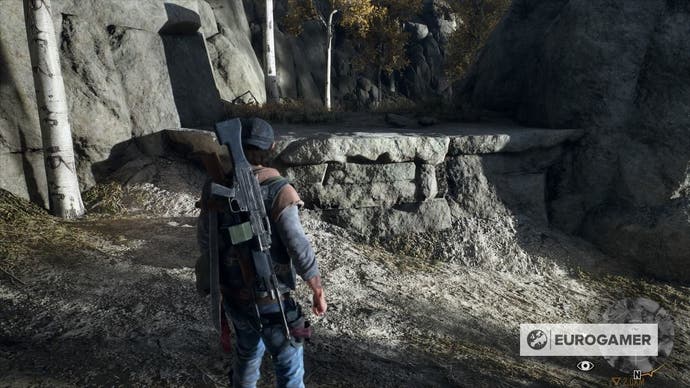
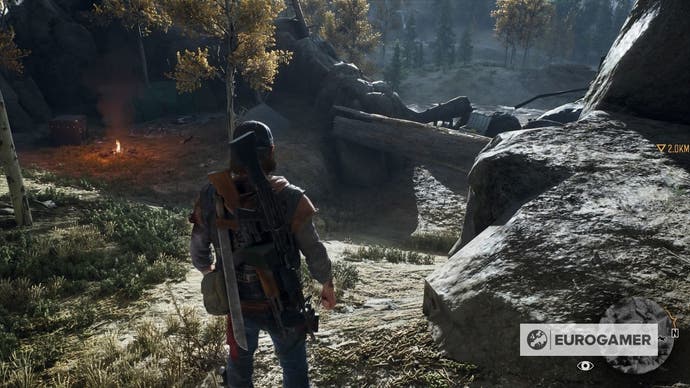
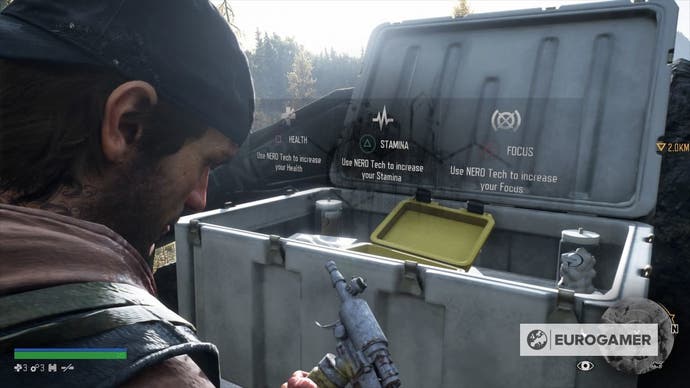
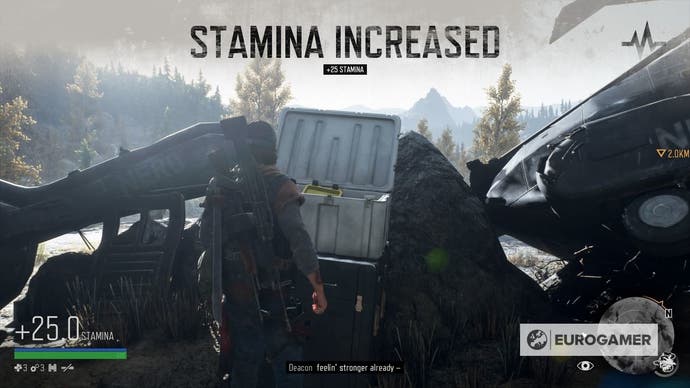
You will see a crash site with helicopters, and if you take the route to the right, a campfire will make itself visible. The place is empty, so don't worry about encountering any enemies here. Just loot everything there and follow the path until seeing yet another one of those suitcases, carrying an additional Nero Injector.
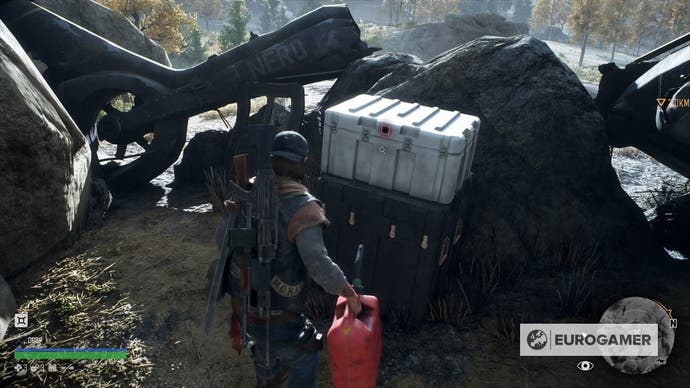
Lost Lake - Nero Research Site location 2
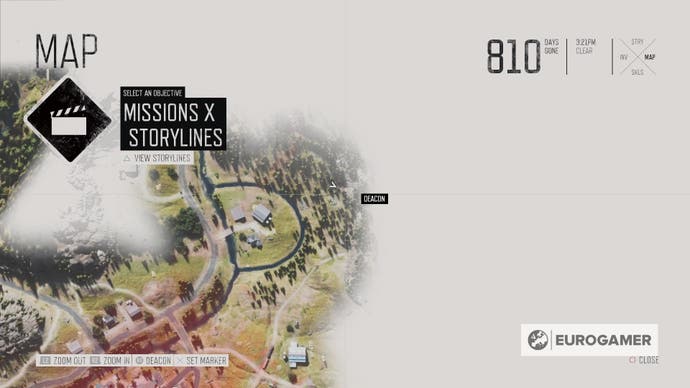
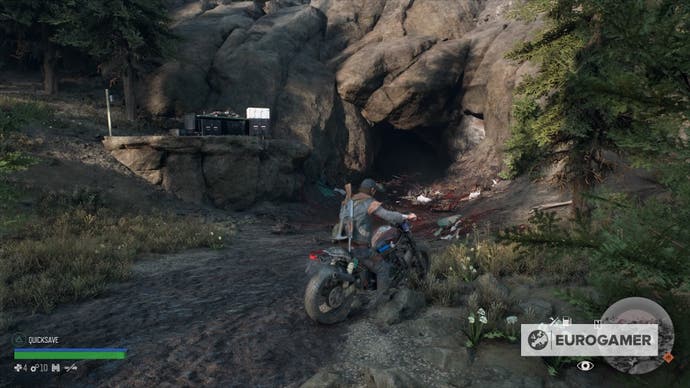
This one is really easy, and can be found on the upper right corner of the region. Make your way there and you'll notice a cave, along with a small hill on a side with that sweet, sweet white box holding a Nero Injector. Oh, and there's the Research Field Note 1960 too. Don't miss it.
Iron Butte - Nero Research Site location 1
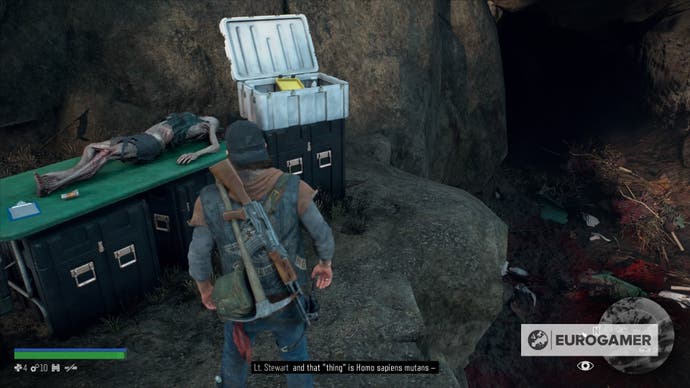
On the left corner of the region, you'll have another one of those ramps to get through to another crash site. Make sure to zoom in to see exactly where the path begins, since you can easily end up in a massive Rippers' camp nearby.


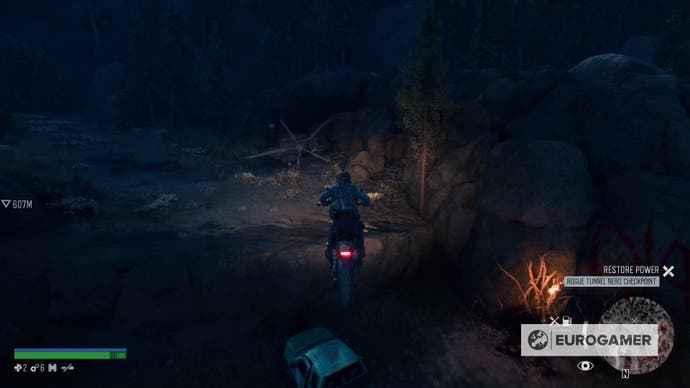
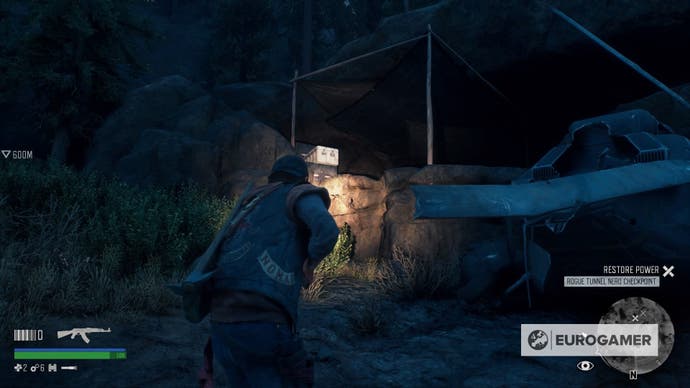
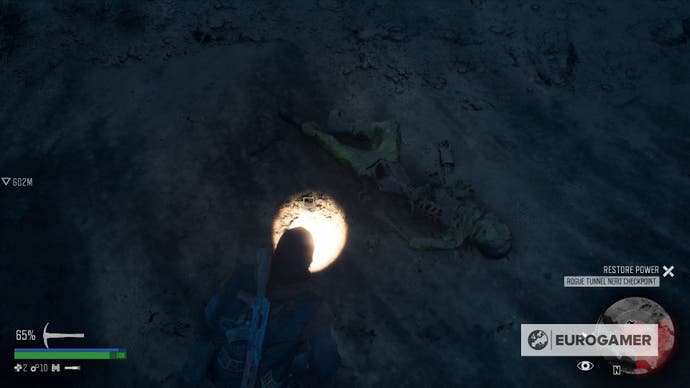
You'll find a Nero Injector on top of a hill, and if you loot the body on the yellow suit, it will give you the Nero Site Order - TS-03-900SQM. And that's all for Iron Butte.
Crater Lake - Nero Research Site location 1
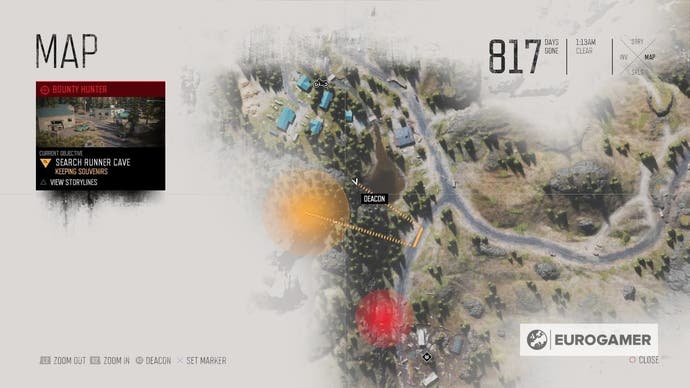
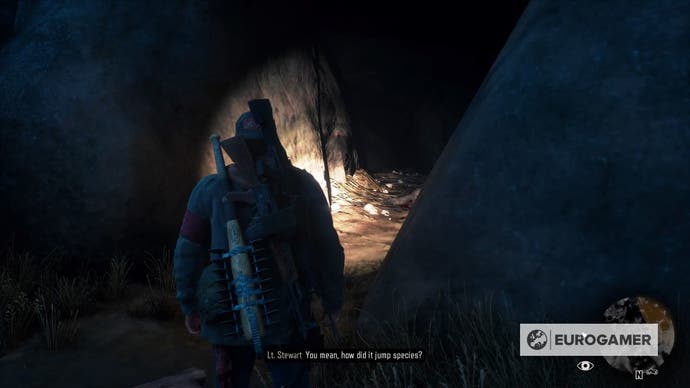
As long as research sites scattered throughout the map, some Nero Injectors can be found following main stories. This particular one will take you inside a cave filled with Runners, but just before entering to their den, you'll see a Nero Injector on the left side.
Crater Lake - Nero Research Site location 2
You'll get this by just following the main story, but if you missed it the first time around, head towards the location shown in the map and look for cabins right before entering the mine.
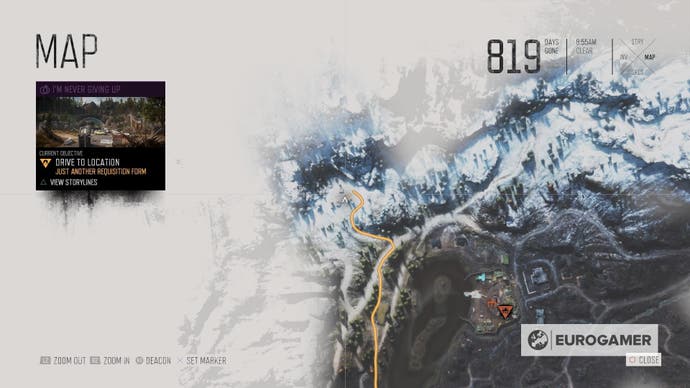
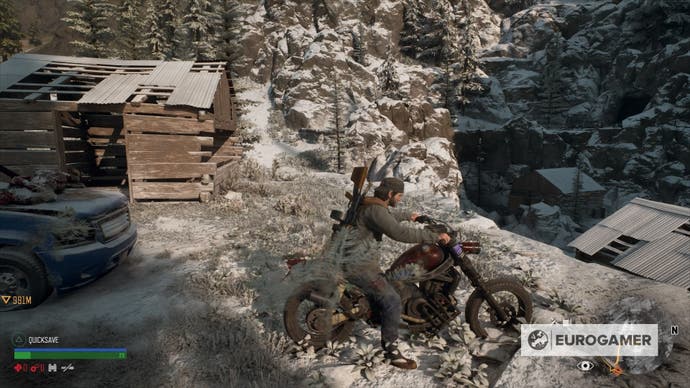
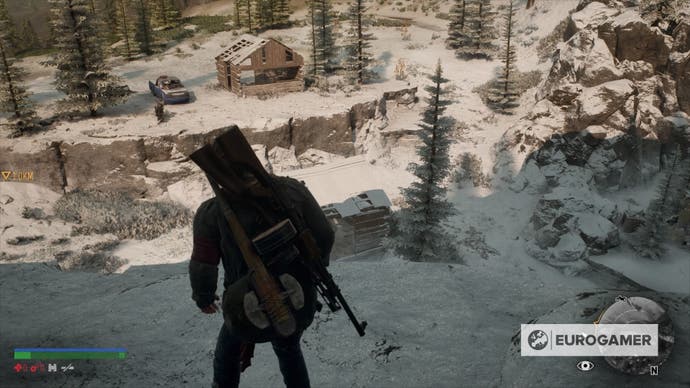
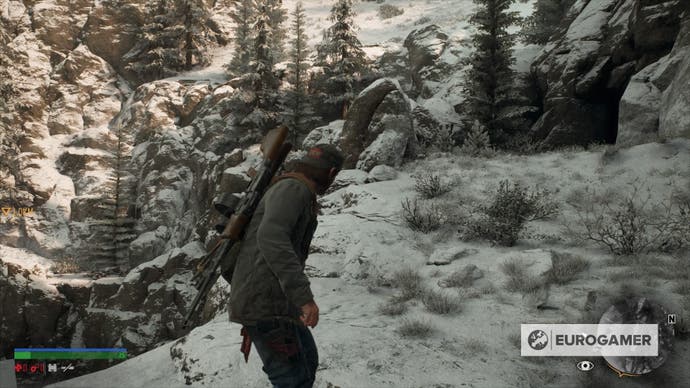
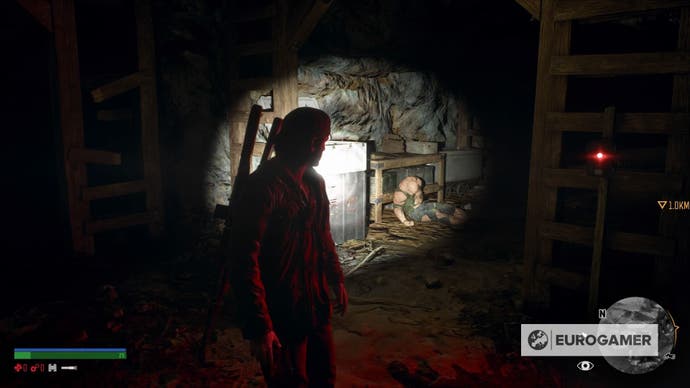
You're gonna want to take the right side and enter there, which will lead you exactly to the Nero Injector and the Researcher Field Note - 2072. In case you just take another path, just look for a red flare before an exit, although it's likely that Deacon will make a comment about finding a Nero beacon.
Crater Lake - Nero Research Site location 3
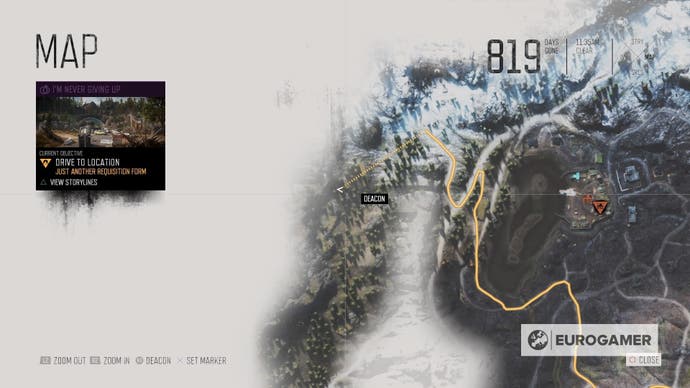
Close to the previous site, you'll come across an upside path that starts with a few bodies littered in the ground.
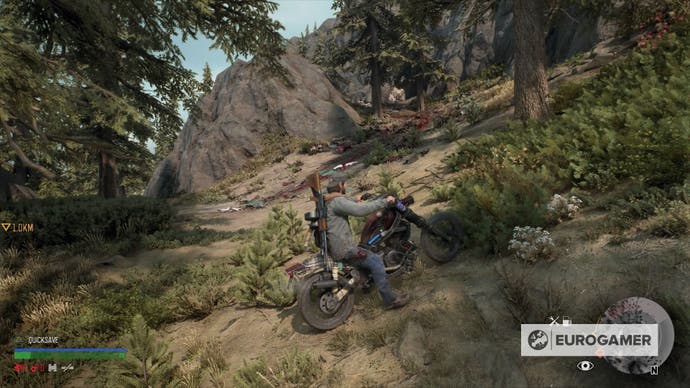
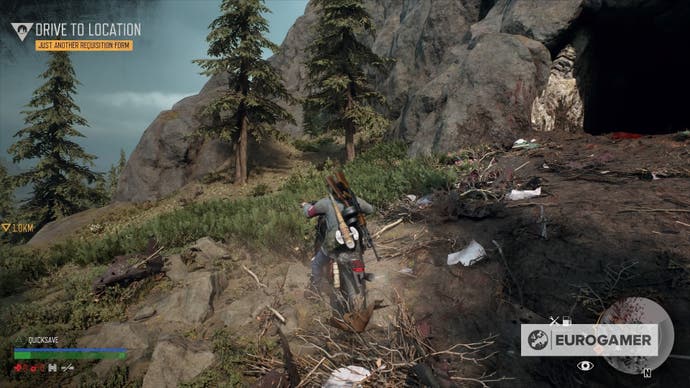
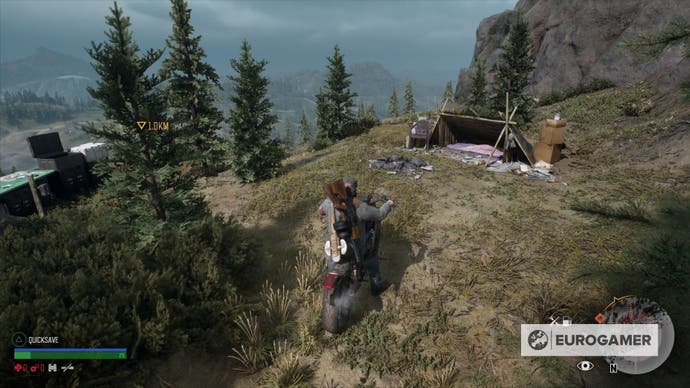
From there, keep heading up either with your bike or on foot, and you'll see a cave. Ignore it completely and keep heading straight until finding a campsite. In here, you'll see a new Nero Injector, along with the Researcher Field Note - 1833.
Crater Lake - Nero Research Site location 4
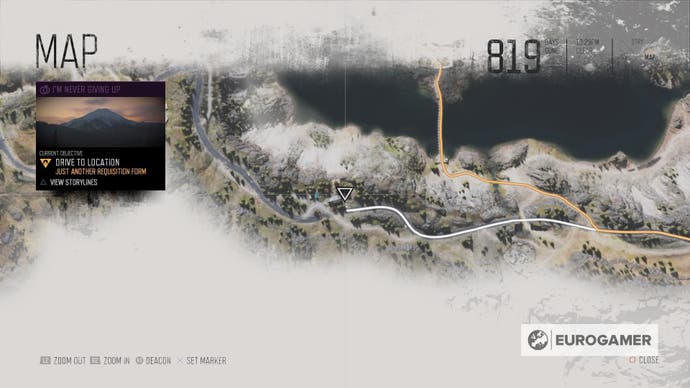
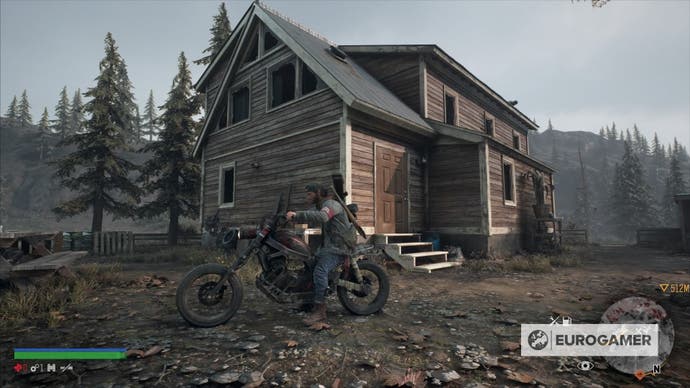
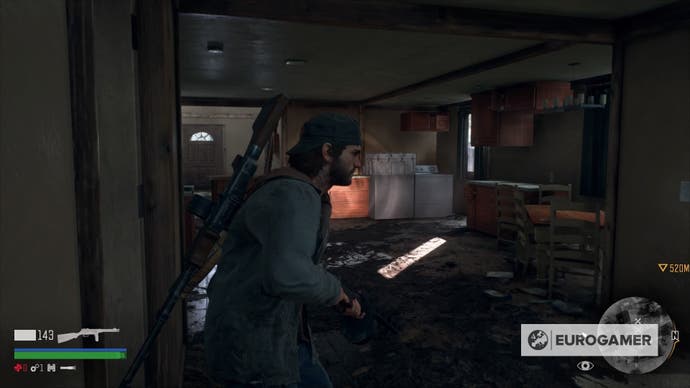
This one is at the south of the island. Head outside using the main path from there, and head west to the houses shown in the map. Enter the big one, and you'll find a Nero Injector along with the Researcher Field Note - 2069. Just beware of the Newts on the rooftop, in case you're low on health.
Crater Lake - Nero Research Site location 5
Surprise: There's another jump waiting for you, this time to a small island on the east side of the main encampment. First, head down to the shore and look for a small ramp.
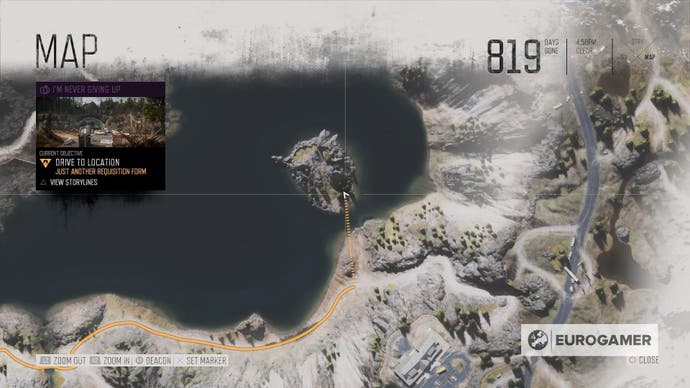
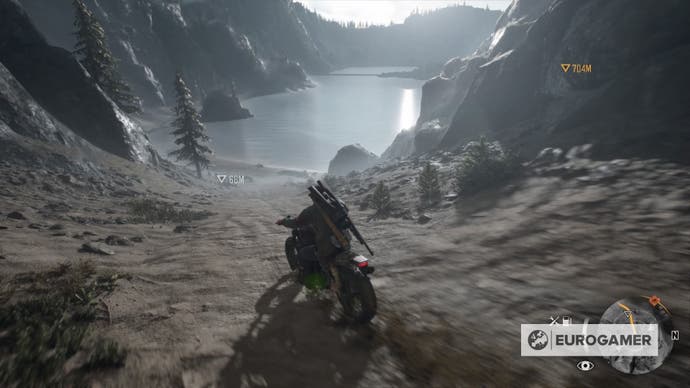
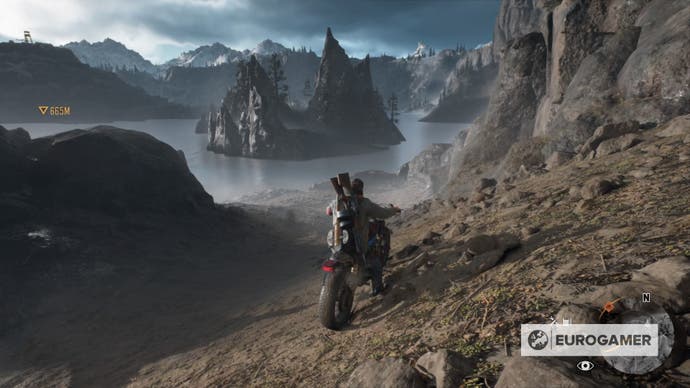
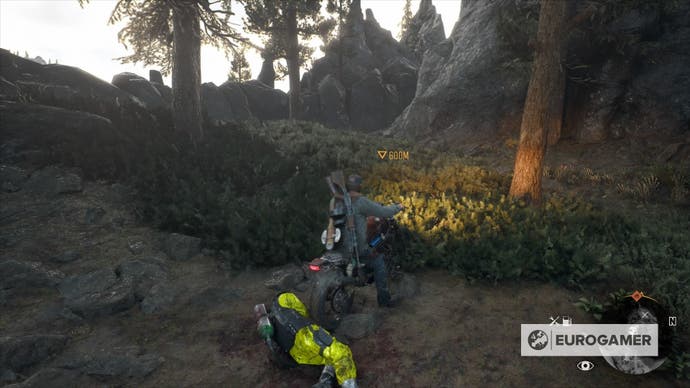
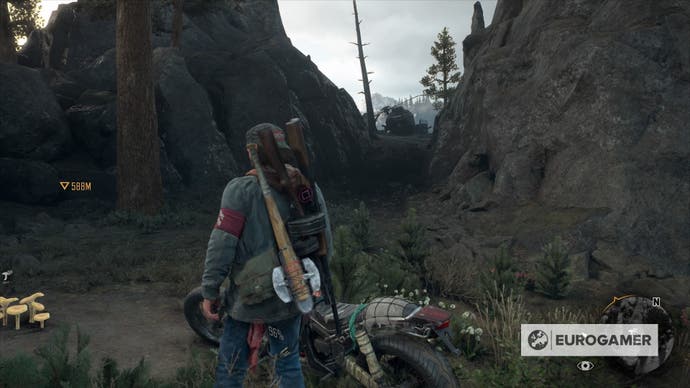
Boost yourself onto the small island and look for the way up. Along with loot from bodies, you'll find another Nero Injector, and the Flight Data Recording - 1787 can be picked up from the chopper.
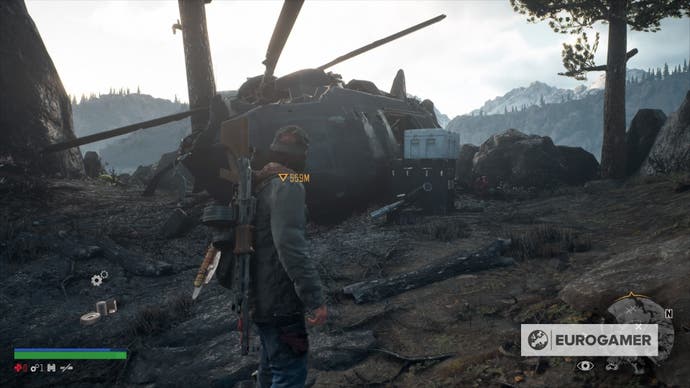
Highway 97 - Nero Research Site location 1
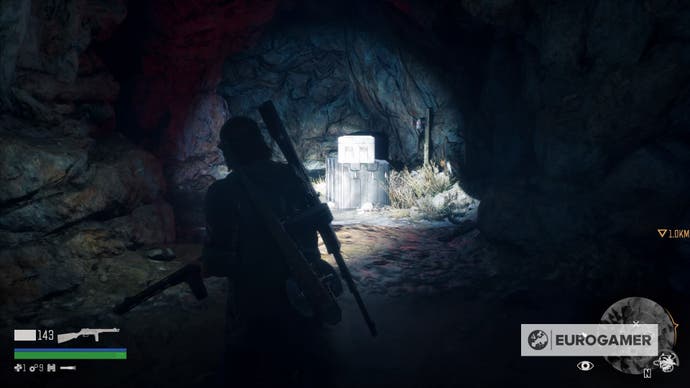
Luckily, this one is pretty straightforward. Head to the marked location and enter inside the cave.
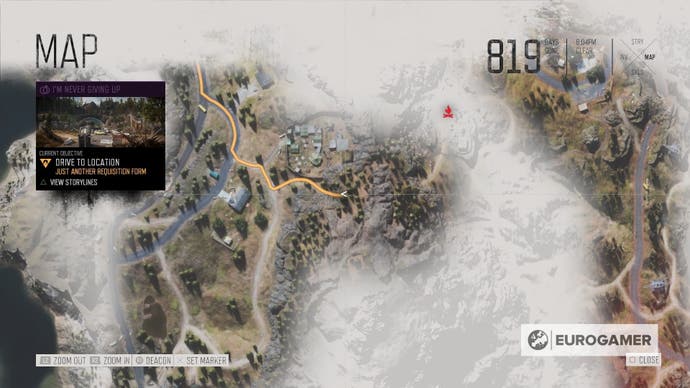
There aren't any surprises, so just keep walking and pick up both the Nero Injector and the Field Recording - 2011.
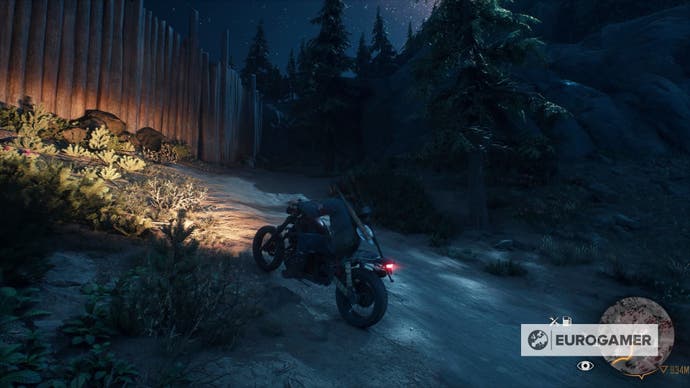
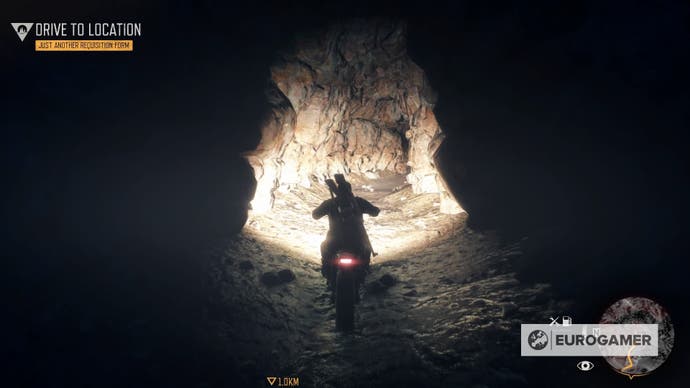
Highway 97 - Nero Research Site location 2
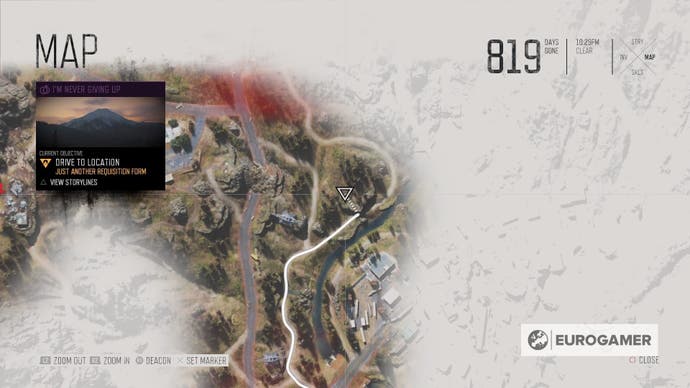
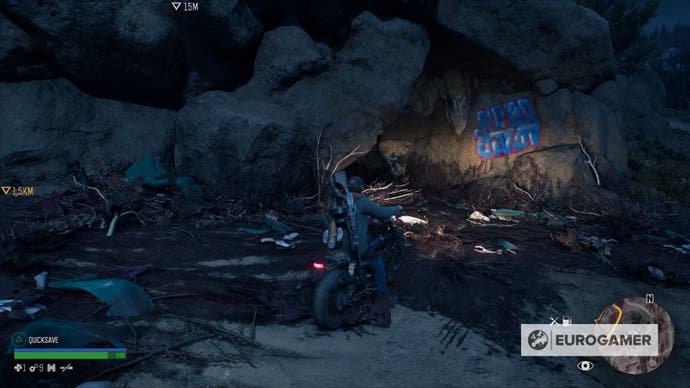
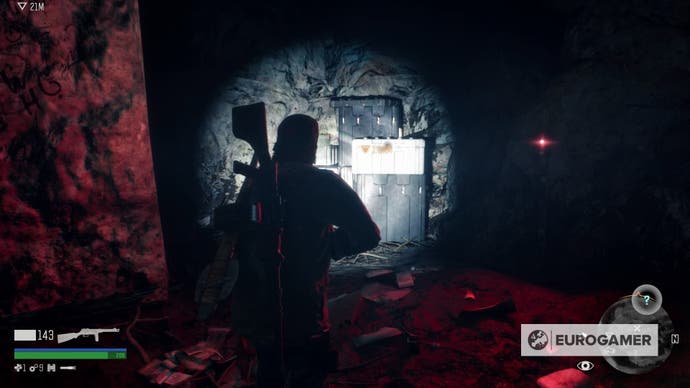
Another cave! Head to the marked location and look for the blue graffiti on the wall. Go inside towards the left side. There's another Nero Injector, along with the Researcher Field Note - 2020. We're getting closer to the end of the list.
Highway 97 - Nero Research Site location 3
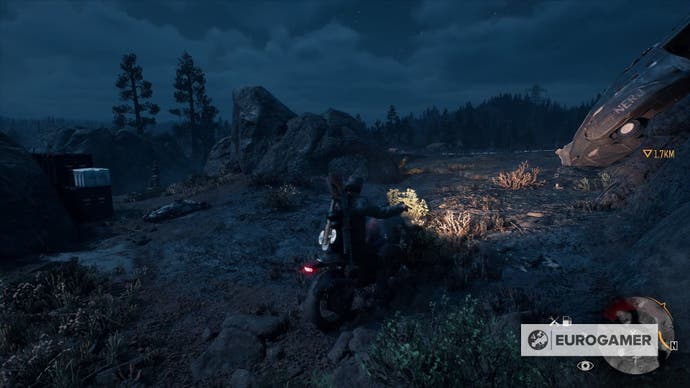
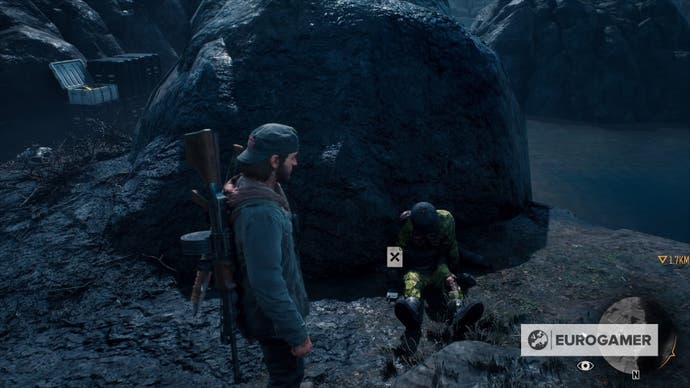
For a change of pace, getting to this research site will require you do jump not one, but twice using your bike. Head to the mark location and, as usual, look for a ramp-like structure on the ground. Boost yourself to the shore of the first island, and without getting off from your bike, head towards the next one with another jump.

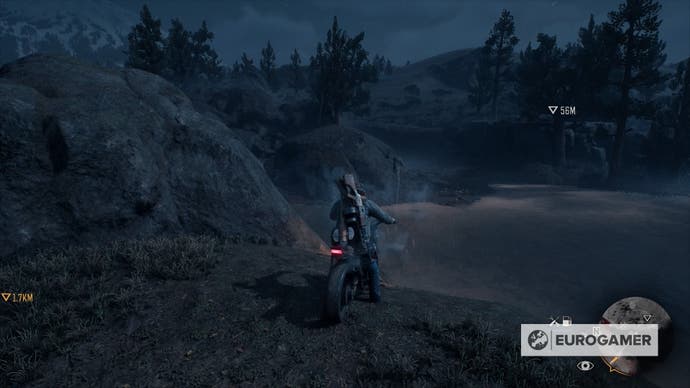
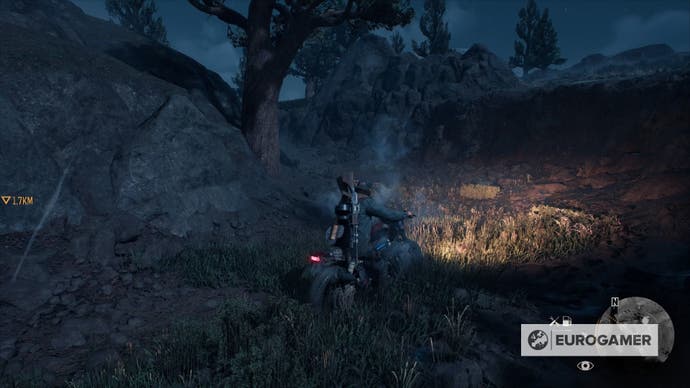
Once you managed to arrive to destination without Deacon losing his bike in the water, head towards the crash site for a new Nero Injector, and loot the body nearby for the Flight Data Recorder - 1377.
Highway 97 - Nero Research Site location 4
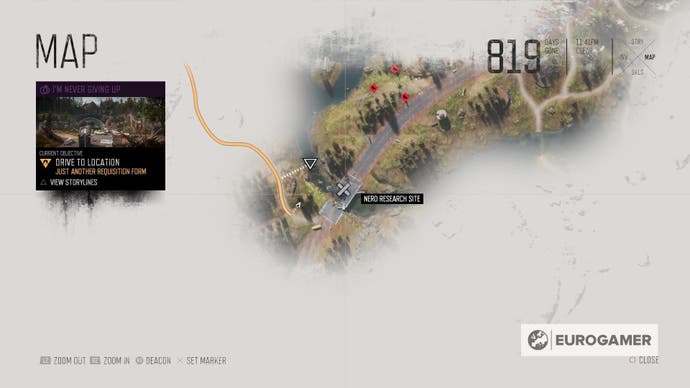
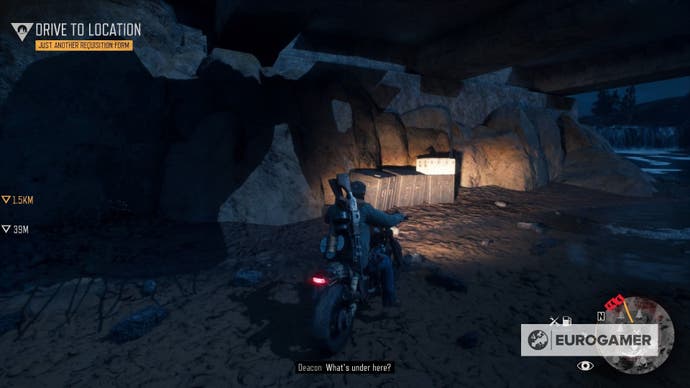
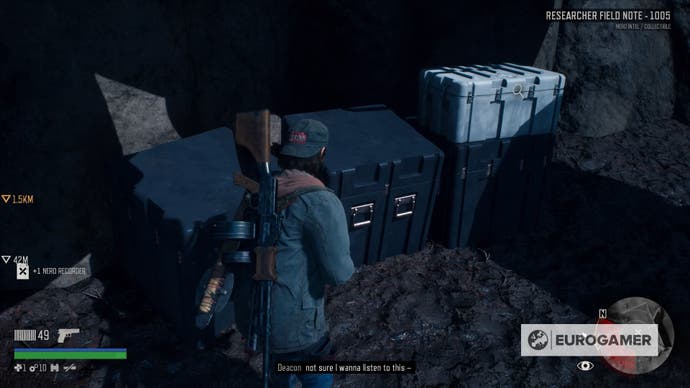
This is the end of the road as we know it. Head towards the southern side of the Highway 97 region until you cross paths with a broken bridge. Your instinct will be to jump using the ramp, but instead, leave your bike and towards it. Both the last Nero Injector and the Researcher Field Note - 1005 are hiding underneath the bridge. Congrats!
Days Gone Nero Checkpoint locations list
What follows is a complete list of Nero Checkpoint locations - 12 in total - each with a Nero Injector location to find at each one.
- Cascade - Horse Lake Nero Checkpoint location
- Cascade - Little Bear Lake Nero Checkpoint location
- Cascade - Old Pioneer Cemetery Nero Checkpoint location
- Belknap - Marion Forks Tunnel Nero Checkpoint location
- Belknap - Iron Butte Pass Nero Checkpoint location
- Lost Lake - Santiam Tunnel Nero Checkpoint location
- Lost Lake - Old Sawmill Nero Checkpoint location
- Iron Butte - Rogue Tunnel Nero Checkpoint location
- Crater Lake - Spruce Lake Nero Checkpoint location
- Crater Lake - Volcanic Legacy Scenic Byway Nero Checkpoint location
- Highway 97 - Chemult Community College Nero Checkpoint location
- Highway 97 - Pilette Bridge Nero Checkpoint location
Cascade - Horse Lake Nero Checkpoint location
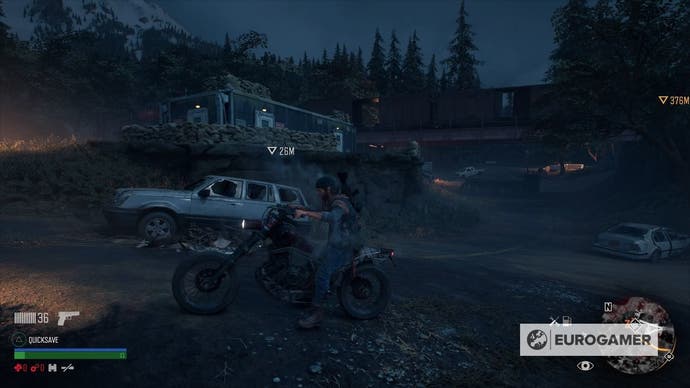
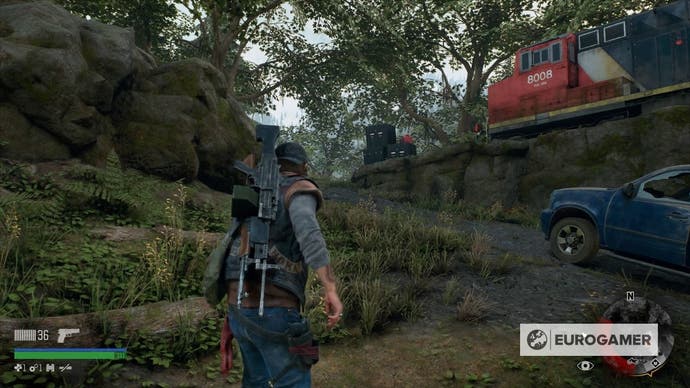
From the O'Leary Mountain Safehouse, head north using the path on the right or by just traversing through the forest. You'll see the Horse Lake Nero Checkpoint.
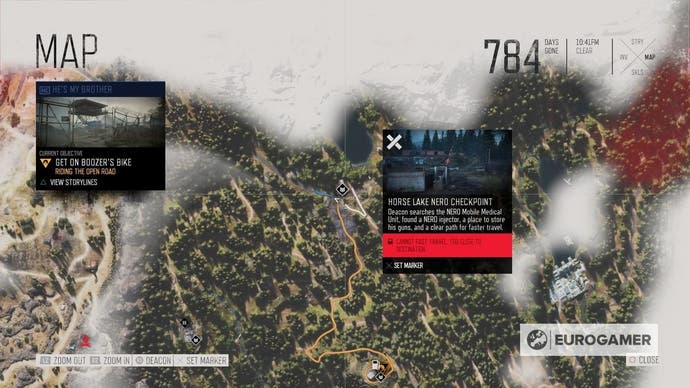
This one isn't hard at first glance, the gas tank is right when the train starts and there are a few speakers on top of the bunker. But you want to say out of the train as much as possible, since there is a Horde inside.
Cascade - Little Bear Lake Nero Checkpoint location
If you drive to the northwest from Copeland's Camp, you'll find the Little Bear Lake Nero Checkpoint.
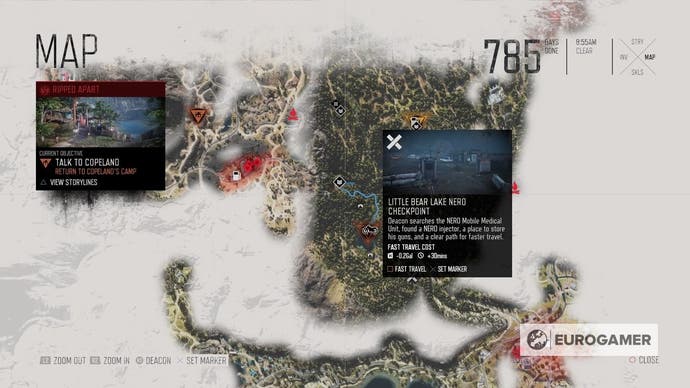
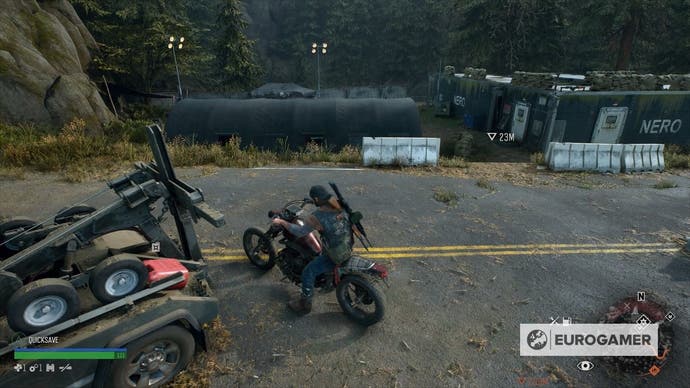
There's a good chance that you'll go through this one often during missions, so don't worry about missing it. The gas tank is in a tow truck on the road, and there are speakers in the rooftop and in a smaller cabin underneath the bridge as well.
Cascade - Old Pioneer Cemetery Nero Checkpoint location
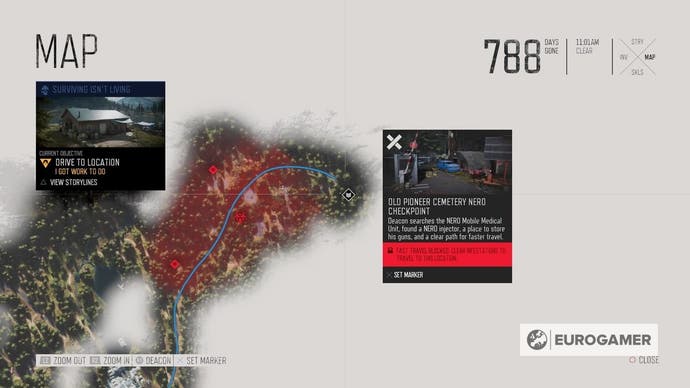
In the far northeast of the the Cascade region, you'll find the Old Pioneer Cemetery. Keep following the road and it will lead you to the third and final Nero Checkpoint in here. It's pretty straightforward, but it has a few things to keep in mind.
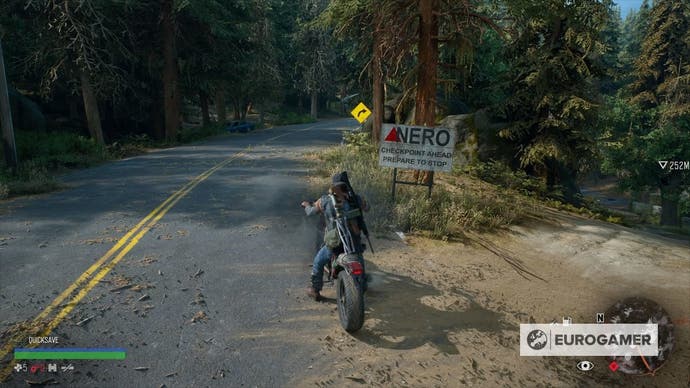
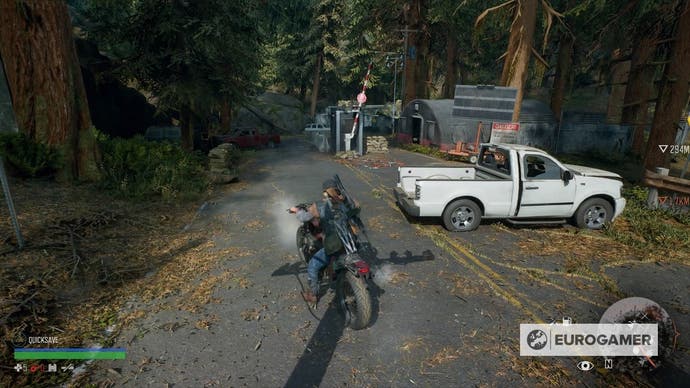
Once you arrive, you'll want to take care of the first speaker you come across. It's on the cabin in the middle of the road. Then, move to the giant tree on the right side, and take the gas tank that is right behind it.
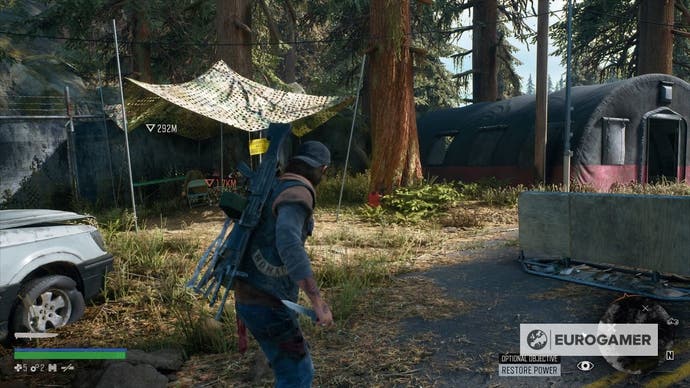
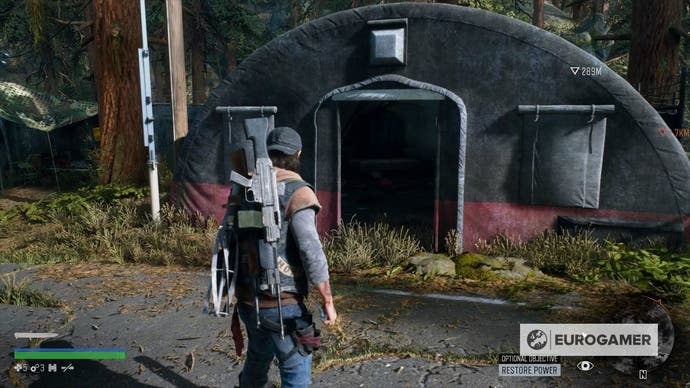
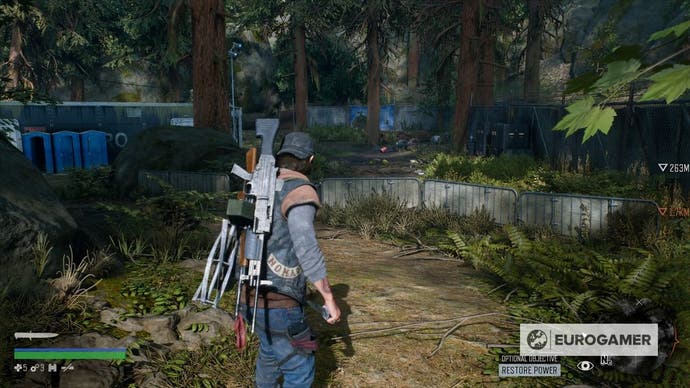
Go back to the tend and move all across until the backyard. Beware, since (at least during the day) there's a group of enemies on the other side. But, there's a conveniently placed gas tank on their side, so just shoot and it will take most of them.
Load up the generator, climb onto the rooftop and take care of the two speakers in there. Now, feel free to activate it. Inside, along with another Nero Injector and some supplies, you'll find the Mobile Medical United Recording - 1111.
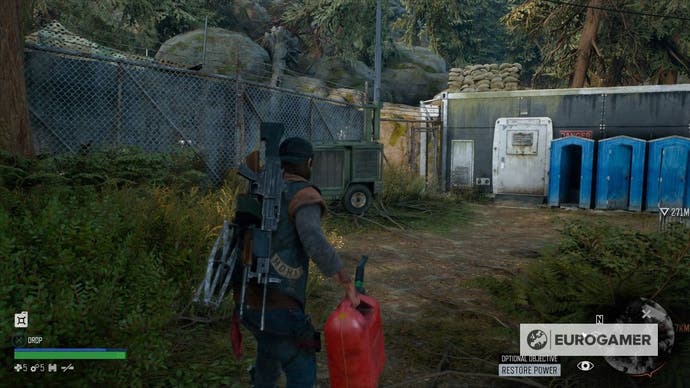
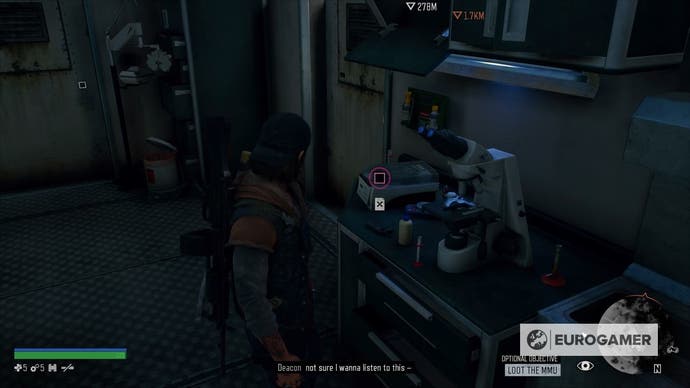
Belknap - Marion Forks Tunnel Nero Checkpoint location
Right when you enter Belknap from the northern entrance, you'll come across the Marion Forks Tunnel Nero Checkpoint.
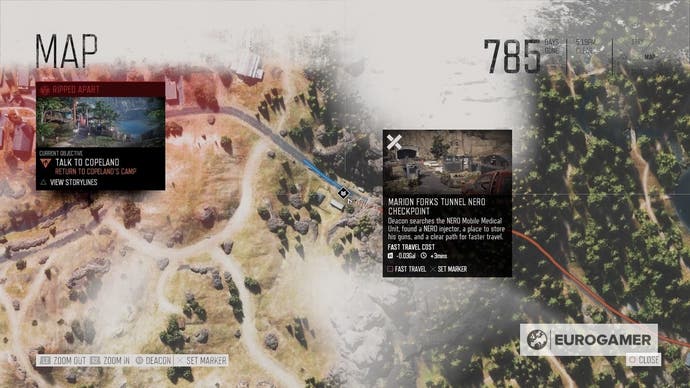
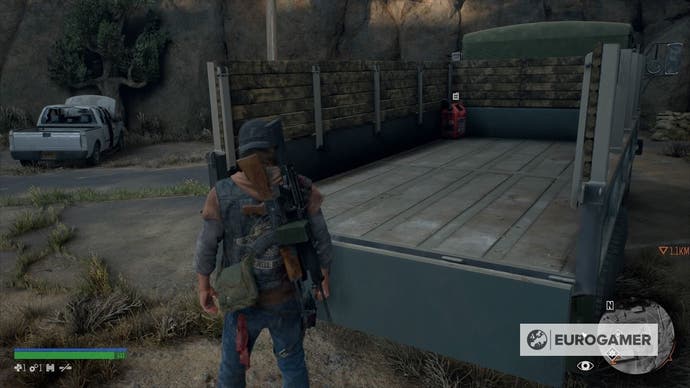
You won't have much problem getting around this one, just watch out for the third speaker in the cabin close to the tunnel. Oh, and that slippery gas tank is on the truck in the main road.
Belknap - Iron Butte Pass Nero Checkpoint location
This one is on the southwest side of the map, and it's a bit complex.
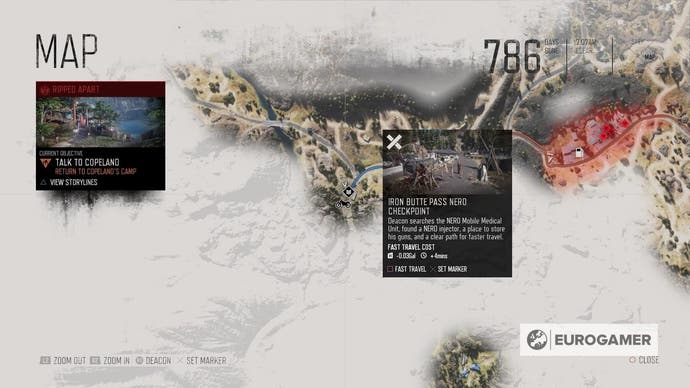
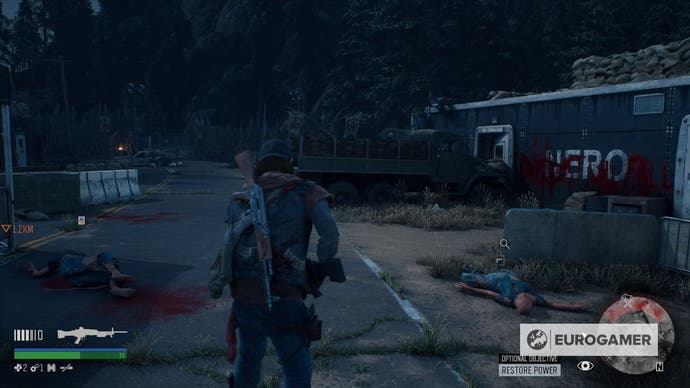
For starters, the place is crawling with Rippers who will shoot on sight, and there are also a few Freakers here and there. The other problem is that the gas tank is kinda out of sight, but you'd want to take the left side and look for a pile of corpses to find it.
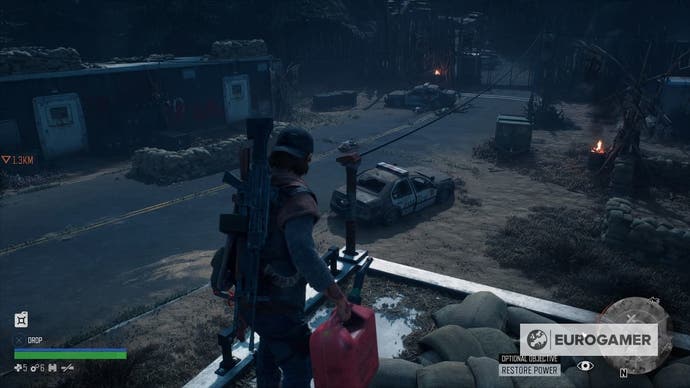
Go to the generator in the middle of the street and turn it on, but make sure to take out all the speakers first. Check the lines coming from the bunkers since there are at least five of them, plus one in the locked entrance that you can see blocking the path. There's no way to climb, so just shoot it.
Lost Lake - Santiam Tunnel Nero Checkpoint location
From Iron MIke's Lost Lake Encampment, go all the way south following the main road.
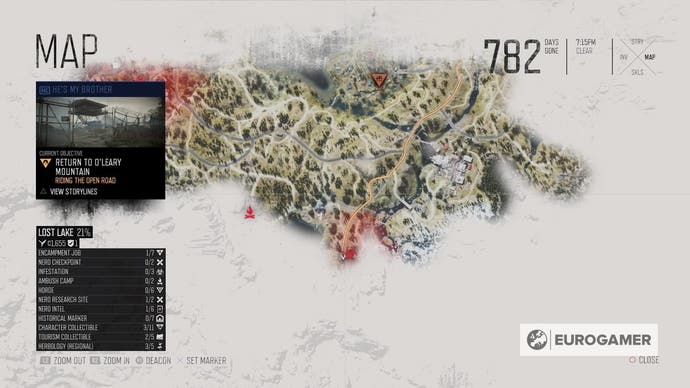
Right in the centre, keep heading towards a hidden checkpoint, which is surrounded by a four nests infestation. It would be better to do this during the day to avoid a larger enemy counter than usual.
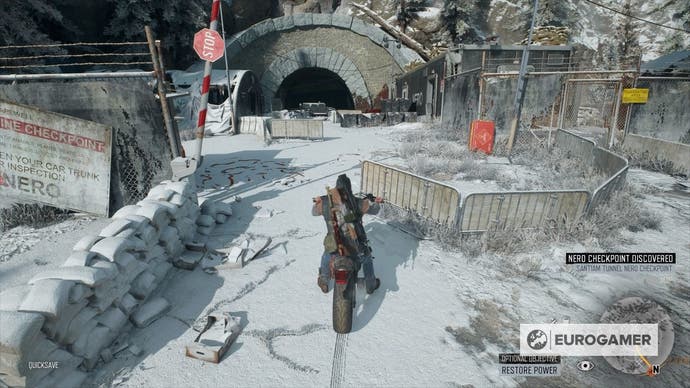
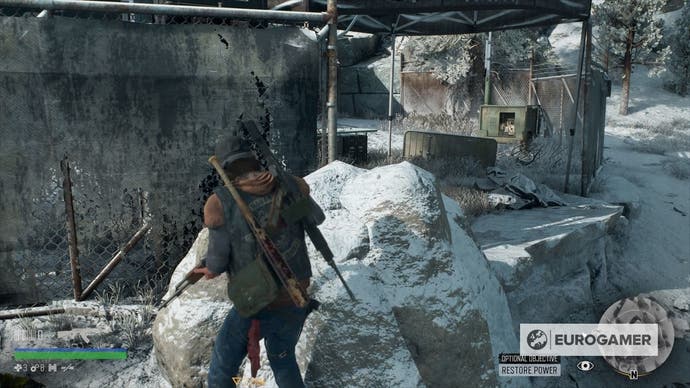
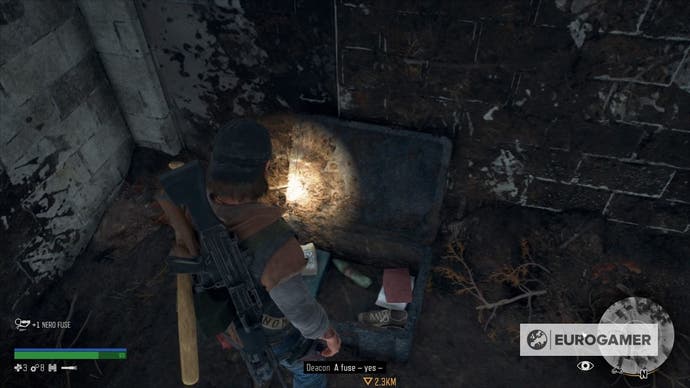
Inside, the generator can be found by entering from the right side of the place, since the fence door is locked. If you go to the big tent on the left, you'll be able to pick up a gas tank. Once that's settled, make sure to have a molotov ready, since the missing fuse is inside the nest in the checkpoint. Lastly, there are only two speakers, which can be found in the rooftop of the bunker.
Lost Lake - Old Sawmill Nero Checkpoint location
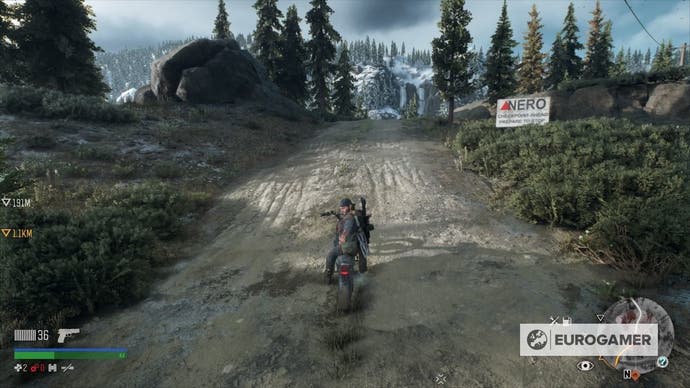
Heading out from the one in Santiam Tunnel, head east to the Old Sawmill area. It's best advised to avoid entering the perimeters as much as possible, since there's a massive Horde inside. For this, just head around the right side until you can climb and get inside the checkpoint.
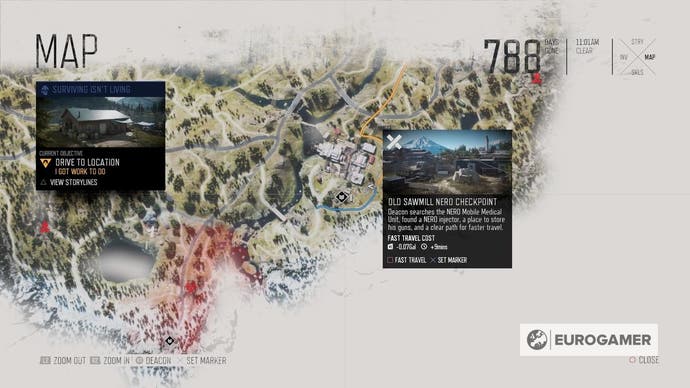
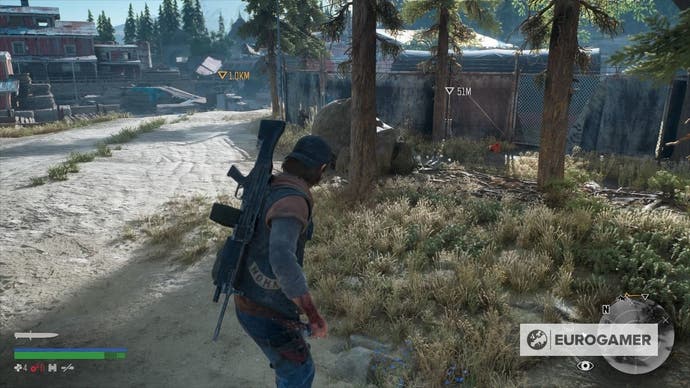
The gas tank is inside one of the tents, just laying on the floor. Get to the generator, but beware, since there are around six speakers in here. Four of them are on usual places, while the others can be found in light posts. In here, it's up to you: You can either ignore them, loot everything inside and head out as much as possible, or go and shoot them beforehand. Either way, make sure to have your bike parked nearby.
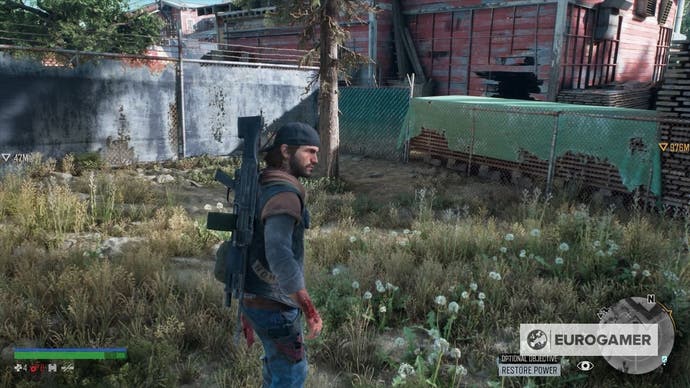
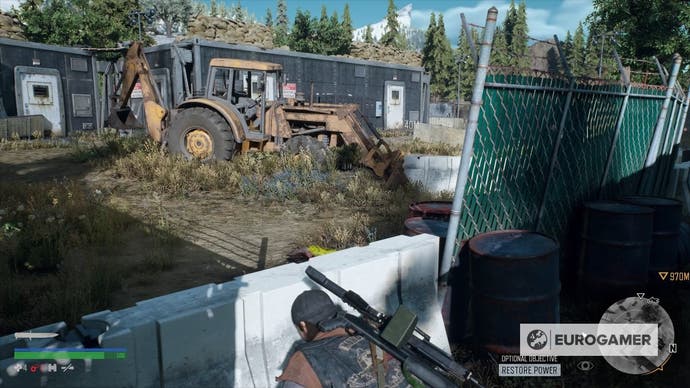
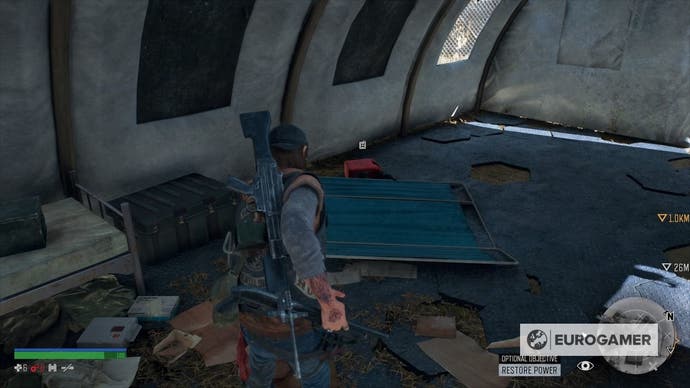
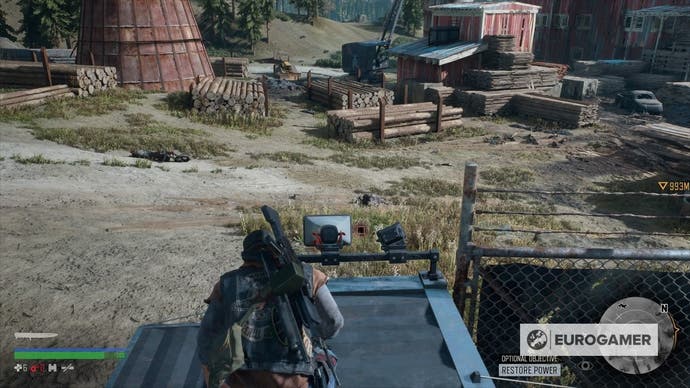
There are two MMUs in here: One of them has a Nero Injector along with loot, and the other (which can only be accessed by the back exiting from the first one) has the Mobile Medical United Recording - 1301.
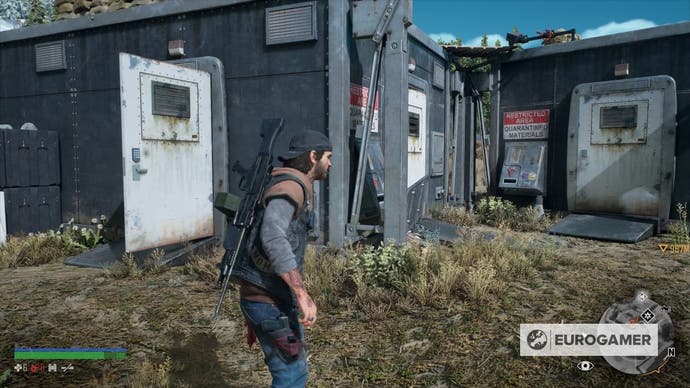
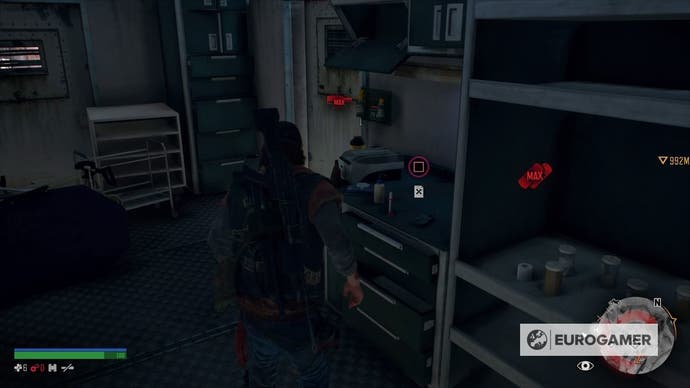
Iron Butte - Rogue Tunnel Nero Checkpoint location
We're getting closer to the final stretch of the game. But first, make sure to head over to this checkpoint in Iron Butte. If by any chance you get to the final mission before getting locked out (the game will let you know), make sure to do a separate save so you don't miss this one during the first time. Otherwise, you're gonna have to wait until after finishing the game.
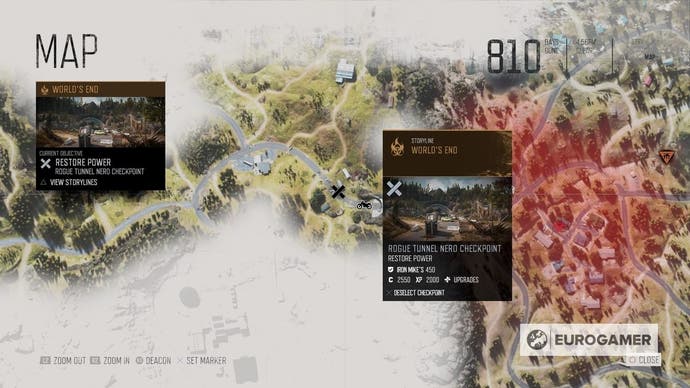
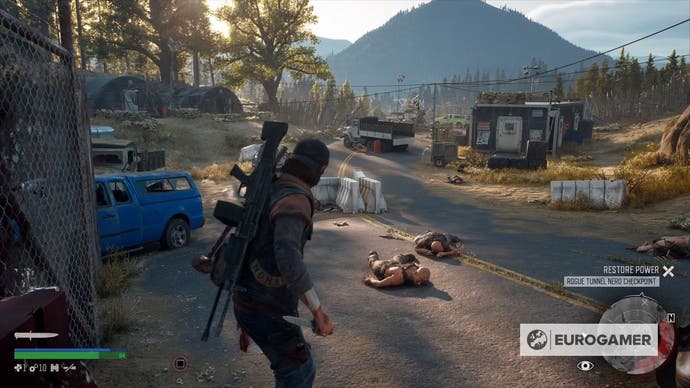

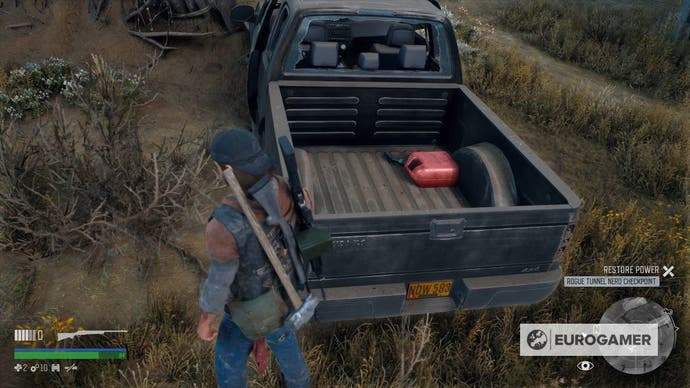
This one is easy, but be prepared to face a group of Rippers to get to it. The gas tank is in the back of a black truck nearby.
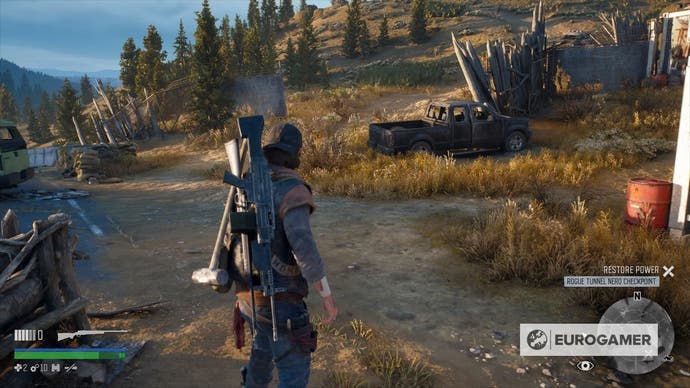
Now, beware since there are seven speakers to care care of: Two in each truck, two in light pots, and one in the cabin that can be found following the main road. Just follow the wires and you'll see them.
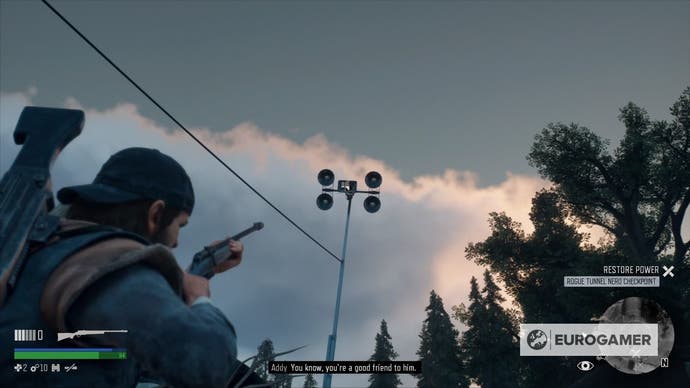
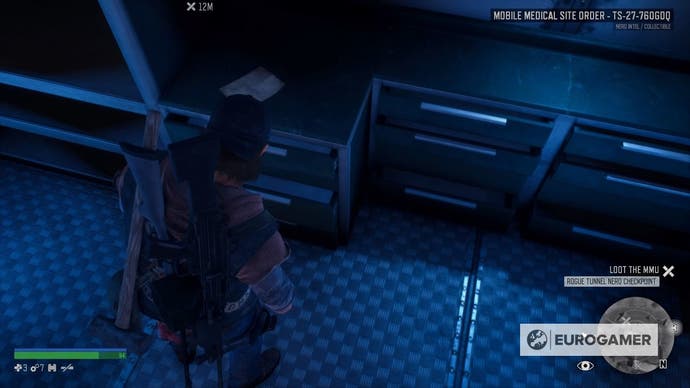
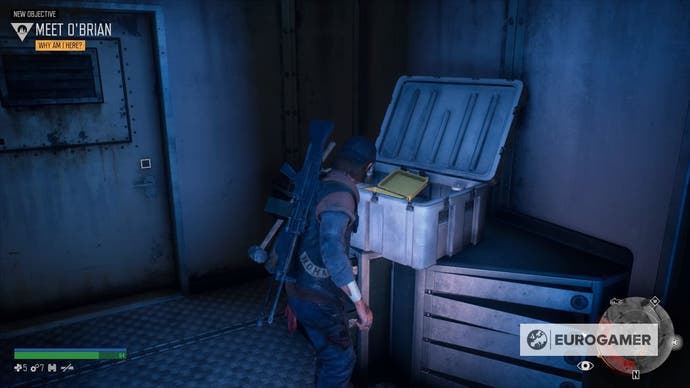
Now, go to activate the generator, which will get jammed. Just keep holding square until it's functioning. Surprisingly, you won't find a recording here but a Mobile Medical Site Order, the TS-27-760GDQ especifically.
Crater Lake - Spruce Lake Nero Checkpoint location
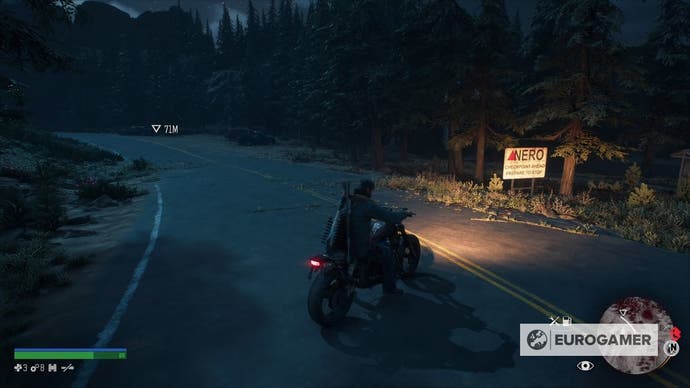
This one has a bit of everything, and can be found on west to the island, following the main road all the way south and then heading west until reaching the left corner.
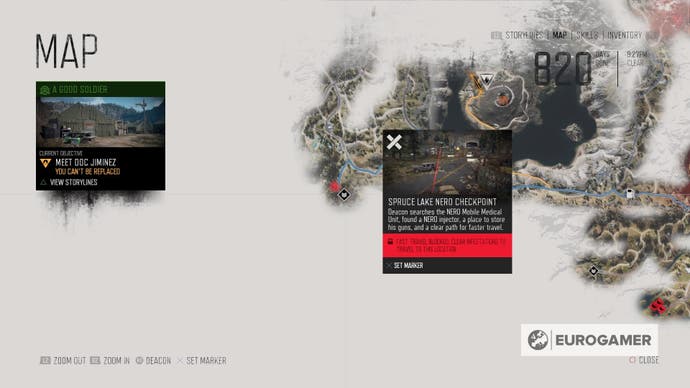
There are several Nero units, speakers in all of them, and a bandit camp that you're gonna have to take care. Be careful, though, since the gunshots will probably alert a Horde that is inside the tunnel.
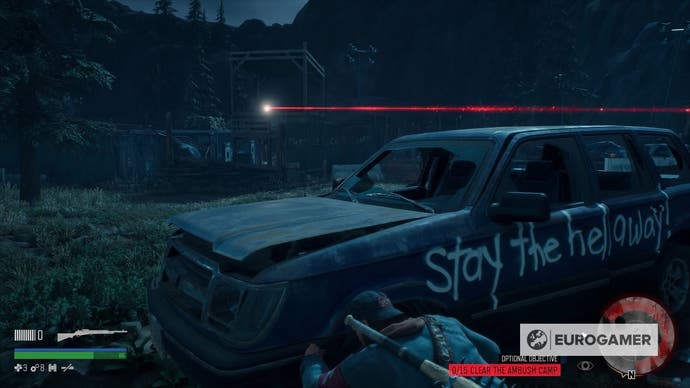
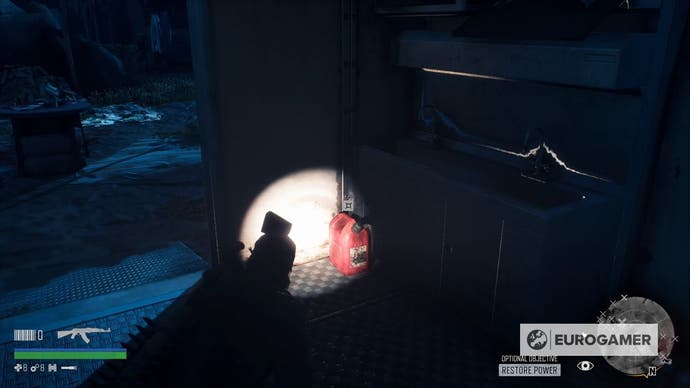
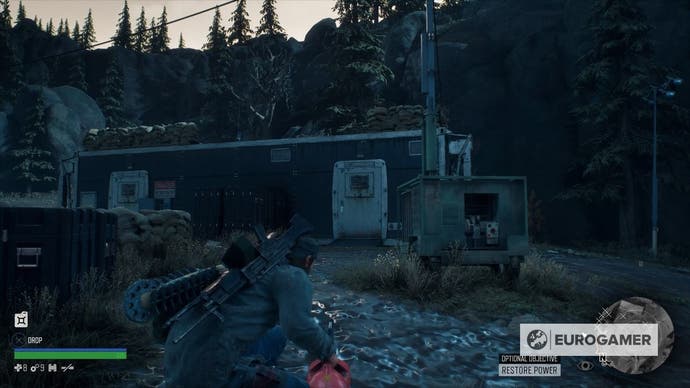
There are two gas cans, but the easiest one to pick up is inside an empty MMU. Go to the generator, which will get jammed too, and keep holding square until it's activated. But surprise! You're gonna need a flare, too.
Go to the flare box and activate the prompt. To save you some time, the location is behind the first big tent you cross by, on the left side.

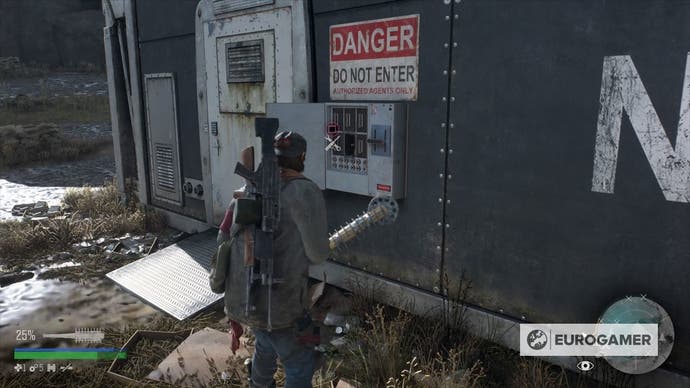
Once you have brought it back and everything is activated, get inside to find another Nero Injector, along with the Mobile Medical Unit Recording 1683.
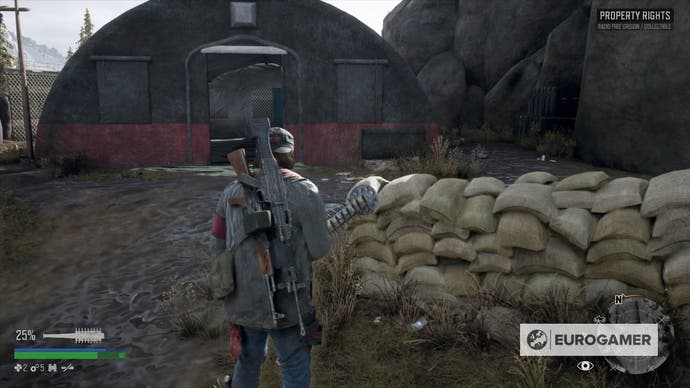
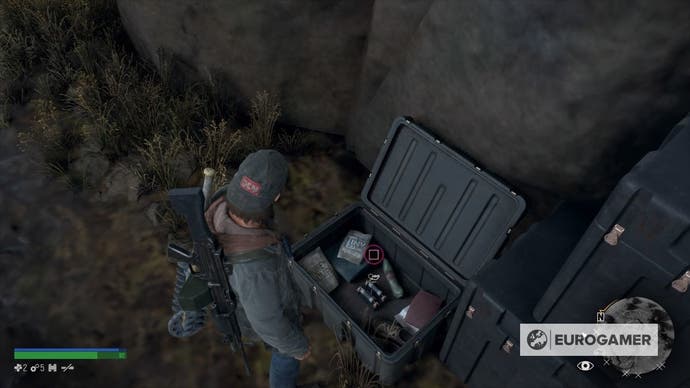
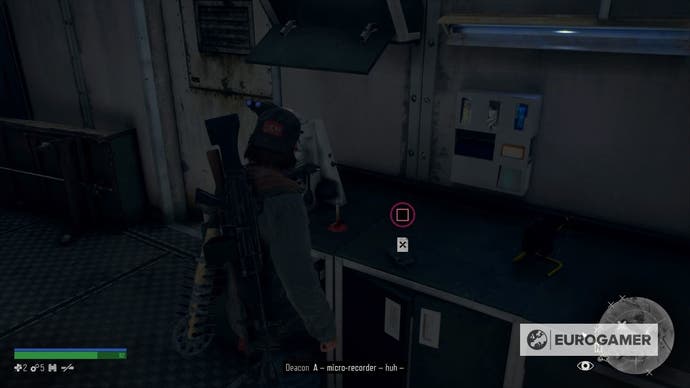
Crater Lake - Volcanic Legacy Scenic Byway Nero Checkpoint location
This one might seem like a breeze at first. You can find it on the upper right side of the map, taking the island once more as the centre.
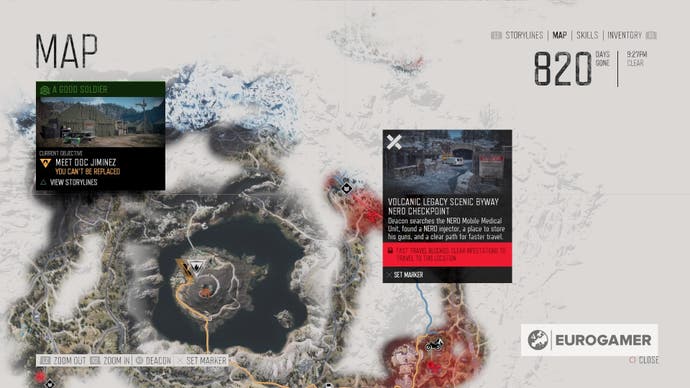
Follow the main road, and then start heading east until you cross the river. If you see a small lake that breaks into two smaller paths, you are only a few steps away from it.
There aren't any enemies nearby, and you only need to fill the generator once. Just beware of the speakers, since there are two posts (one at the beginning and the other at the end of the road, you can't miss them) along with a couple above each MMU.
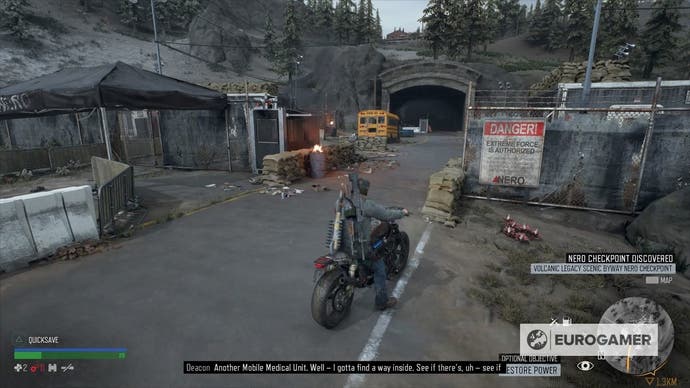
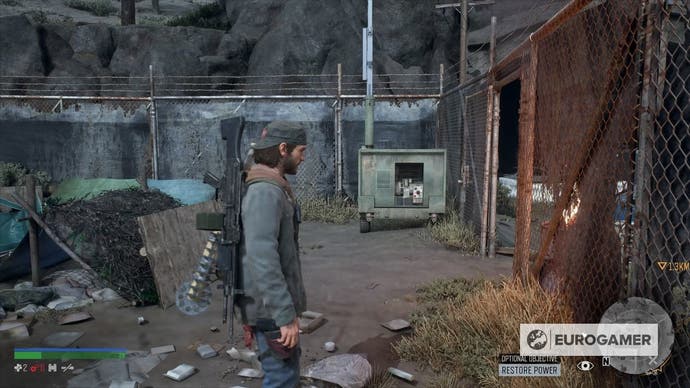
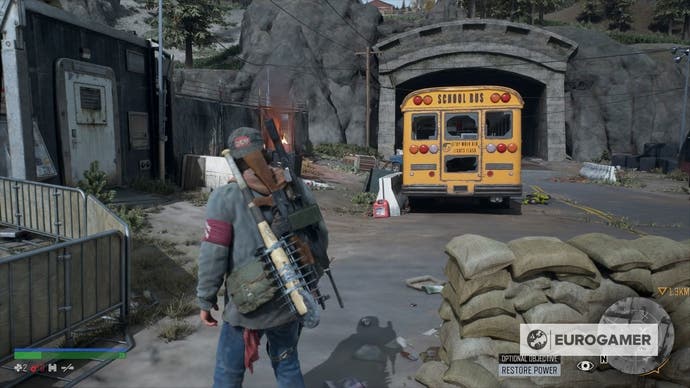
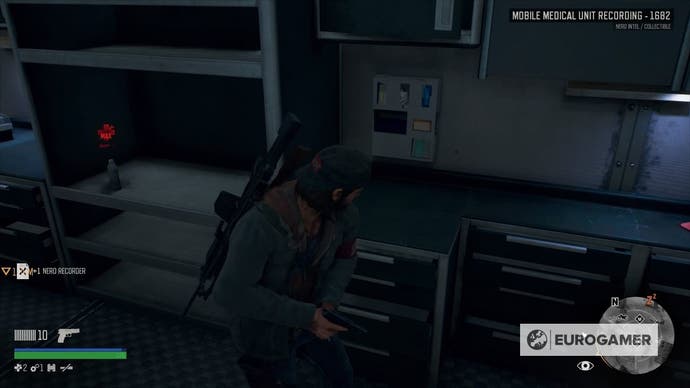
Once that's settled, the gas tank is just at the side of the schoolbus. Light up that generator and get inside the two MMUs: The first will get you a Nero Injector along with loot, while the other has the Mobile Medical Unit Recording 1682.
Highway 97 - Chemult Community College Nero Checkpoint location
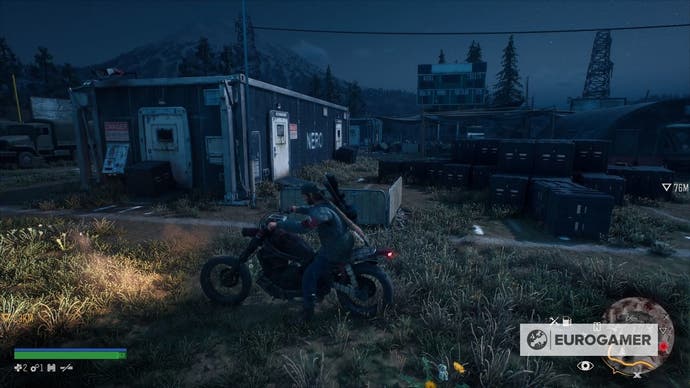
In order to access this one, you're gonna have to do the mission "Can I Ask You Something?" and follow it through. The area won't be unlocked before then. The checkpoint is probably the biggest one in the list, covering an entire football field along with tents scattered throughout the place. Oh, and there are 8 speakers to take care of.
Since there are many enemies around, the best way to approach this is by taking care of the ones surrounding the MMUs (placed on the rooftops, as usual), and use the rest as distractions.
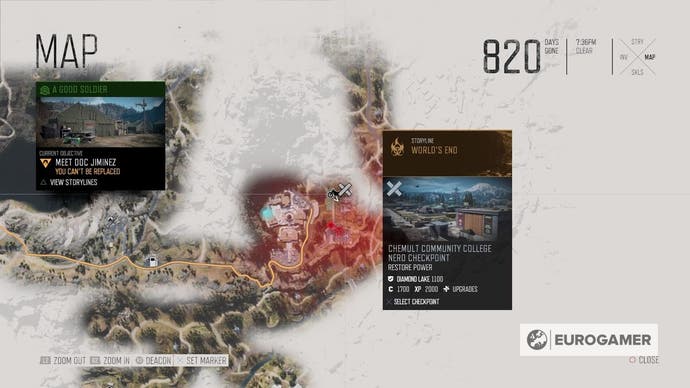
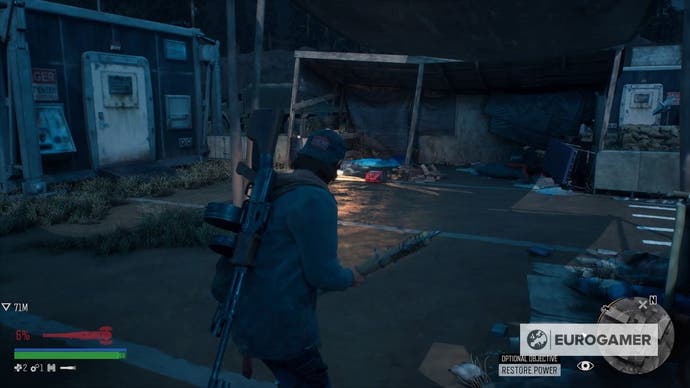
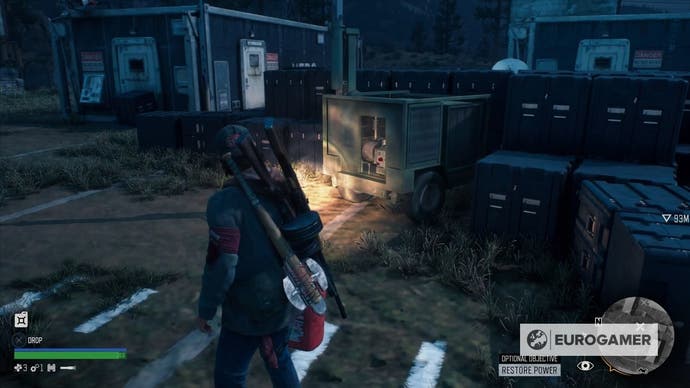
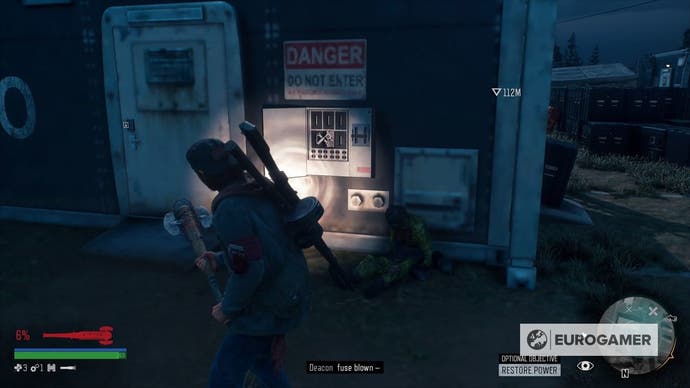
The gas tank can be found between some destroyed tents, and you would want to walk close to the goalpost to find the generator. Light it up, and get ready to find a fuse. As usual, follow the yellow path to the fuse box, and then keep heading towards the direction it highlights.
It's not far from there, and you can find it in a metal box inside a tent. Go back, insert the missing fuse and you'll be all set.
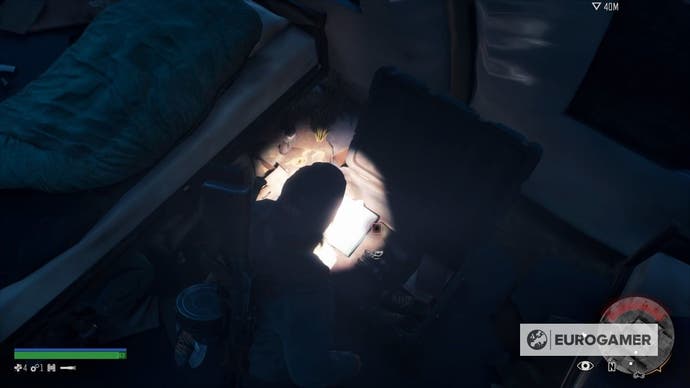
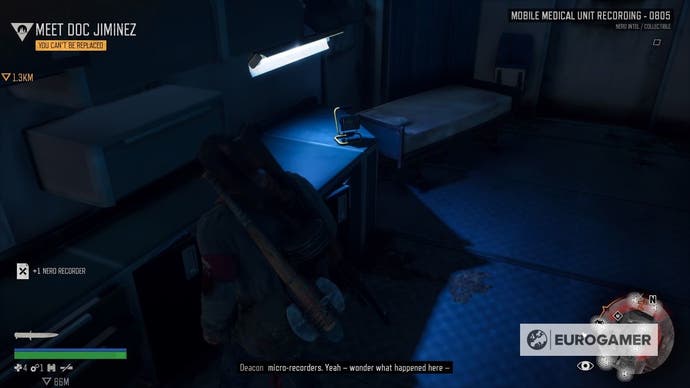
Now, get inside the MMU to find the Mobile Medical Unit Recording 0805. Head back again and enter the other unit, where another Nero Injector along with some supplies will be waiting for you.
Highway 97 - Pilette Bridge Nero Checkpoint location
At least, the final Nero Checkpoint is in Highway 97 as well. This one is easy, but there's a thing with the speakers here. There's a Horde very close to the area, and some of them are tied to light pots. You can either risk yourself by shooting them down, or leave them as a distraction.
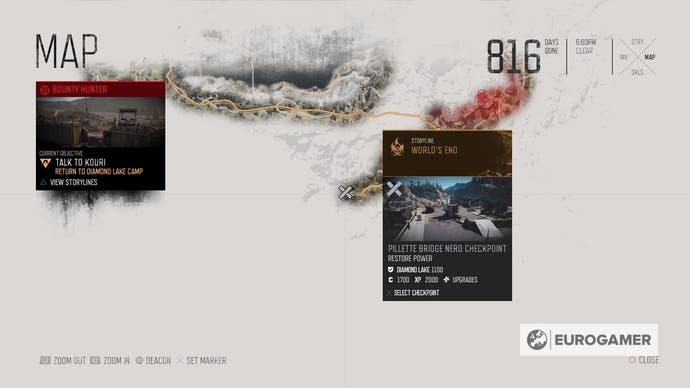

Do make sure to cut off the speakers that are on top of the MMUs, and the one in the cabin right when you enter the checkpoint. In fact, the gas tank is just behind the cabin, and the generator can be found on the right side.
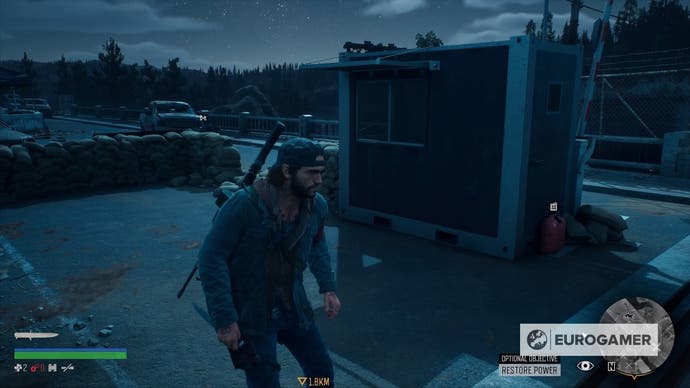
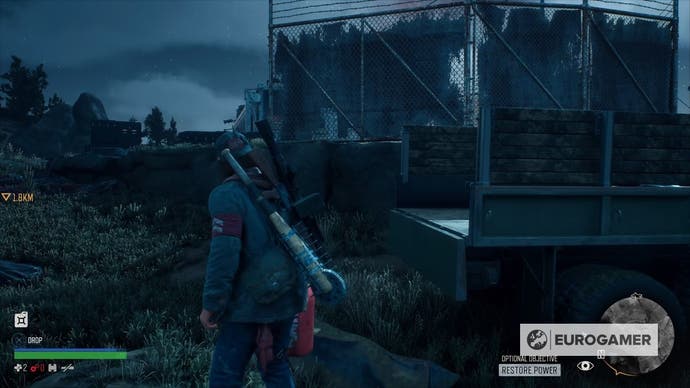
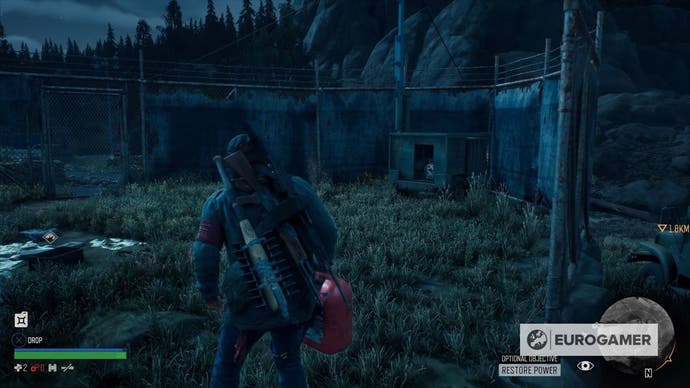
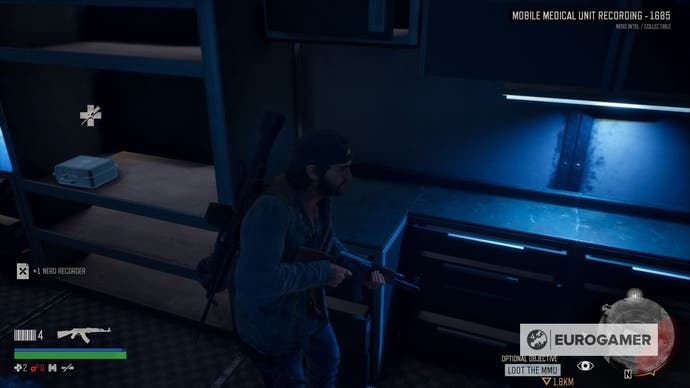
Just make a U turn around it to enter. Inside the MMU, you'll have the Nero Injector, along with the Mobile Medical Unit Recording 1685.
Looking for more things to do? Our Days Gone Horde locations can help.


