Control AWE DLC walkthrough - A Dark Place mission: Explore the Investigations Sector explained
Why has the Investigations Sector been abandoned?


AWE is the second DLC expansion for Control, with the first being The Foundation.
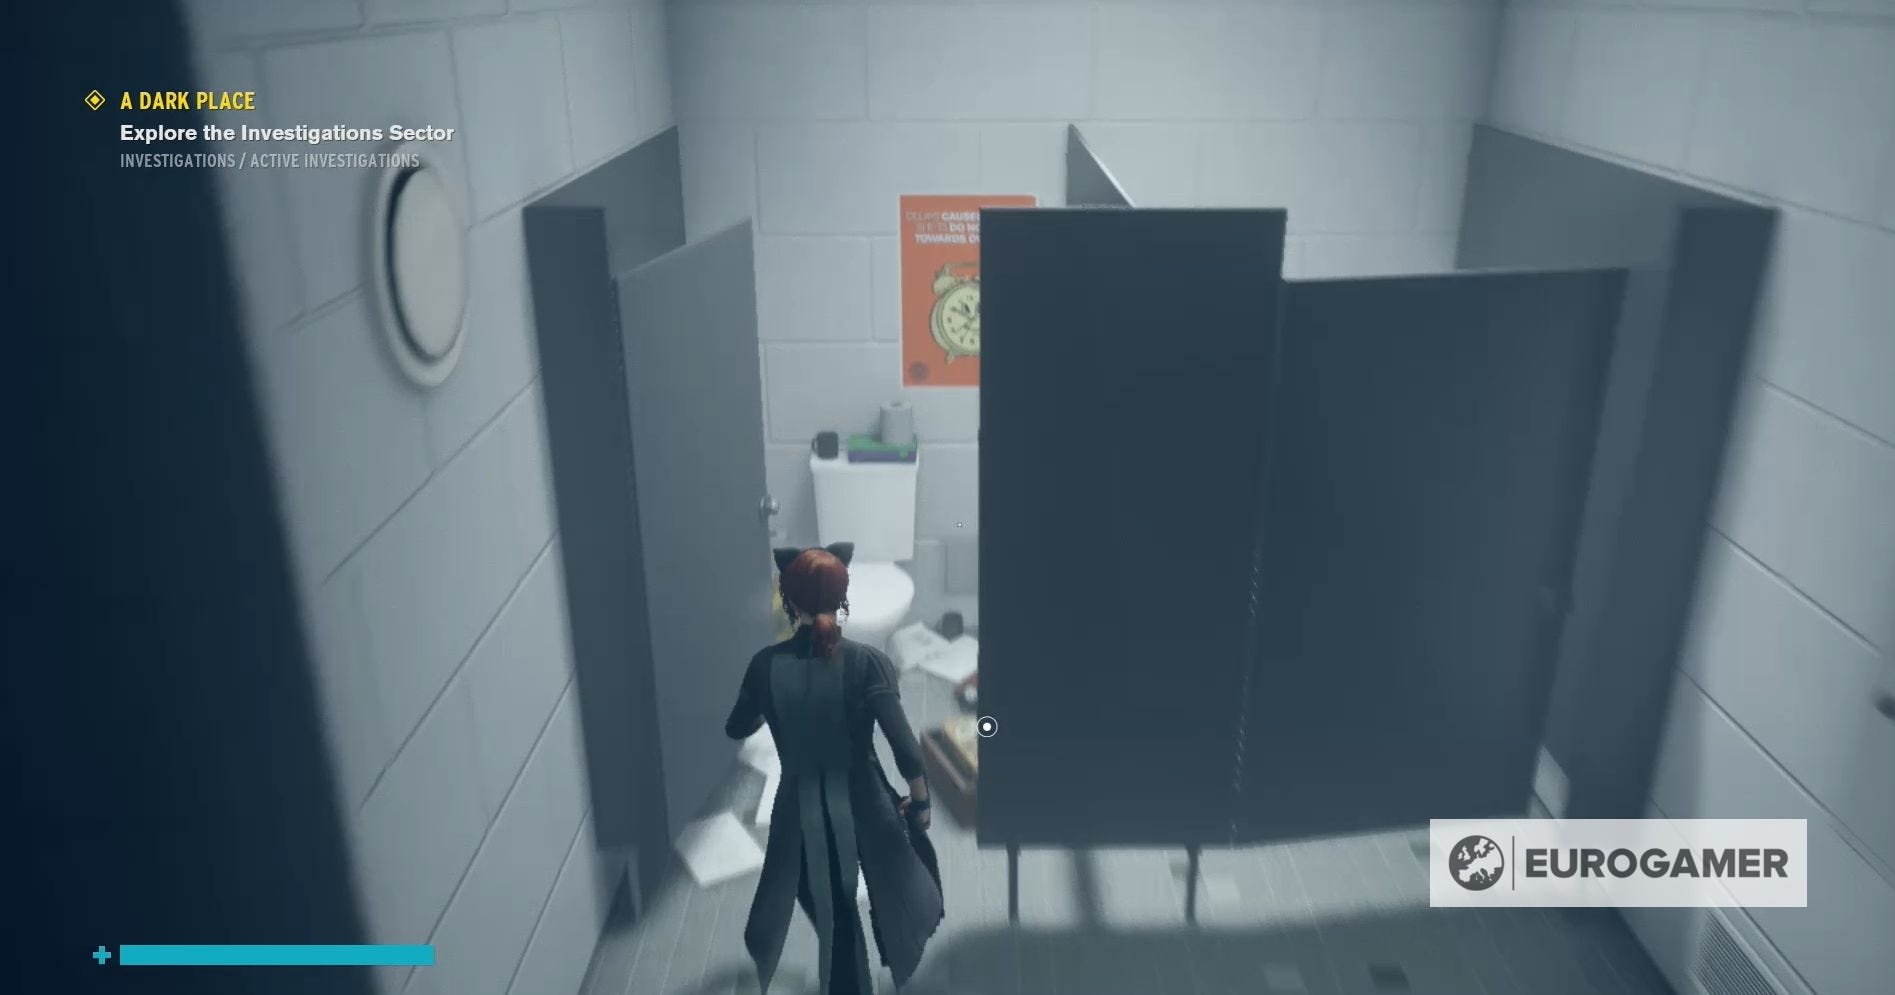
AWE's first mission, A Dark Place, sends you to the Investigations Sector to discover why it was abandoned. You'll eventually reach the Active Investigations where you'll have to activate the lights or risk death.
Before you can venture into the Investigations Sector, however, you must first ensure you've completed the seventh mission of Control's main campaign, The Face of the Enemy. Visit our Control walkthrough if you're having trouble with that mission and also make sure you've properly downloaded the DLC itself.
On this page:

How to reach the Investigations Sector in Control
Your first step in completing the AWE DLC for Control is to reach the Investigations Sector, which, after downloading the DLC and meeting the mission requirements, will be accessible in the Sector Elevator.
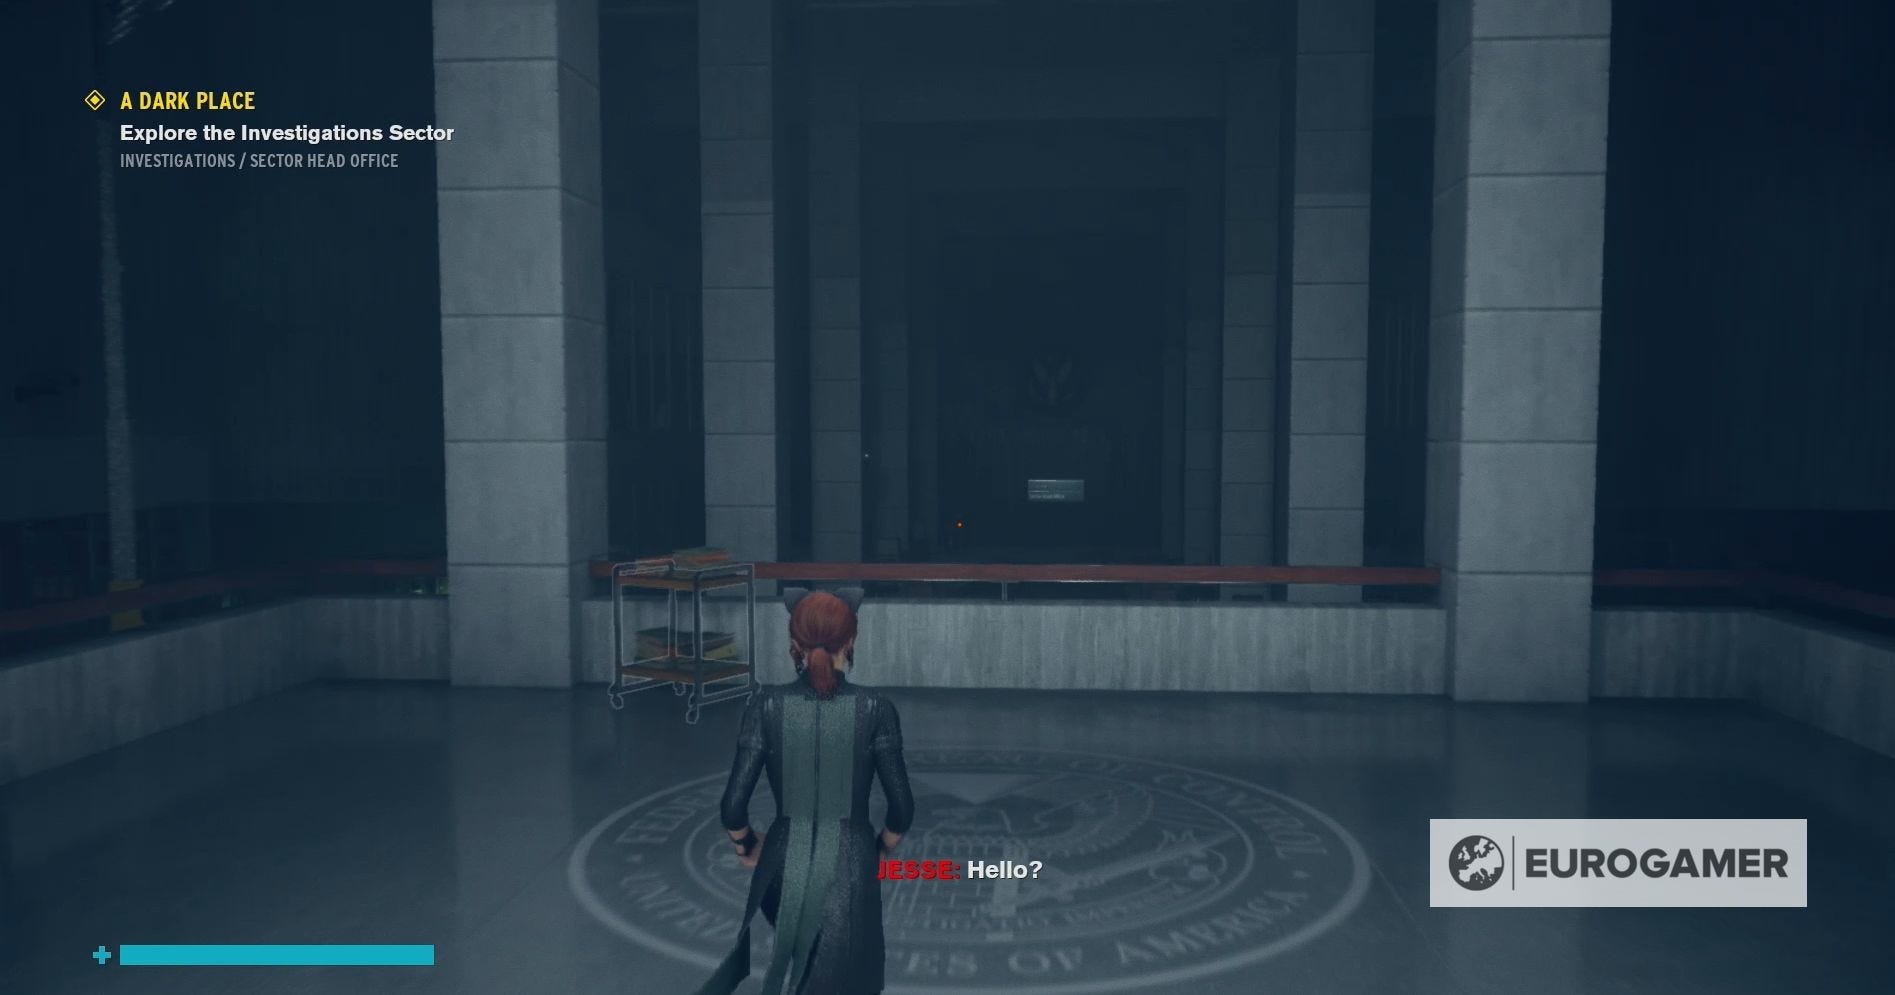
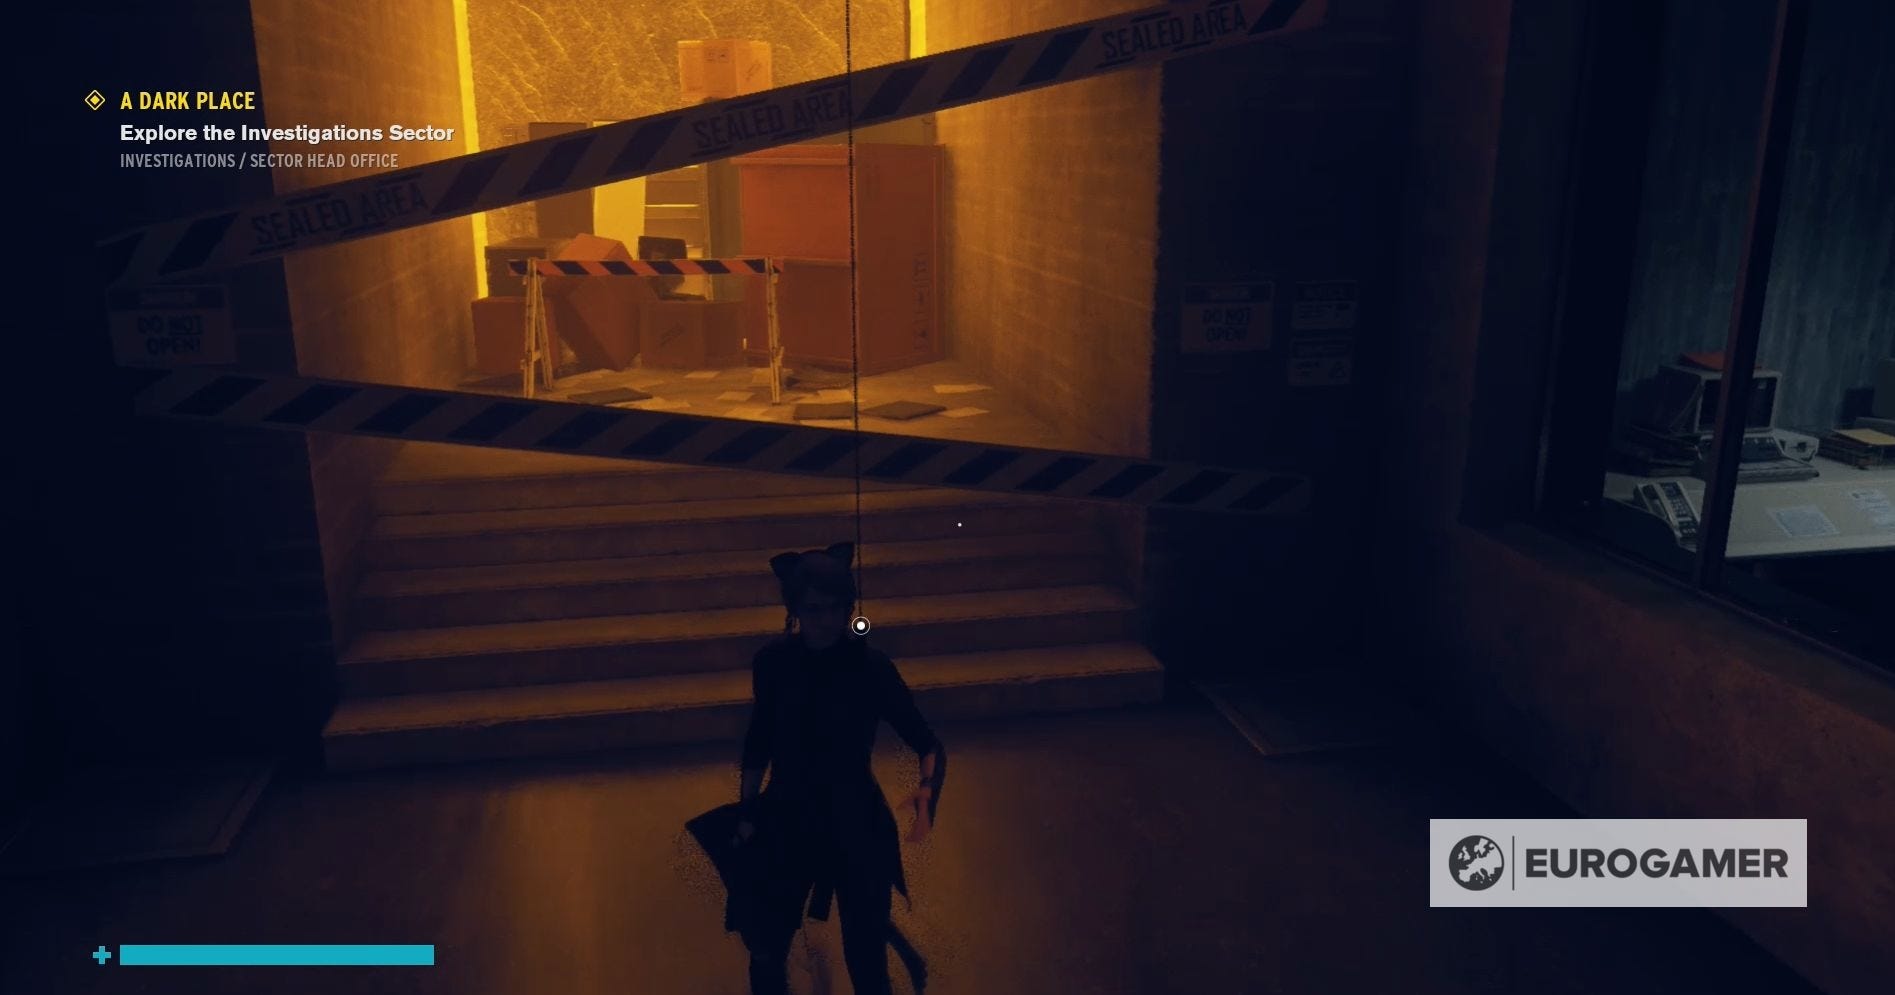
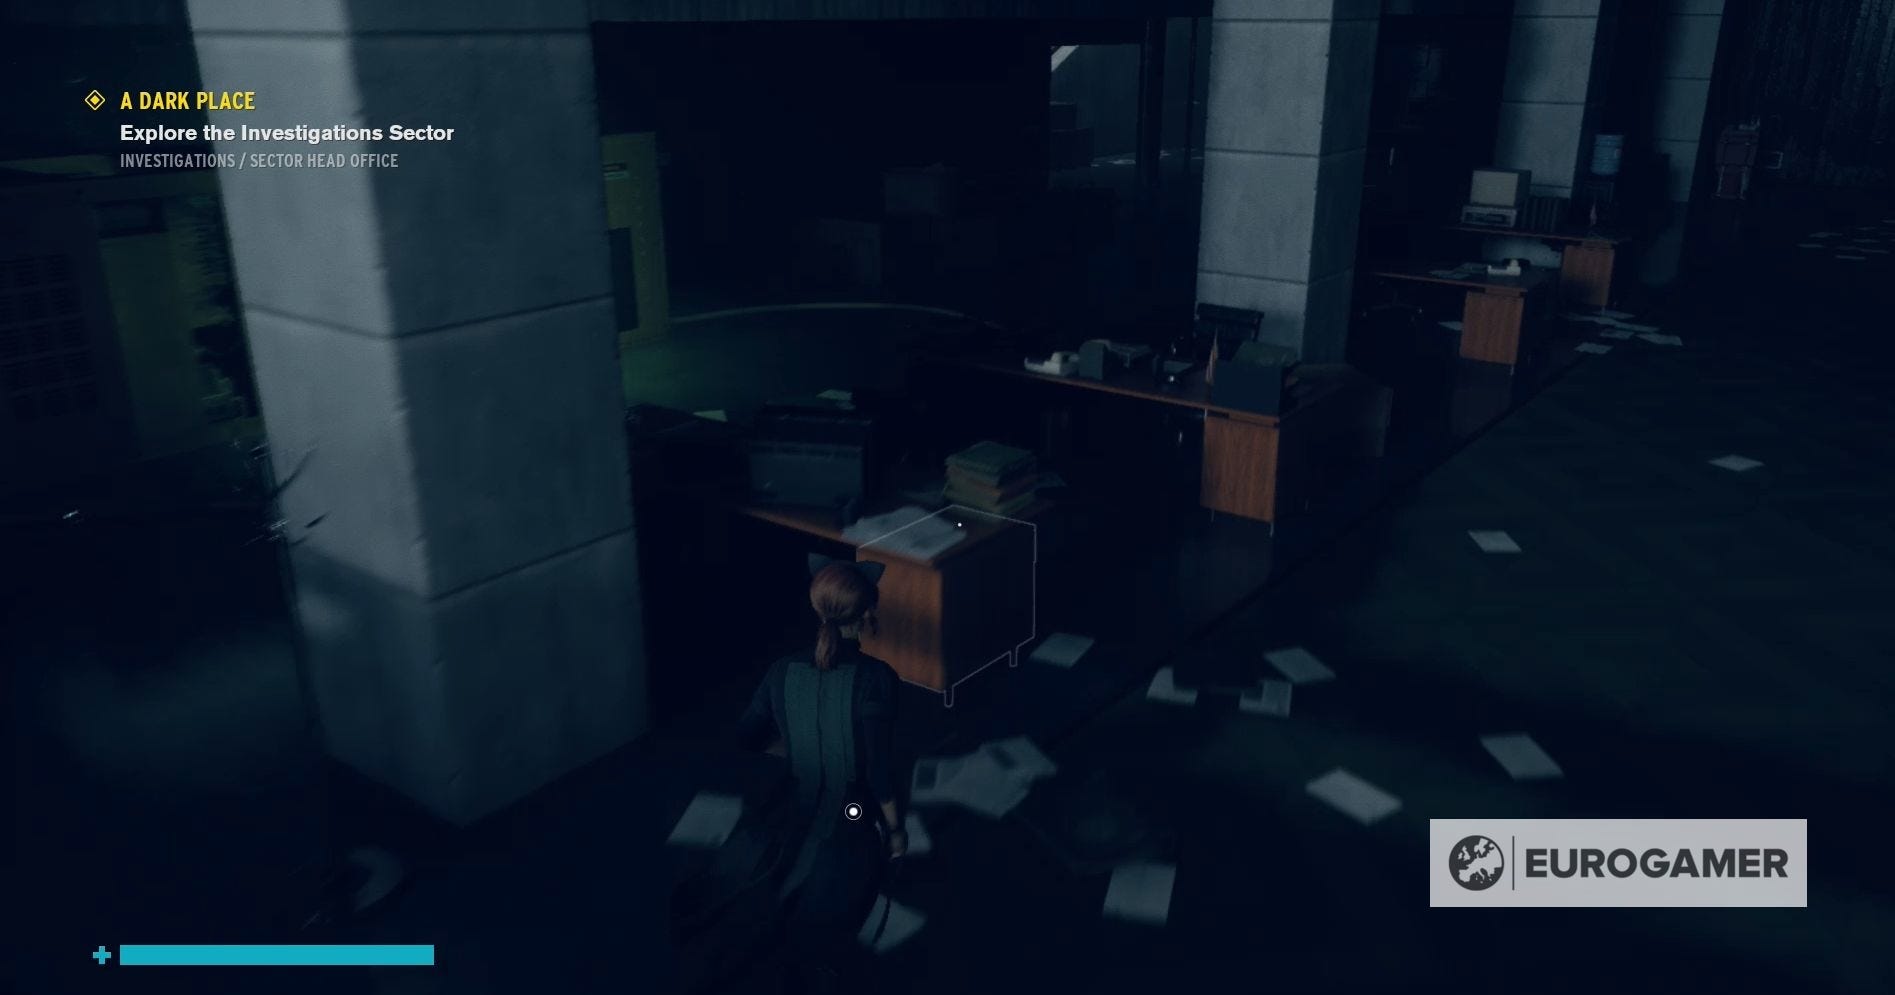
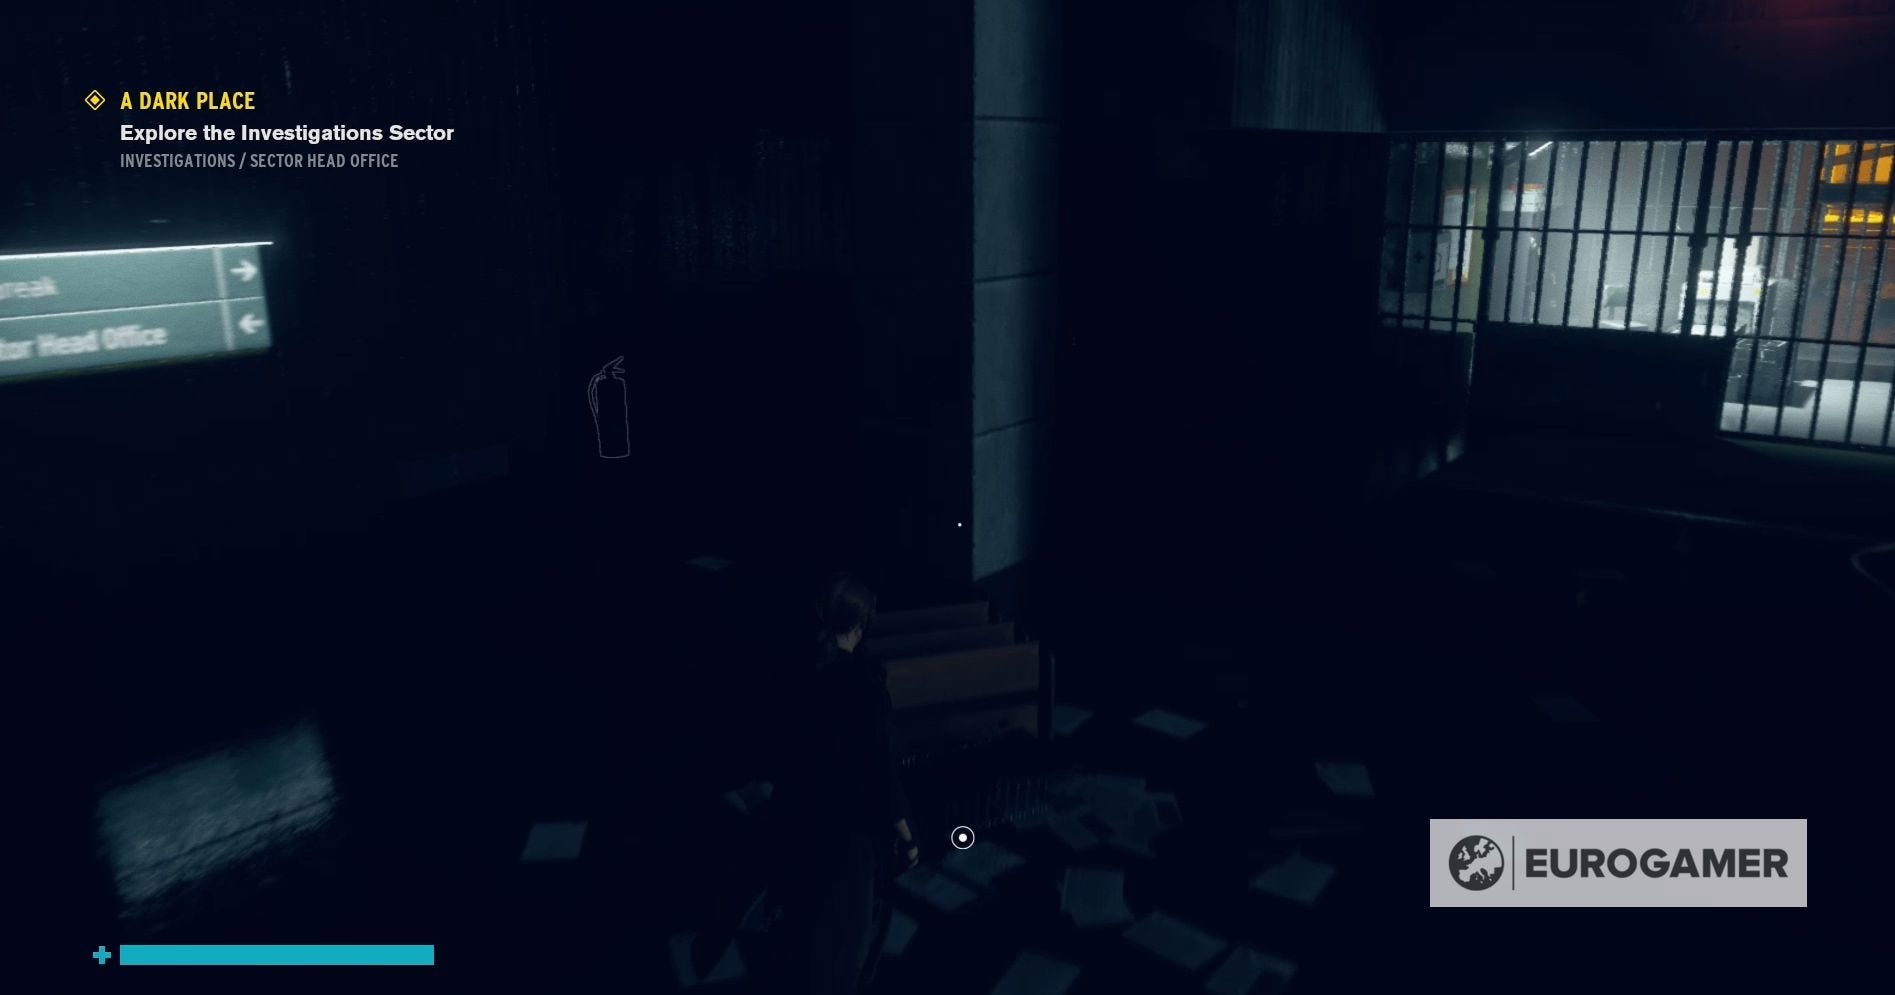
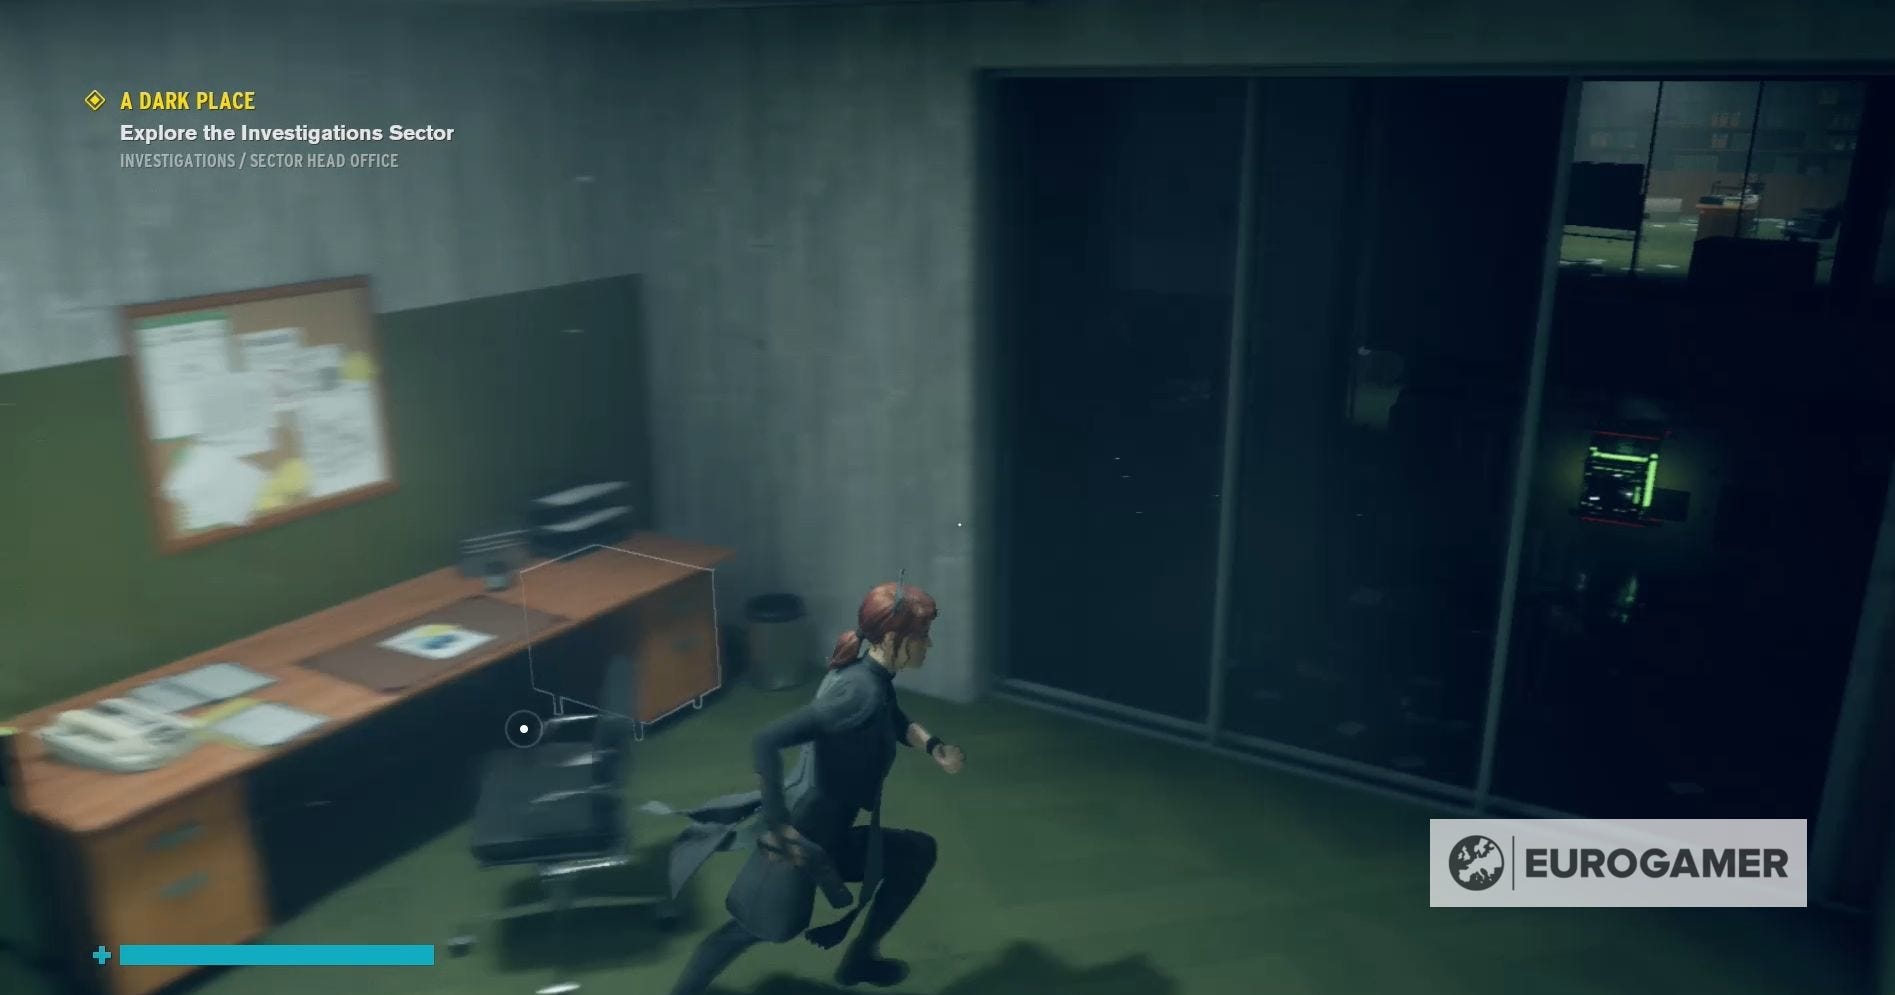
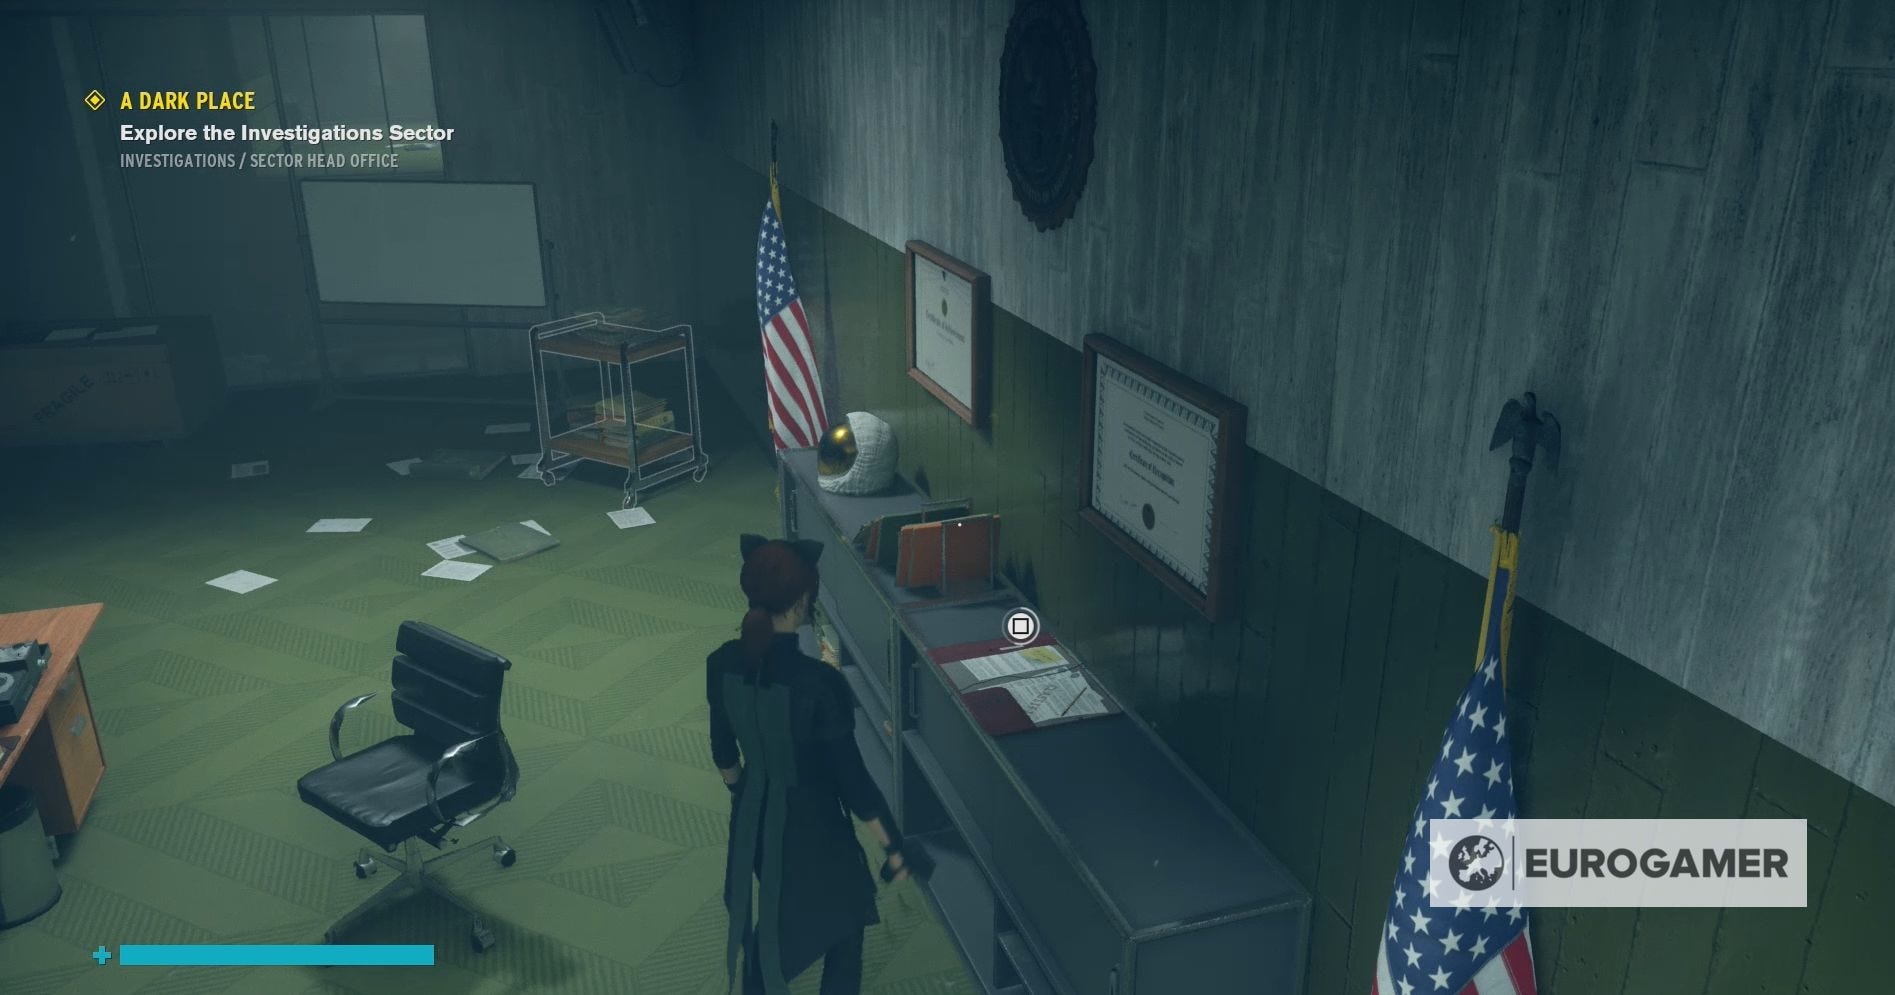
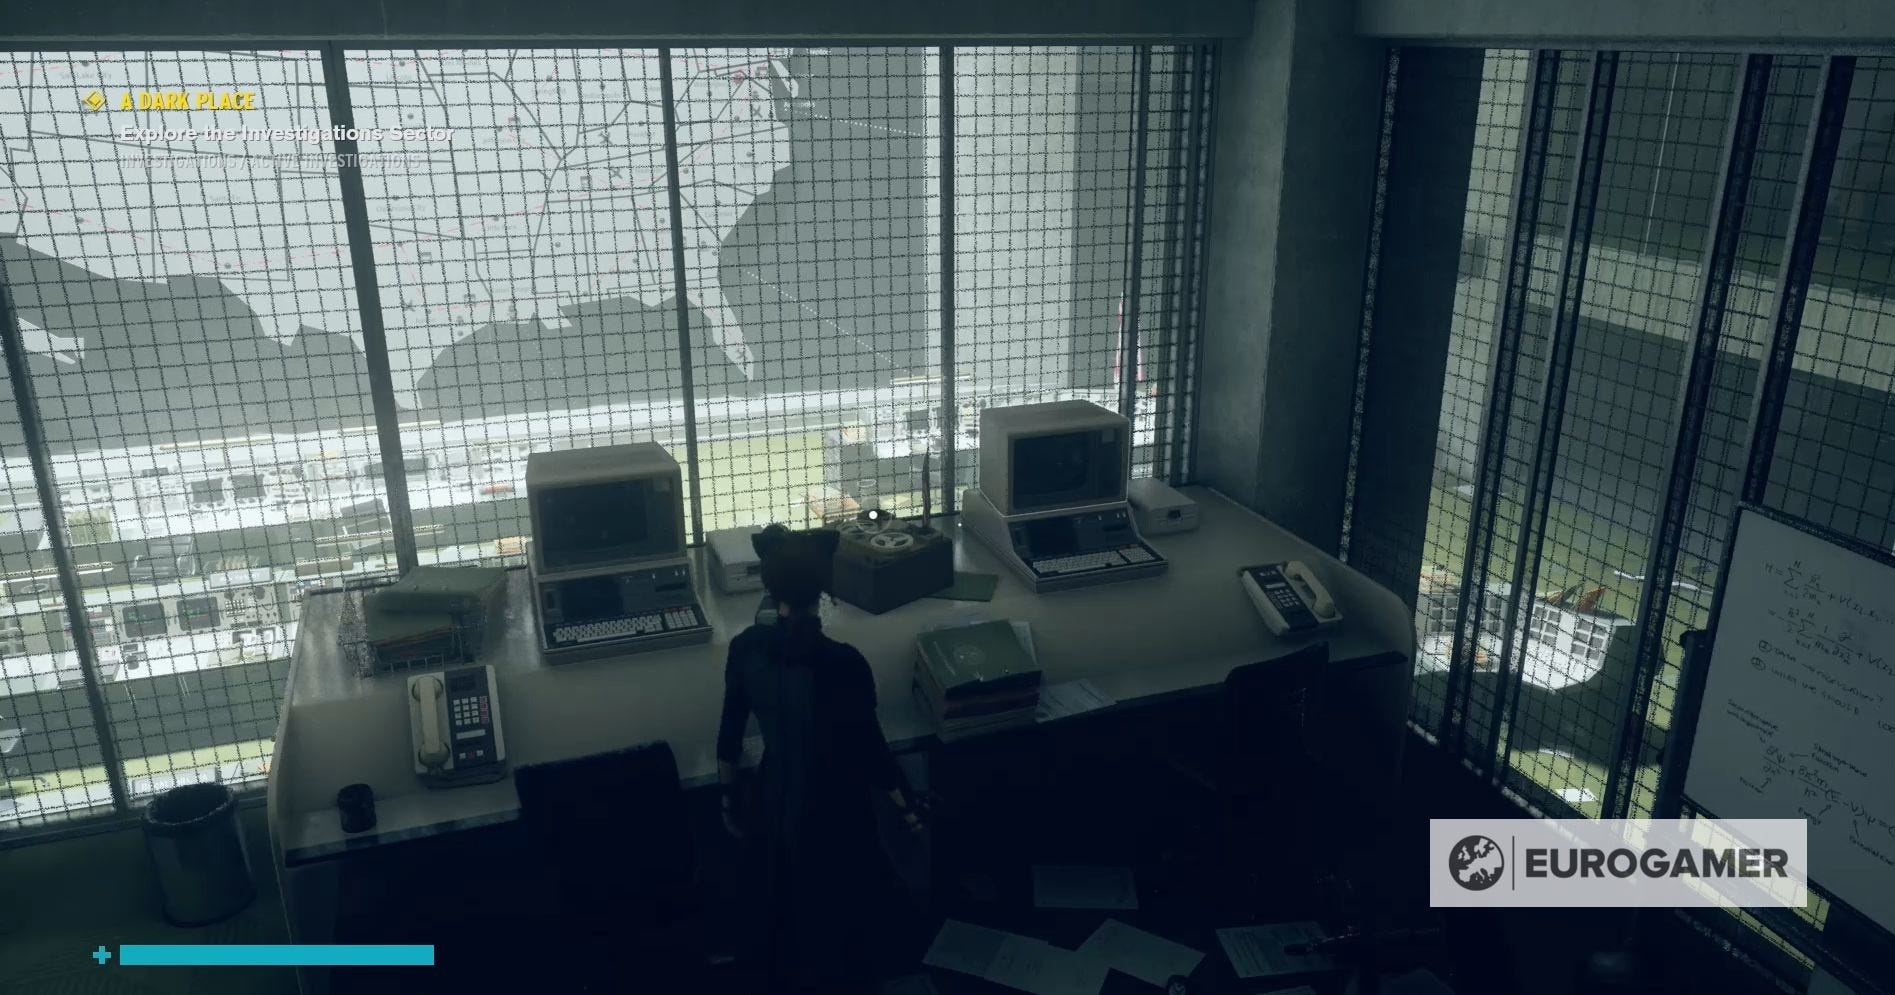
Upon leaving the elevator, you'll find yourself in the Sector Head Office of the Investigation Sector and, if you wish to delve further into this new sector, you need to restore power to the gate.
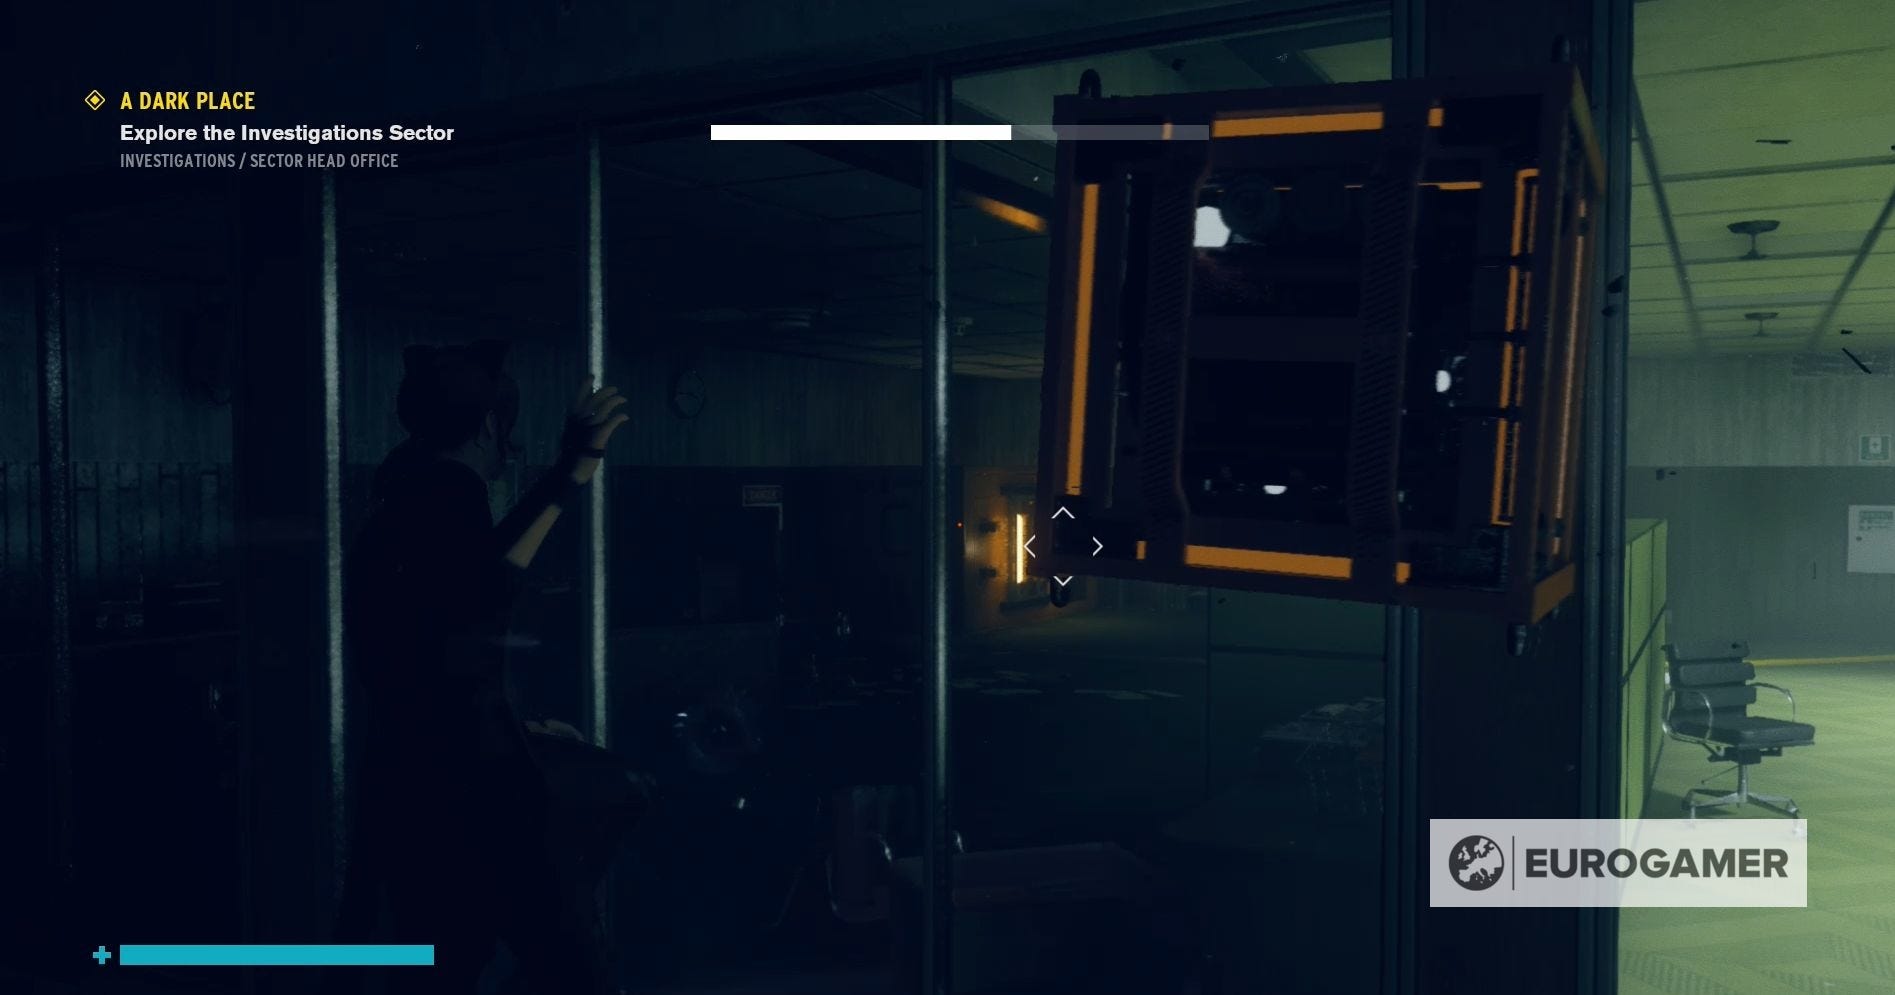
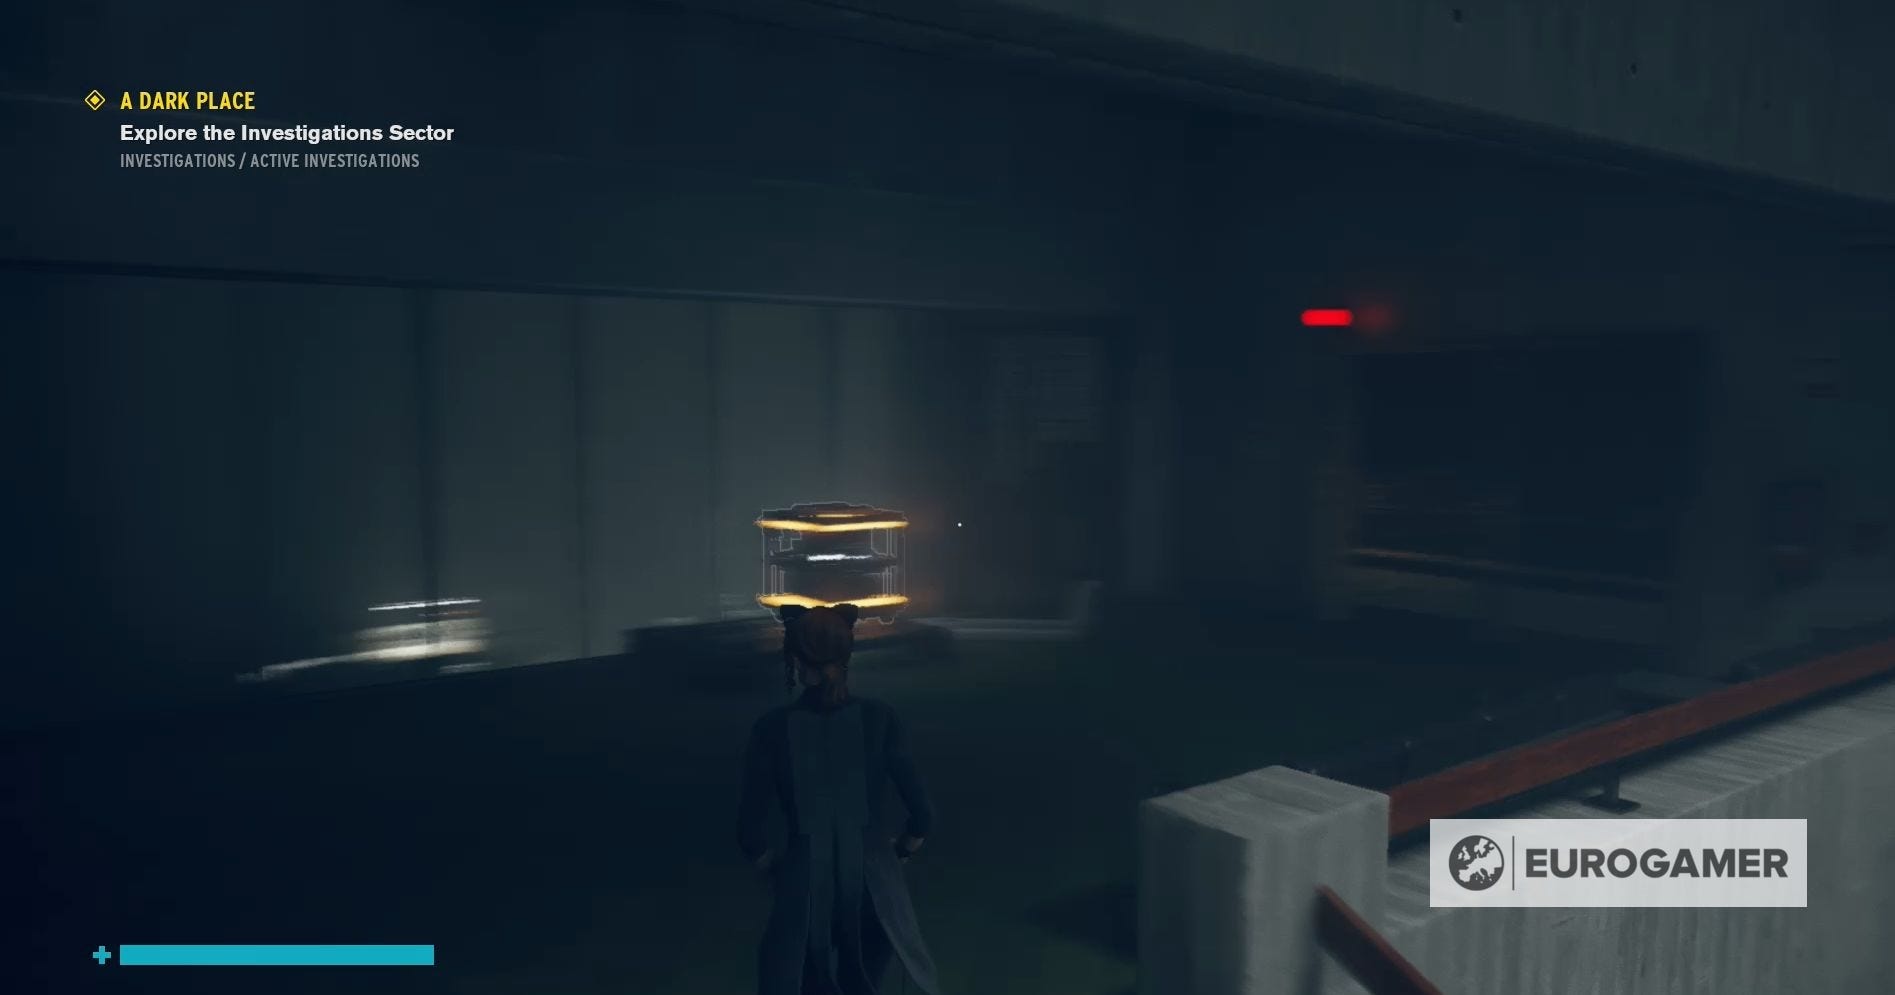
You'll do this by taking the Power Core from the socket on the left-hand room up the stairs on the right-hand side of the room. This can be done by either destroying the cupboards and desk placed in front of the stairs or launching the Power Core through the window onto the socket.
If you're having trouble looking for the socket, follow the yellow cable on the floor.
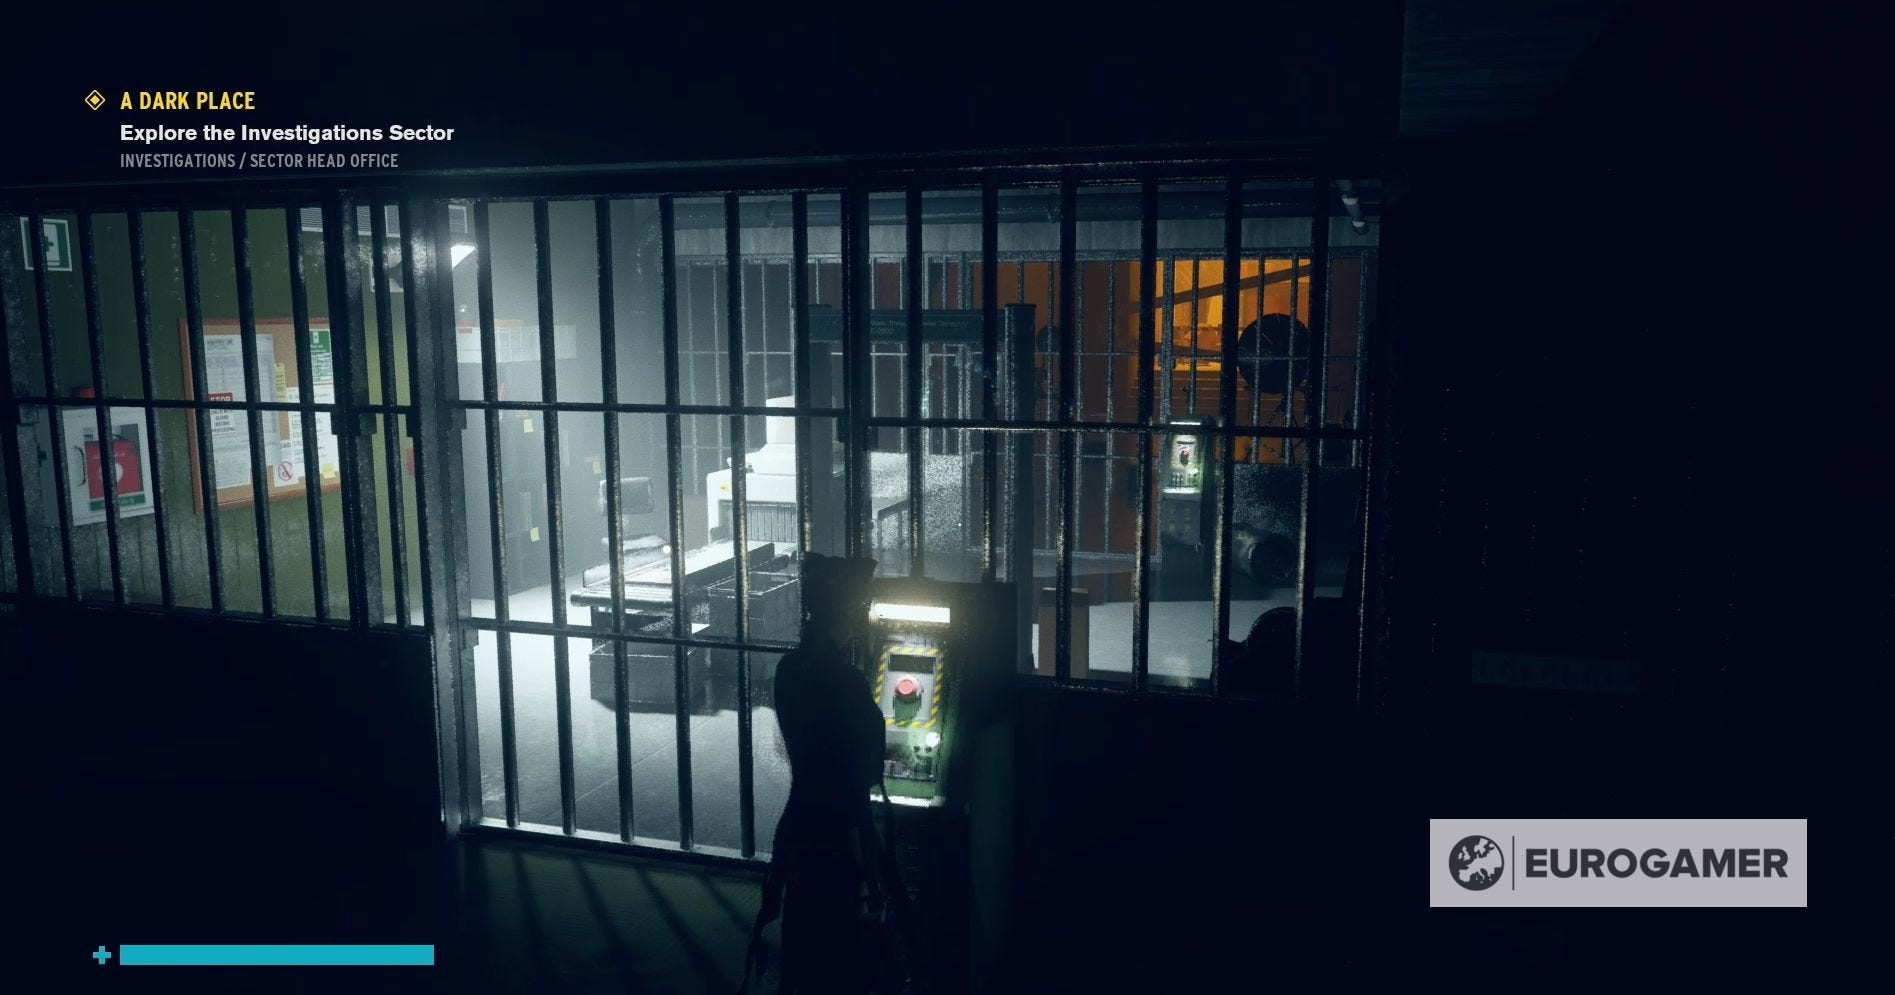
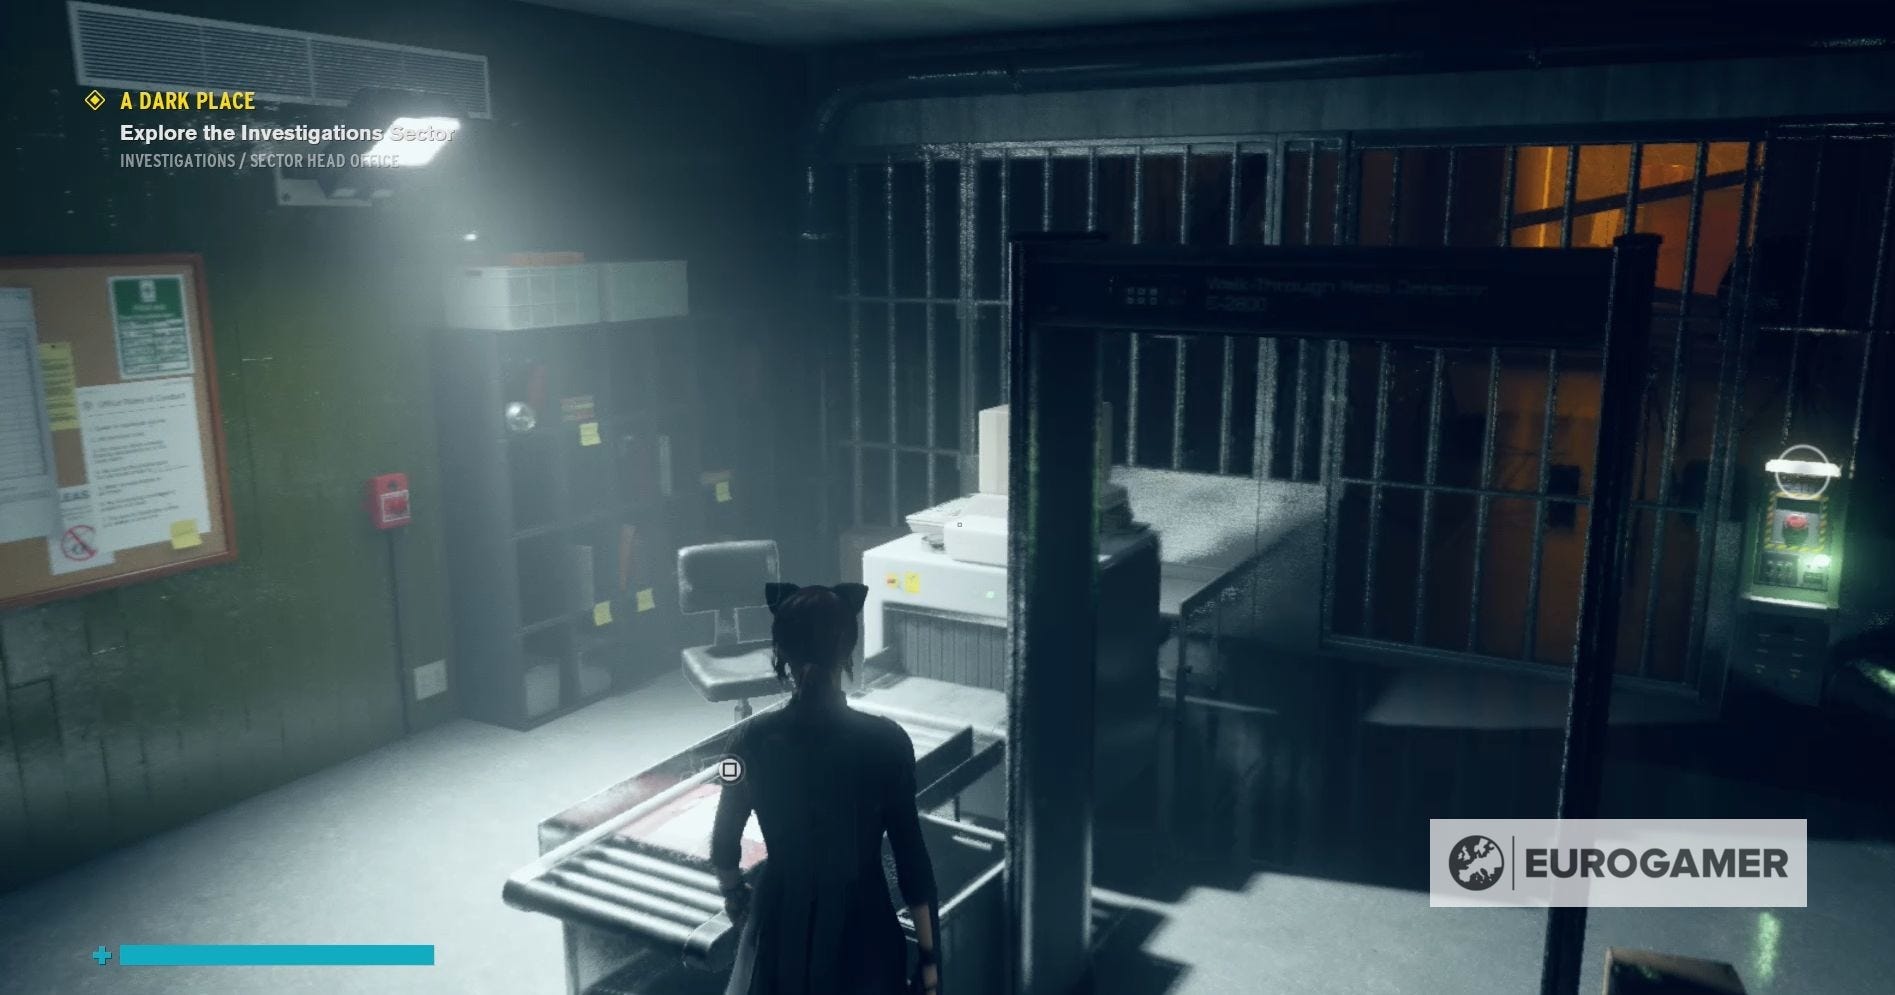
Once you've placed the Power Core, press the button next to the gate to open it and then the second button to get past the next gate.
Now you need to claim the Control Point, before pulling the light cord to reach the Oceanview Motel.
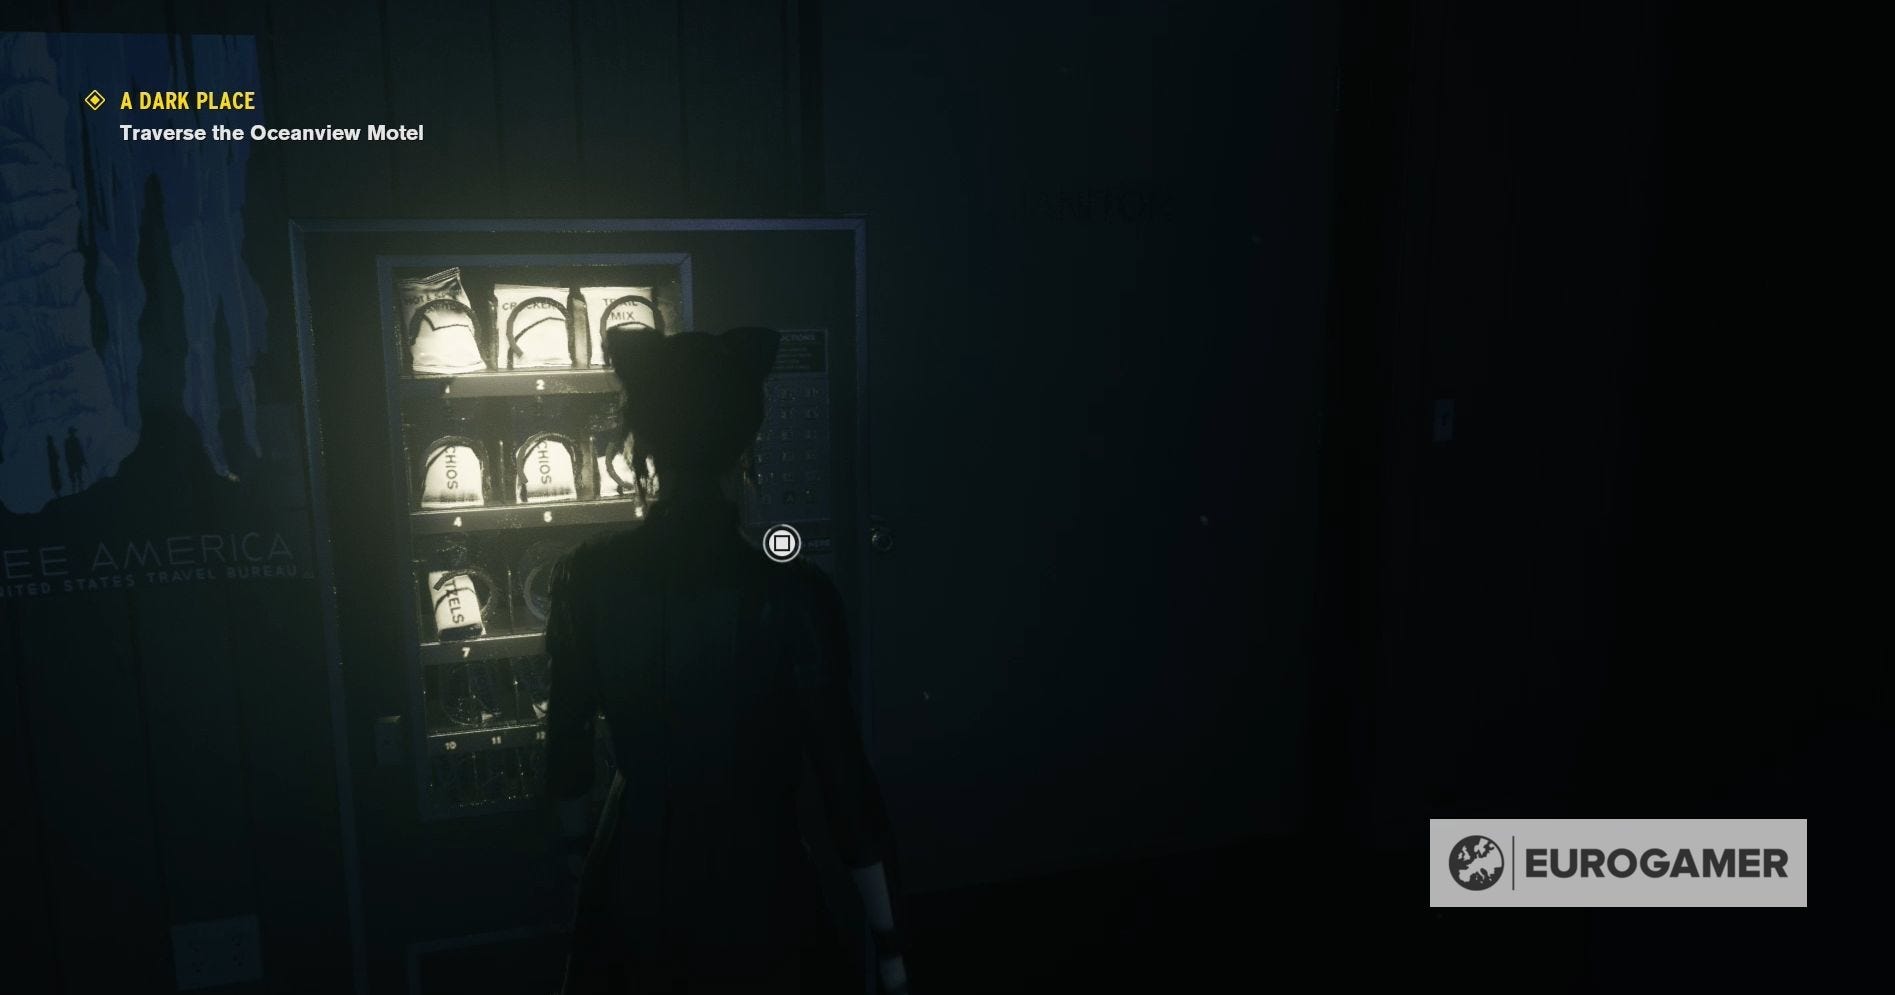
In the motel, you'll want to press the bell on the desk as per usual to open the first motel room. You'll also want to turn off the vending machine next to the desk to open the second motel room door.
After this, you'll want to enter the first room and turn off the television.

Next, visit the second motel room to turn off the radio, which will open the final motel room where you'll find the key.

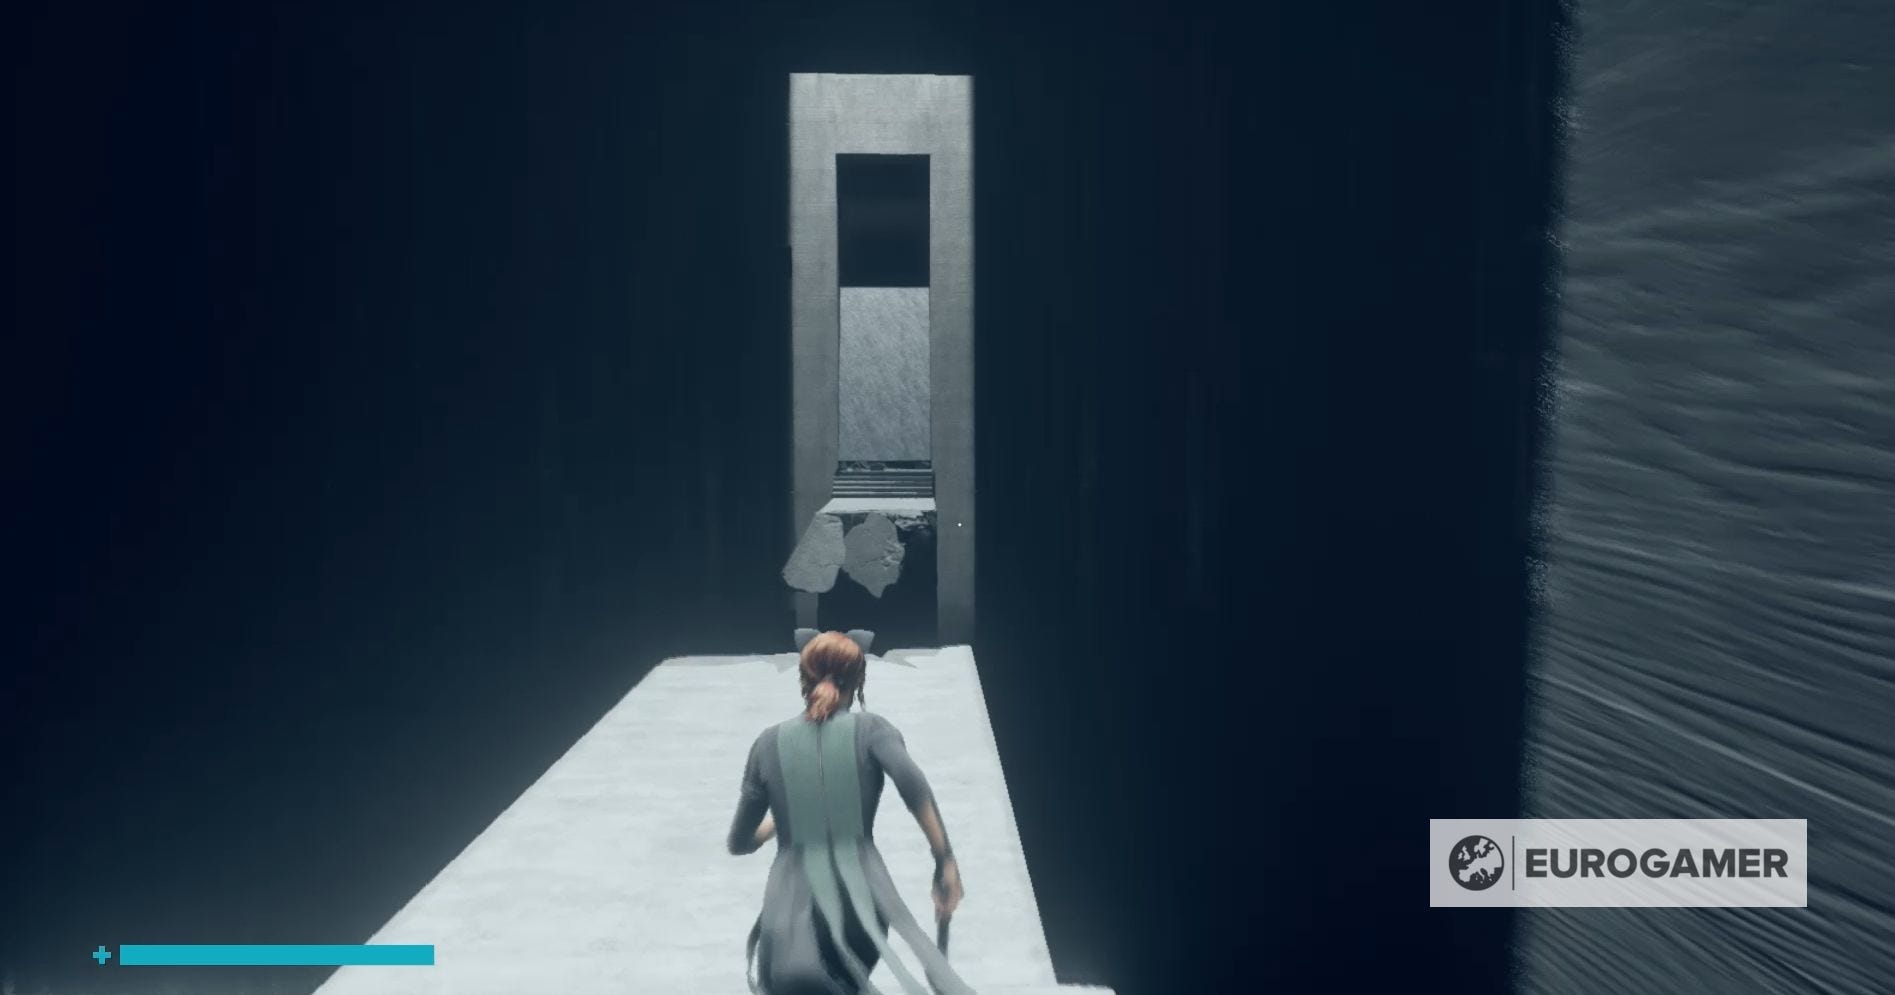
Finally, you can leave the Oceanview Motel by going through the black triangle door and pulling the light cord three times.
Upon returning to the Oldest House, you'll find that the furniture in front of the firebreak has disappeared, allowing you to pass through.
To truly reach the Investigations Sector, you'll want to levitate across to the other side of the firebreak. Once you've landed, levitate down to the second firebreak platform, while avoiding the Astral Spike roaming it, and, from there, float down to the left-hand side of the final firebreak.

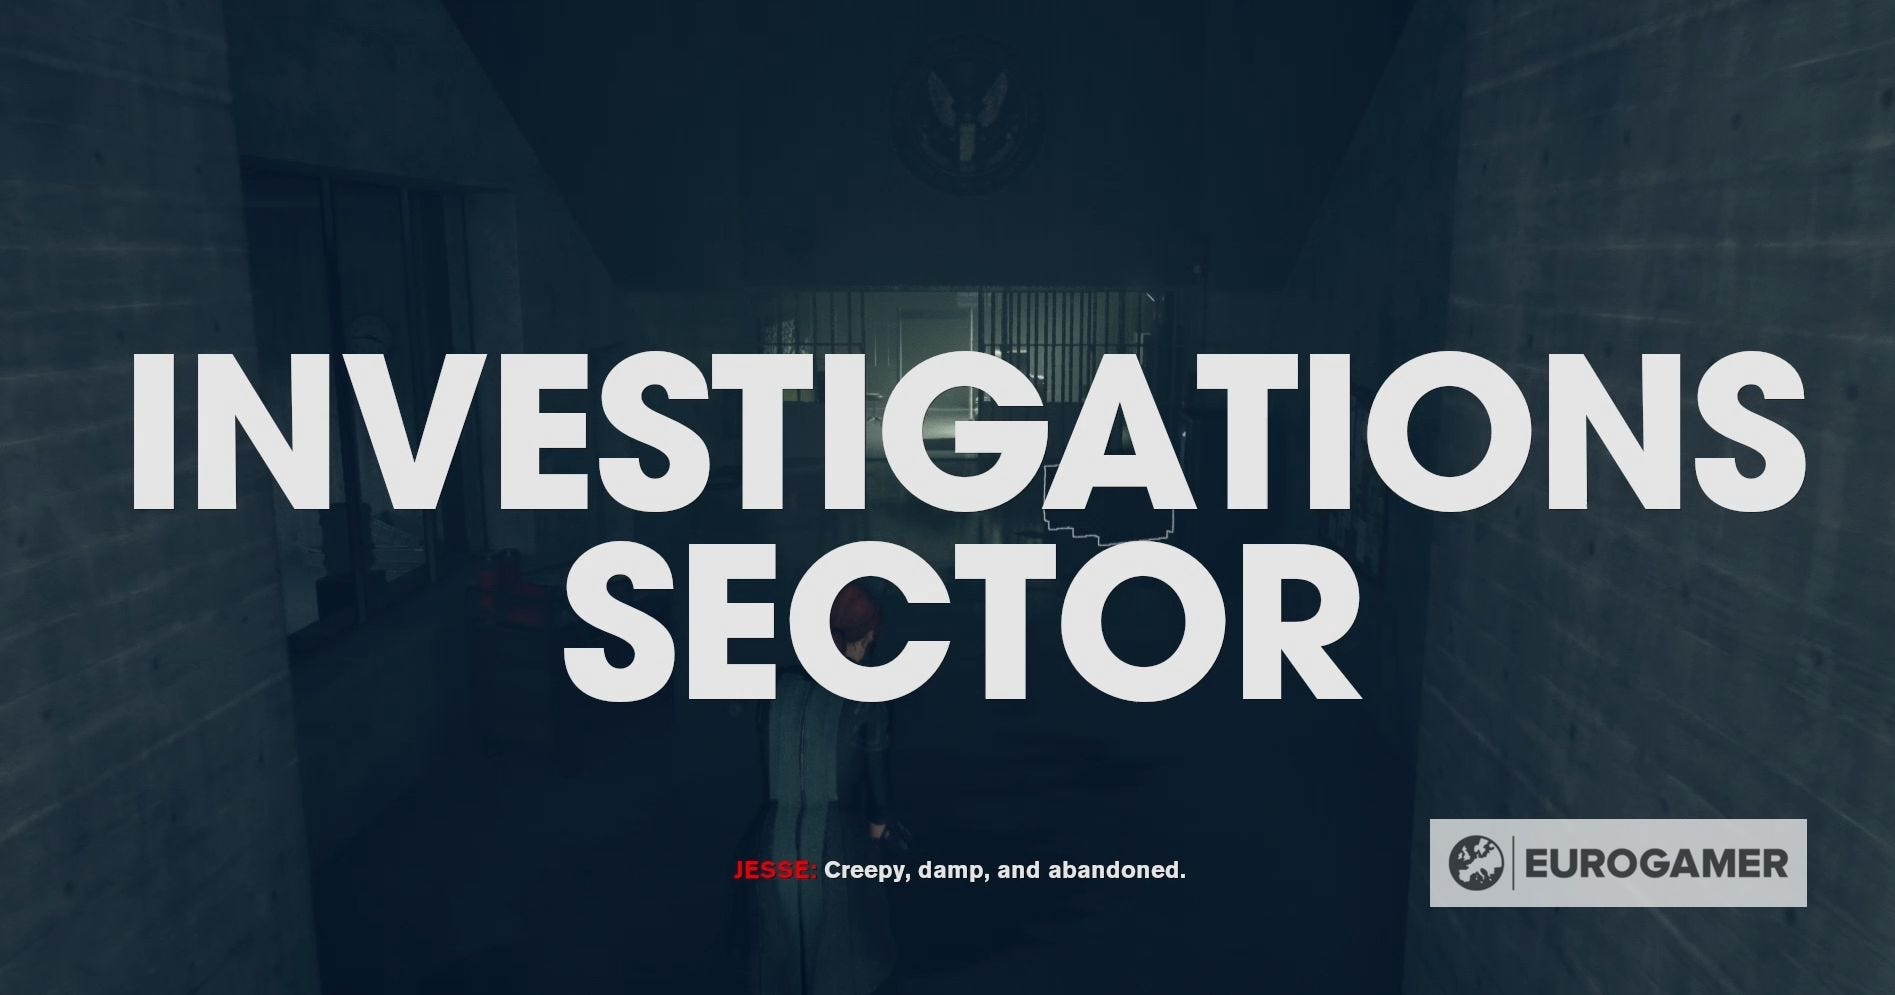
Go through the firebreak and you'll find yourself truly within the Investigations Sector.
Collectables to found:
- Hotline - Wake - Faden Rides the Elevator
- (Head towards the Sector Elevator once you've downloaded the AWE DLC)
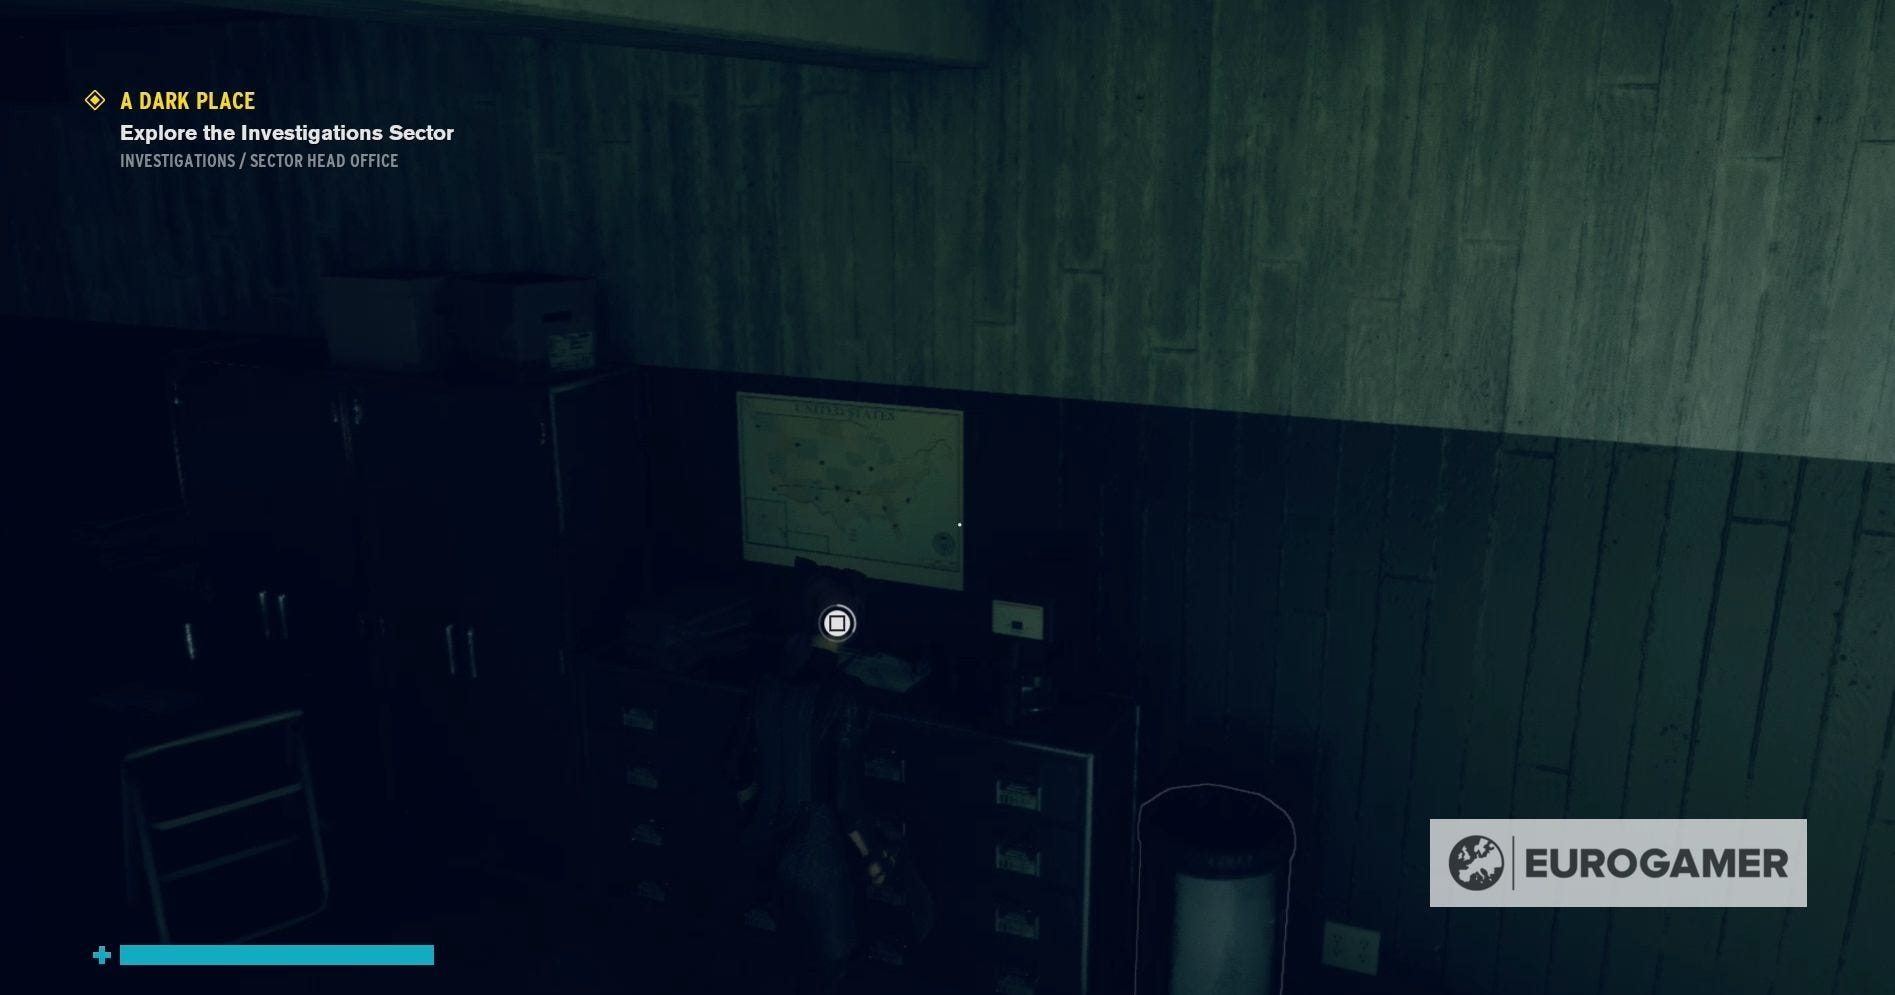
- Correspondence - Official - Missing Agents
- (On the floor near a desk on the left-hand side in the Sector Head Office)
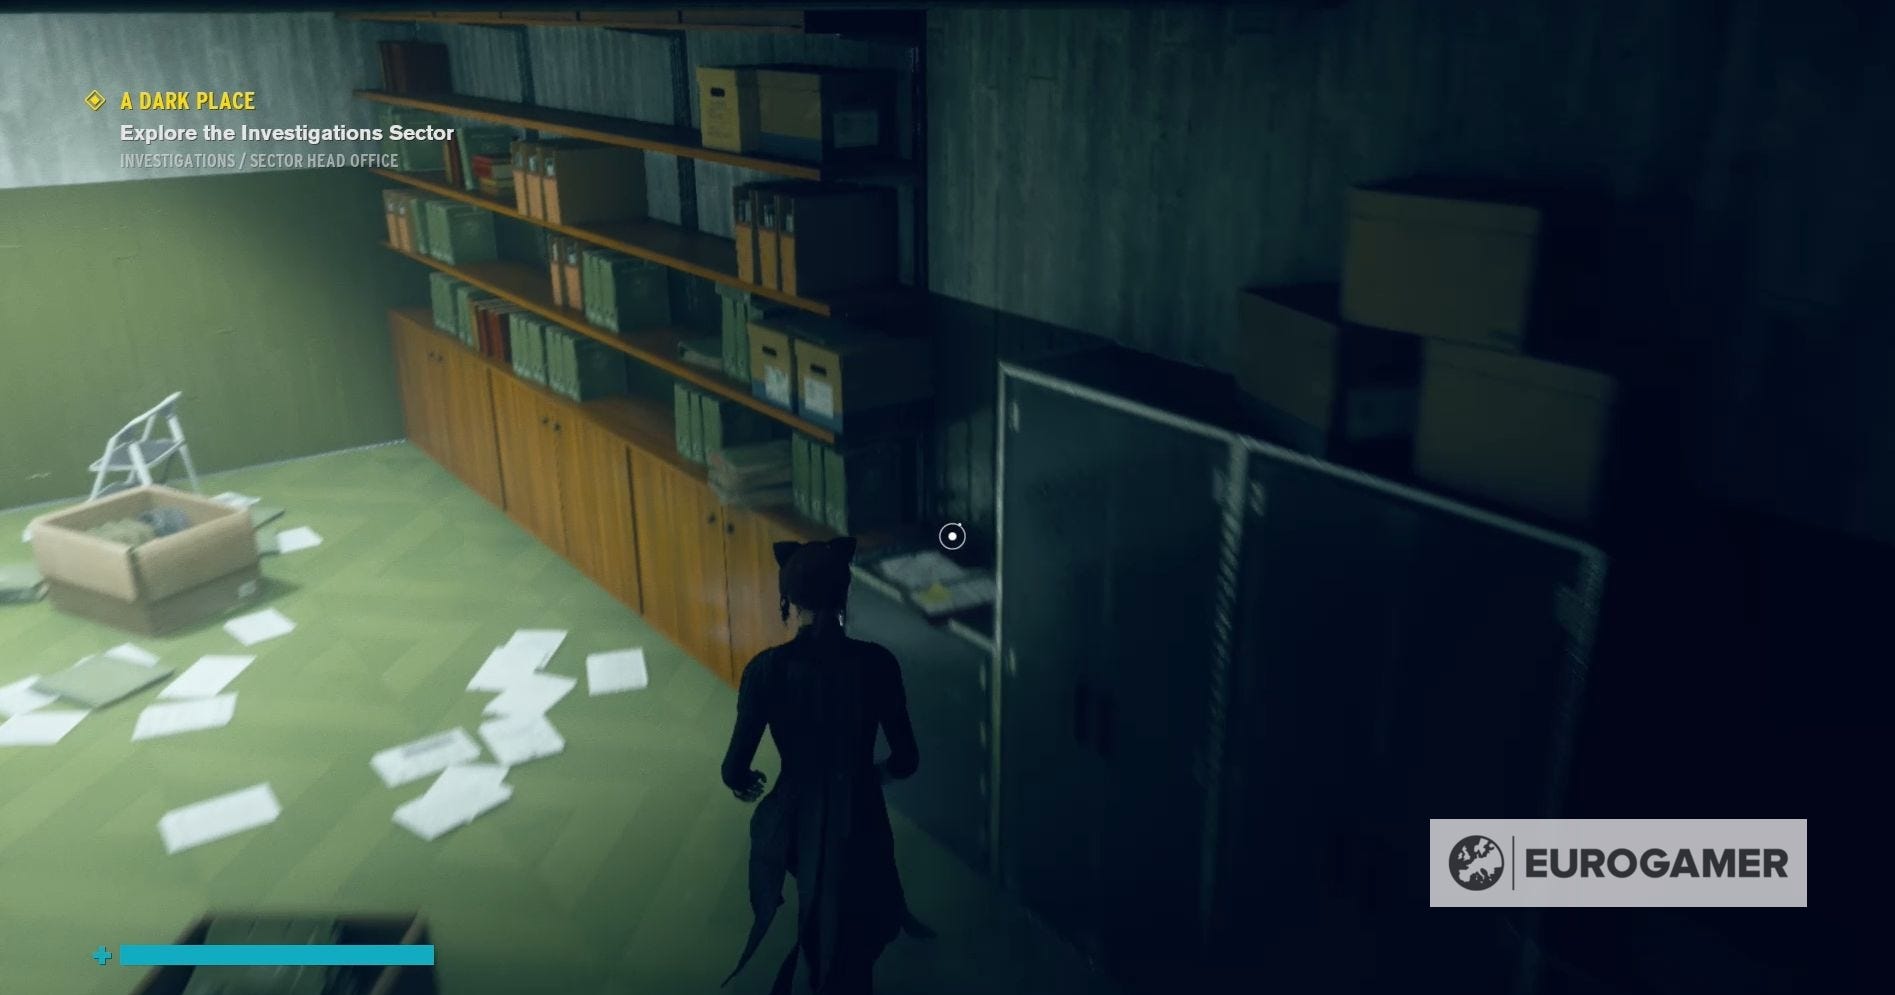
- Research & Records - Reports - Darling Investigation
- (On a cabinet in the first office on the left-hand side in the Sector Head Office)
- Correspondence - Official - Casey Inquiry
- (On the floor in the first office on the left-hand side in the Sector Head Office)
- Correspondence - Official - Cauldron Lake Update
- (On a cabinet on the ground floor of the stairwell on the left-hand side in the Sector Head Office)
- Correspondence - Non-Official - Staffing Issue
- (On the floor at the back of the main space in the Sector Head Office)
- Correspondence - Official - Resignation Letter
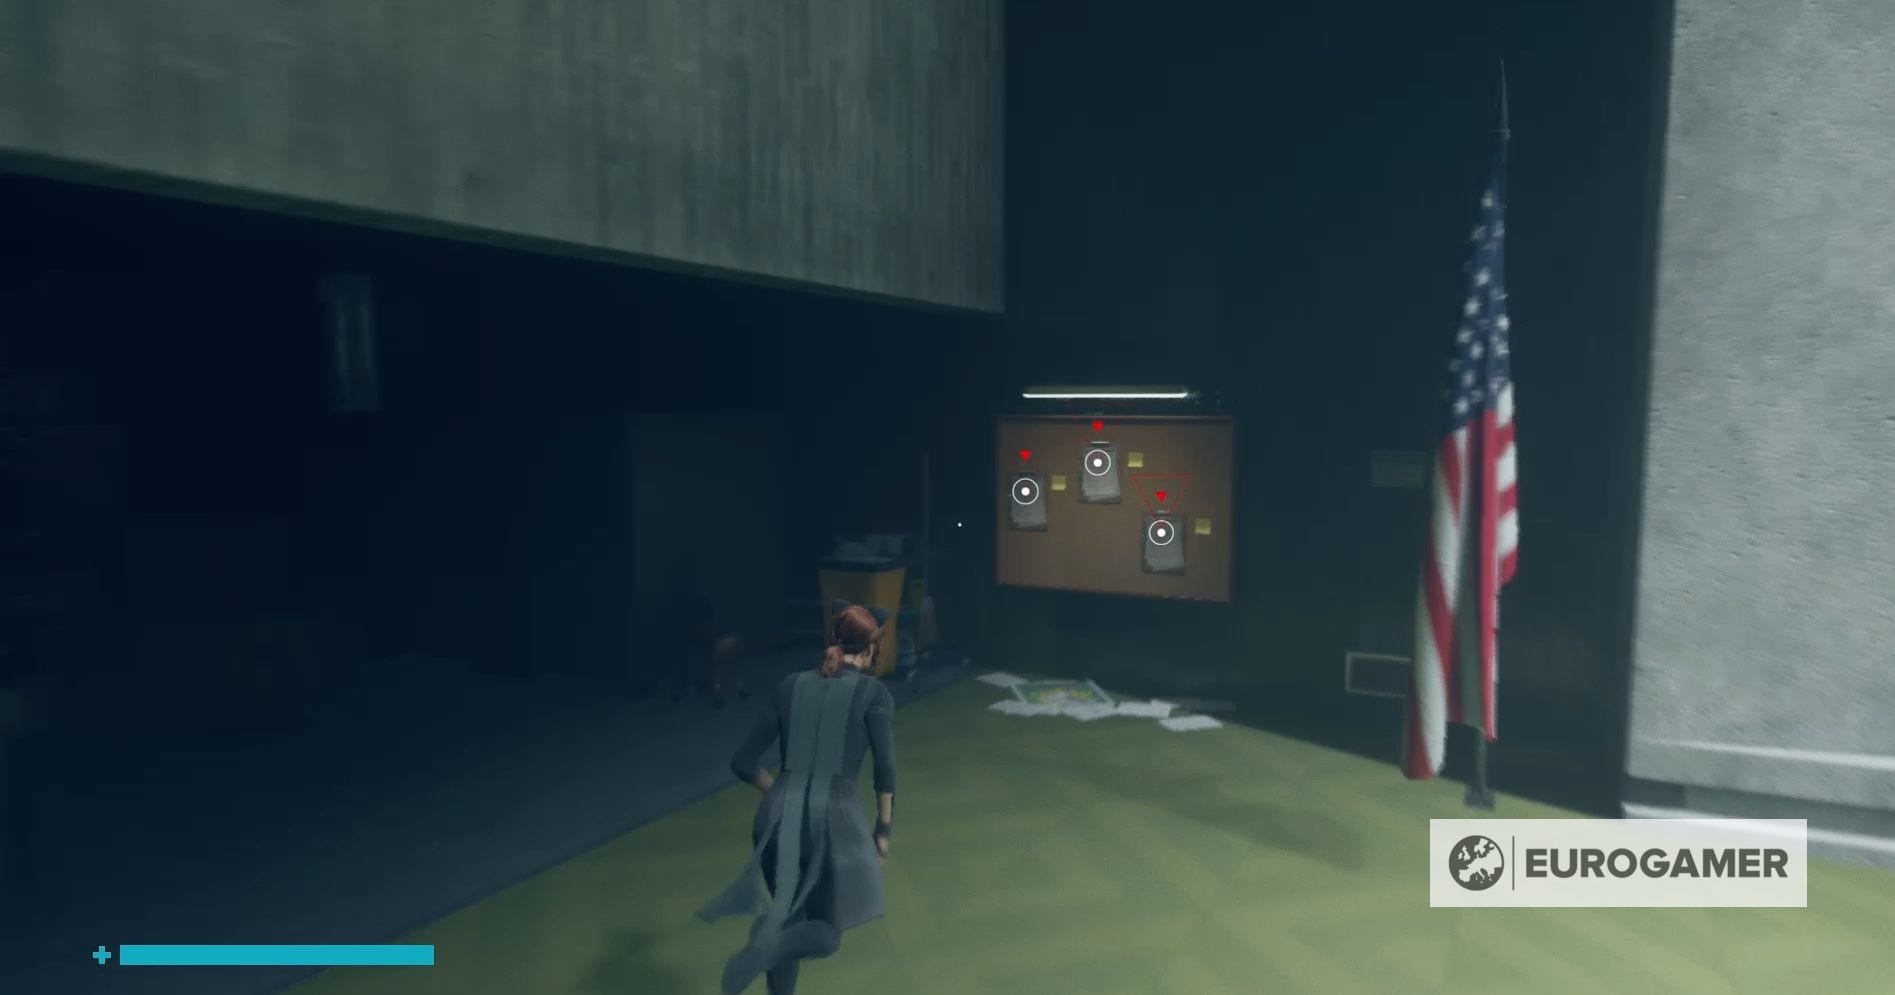
- (On a cabinet next to the vending machine near the gate in the Sector Head Office)
- Case Files - Altered Items - Tractor Supplement
- (On the cabinet near the stairs on the right-hand side in the Sector Head Office)
- Correspondence - Non-Official - Keystone Inspection
- (On the floor on the ground level of the stairwell on the right-hand side of the Sector Head Office)
- Case Files - Altered Items - Tractor Procedures
- (On a cabinet in the office up the stairs on the right-hand side of the Sector Head Office)
- Research & Records - Reports - Ethics Investigation
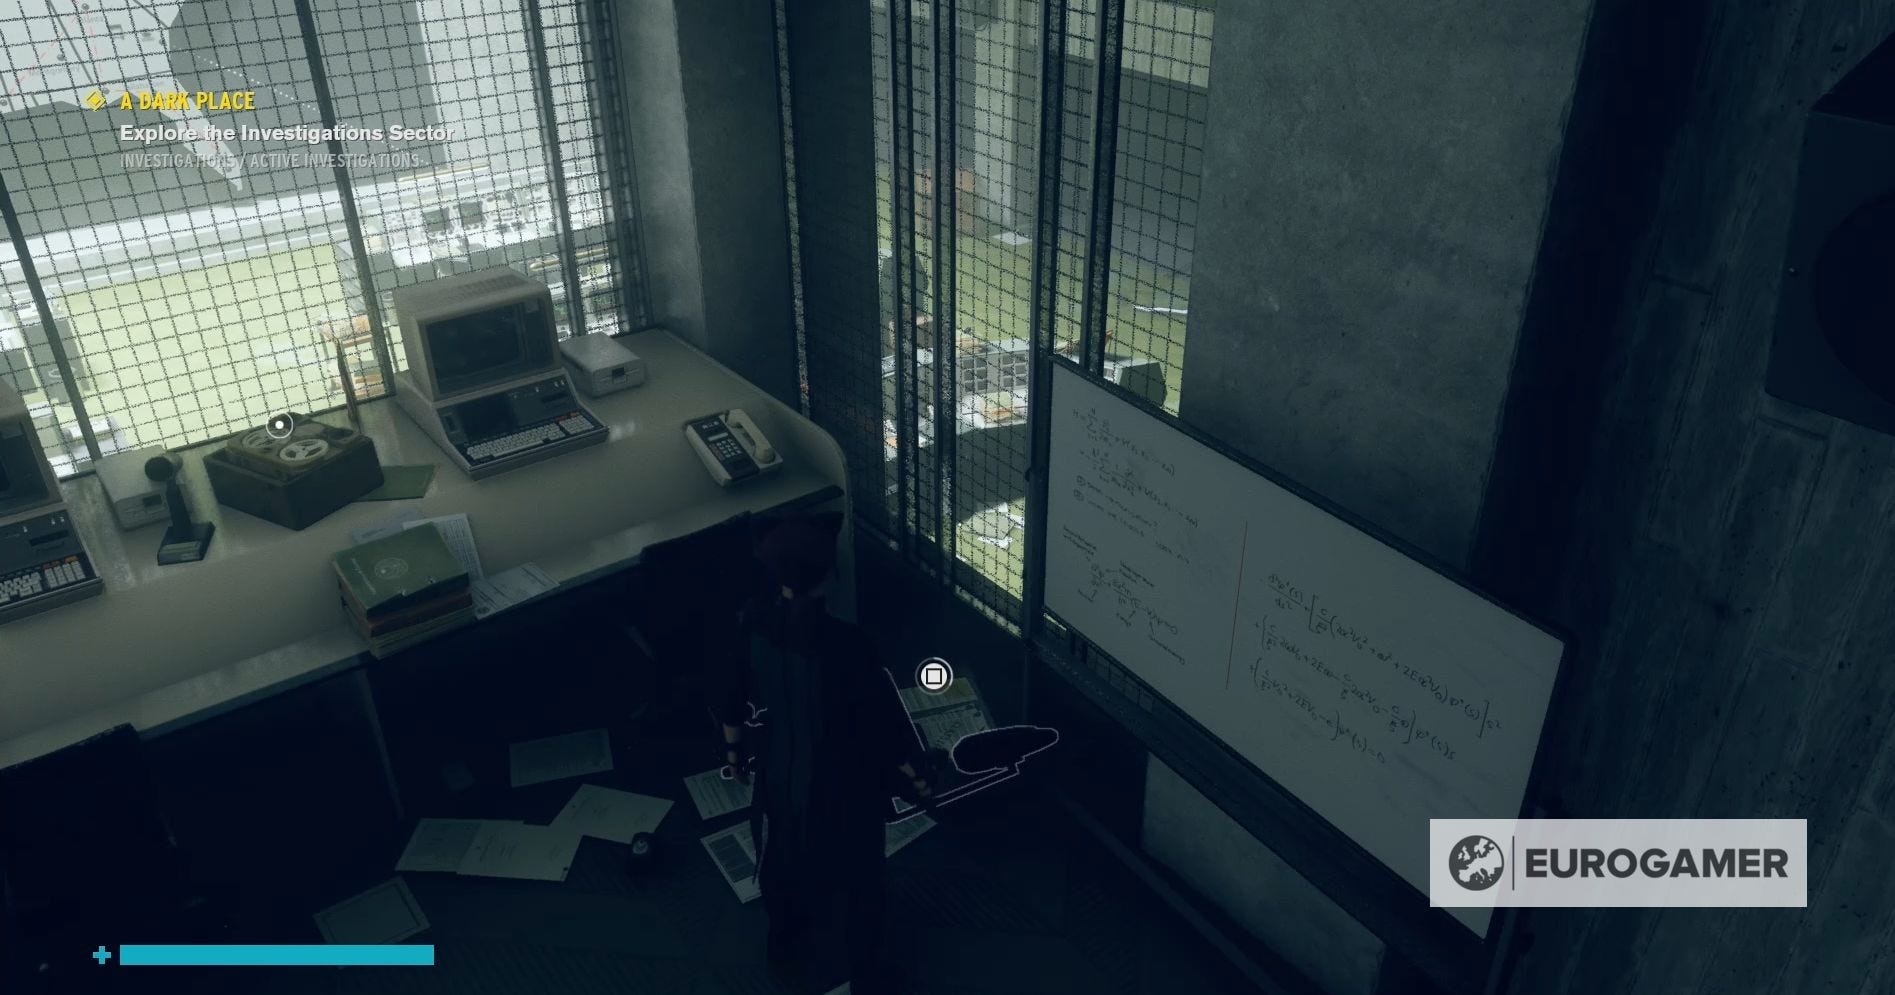
- (On the floor near a desk in the office up the stairs on the right-hand side of the Sector Head Office)
- Research & Records - Reports - Underhill Background
- (On the floor near the whiteboard in the office up the stairs on the left-hand side of the Sector Head Office)
- Research & Records - Reports - Director Investigation
- (On a cabinet in the office up the stairs on the left-hand of the Sector Head Office)
- Correspondence - Official - Trench: Official Warning
- (On the cabinet next to the astronaut helmet in the office up the stairs on the left-hand side of the Sector Head Office)
- Research & Records - Reports - Specimen Escape Assessment
- (On the conveyor belt between the two gates in the Sector Head Office)
- Research & Records - Reports - Blessed Organisation
- (In the office next to the first Control Point)
- Hotline - Wake - Hartman's Final Act
- (After finding the key in the Oceanview Motel)
It’s time to journey into the mysterious Federal Bureau of Control. Our Control walkthrough can help you through the storyline missions, including Welcome to the Oldest House, Unknown Caller, Directorial Override, Old Boy’s Club, Threshold, My Brother's Keeper, The Face of the Enemy, Finnish Tango, Polaris and Take Control. You can also learn new supernatural powers by completing A Merry Chase, A Good Defence and A Captive Audience. We also have guides on upgrading the Service Weapon, your Abilities, how to use Weapon and Personal Mods, how to unlock every outfit and the solution to the Roulette Wheel puzzle.
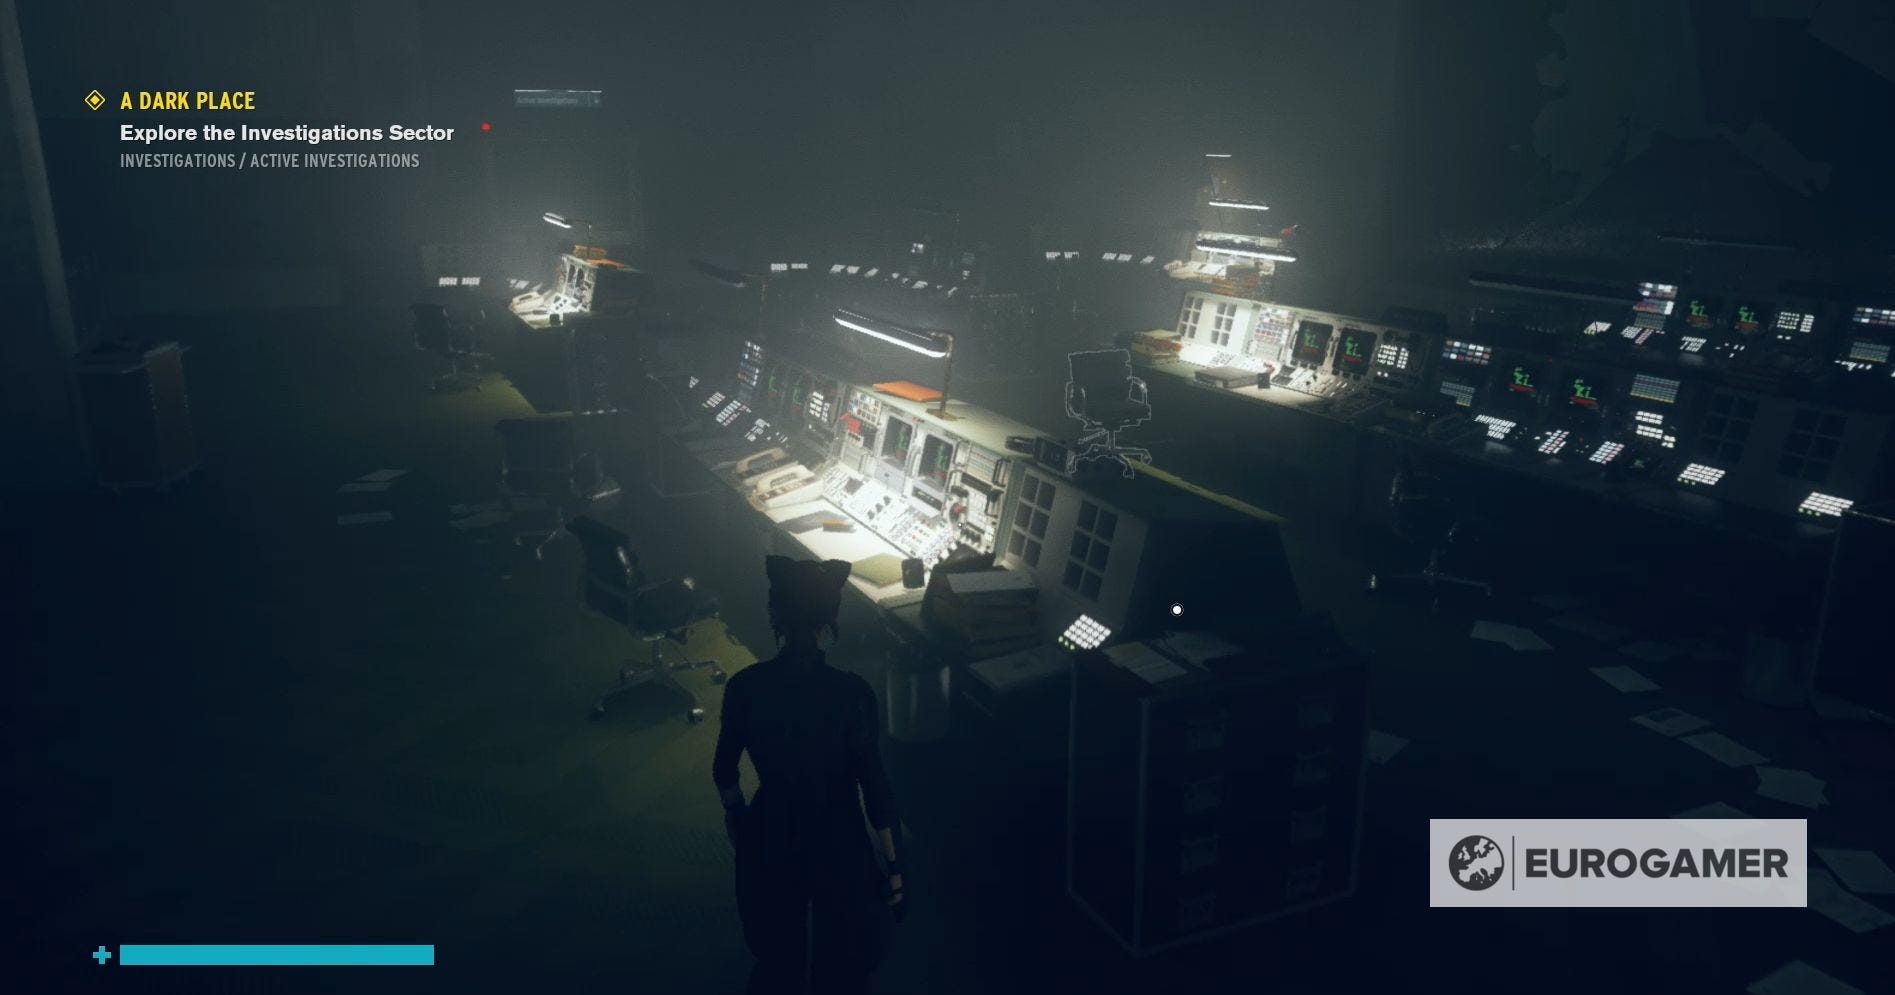
Explore the Investigations Sector in Control explained
Now you're past the Sector Head Office, you can truly explore the Investigations Section in the Control AWE DLC.
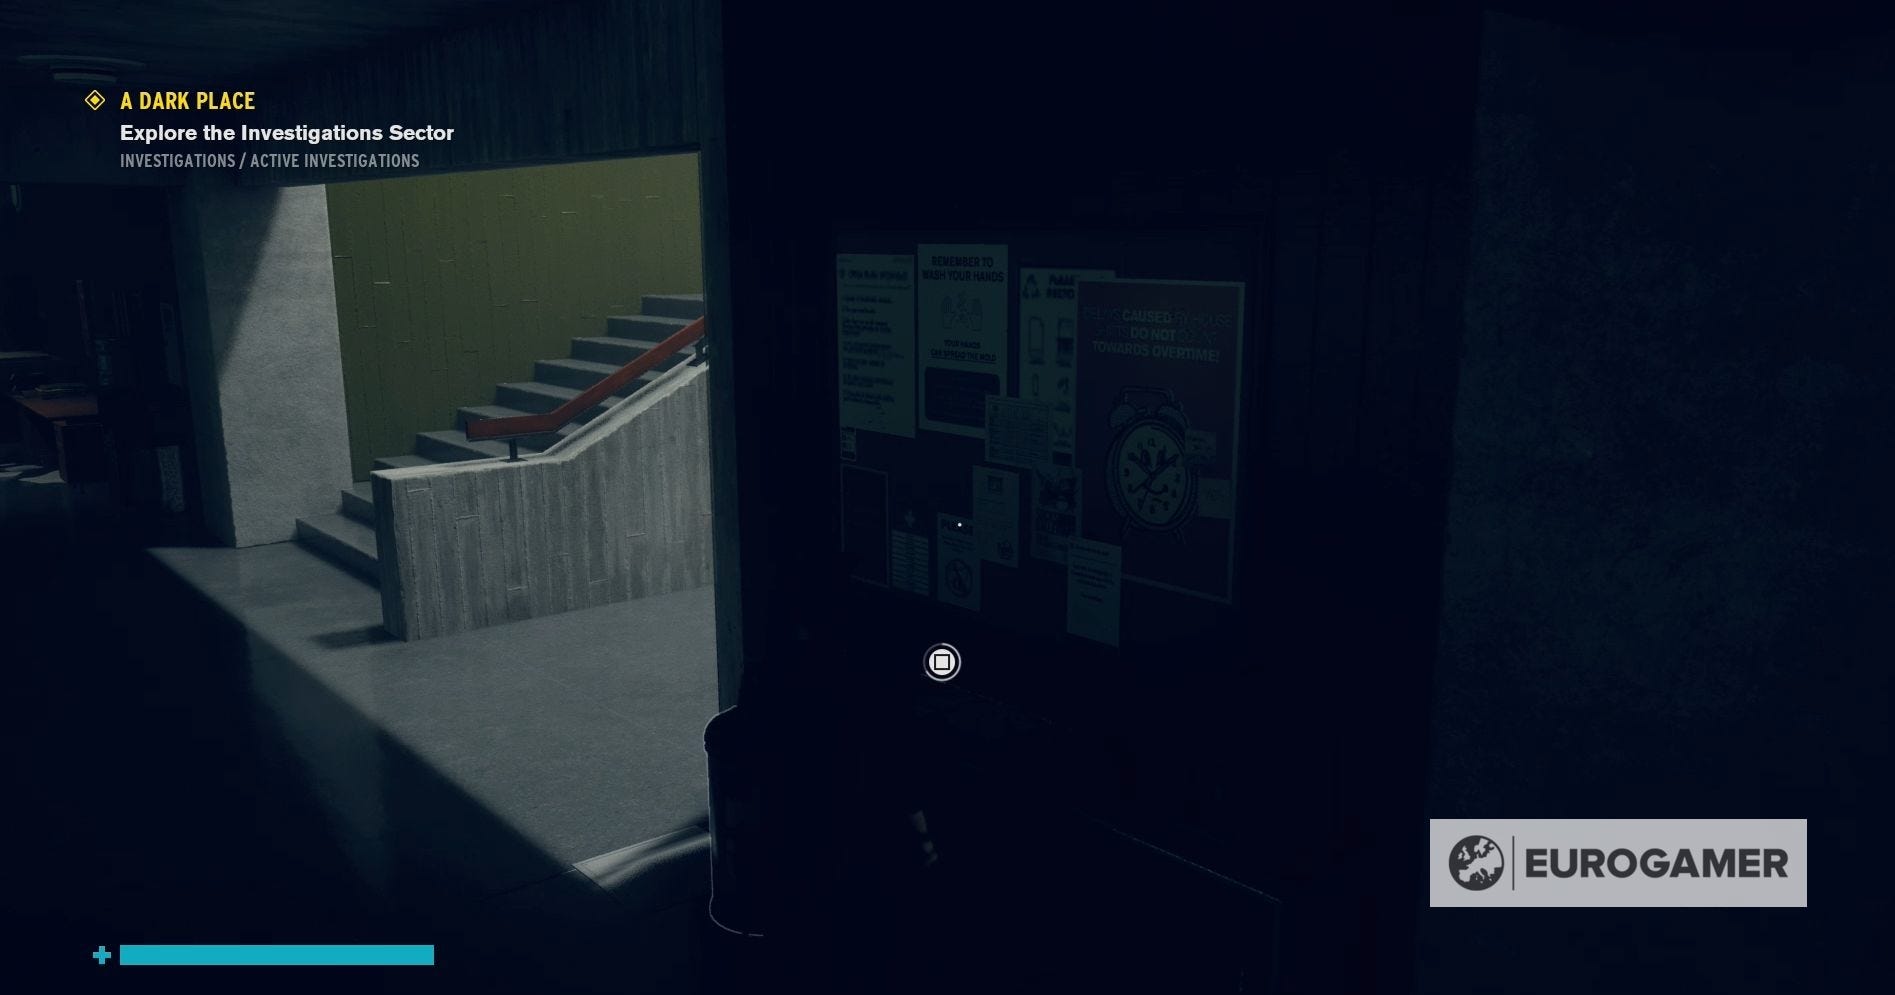
Floor the corridor around to the right to find a new Control Point to claim, after that follow the next corridor further into the Investigations Sector.
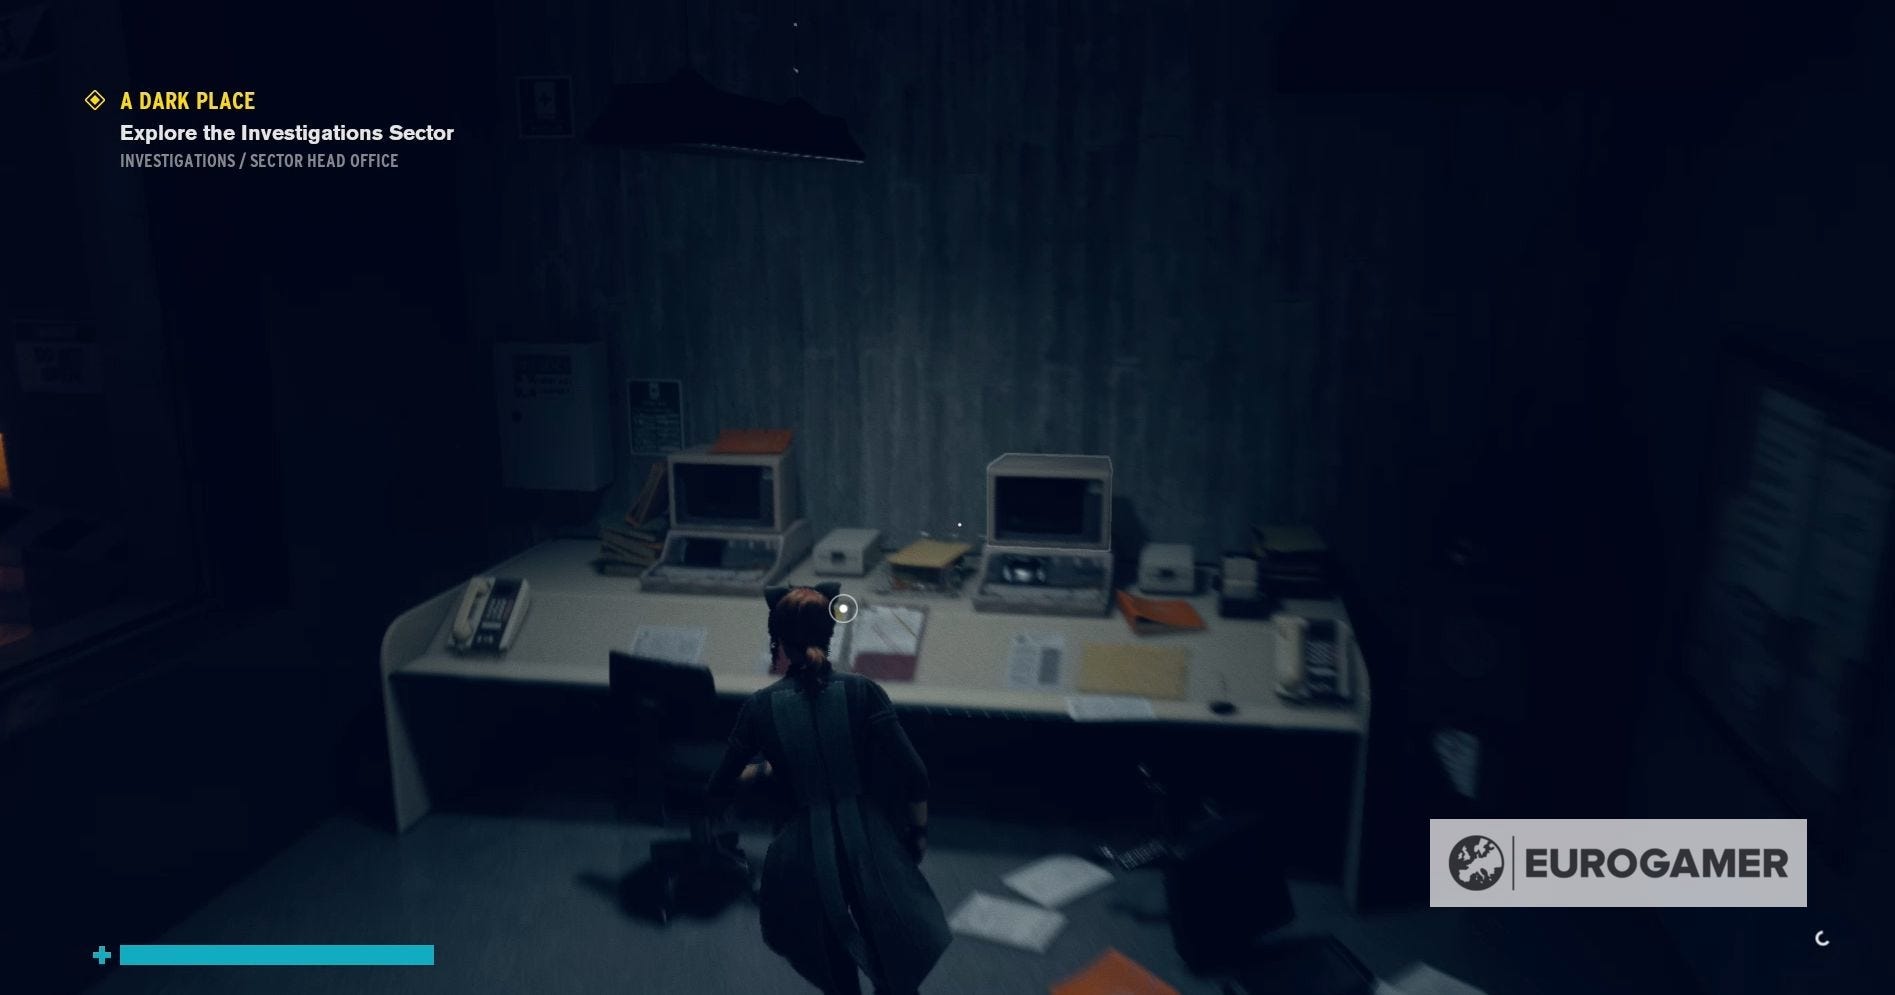
In Filing and Processing, you'll find yourself confronted by a number of Hiss and, once you've taken care of them, you can head down the right-hand corridor.
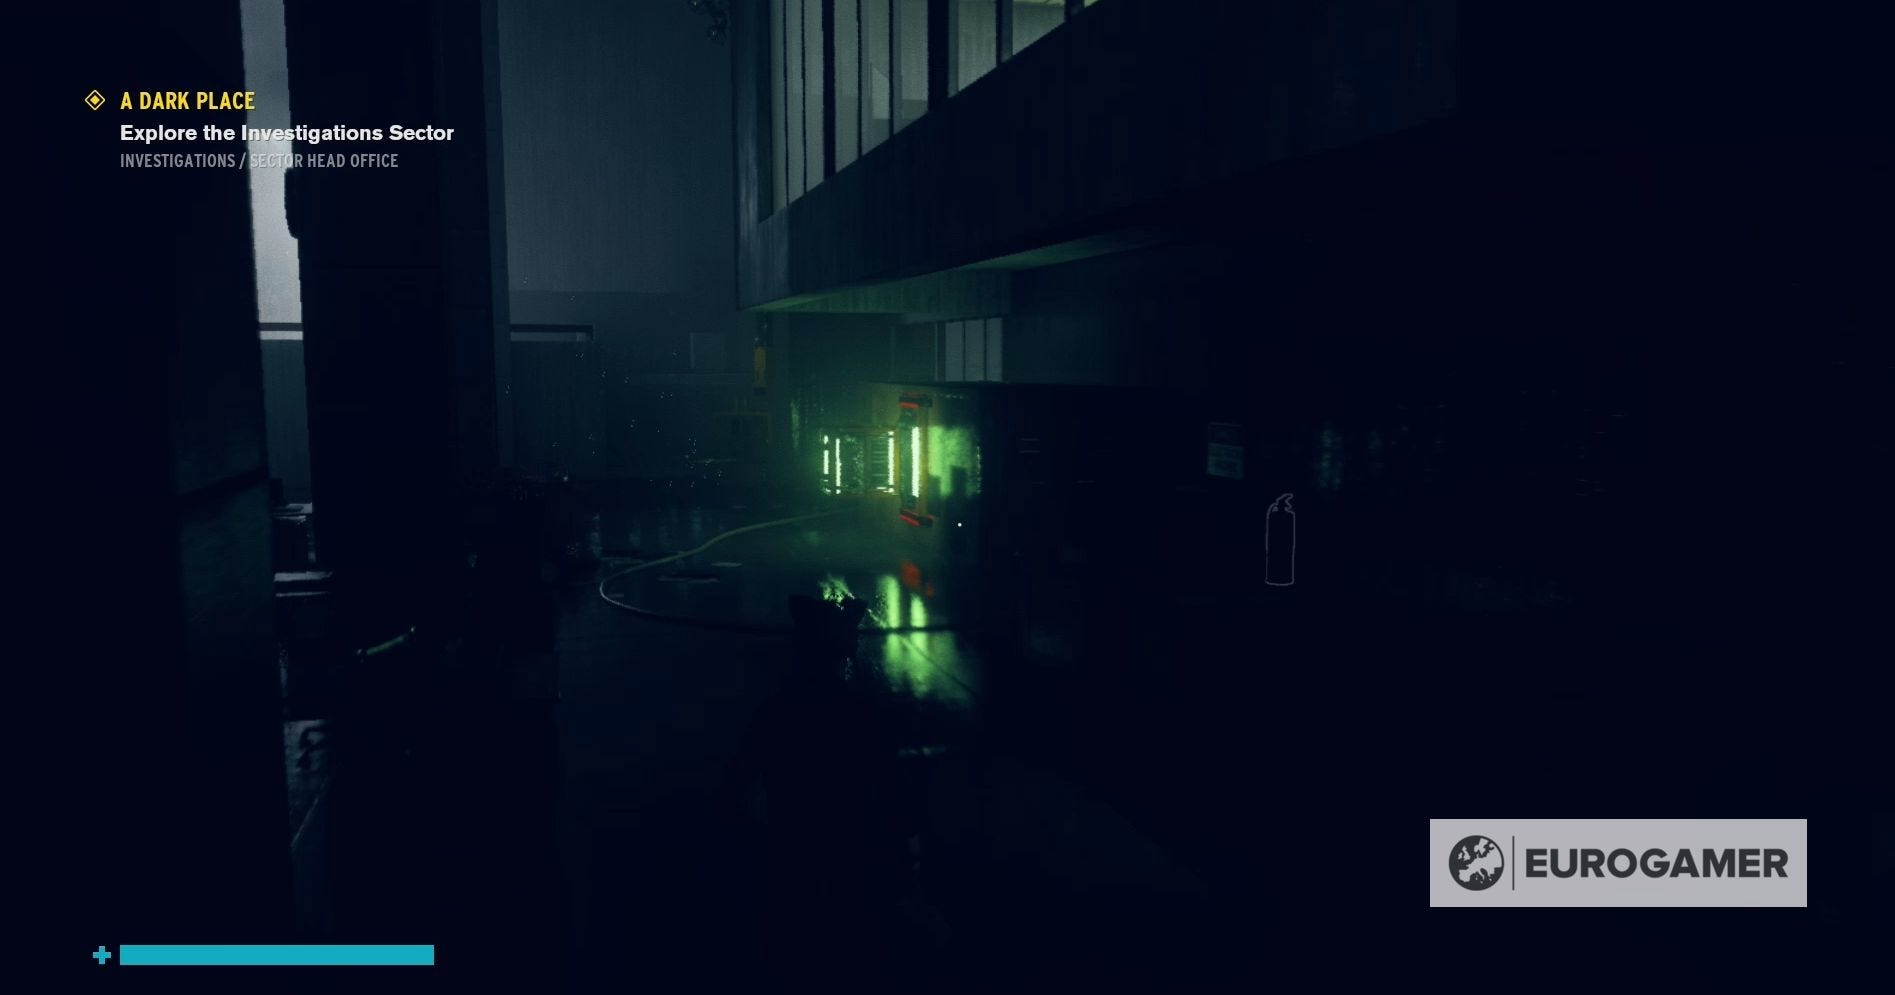
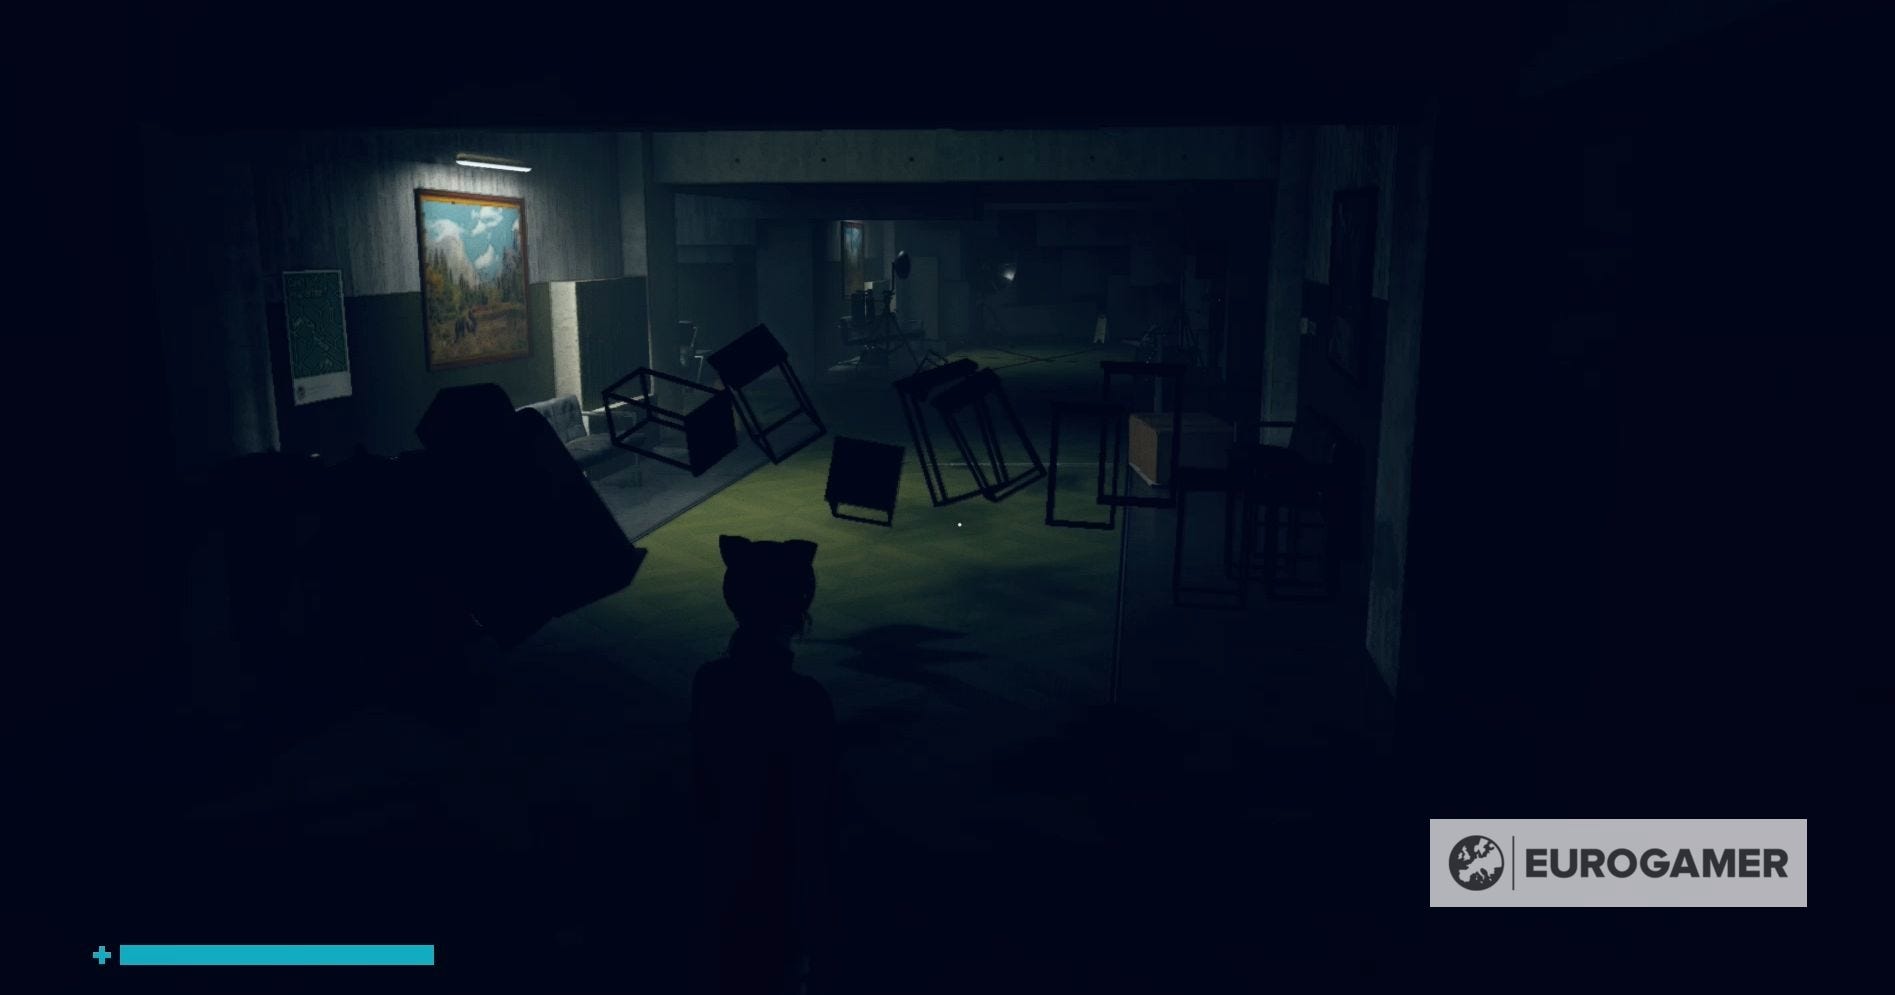
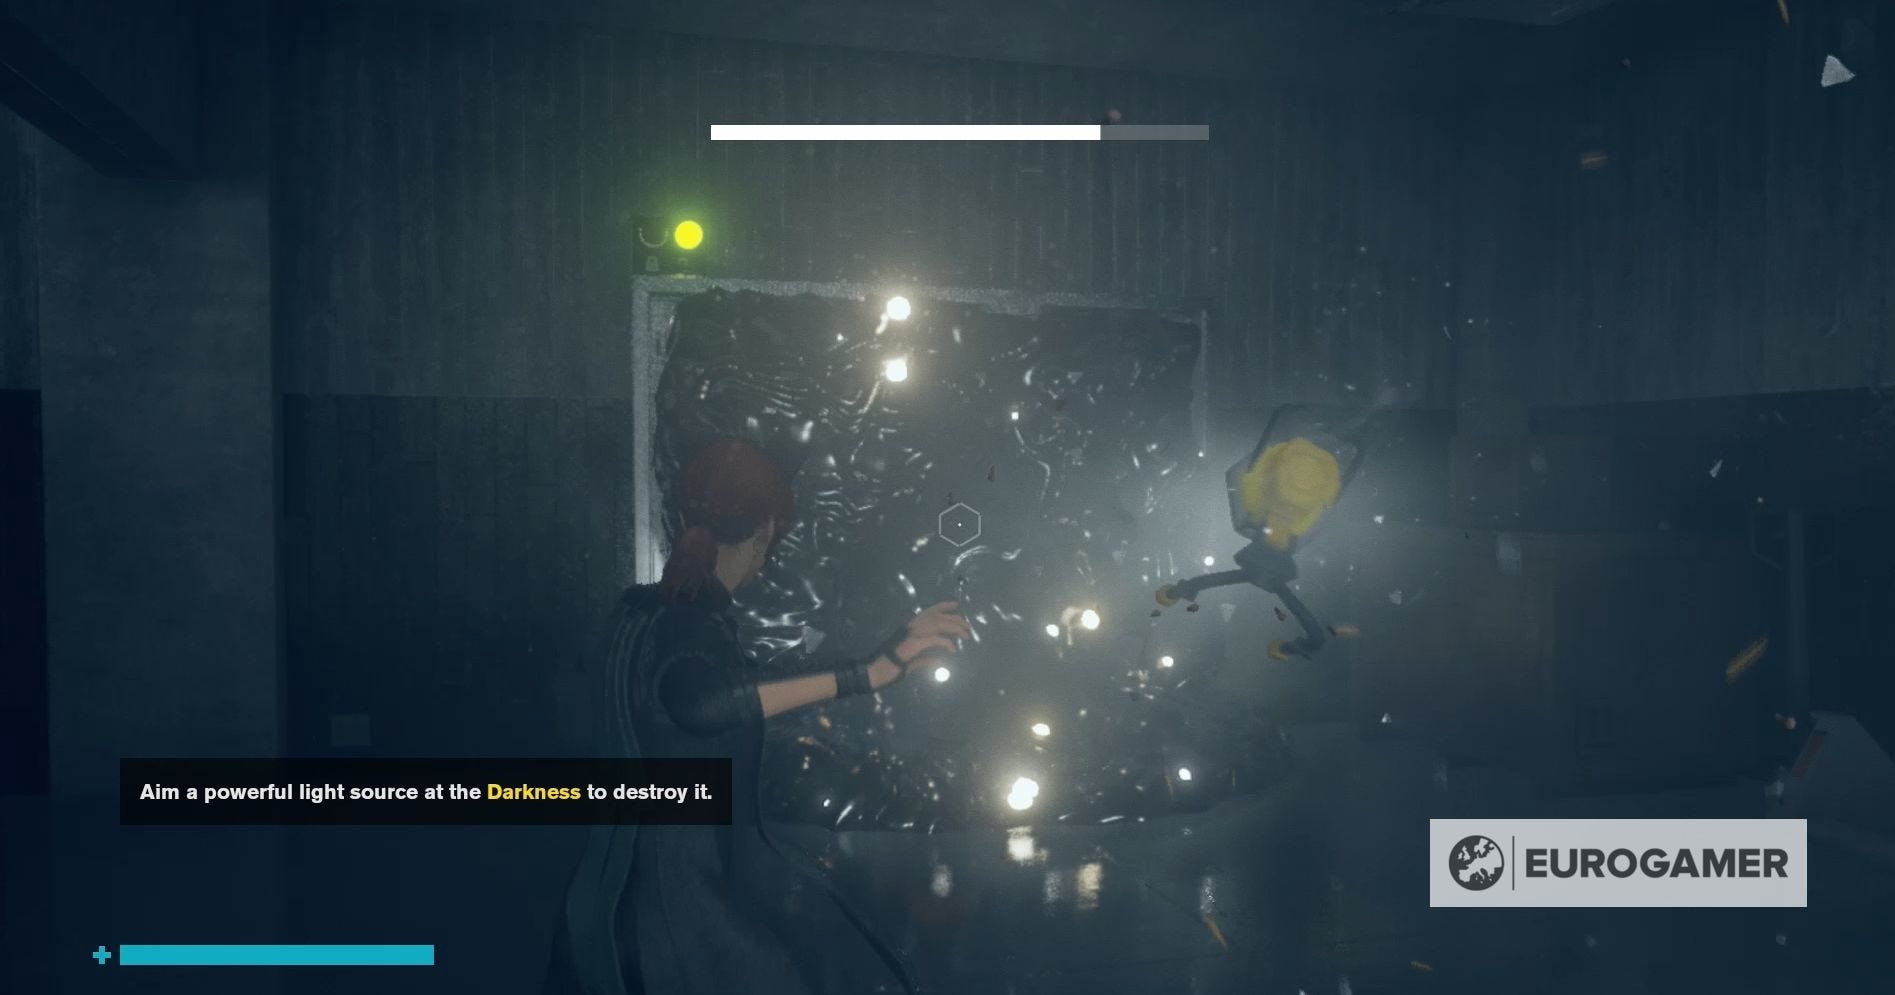
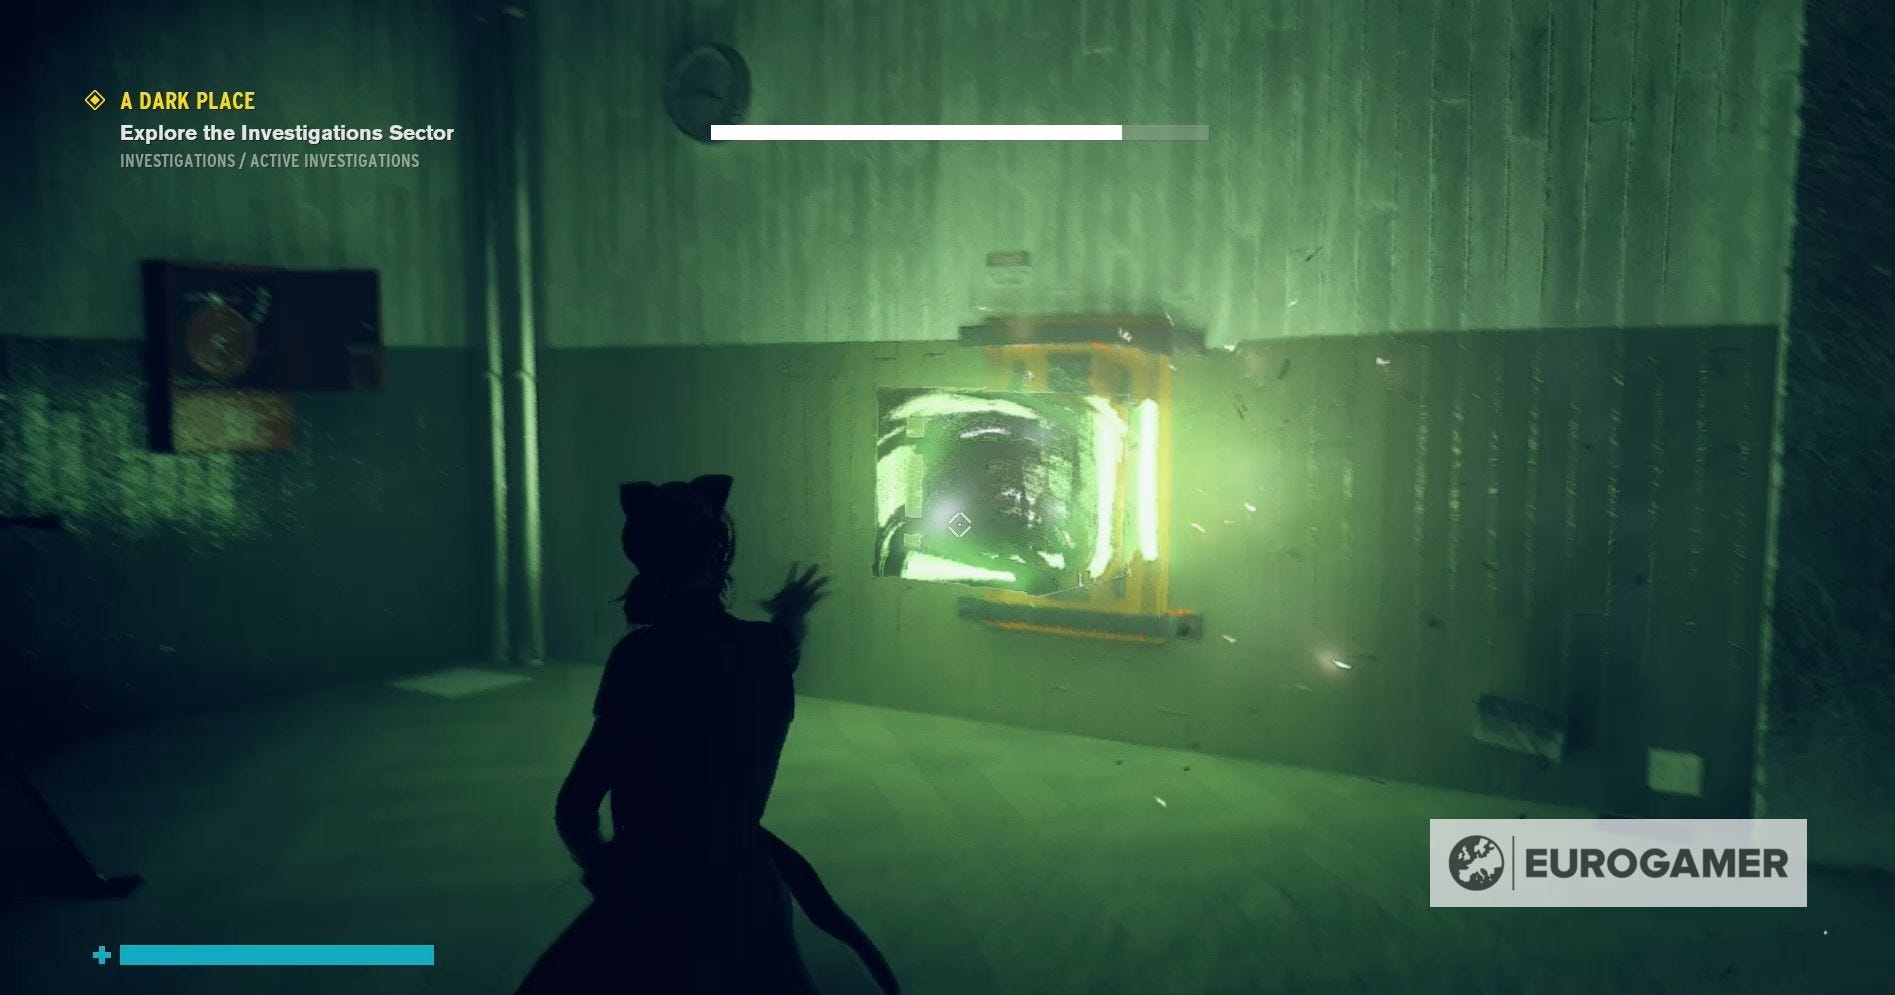
Here you'll discover a doorway blocked by a wall of darkness.
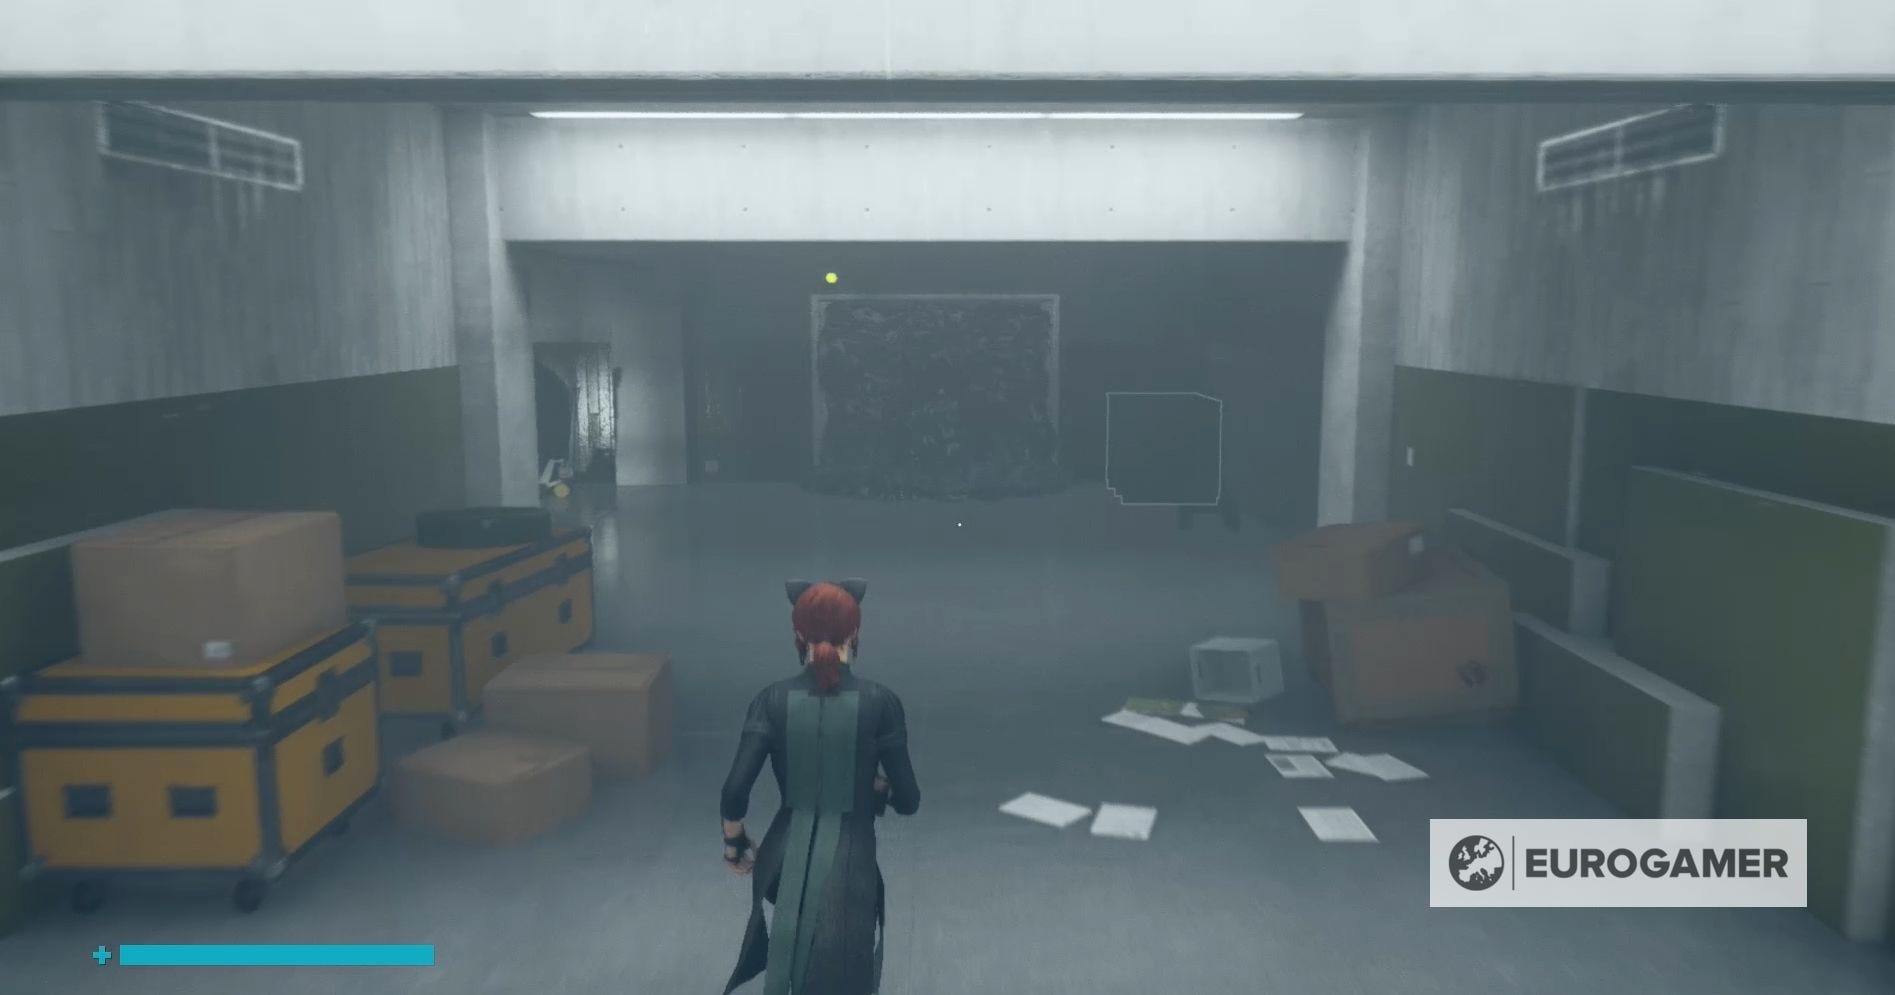
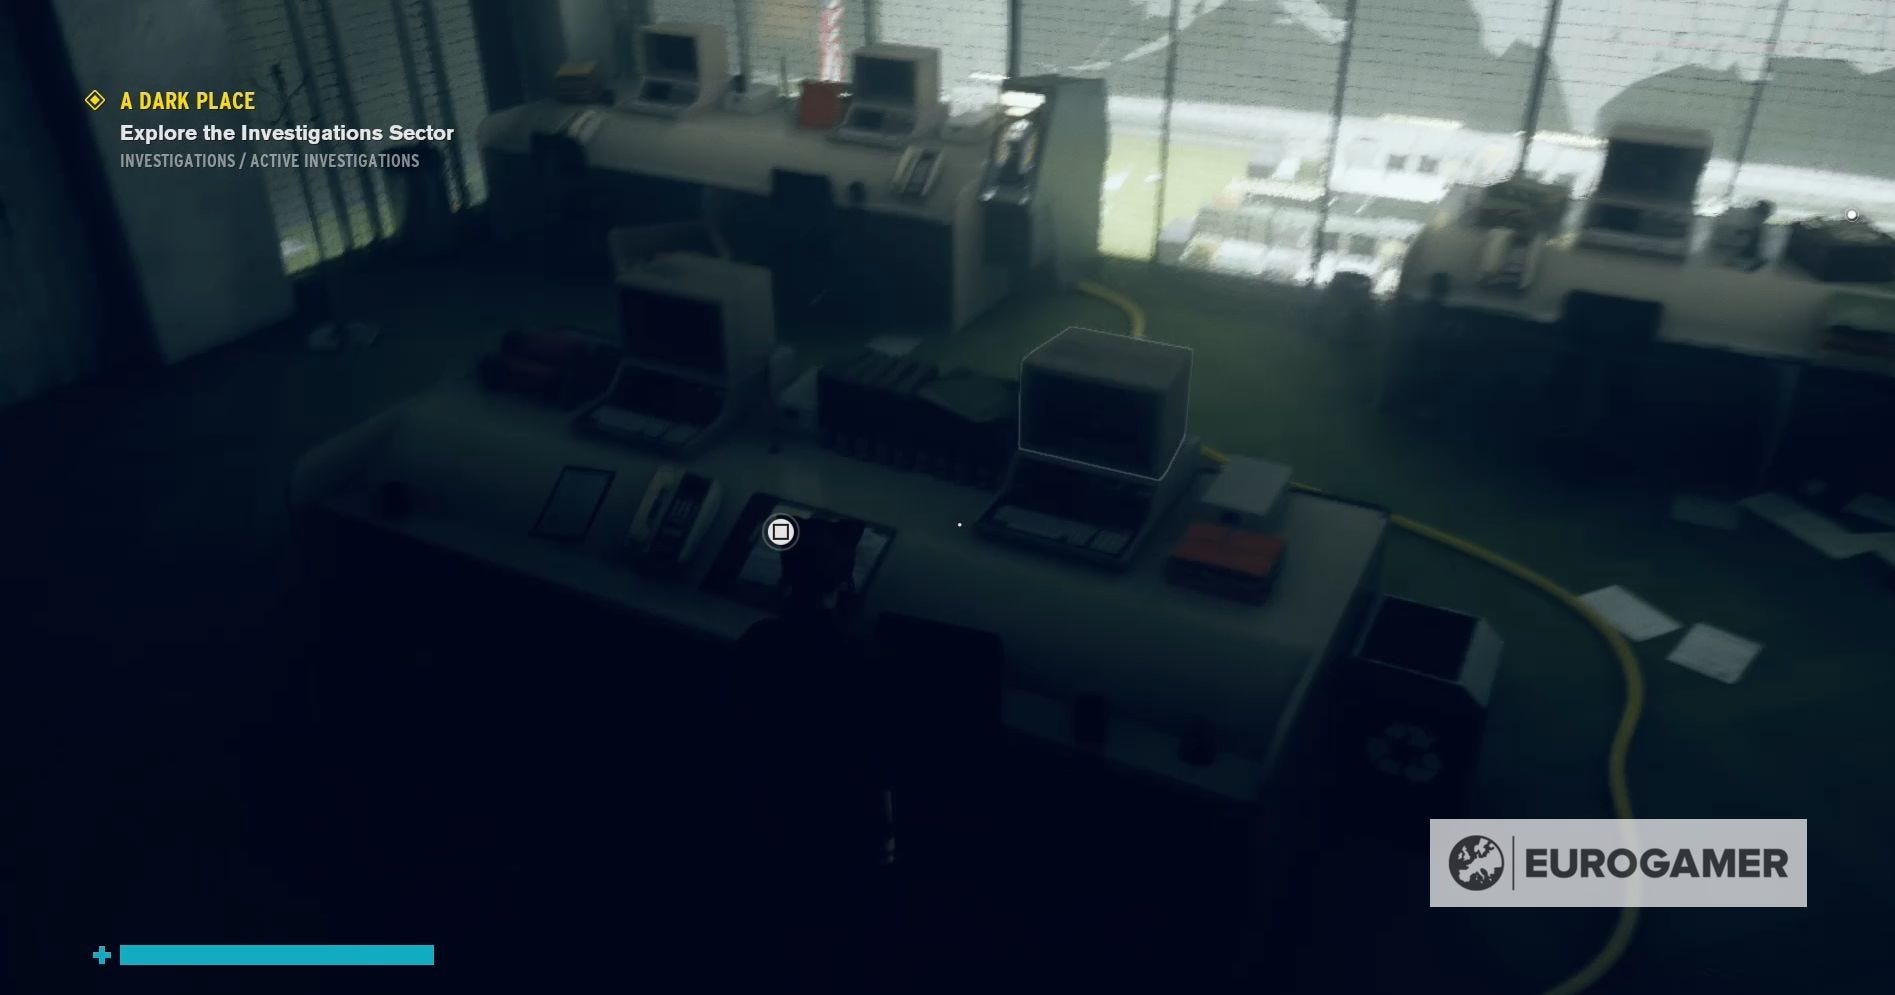
To unblock the doorway, you'll need to use the launch ability to pick up the lamp, which sits to the left of the doorway. Now all you have to do is aim the lamplight, using the launch ability, at the darkness till it disappears completely.
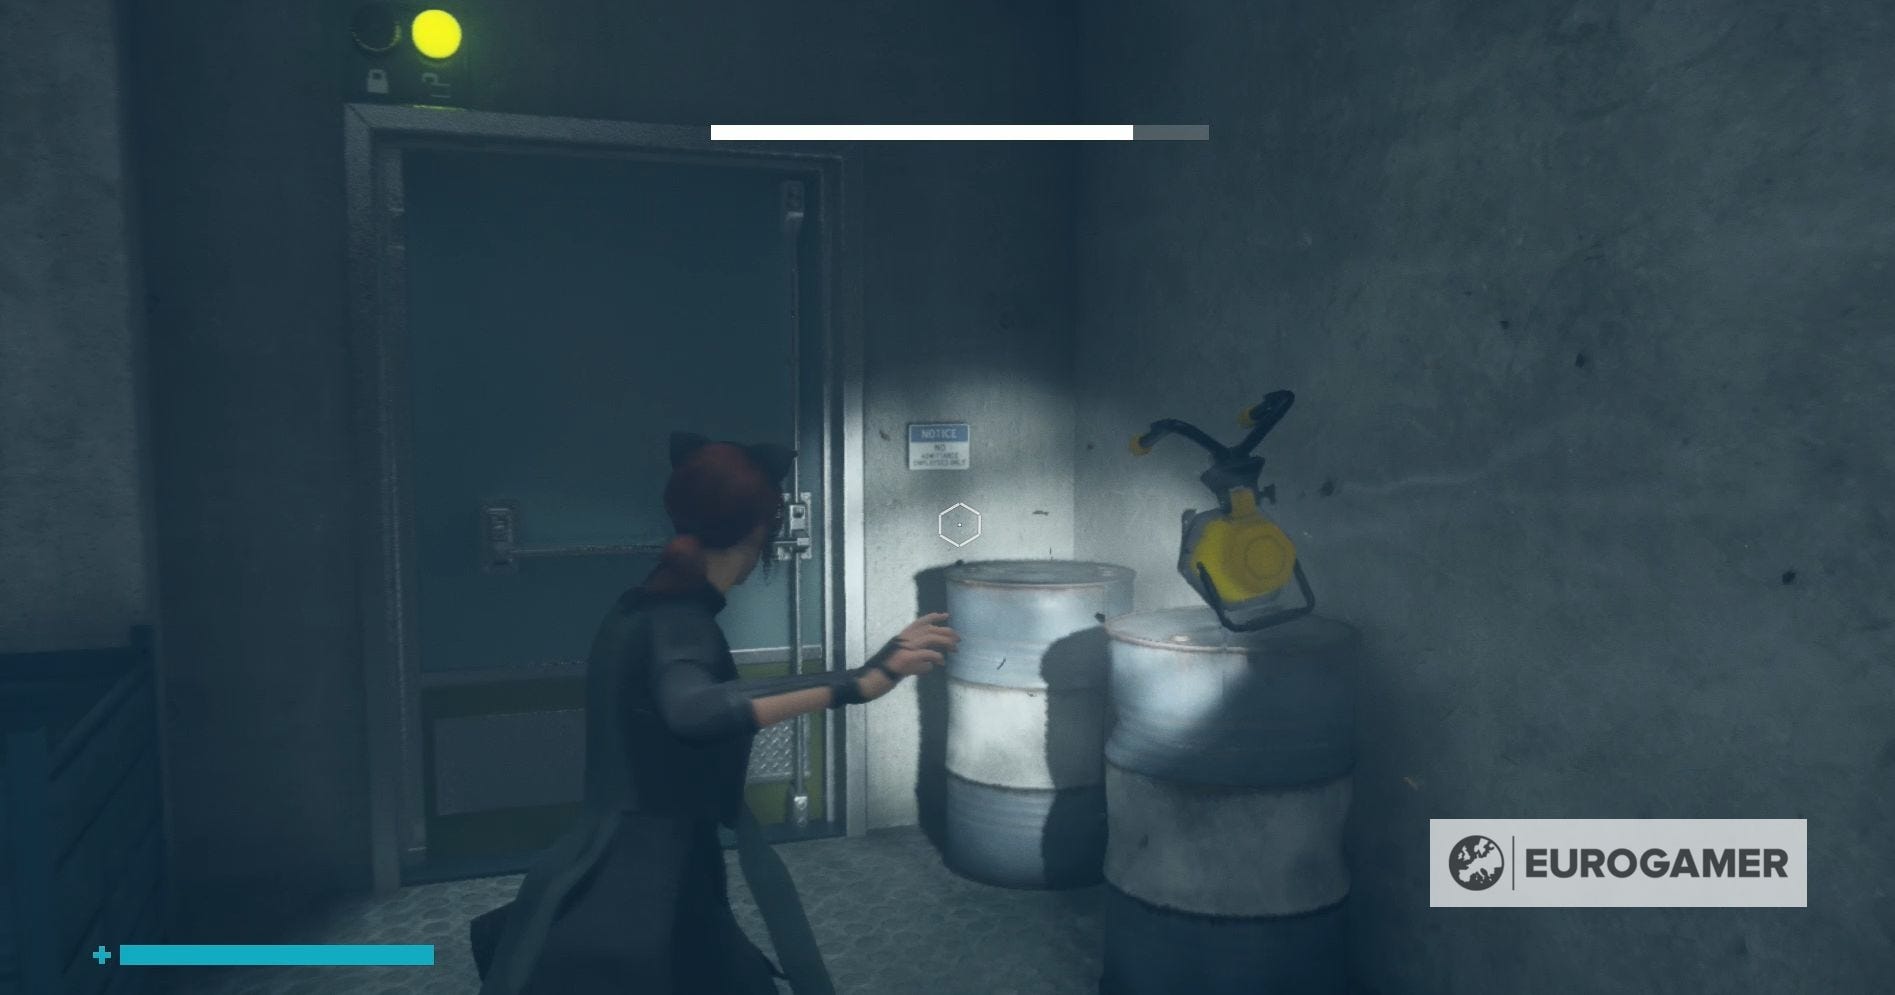
You can drop the lamp once you've entered the next room, so Jessie can easily climb atop one of the generators, which give you the extra height needed for levitating up to the floor above.

Here you need to follow the platform around to the right, where you'll find a door leading to a pipeway, which, once followed, will bring you to another Control Point to claim.
To continue your explorations through the Investigations Sector, you'll want to head through the door opposite the Control Point and then, in the hallways, go through the doors to your right to enter the Operations Center.
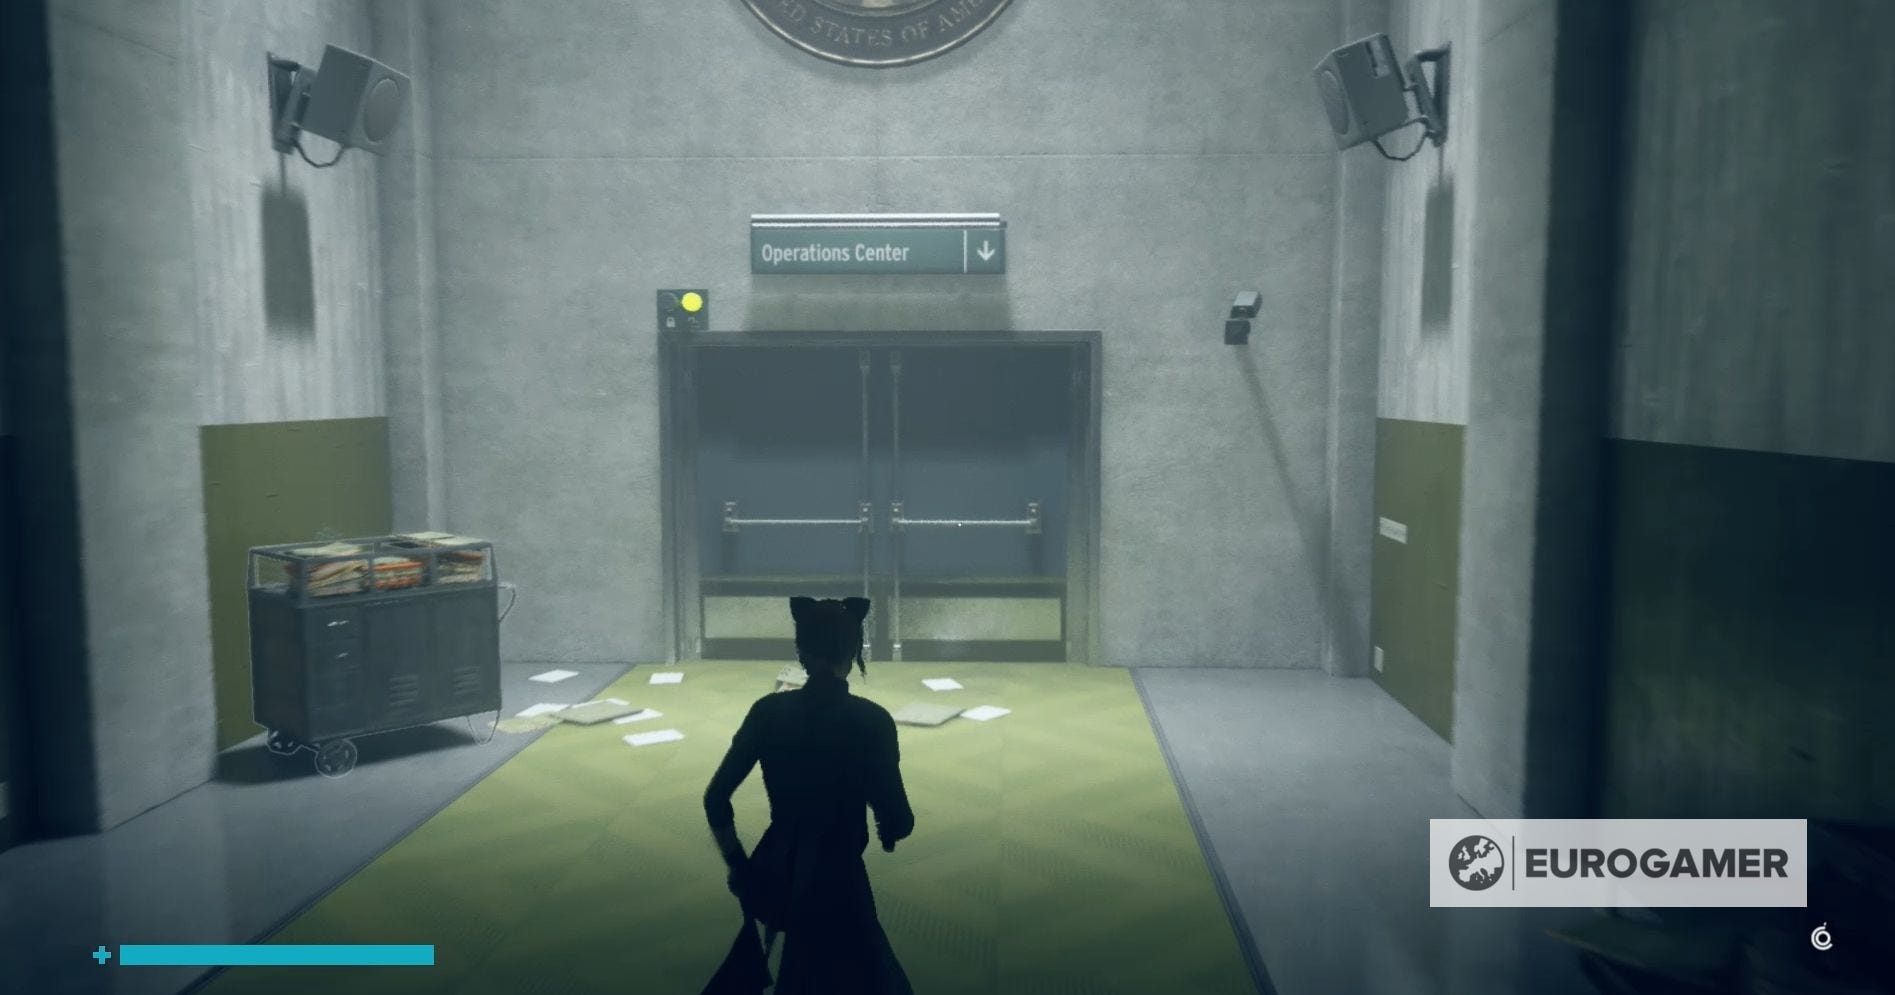
The first thing you'll want to do upon entering the Operations Center is head down the stairs on the left and then continue to your left till you find another set of stairs.
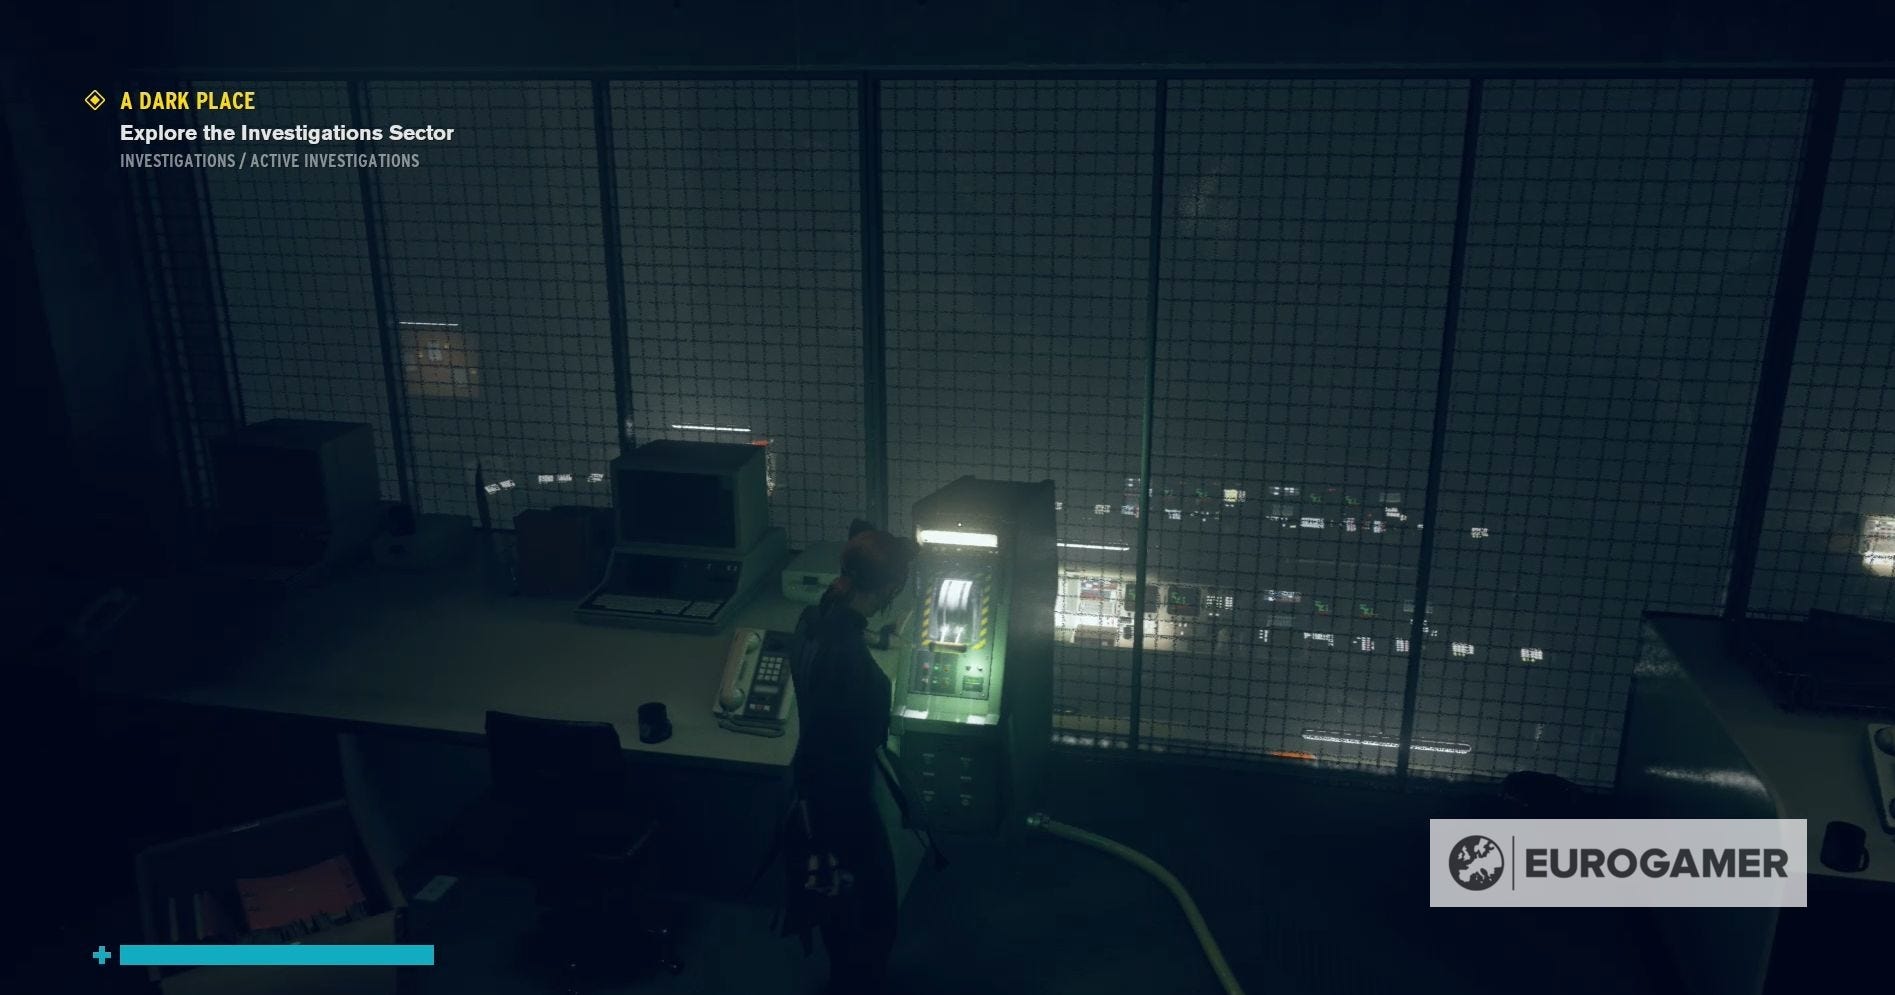
You'll find a Power Core at the top of these stairs, which you can then place in the socket located at the top of the first set of stairs you used in the Operations Center. Doing so will destroy the darkness blocking the doors to the right of the socket.
Take hold of the Power Core again and place it on the socket in the room you've just gained access to. Now all you have to do is flip the switch in the same room to restore power to the Operations Center.
Doing so will summon a number of Hiss, this includes the new Airborne Hiss Rangers, and you'll need to take care of them before you can move on. If you're having issues with the Airborne Hiss Rangers, stay on the upper floors of the Operations Center where you'll have more cover.
You can also use the Assist Mode to control the amount of damage Jessie deals or even make her invincible if you really don't want to deal with the Hiss.
Before you leave the Operations Center, don't forget to pick up some new tasks from Ahti from the corkboard to the right of the exit. These new side missions include:
- Another Fine Mess: Burn the Dark
- Another Fine Mess: Clear the Mold
- Another Fine Mess: Nourish the Plants
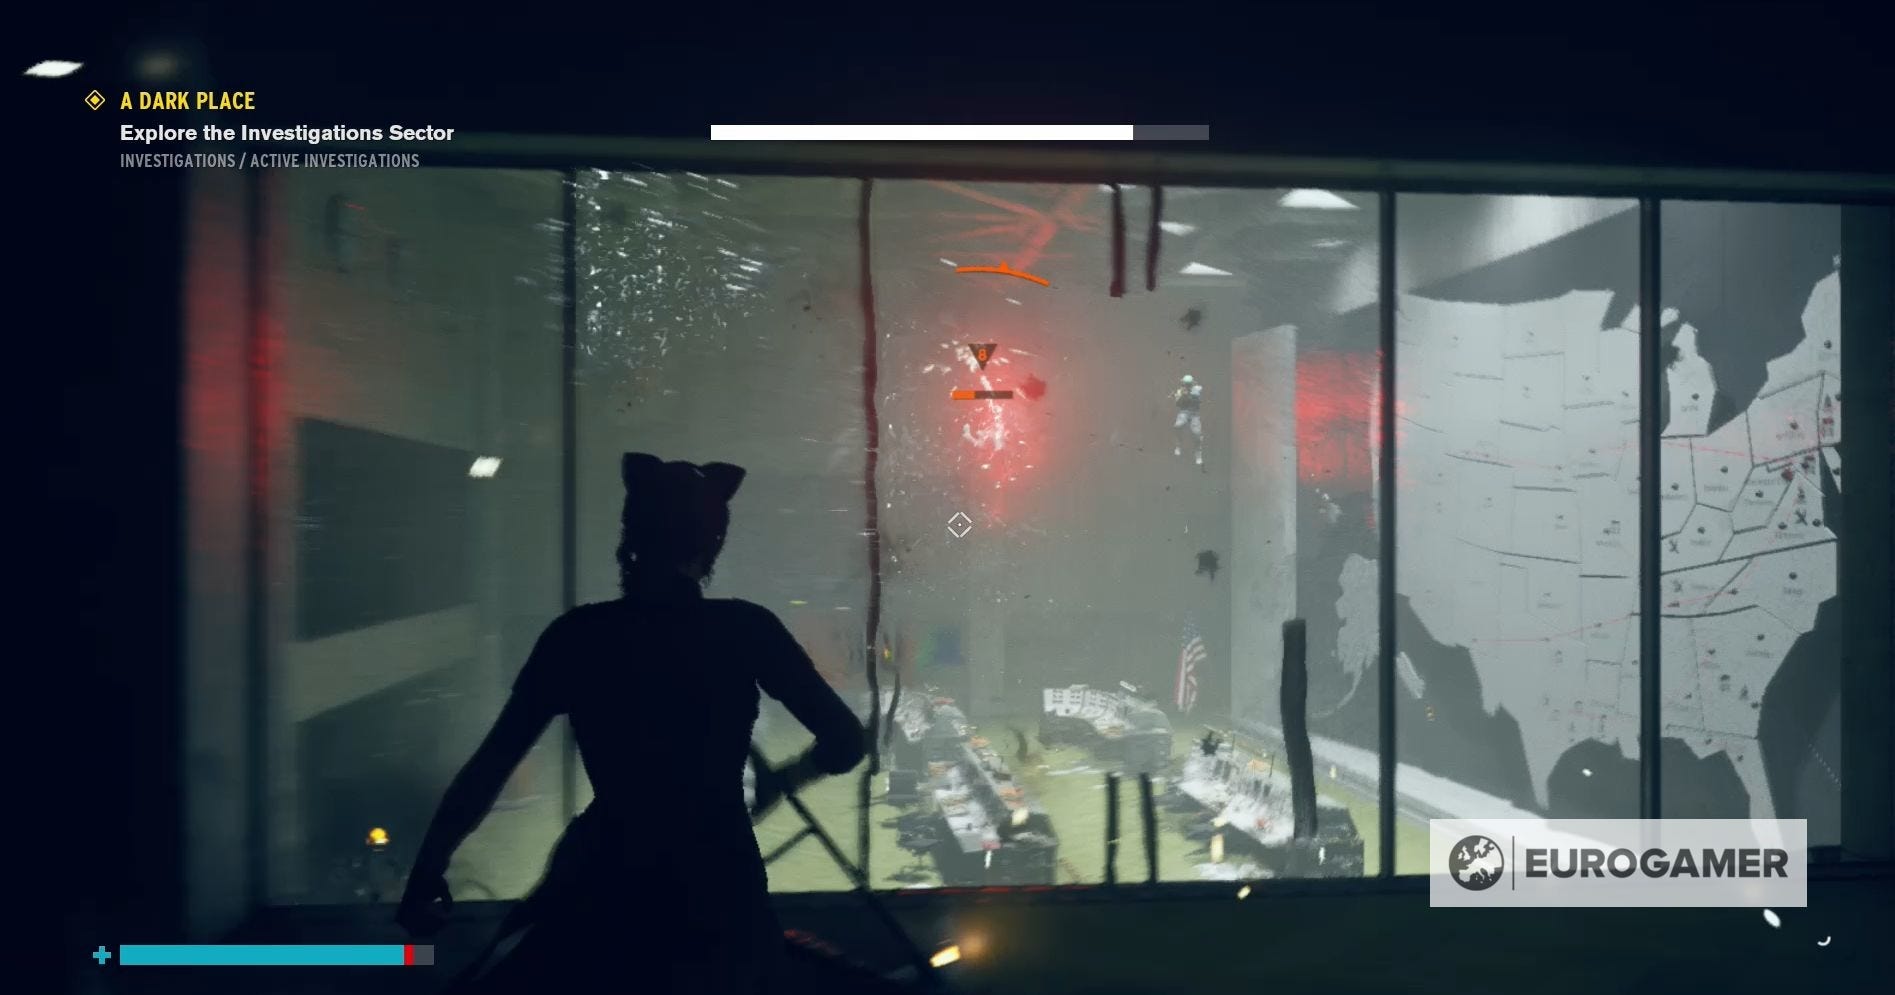
When you're ready, head through the furthest doors on the lower floor of the Operations Center and claim the Control Point, before heading into Active Investigations.
Collectables to be found:
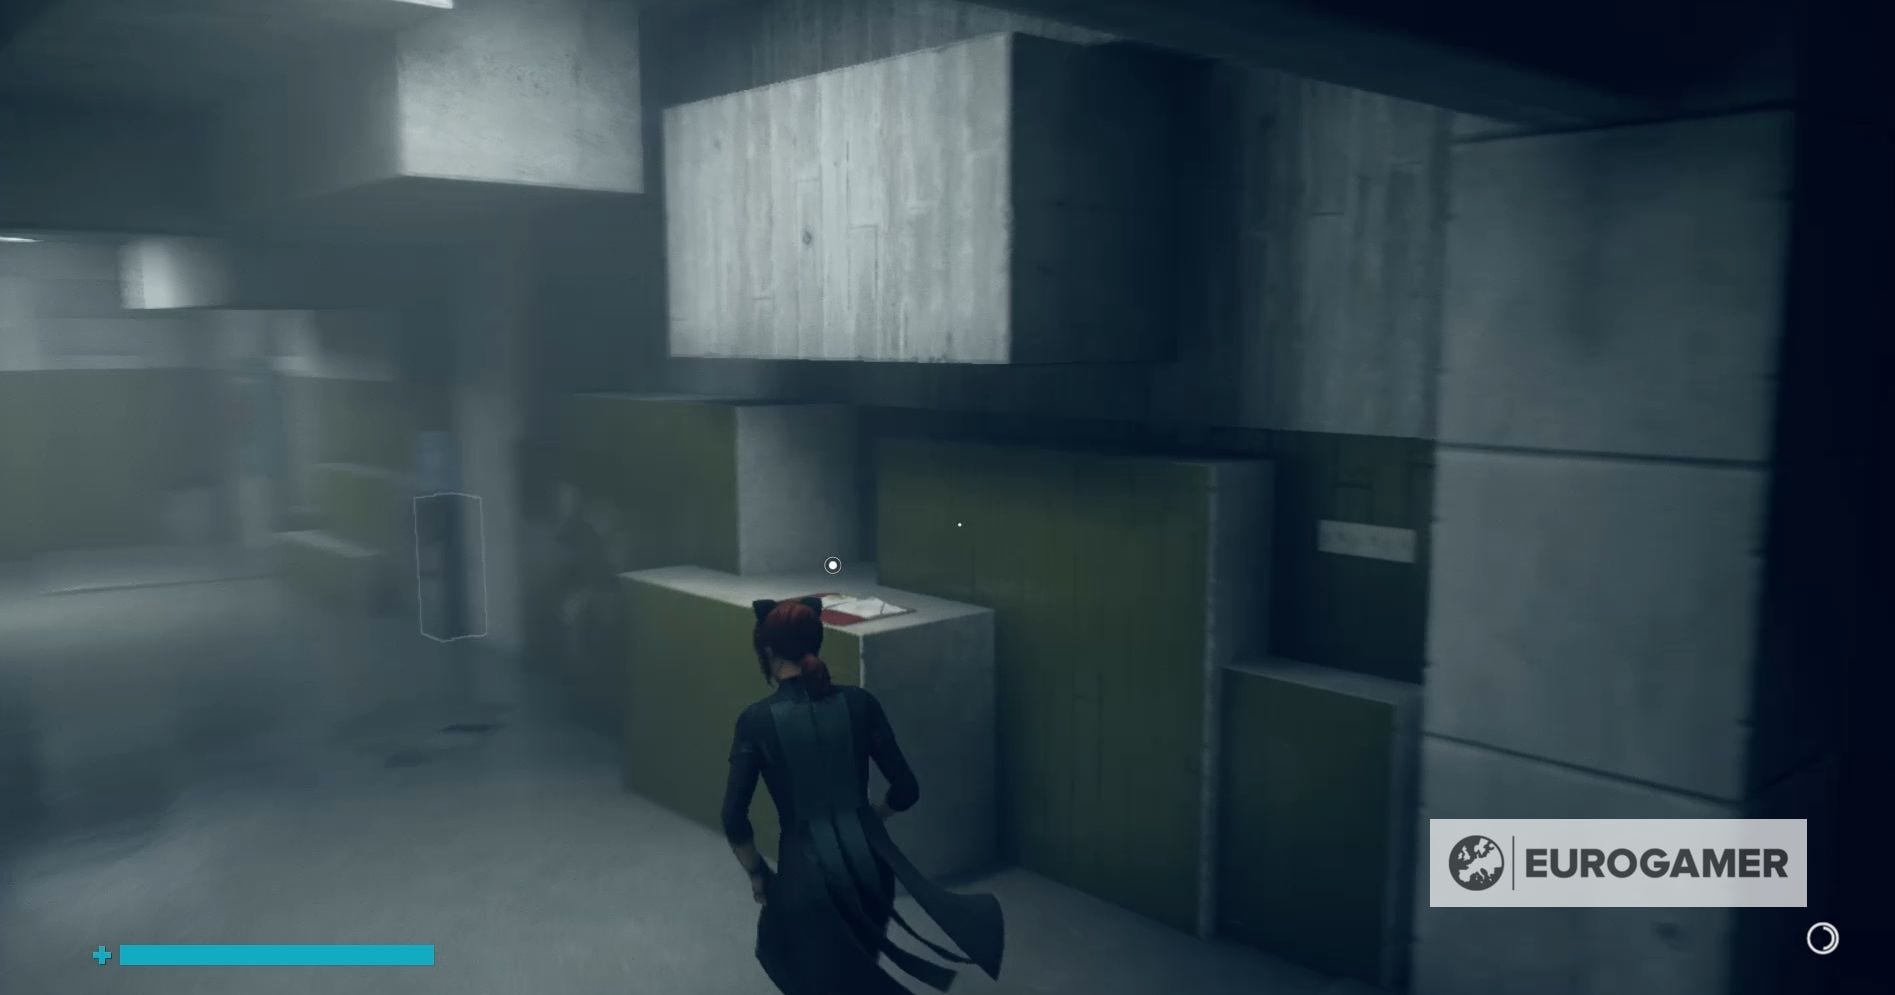
- Research & Records - Reports - Hartman Arrest
- (On a block in the northern part of the Abandoned Offices)
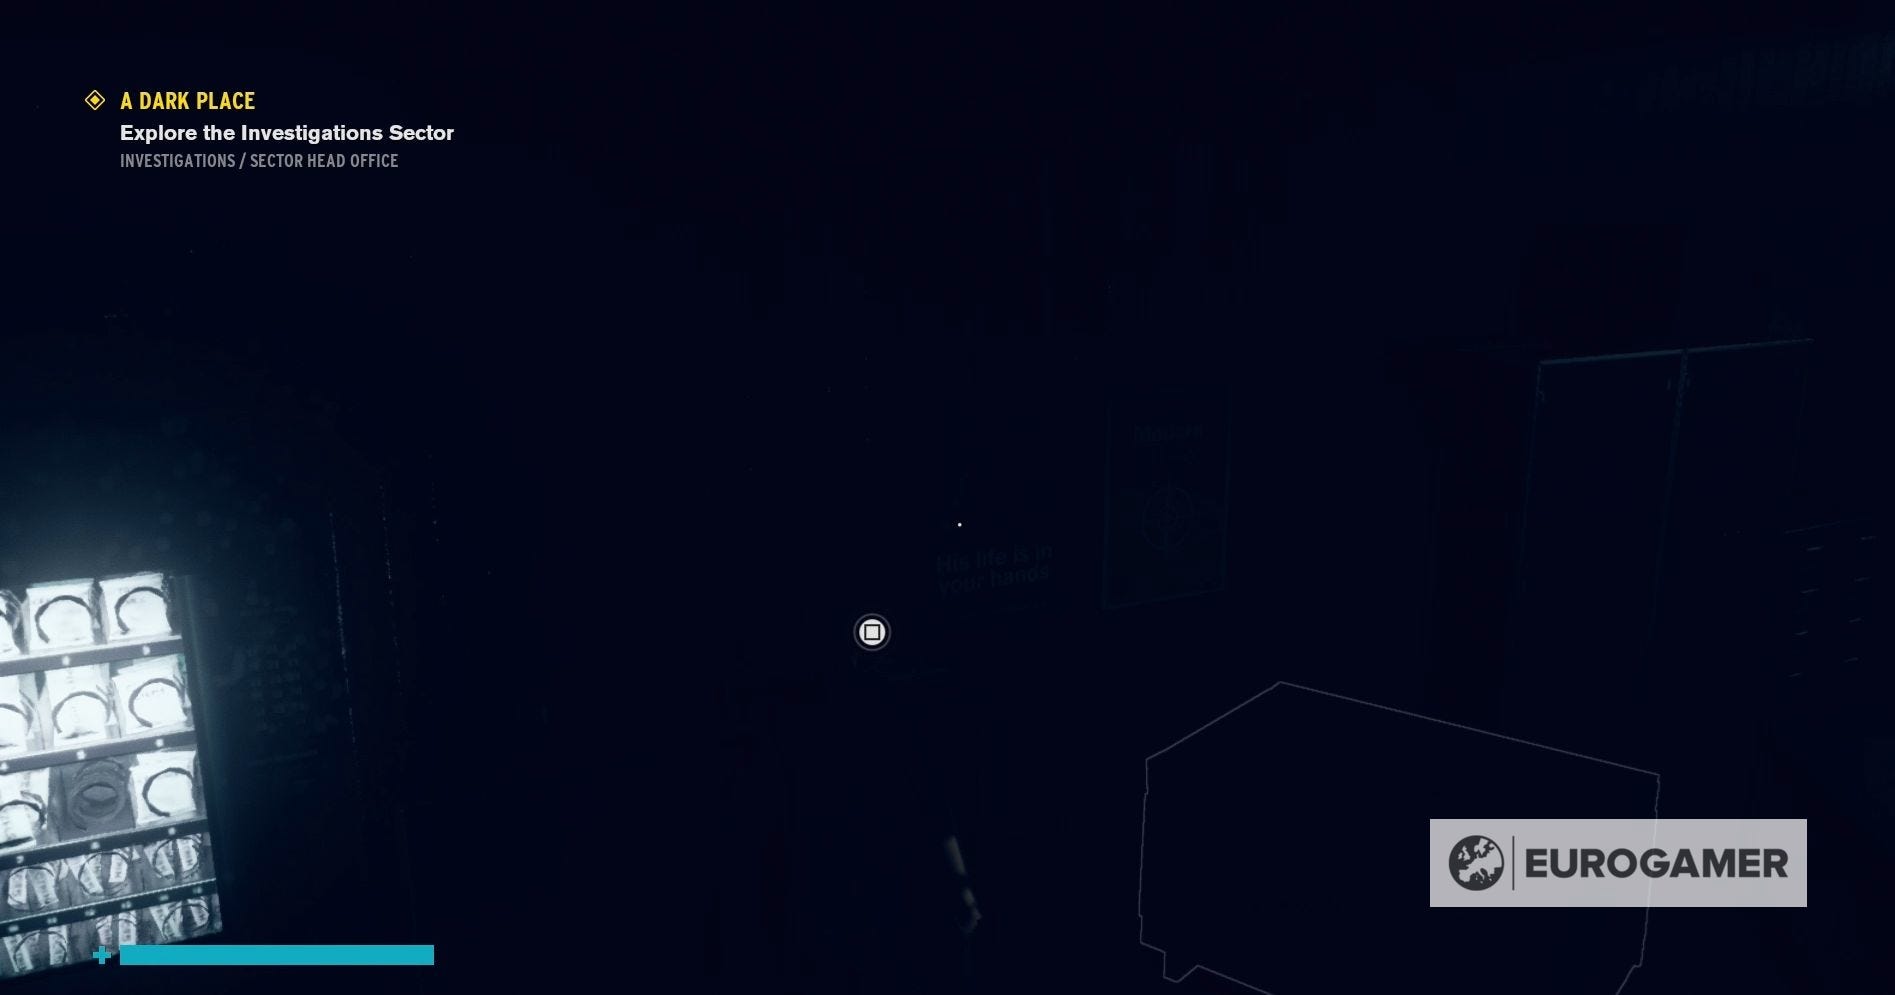
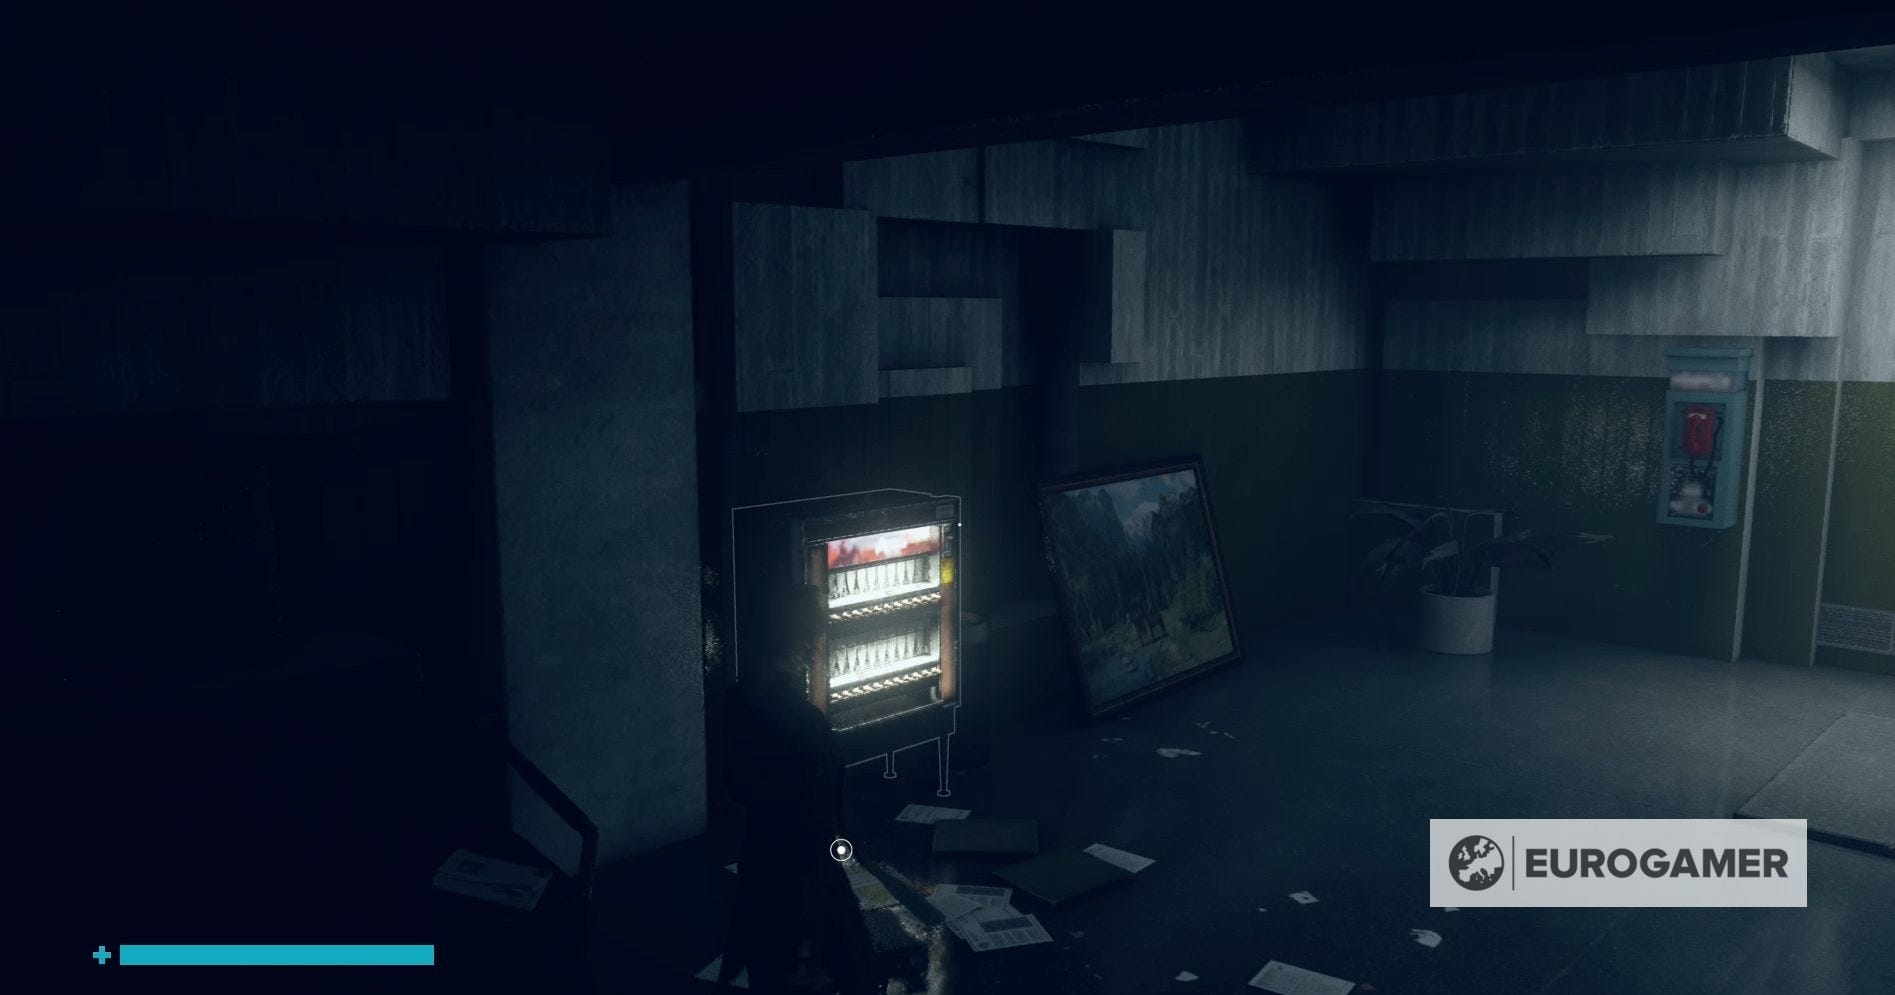
- Correspondence - Dead Letters - Foot Gossip
- (Next to the cigarette machine on the right-hand side of the Abandoned Offices)
- Hotline - Wake - The Third Thing
- (Receive upon entering the Operations Center)
- Multimedia - FBC Recordings - FBC Reminder: Billable Hours
- (In the toilets in the Operations Center)
- Correspondence - Non-Official - Interrogation Complaint
- (On one of the computer banks on the lower floor of the Operations Center)
- Research & Records - Hiss Research - Hiss Ranger (Airborne)
- (Defeat the Airborne Hiss Rangers in the Operations Center)
- Research & Records - Reports - Black Market
- (On a cabinet on the lower floor of the Operations Center)
- Multimedia - FBC Recordings - Motel Observation
- (Beneath a desk on the lower floor of the Operations Center)
- Research & Records - Reports - NASA Cooperation Review
- (Next a cabinet outside the stairwell for the right-hand stairs in the Operations Center)
- Case Files - Altered Worlds Events - Eagle Limited Summary
- (On a computer bank in the room with the switch in the Operations Center)

- Research & Records - Research - The Shadow
- (On the floor in the room containing the switch in the Operations Center)
- Multimedia - FBC Recordings - Dr. Hartman's Notes: The Darkness
- (On the furthest computer bank in the room containing the switch in the Operations Center)
Once you reach the Active Investigations office, you'll have your first encounter with Hartman and, if you want to survive, you'll need to activate the lights in Active Investigations.