Far Cry 6 The Truest Yaran: Where to find pipes and solve The Truest Yaran quest
Chris Pratt would be proud.
Far Cry 6's The Truest Yaran is one of the treasure hunts in the game.
Tasking you to investigate a flooded area and clean blockages in pipes, this can be a long and confusing treasure hunt if you don't know the exact spots.
This page explains where to find pipe locations in Far Cry 6 to complete The Truest Yaran treasure hunt swiftly.
On this page:
Far Cry 6 The Truest Yaran location
Treasure hunts in Far Cry 6 are optional activities that often involve solving environmental puzzles and putting your grapple to good use with some acrobatics inside caves or military bases. At the end of each you will receive unique rewards, from unique weapons to weapon charms.
Here's where you can start The Truest Yaran treasure hunt:
- The Truest Yaran location: Noventa Armas in Valle de Oro, east of Lake of Lions.
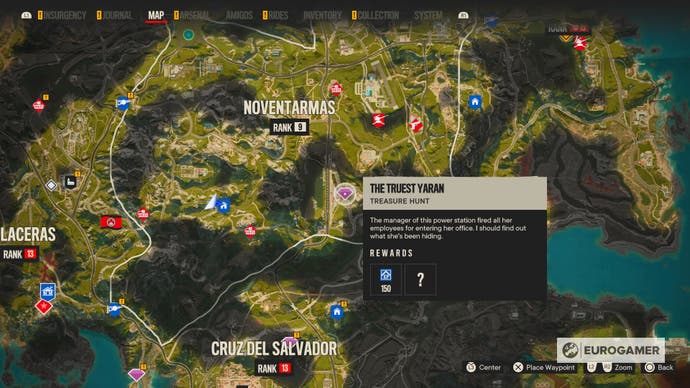
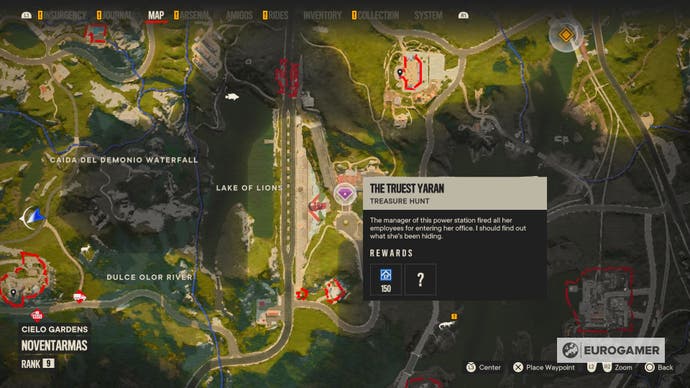
Now, let's jump to the steps to complete the quest.
Looking for more help? If you're just starting, we have pages on male or female Dani Rojas, completing Fuel the Revolution, how to destroy anti-aircraft guns, and where to go first on the map. Elsewhere, we explain where to find Triada Relic locations, Parting Gifts, The Long Drop, Cache Money, Rising Tide, High Supply, And the Beat Goes On, The Last One to Leave, Liquid Courage, The Missing Muse, The Emerald Skull, The Truest Yaran, Chorizo's location, the best Far Cry 6 weapons, and the GDP Oil Platform, Finally, we explain Far Cry 6's secret ending.
How to complete The Truest Yaran and where to find pipe locations explained
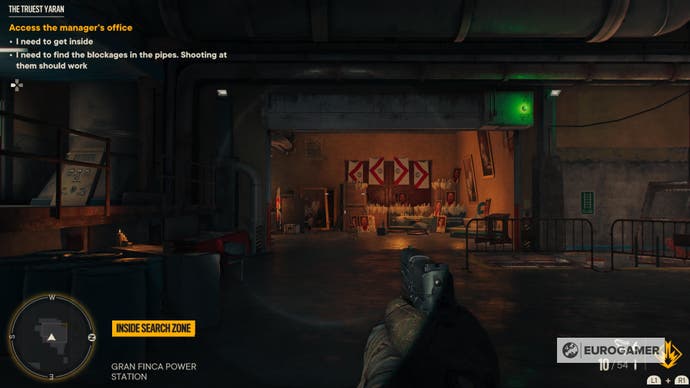
This one is started by grabbing a note outside the Gran Finca Power Station. Once you have it, head inside by using the door around the corner. You will immediately see bloodstains on the floor, as well as a Scrap Paper Note, for reference. Head inside the main room to discover quite a gruesome scene.
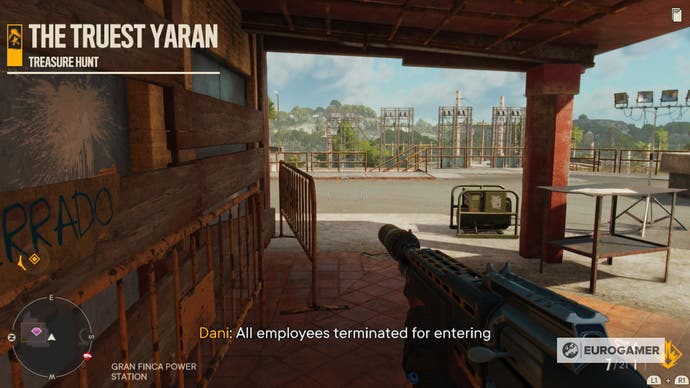
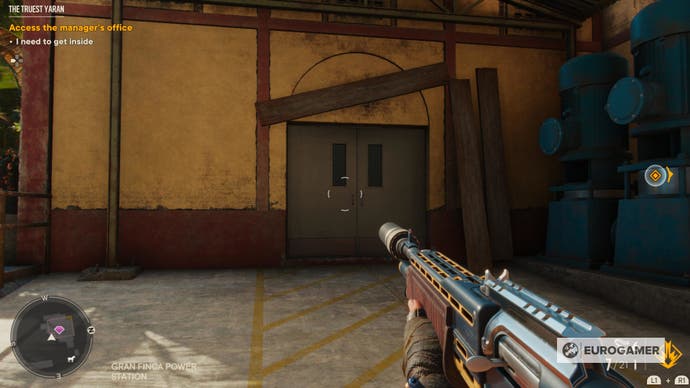
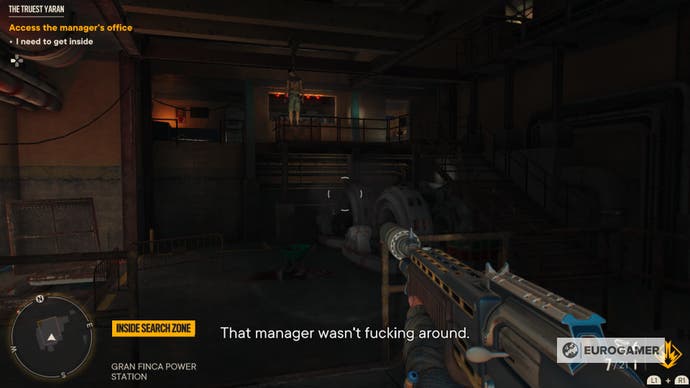
The next step is to access the manager's office. For this, head all the way across the room and into the post there, where Dani will mention there's a notice. Indeed, the Strongly Worded Note indicates that you'll have to clear the blockages in the pipes.
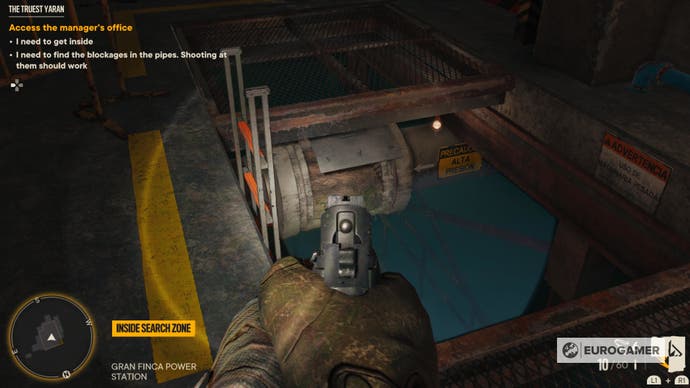
For this, we're going to ground level again and using the ladder on the right side of the room to head into the water. Before you head down, clear the first pipe by shooting its interior (there's a sign on the right that points towards it with an arrow, which says “alta presion”).
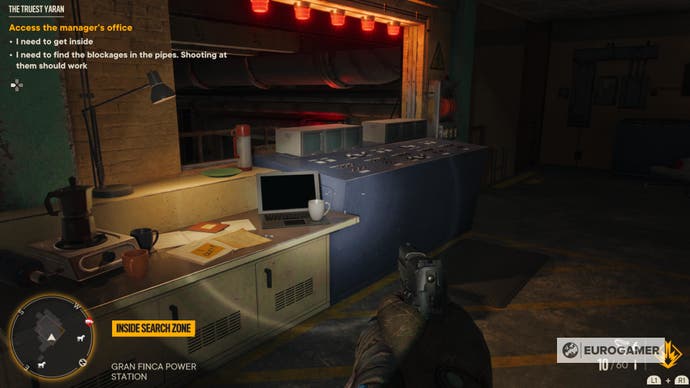
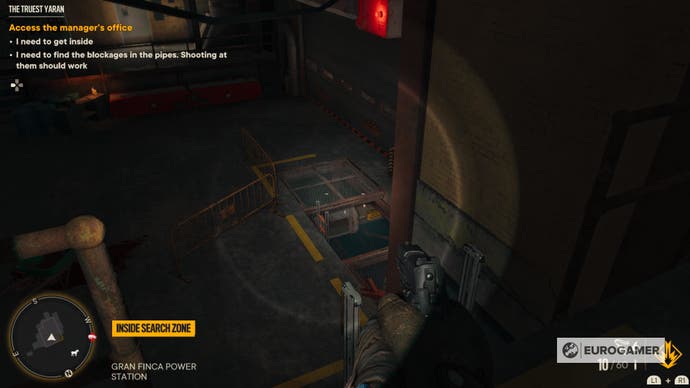
That was the first. Now, head down using the ladder and move to the opposite side of the room by taking a quick swim. Once there, Dani will hop on a platform, allowing you to shoot at the second pipe.
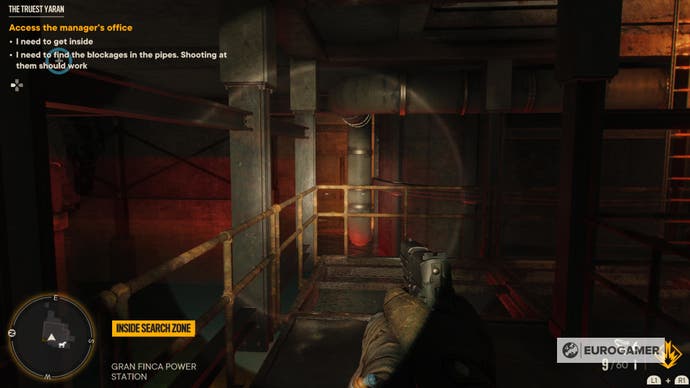
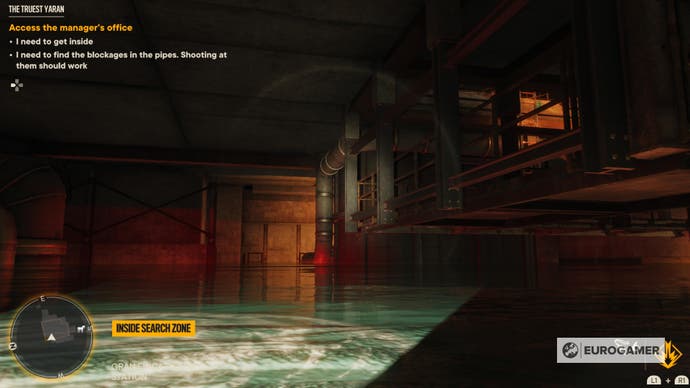
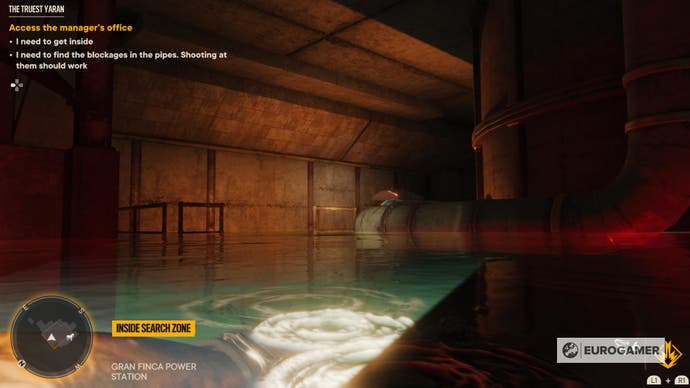

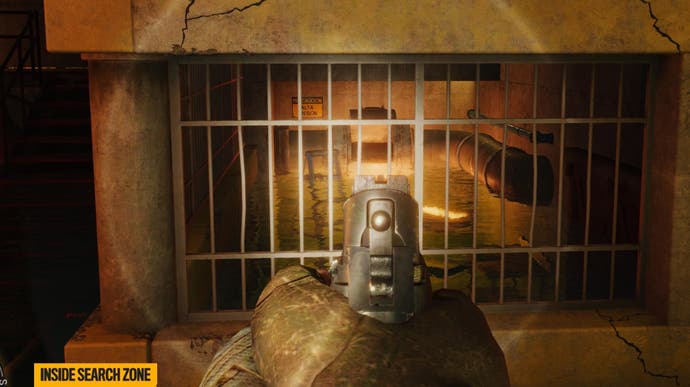
That's two. From where you're currently standing, descend into the water once more taking the left side. Hop on the wooden floor located in the corner, and make a quick turn to see the blocked pipe behind the cell window.
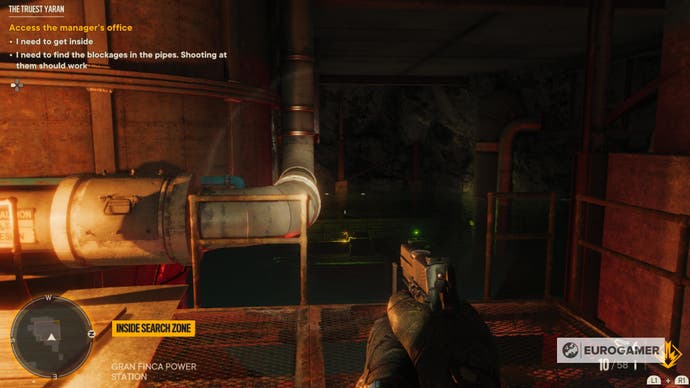
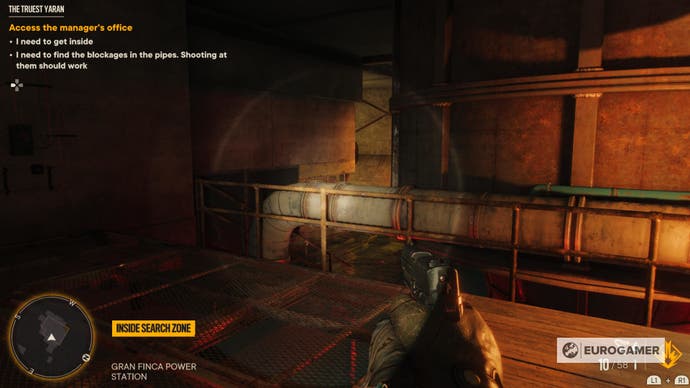
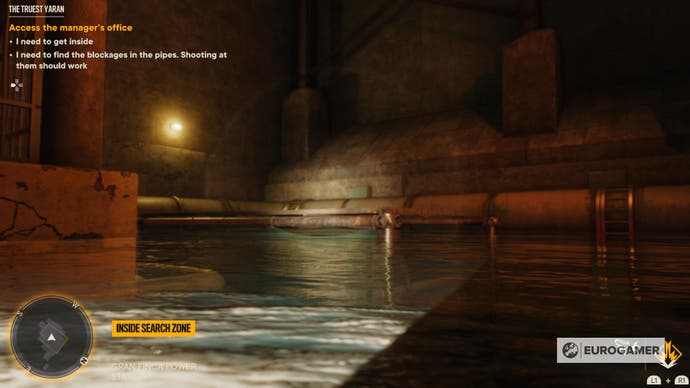
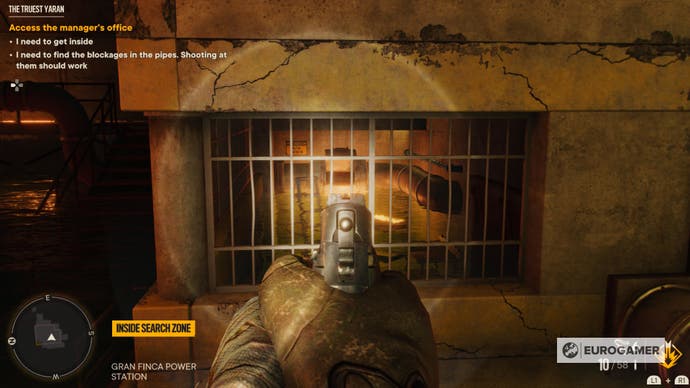
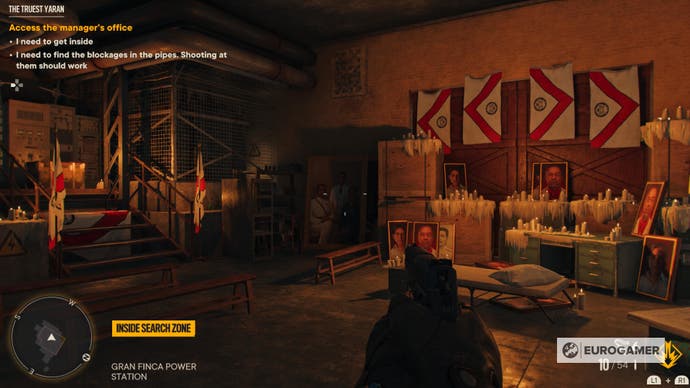
Almost done. Climb all the way back to the first room using the ladders and use the switch to open the previously locked door. Amidst the strange altar, you'll find a chest up the stairs.
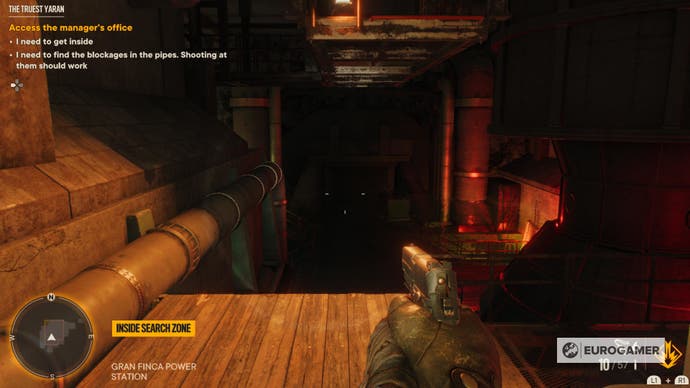
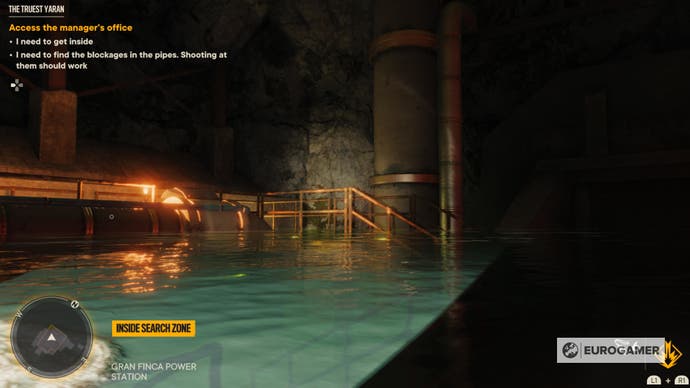

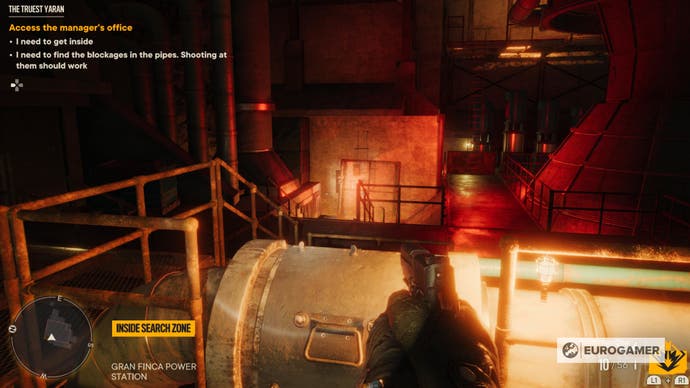
That's four! The last one is straightforward enough: descend the stairs and continue heading straight to see a manhole with a red ladder. Jump inside and you'll find yourself inside a circular room with the last pipe. Give it a quick shot to finally clean the flood.
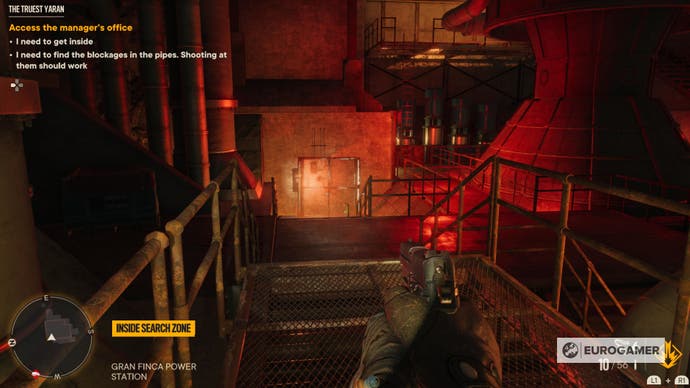
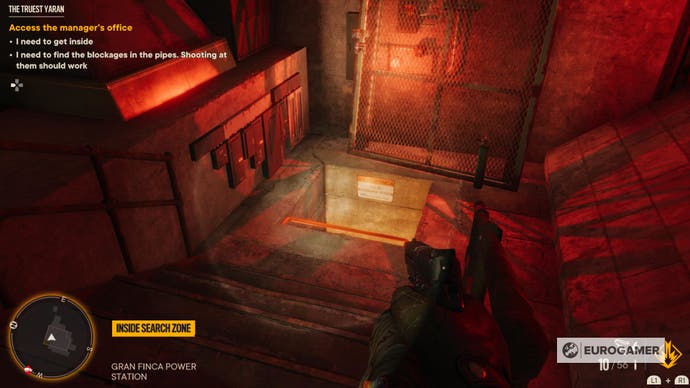
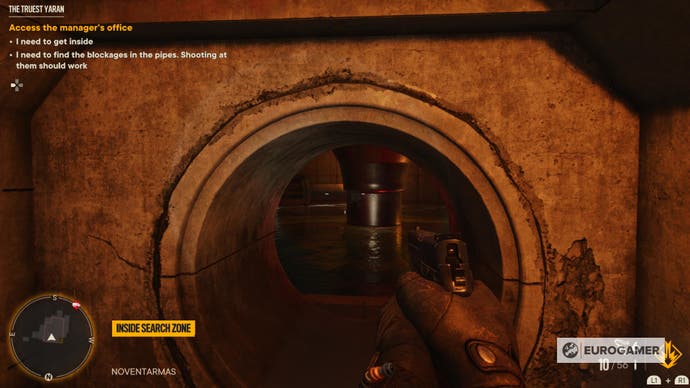
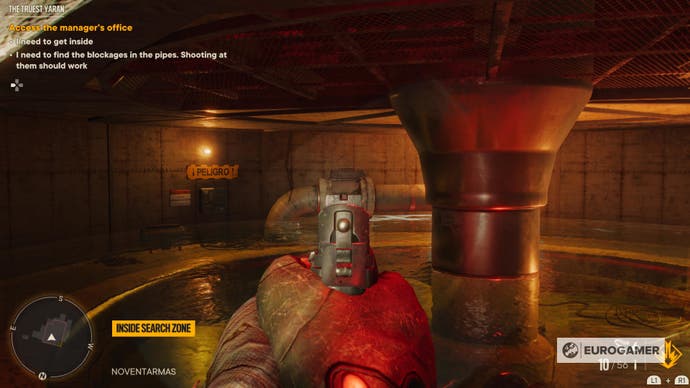
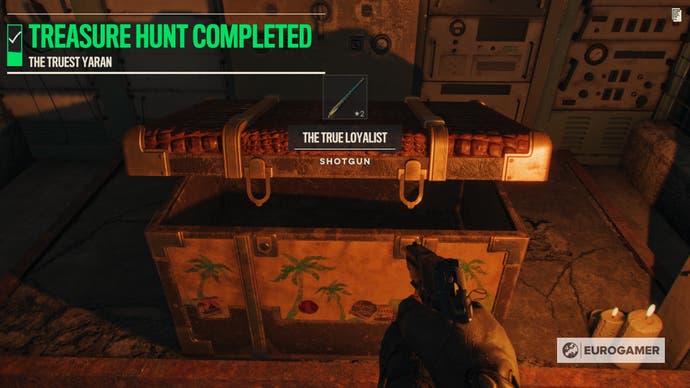
Climb all the way back up and activate the switch from the first control room. This will open up a the big gated door in the room. Head there to find the chest and open it to receive The True Loyalist shotgun. You can also pick up a Regime Letter.
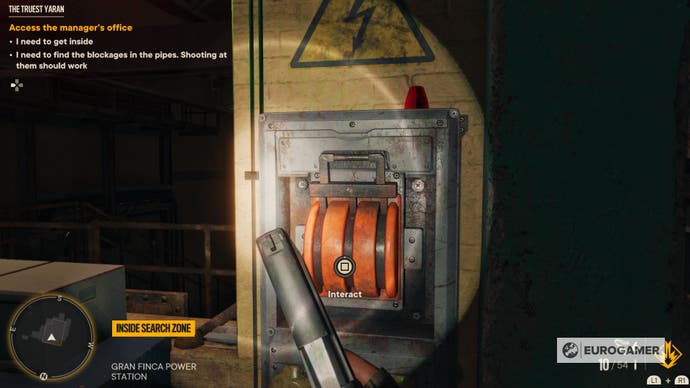
That's the end of the treasure hunt!
