Destiny 2 Riven of a Thousand Voices strategy
How to beat the fifth and final encounter, Riven of a Thousand Voices in Destiny 2.
Riven of a Thousand Voices is the fifth and final encounter for Destiny 2: Forsaken's raid, The Last Wish.
After The Vault, you'll be in the home stretch of Last Wish. And as such you'll have one more enemy to fell, Riven. Riven is the culmination of everything you've learned from previous encounters and then some. With Eye of Rivens, Taken Strengths, jumping puzzles, a boss, and a second encounter to boot.
If you want to read more about the raid, our The Last Wish guide can help, including how to beat Kalli the Corrupted, Shuro Chi the Corrupted, Morgeth the Spirekeeper and The Vault.
On this page:
How to reach the final encounter, Riven of a Thousand Voices
The road to Riven after the Vault is a short one. After you've completed the fourth encounter, the vault, you'll need to progress through the halls until you reach a large room plates similar to the vault in the middle. And that's it, you're already there.
There are no known hidden chests or secrets between the fourth and final encounters currently, so it's a very straight forward path to take that involves no additional jumping puzzles or obscure passages.
Riven of a Thousand Voices strategy step-by-step
- Split fireteam in to two groups of three, assign roles (hidden symbols and enemy management)
- Step on plates and get inside room assigned to your team
- Kill Eye of Riven and cleanse the hidden symbol or bait Riven's attack, damage Riven, call out glowing eyes and force towards opposing room
- Damage Riven and then shoot the called out eyes or Kill the Eye of Riven and cleanse the hidden symbol
- Head towards the second floor and repeat previous two steps
- Take elevator to the third floor and gather in the middle
- Clear enemies while baiting Riven's attacks, damaging Riven, and calling out glowing eyes (three times)
- Damage Riven's open mouth and destroy the eyes from the previous three phases
- Clear the room and stand on original plates
- Destroy Riven's cysts as you fall to the floor. Be sure to avoid/shoot the Axiom Darts that are released
- Repeat the first two levels in original teams and progress towards third floor until Riven reaches 10% health
- Climb to the top of the ascendant realm and collect glowing orb
- Final damage phase for Riven's health bar
- After Riven lets out dying breath, run inside and finish Taken Blight surrounding her heart
- Escort the heart in a relay race while players pick up Taken Strength inside the heart after being transported
- Choose your chest
Riven of a Thousand Voices strategy in detail
Like all good raids, Riven demands that your fireteam split in to two if you want to complete the encounter without using exploits. So make sure that you assemble two teams of three for the upcoming encounter.
Both teams will be completing identical tasks but with alternating patterns. Within those teams you will want to assign one player to clear the waves of enemies and the other two players to hold the Taken Essence and use the window, as well as discussing who may need to bait Riven's attacks and who will be shooting Riven's Eyes.
As the eyes are critical for this encounter, it's important that all players check out this infographic (which was created by Reddit) that identifies the established callouts for the eyes to ensure that you're able to support other players. You might even want to keep a piece of paper to hand to note the eyes for one of the later stages.
Riven is a big encounter, and there's no denying that. It's mechanic heavy and very reliant on communication. Before you can even start to think about starting, you'll need to discuss roles within the two teams you'll split in to. The best strategy to approach Riven is to split in to two teams of three, one for blue room and one for yellow.
Within these teams you'll have two roles, one member will be responsible for clearing the Taken that spawn in the room and the other two will be in charge alternating to cleanse the hidden symbols on the first and second floor.
It's also important to assign players to take responsibility to pop Riven's eyes during the damage phase on the third floor, our team found the most success with three players - a player for each time Riven appears on the third floor prior to the damage phase. Now that you've got your roles, you should take your time to familiarise yourself with the infographic of Riven's eyes and their callouts.
Once you've established your roles, all players must jump on one of the plates throughout the room based on their teams (blue to the left and yellow to the right). As the players stand on the plates, they will open and allow players to float down to the bottom level of the encounter. Players should identify their door and float towards it as best as possible. When you touch down, it's critical that you get to your room as fast as possible thanks to the doors being on a set timer. Anyone that doesn't make it through their door will die.
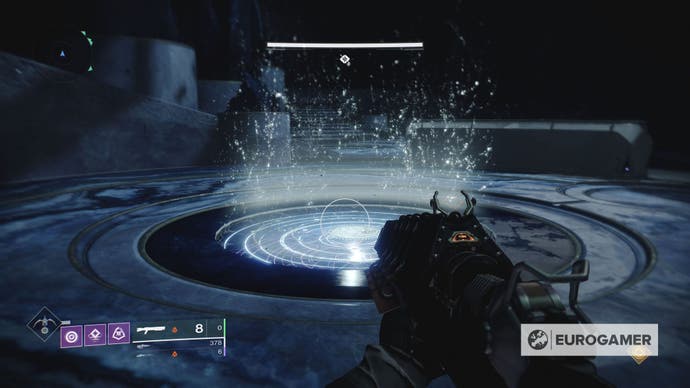

Now that you are in your room you'll have one of two outcomes: Riven will be present or an Eye of Riven will be waiting. For those with riven, there will be two possible approaches depending on Riven's state. The first of which is Riven breathing fire. If Riven is breathing fire, you'll want to duck behind the scenery throughout your room and shoot Riven's mouth when it's vulnerable.
The second is when Riven's claws are visible in the room. You are going to need to bait Riven to attack you with her claw in this instance. To do so you'll need to jump about in front of Riven until she swipes at you and knocks you in the air. After Riven strikes the ground her claw will glow red, this will indicate that Riven is vulnerable and you'll have to deal damage.

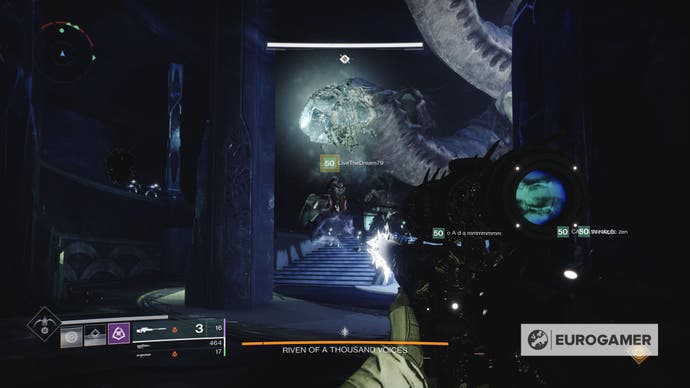
In both instances dealing enough damage will stagger Riven and the top half of the face will open to reveal two glowing eyes. When Riven's face opens you will need to communicate which eyes are glowing to the other team as Riven is going to appear in their instance next. Forcing Riven in to the next room will also spawn an Eye of Riven in your room for you to cleanse the hidden symbol.
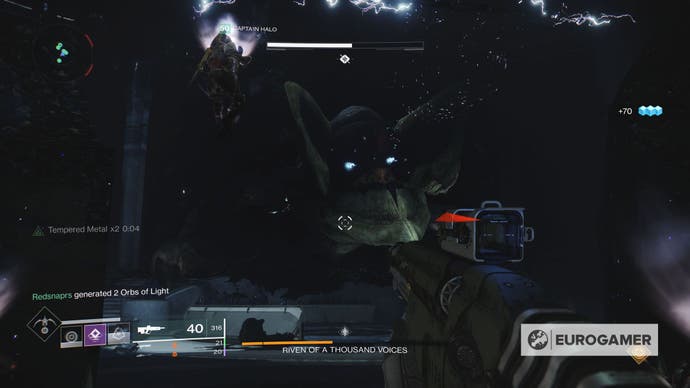
While one team is dealing with Riven (or after your team has pushed Riven to the other room), the other team will be left with an Eye of Riven in their instance. Killing the Eye of Riven, much like every other encounter, will result in a Taken Essence dropping in the arena. One of the players in charging of cleansing the plates should pick it up and the other should make their way to the large window/lens in the centre of the room.
If the player holding the Taken Essence looks towards the lens they will see a symbol repeated five times down the front, they should repeat this to the person standing at the window. If you're standing in front of the window you will be able to see a group of previously hidden symbols. Guide the player holding the Taken Essence to the symbol and ask them to cleanse it with the grenade ability.
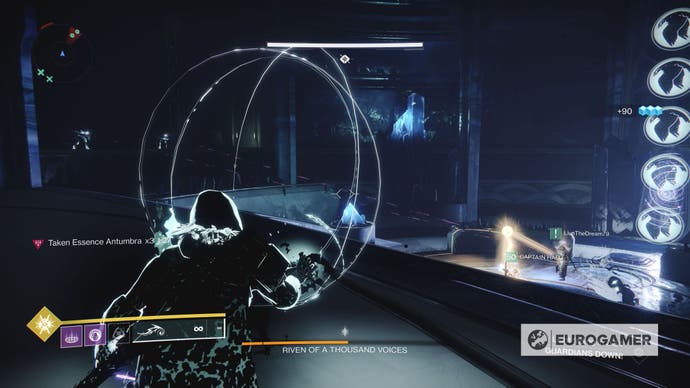
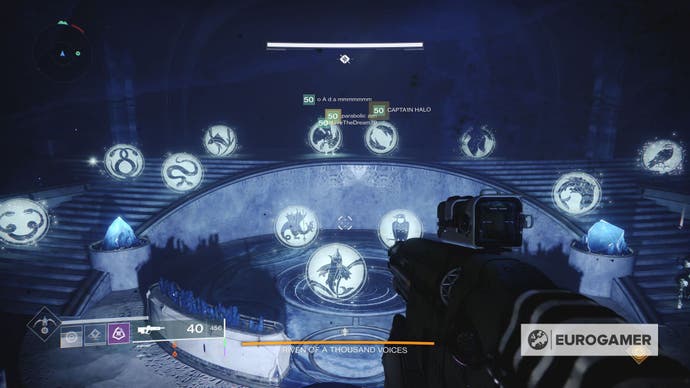
If timed right, the side without Riven should cleanse their hidden symbol as the other side chases Riven away from theirs. Riven will now appear in the opposing room with their eyes and mouth exposed, players should quickly shoot Riven's mouth while one player shoots the eyes that the other team called out as glowing when they forced Riven to switch room.
(If you are struggling to time cleansing the hidden symbol and Riven moving rooms, you can leave the Eye of Riven alive and complete the full Riven eye popping part of the first floor before both teams cleanse the symbol at the same time, both approaches work.)

After both sides have cleansed their hidden symbols they should move to the back of the first floor rooms and take the lift upwards. Identically to the first floor, players will once again need to damage Riven and call out the glowing eyes as well as killing the Eye of Riven and cleansing the hidden symbol.
This time, instead of a lift at the back of the room, there's a lift at the centre that will take you up to the third and final floor of the encounter. While you are on this floor, all players should make their way to the collection of pillars in the middle as they offer the most protection to kill surrounding enemies and deal with Riven.
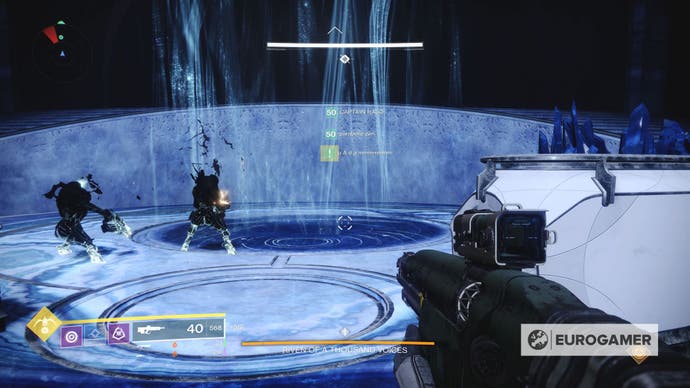
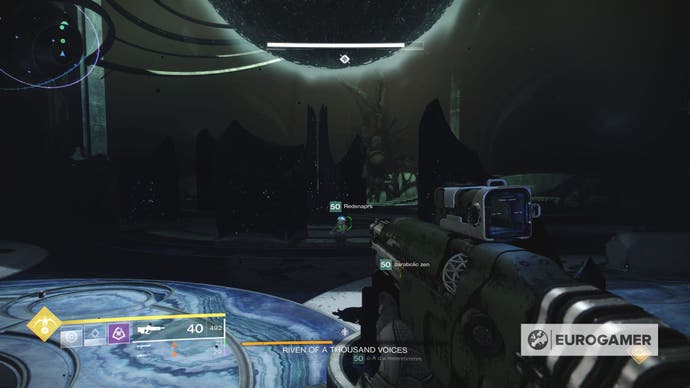
The third floor acts similarly to previous floors, but instead of one phase of dealing with Riven's attack there are three as well as a load of enemies spawning which should be taken care of by the guardians in charge of clearing in the first two floors. After every one of these phases, two of Riven's eyes will glow. Take note of all these eyes, there will be six in total. It's up to you if you want to have one player take care of all six eyes or split the eyes between players. Our group found it easiest to assign a player to each appearance and for them to kill the associated eyes.

When Riven retreats for third time your whole team should group up and prepare for a damage phase. Riven will burst in to the room for a final time, mouth agape. Shoot the open mouth as much as possible collectively and destroy the six eyes identified in the first three phases.
Riven will the retreat again, leaving all the enemies in the room. Clear them and head to the plate you started the encounter on before the debuff called "Creeping Darkness" reaches x10 and kills you. This time, as you drop down towards your door again Riven's back will be covered in glowing cysts. Shoot these cysts to do extra damage to Riven. As a cyst pops, it will release a collection of Axiom Darts that will track the player to destroy the cyst, so be careful and shoot them before they reach you too.
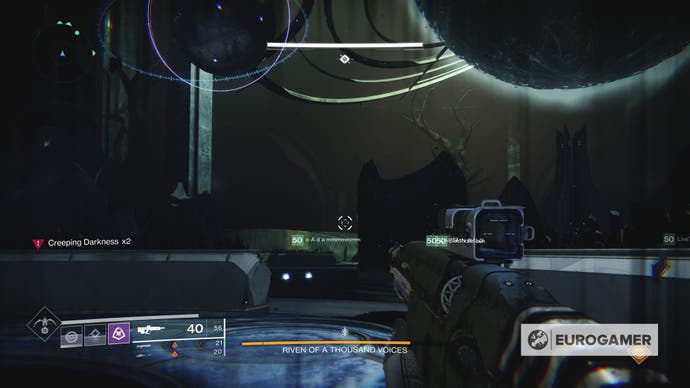
Once you hit the ground, you'll need to repeat the same process you did the first time you entered the encounter and continue to do so until Riven reaches 10% health.
As soon as Riven reaches 10% health you will be transported to another dimension. While you're in this new dimension your health will rapidly drop, so you'll have to be quick on your feet. Your team's main objective in this section is to climb to the top and touch the glowing white orb to be transported back to reality. Only one player needs to reach it, but if players wipe during this encounter it is very hard to recover from.
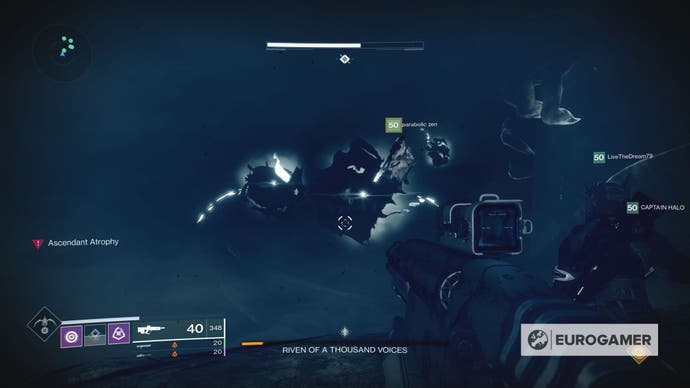


After you touch the orb everyone will be transported outside a weak Riven with its mouth open and the Taken Blight hanging out. Continue to shoot the Taken Blight until Riven reels back and lets out two explosions before falling to ground and starts to decay. While Riven is rotting away you'll need to run in to the mouth and down to Riven's stomach to defeat another Taken Blight surrounding the heart.
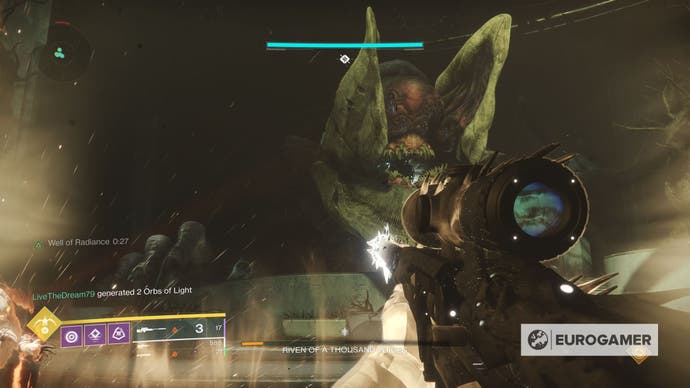
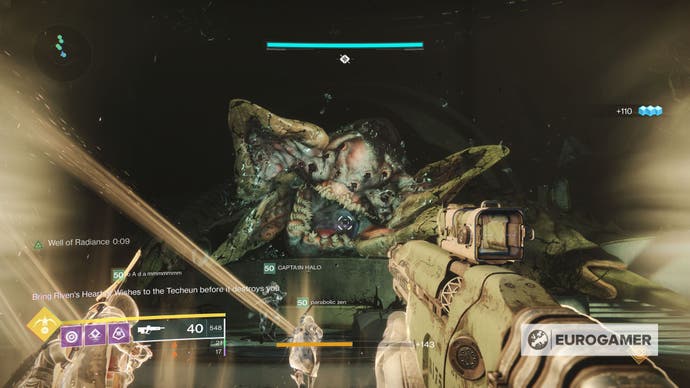
When you destroy this blight you'll be granted a checkpoint and asked to escape holding Riven's heart - a notification at the bottom left of your screen will notify who the first chosen guardian to escort the heart is.
This section is a big relay release with each player holding the heart being transported to another realm after holding the heart for a set amount of time. Those not holding the heart should clear any surrounding threats and try to stay in the shrinking aura generated by the heart without getting too close - players next to the heart holder when it transports them will also be sucked inside the heart.
The route for the race is to leave the corpse of Riven, turn left as you exit the mouth, navigate the jumping section, make a right towards the vault at the end of the jumping room, run around the outer tunnels of the vault towards the lift, jump down the lift, and then dunk the heart at the altar.
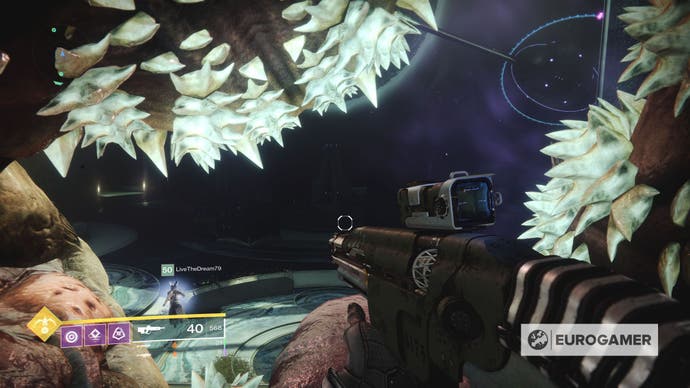

While all of this is happening the player holding the heart will change every 20 seconds and be transported to another dimension, with the next carrier of the heart indicated at the bottom left of your screen. Players transported to the other dimension will need to fend off waves of enemies and collect the Taken Strengths that appear to extend the timer of the player holding Riven's heart.
Players cannot hold any more than two Taken Strength at once, so be sure to take notice of how many strengths you hold before picking up the orbs. Any players that die to enemies while running with the heart holder will also be teleported to the other dimension.
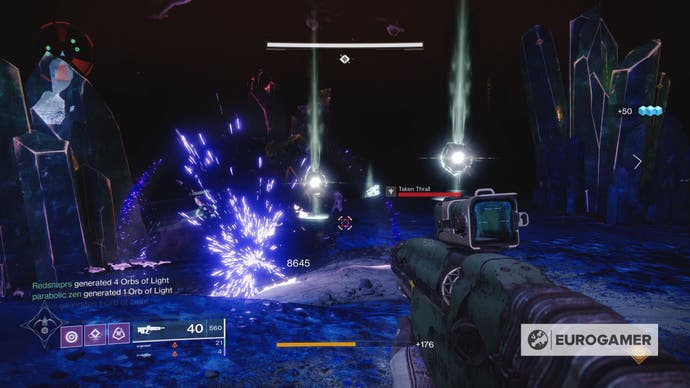
When you dunk the heart all players will be released from the other realm and have a chance to unlock the chests that sit at the base of the elevator on the way to the vault. You can only open one, unless you used the Wall of Wishes to grant you and extra key, so choose carefully.
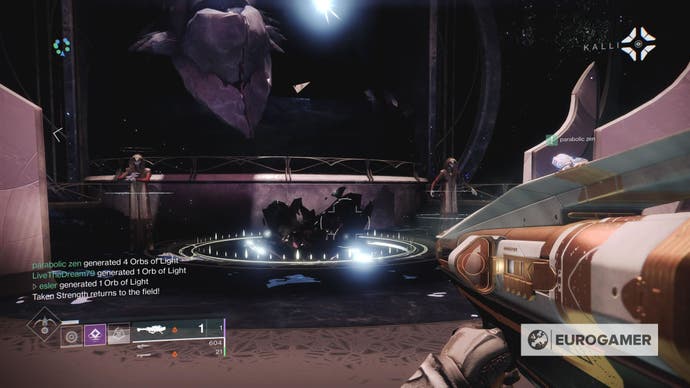
That's it - you made it. The Last Wish has been conquered and you should have some tasty loot to brag about. Congratulations! Ready to run it again on the next weekly reset?
Looking for more raid action? Be sure to check out Scourge of the Past if you own the Black Armoury DLC.


.png?width=291&height=164&fit=crop&quality=80&format=jpg&auto=webp)