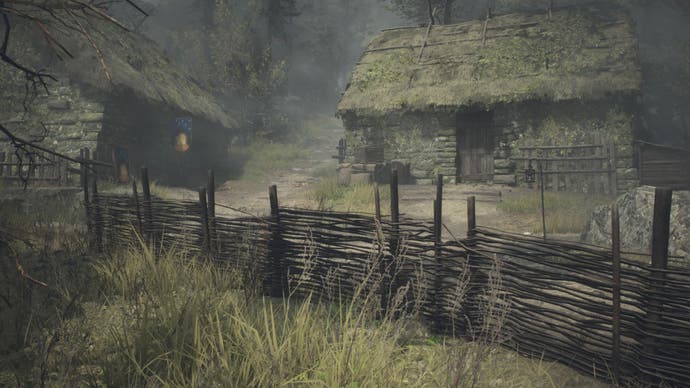
Dragon's Dogma 2 Nameless Village walkthrough
How to complete the Nameless Village quest.
Finding the Nameless Village location in Dragon's Dogma 2 is arguably the hardest part of the main story quest of the same name. Captain Brant only gives you a vague area to look in and, of course, your journey will need to take a detour.
On your campaign to bring down the false Sovran and establish yourself as the true Arisen in Dragon's Dogma 2, you'll need to survive the dangerous forests north east of Vernworth to get vital information from the residents of this village.
Without further ado, we're here to show you how to complete the Nameless Village quest in Dragon's Dogma 2, plus the rewards for doing so.
On this page:
How to start the Nameless Village quest in Dragon's Dogma 2
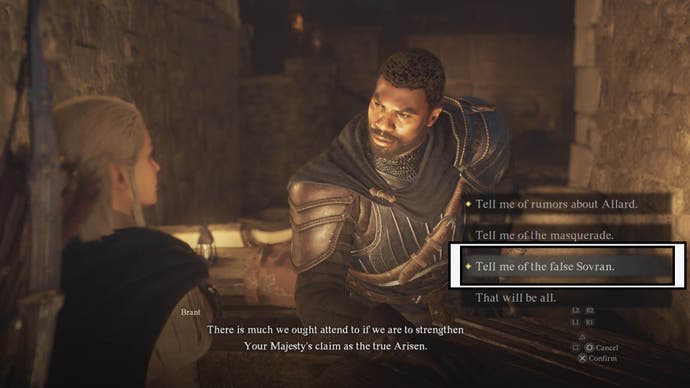
To start the Nameless Village quest in Dragon's Dogma 2 you need to speak to Captain Brant at night in the Stardrop Inn in the Merchant's Quarter of Vernworth.
While speaking to him, select the 'Tell me of the false Sovran' option and this will start the Nameless Village quest. However, like most of the quests from Brant so far, you really don't get told too much about what to do - all he gives you is a vague set of instructions...
How to complete the Nameless Village quest in Dragon's Dogma 2
To complete the Dragon's Dogma 2 Nameless Village quest you need to head north east of Vernworth, find the Nameless Village and find information about the false Sovran there. It sounds easy enough, but there are several things you need to do:
- Find the Nameless Village location
- Head to the Mansion
- Find secret entrance
- Survive puzzles
- Speak to Srail
- Report back to Brant
We're going to walk you through this quest step by step, starting with finding the Nameless Village. First things first though, we recommend passing time until it's morning before beginning this quest otherwise the trek to the village will be much harder.
Find the Nameless Village location
After getting the quest from Brant make sure it's marked down as your priority quest in your quests list, this will make sure the vague area you need to head to is clearly marked on your world map.
To find the Nameless Village location, follow the main path marked on the map below to the north east of Vernworth.
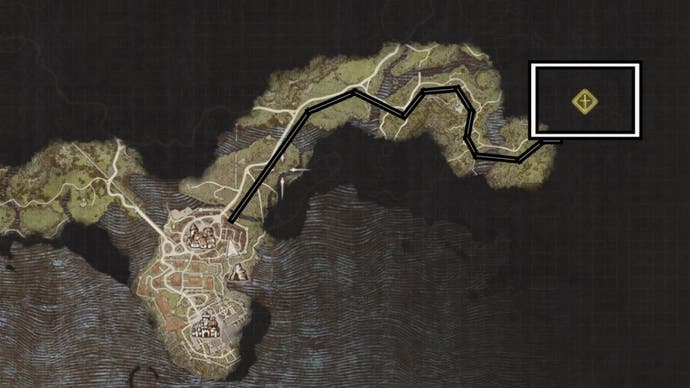
As you follow this path, you will eventually find that it has been blocked by a rockslide.
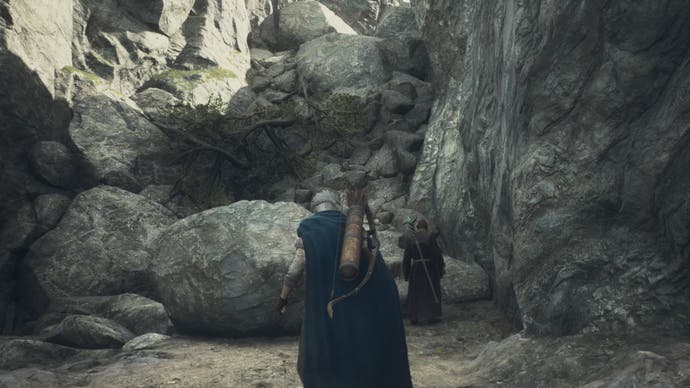
From this point, go back on the path you used and you should come across a Campsite (marked by a Campfire on your map) just off the side of the road. Go to this and then use your map to head towards the 'eastern forest' flag marker:
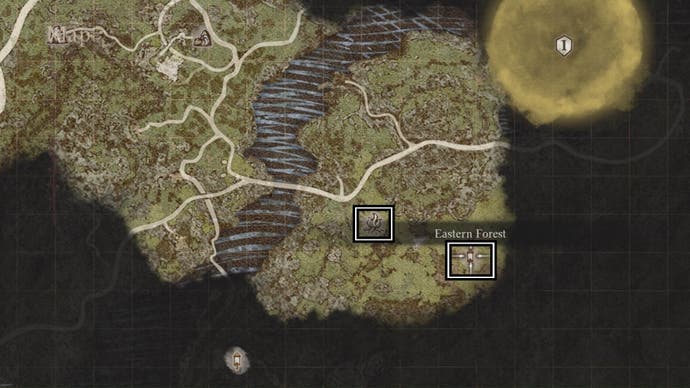
When you're near the marker location you should come to a valley that's slightly below you. Carefully climb down here.
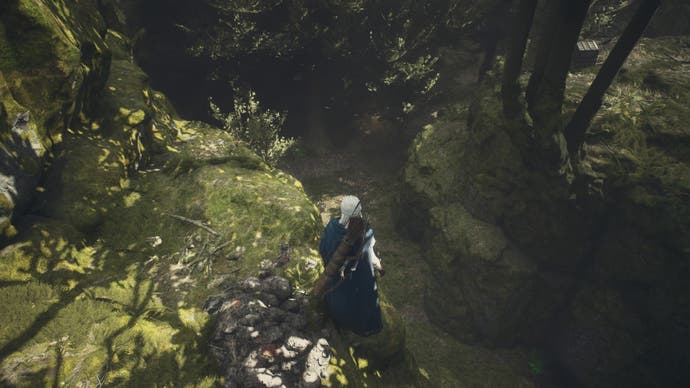
Then, continue following the path in this valley towards the marked quest area on your map. Keep in mind that you'll be ambushed by Choppers here and you could encounter a rather large, angry monster. Now, you can fight if you want - but if, like us, you're still at quite a low level we recommend keeping your Pawns at your side and running for it.
As you get to the end of the valley path it may seem like it's a dead end. Here, you need to use the green-covered rocks on the right side of the area as a ramp and climb up them (quickly if the monster still lives).
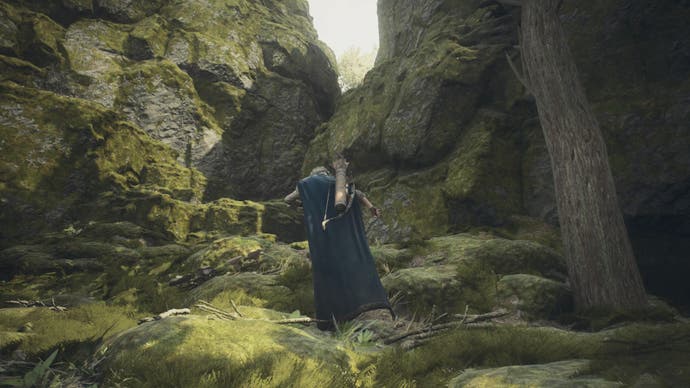
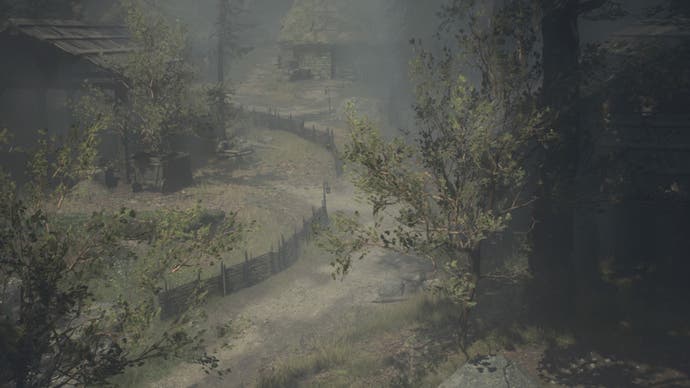
Follow the path through until you come to the entrance of the Nameless Village.
Head to the Mansion
Walk towards the Village and eventually you'll be stopped by Zeltas, they'll warn you away and tell you to speak to someone at the Manor, but of course you're not going to heed the warning.
Use the main path through the Nameless Village to get to the Old Noble Manor on the hill. You can also find its location marked on the map below:
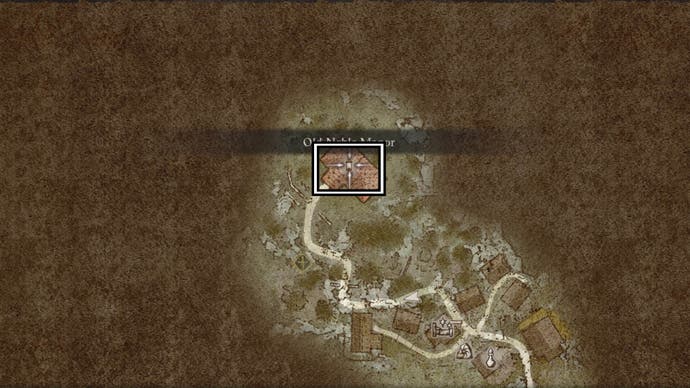
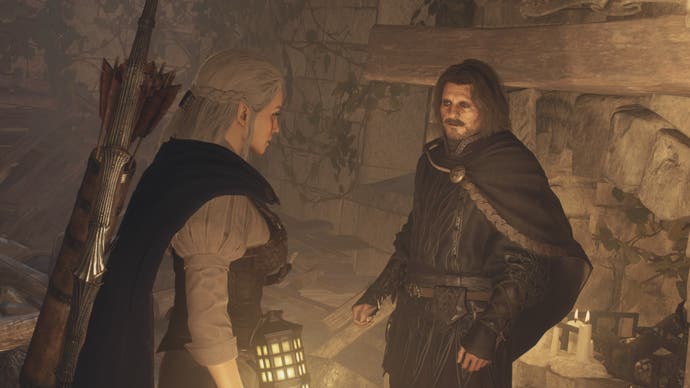
When you get to the Mansion, head inside and speak to Flaude by the fireplace. Go through all of the conversational options availale and eventually he will give you the Legend's Opus Tome for the Thief Vocation.
Find secret entrance
Once he's done talking, head back out of the Manor then turn to your right. Keep walking past the Bench here and around to the right.
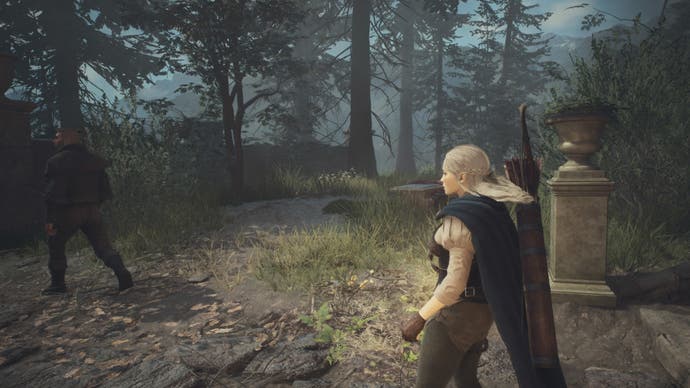
You should eventually stumble on a large hole with a ladder. Use the ladder to safely go down the hole (don't jump.)
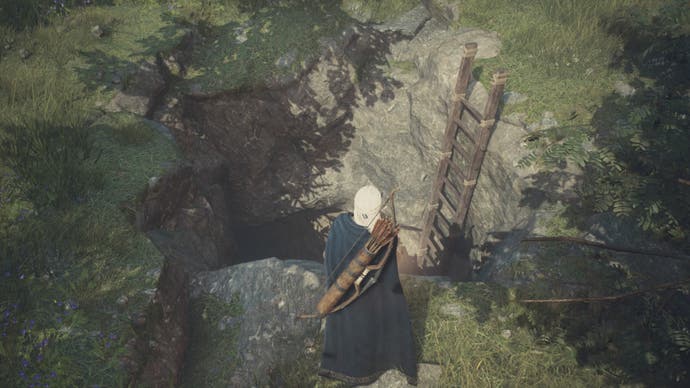
At the bottom, follow the path down and around until you come to your first moving puzzle.
Survive puzzles
The first puzzle tests your balance. When you get to the puzzle area you should see three seesaw-like structures. Don't worry if you do fall off of them, the height won't kill you but it will get annoying after a while.
To get across the first puzzle, jump across to the seesaw on your right and slowly walk up it until you're standing just behind the third metal strip from the top.
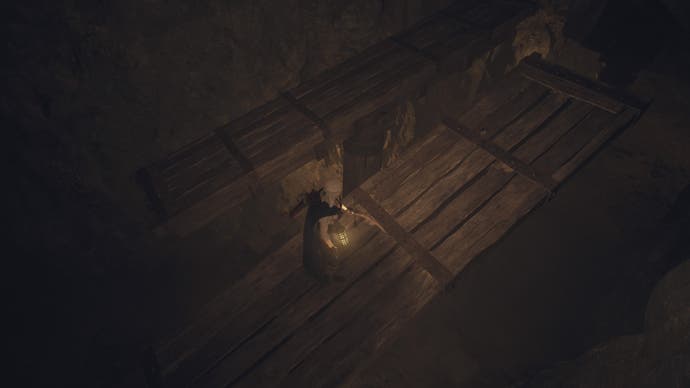
Once here, turn to your left and carefully jump across to the seesaw here. Once you're on this one, quickly run up it towards the next seesaw then, when at the peak, jump over and across to it.
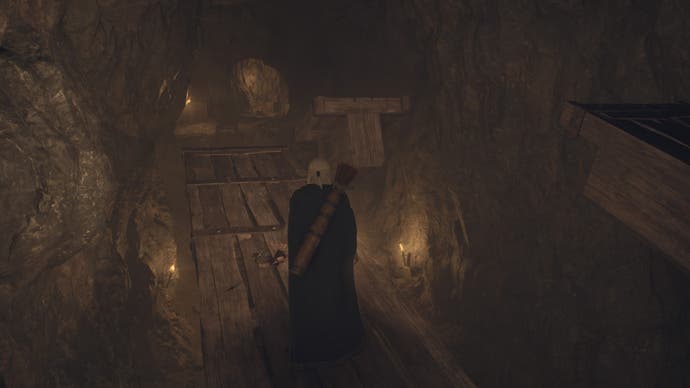
You now need to use your weight to tilt this final seesaw towards the ceiling on the side facing the stone ledge. Don't stand too close to the end of the seesaw or you'll slip off.
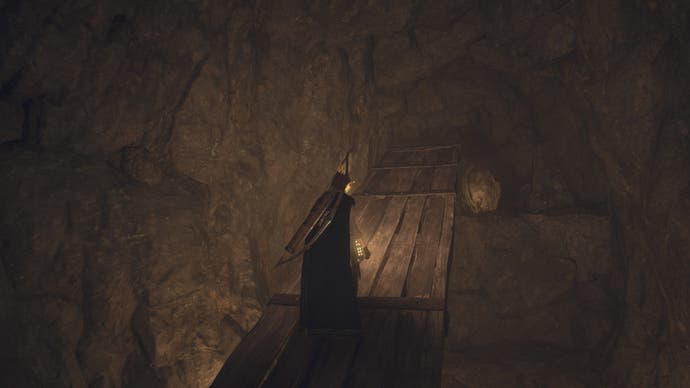
When you feel you've gained enough height with your tilt, run up the seesaw and jump off to the stone ledge. Once you're here, make sure to lower the ladder to make any future visits much easier.
Then, follow the path forward and around to reach the second puzzle. This one is slightly trickier as there are now swinging bags for you to contend with.
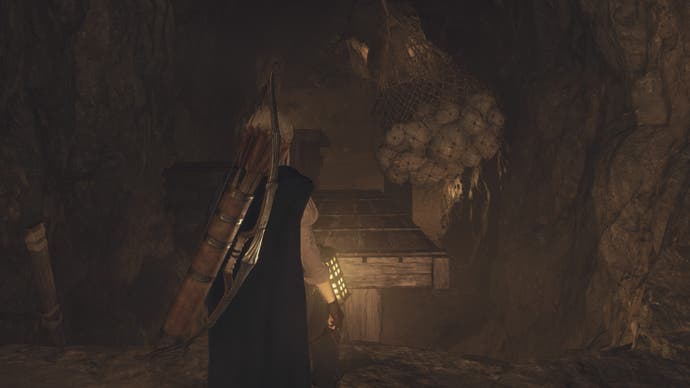
To get past this puzzle, jump across to the first seesaw and make your way to the middle. Make sure you're standing where the swinging bag can't hit you. Wait for the bag to go past, then quickly run and jump onto the platform at the end of the seesaw on the left.
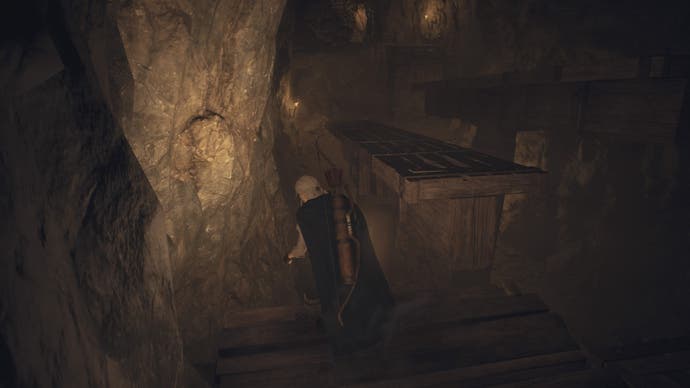
This platform is solid so you can hang out here for a moment. When you're ready to move on, jump across to the lower level seesaw ramp opposite you. Once on this one, use your weight to slowly tilt it up and then jump across to the higher seesaw ramp on your right.
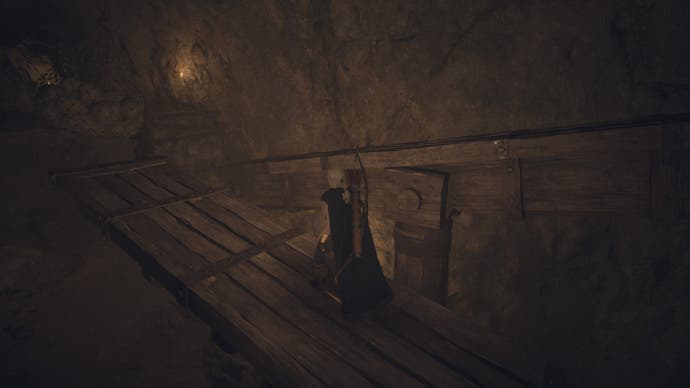
This is the final hurdle. Use your weight to tilt the ramp upwards towards the ceiling at the end where the swinging bag is. Once this has tilted up far enough, run forwards once you feel you can dodge the bag, then jump across to the stone ledge.
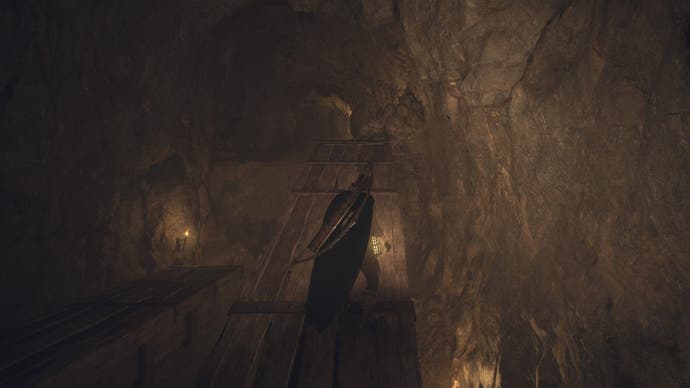
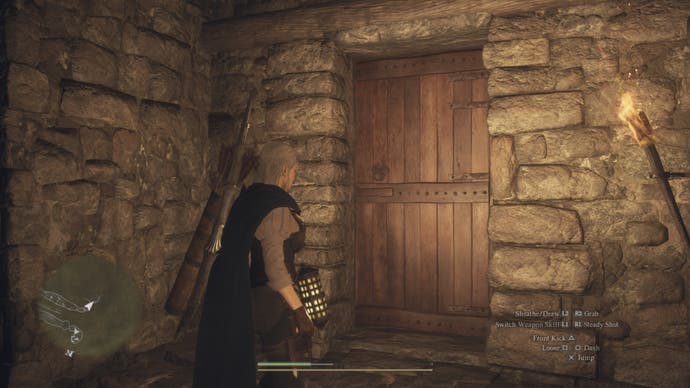
Again, when on this side, lower the ladder so you can make any return trips much easier. Now, follow the path here around to a wooden door. Enter the door and meet Srail.
Speak to Srail
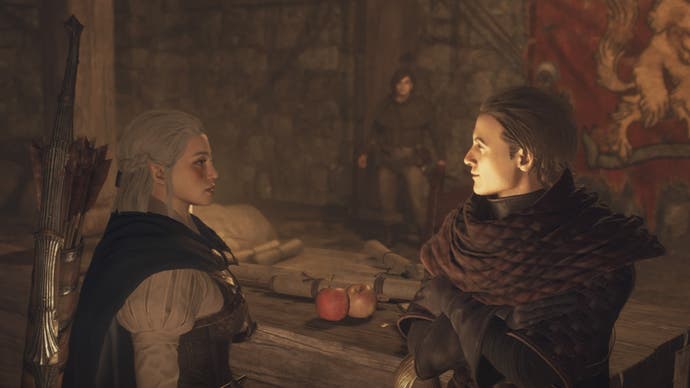
Ta-da! The Mansion you went to before was actually a decoy, pretty sneaky huh? The real information for this quest is here with Srail - the person standing by the table.
Speak to them and follow all conversational options that appear to find out that the false Sovran is Darragh, select the 'Ask about Darragh' option and Srail will give you a warrant for their arrest.
You can now return to Brant in Vernworth, but there's something we recommend doing first if you're feeling mischeivious.
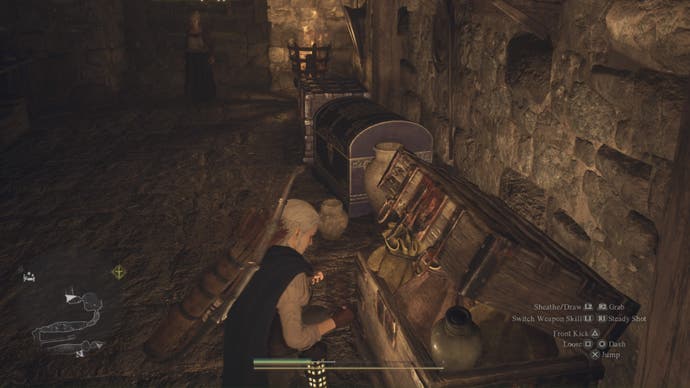
Exit the room you're in via the red door to the left of Srail and loot all five chests in this smaller area. Doing so will give you the following items, but be prepared to run away if you get caught:
- 2,110 G
- Thief's Gaiters
- Aged Shorefish
- Aged Tideswimmer
- Tiger Eye
- Peltflayers
Report back to Brant
When you're ready, complete the Nameless Villager quest by returning to Brant at the Stardrop Inn at night in Vernworth. Speak to him at the quiet (and totally not suspicious) table - then select the 'False Sovran' option again.
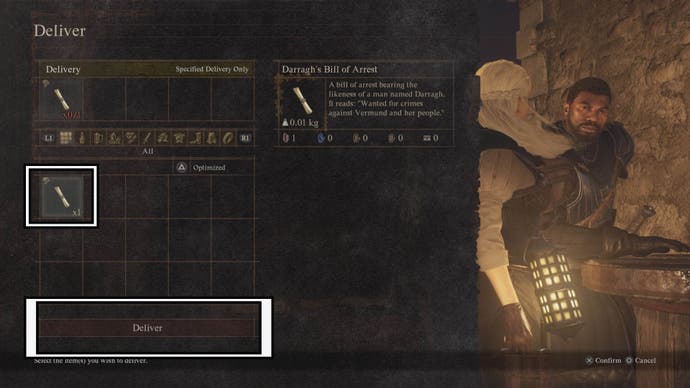
Deliver the Bill of Arrest from Srail and you will have finished this quest.
Dragon's Dogma 2 Nameless Village quest rewards
Here are the rewards you get for completing the Nameless Village quest in Dragon's Dogma 2, including a few items you can pick up on the way:
- Legend's Opus Tome - Gained from speaking to Flaude in the mansion.
- 2,110 G - Loot chest after speaking to Srail.
- Thief's Gaiters - Loot chest after speaking to Srail.
- Aged Shorefish - Loot chest after speaking to Srail.
- Aged Tideswimmer - Loot chest after speaking to Srail.
- Tiger Eye - Loot chest after speaking to Srail.
- Peltflayers - Loot chest after speaking to Srail.
- 7,500 G - Completion reward.
- Dragon's Gaze - Completion reward.
Dragon's Gaze shows locations of Wakestone Shards on your map. Collect enough of these shards to form a full Wakestone.
That's it for now! If you're looking for more Dragon's Dogma 2 content, check out our Disa's Plot walkthrough and our page showing how to complete the Heel of History quest. Also, we've got a Caged Magistrate walkthrough that will help you free this stubborn official.
