Elden Ring recommended progression route and map order
Find your way through everything The Lands Between has to offer with our recommended area order.


Following the recommended progression route in Elden Ring can make a big difference to your experience FromSoftware's open world RPG. With an enormous map full of castles, dungeons and secrets, the fantasy adventure lets players loose to tackle a lot of its areas in any order they like. However, if you want a smoother ride through the game where you don't get instantly obliterated by high-level enemies, then following our recommended area order will help make your journey that bit more pleasant.
In this guide, we've detailed what we think is Elden Ring's best map order for those who want to explore every last nook and cranny of The Lands Between, from the main story to its secret areas, optional bosses and side quests (including the hidden area you need to start the Shadow of the Erdtree DLC). We've also given each area a recommended character level and weapon upgrade level to help ensure things don't get too difficult for you, plus a list of both required and optional bosses that you should fight as you go.

Elden Ring recommended map order
Below, we've annotated Elden Ring's map to help guide you through our recommended progression route for the The Lands Between. Each area is colour-coded and numbered to show what order you should tackle them in, with a key on the right also detailing our recommended character and weapon upgrades levels alongside it.

Elden Ring recommended progression route
We've also got the same information below in table form, to help make things even easier for you, detailing our recommended area order alongside what level your character should be if you're a first-time player, and what weapon upgrade level you should be aiming for as well.
| Order | Area | Character level | Weapon upgrade level |
|---|---|---|---|
| 1 | Limgrave | 1-20 | 0-2 |
| 2 | Weeping Peninsula | 20-30 | 2-3 |
| 3 | Stormveil Castle | 30-40 | 3-4 |
| 4 | Liurnia of the Lakes | 40-50 | 3-4 |
| 5 | Raya Lucaria Academy | 50-60 | 5-6 |
| 6 | Caria Manor | 60-70 | 7-8 |
| 7 | Siofra River | 60-70 | 7-10 |
| 8 | Ainsel River | 60-70 | 7-10 |
| 9 | Caelid | 70-80 | 10-12 |
| 10 | Redmane Castle | 70-80 | 10-12 |
| 11 | Altus Plateau | 70-80 | 10-12 |
| 12 | Nokron, Eternal City | 70-80 | 12-20 |
| 13 | Siofra Aqueduct | 70-80 | 12-20 |
| 14 | Deeproot Depths | 70-80 | 12-20 |
| 15 | Carian Study Hall | 80-90 | 15-20 |
| 16 | Nokstella, Eternal City | 80-90 | 15-20 |
| 17 | Lake of Rot | 80-90 | 15-20 |
| 18 | Moonlight Altar | 80-90 | 15-20 |
| 19 | Mt. Gelmir | 80-90 | 18-20 |
| 20 | Volcano Manor | 80-90 | 18-20 |
| 21 | Dragonbarrow | 90-100 | 16-20 |
| 22 | Leyndell, Royal Capital | 90-100 | 18-20 |
| 23 | Forbidden Lands | 90-110 | 20-22 |
| 24 | Mountaintops of the Giants | 90-110 | 20-22 |
| 25 | Consecrated Snowfield | 100-110 | 22-24 |
| 26 | Mohgwyn Palace | 100-120 | 23-25 |
| 27 | Subterranean Shunning-Grounds | 130-150+ | 25 |
| 28 | Miquella's Haligtree | 130-150+ | 25 |
| 29 | Crumbling Farum Azula | 130-150+ | 25 |
| 30 | Leyndell, Ashen Capital | 130-150+ | 25 |
Elden Ring area order in detail

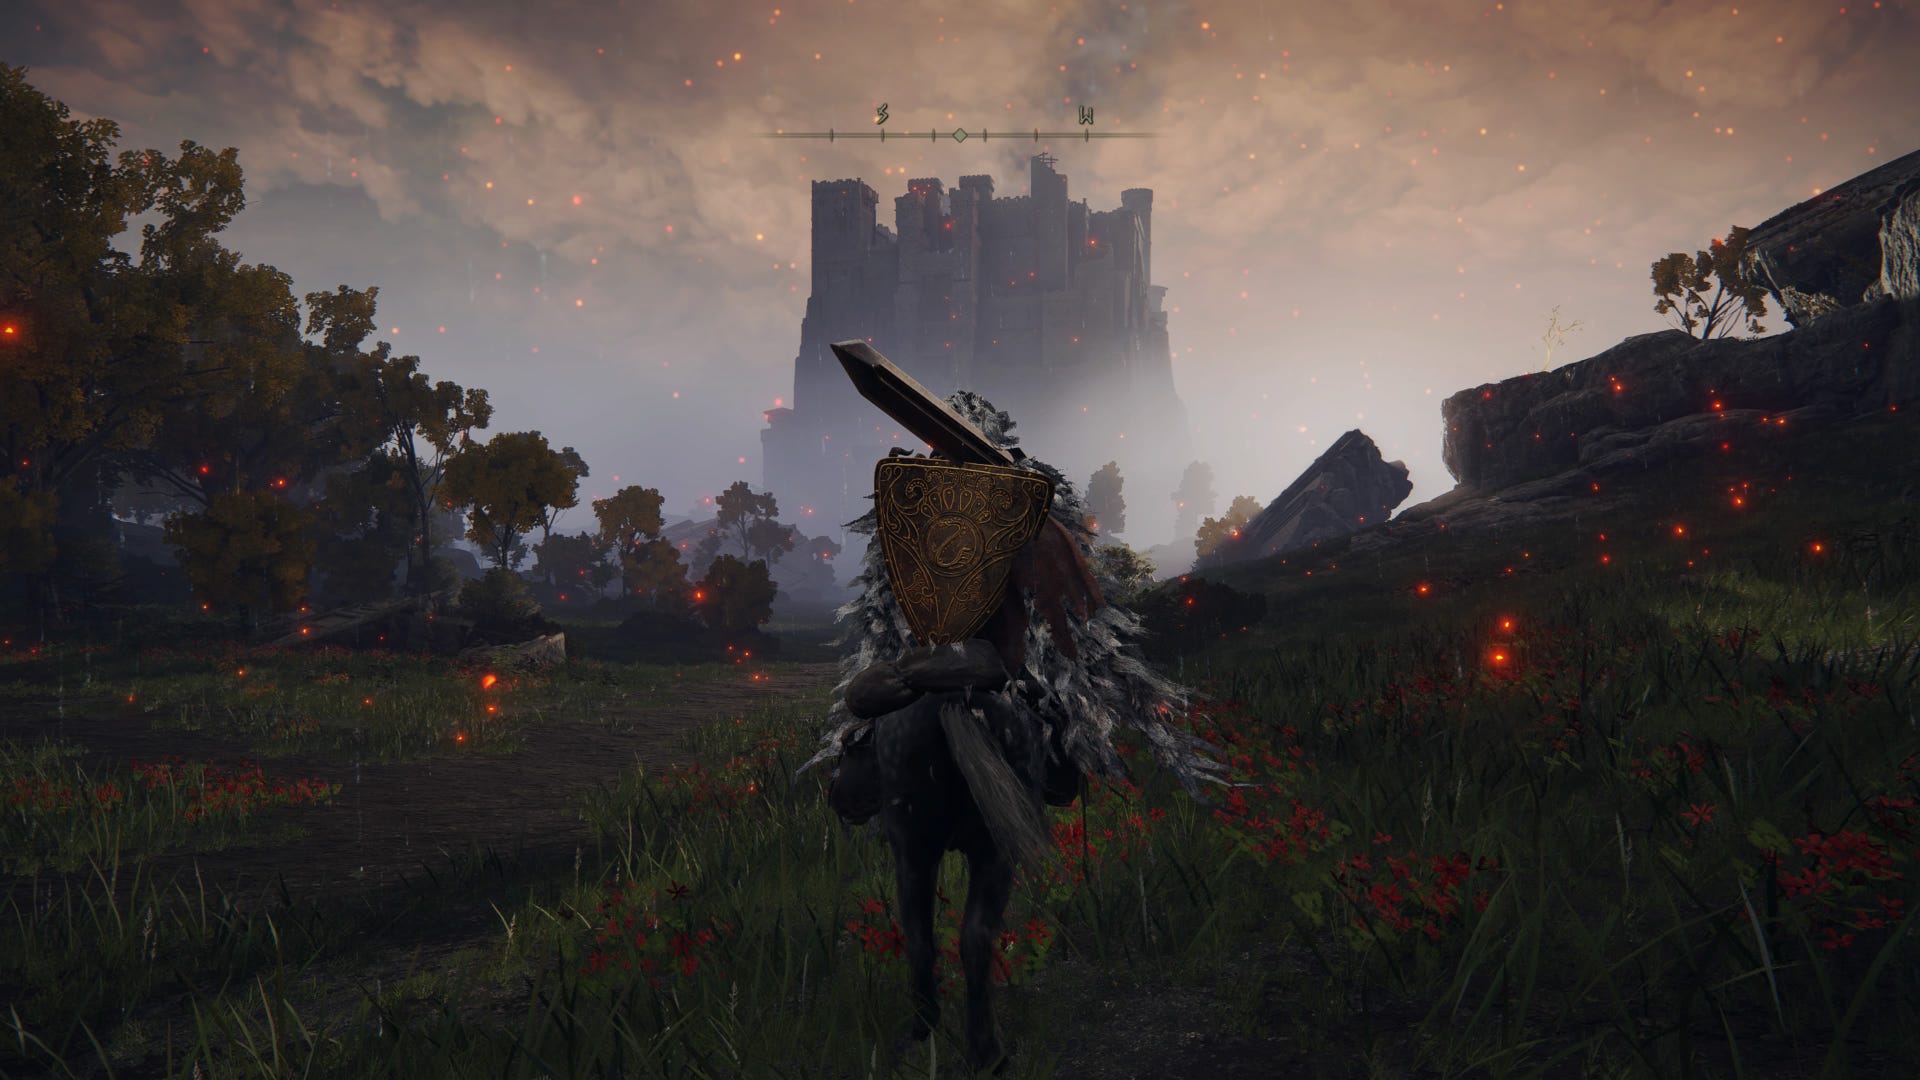
1. Limgrave
Once you create your character and are whisked away from the Chapel of Anticipation, you’ll emerge from the Stranded Graveyard - be sure to complete the optional Cave of Knowledge tutorial area if you’re new - to find yourself in the starting region of Limgrave.
We’d recommend exploring all of this region, starting with its western side before making your way over to the slightly tougher eastern region home to Mistwood. Although it’s tempting, try to avoid taking on the Tree Sentinel you’re likely to find early on, as it’ll prove a very difficult fight for low-level characters. Don’t worry - you’ll be back here plenty throughout the game. Don’t feel you have to follow the Guidance of Grace into Stormveil Castle just yet, either; it’s worth completing some easier regions first to strengthen up.
2. Weeping Peninsula
With a few levels under your belt, travel to the Weeping Peninsula that serves as the southern part of Limgrave. Here you’ll be able to fight your way through Castle Morne and defeat Leonine Misbegotten. It’s optional to do so, but recommended thanks to the opportunity to pick up the very strong Grafted Blade Greatsword and progress Edgar and Irina’s quest.
3. Stormveil Castle
Now you’re a bit tougher, return to the gates of Stormveil Castle and take on Margit, The Fell Omen. Once you’ve met Margit (whether or not you survived your first encounter), visit the Roundtable Hold to kick off a bunch of quests, buy helpful items and upgrade your equipment. After that, venture into Stormveil Castle itself, the first of Elden Ring’s legacy dungeons. The castle is home to Godrick the Grafted, one of several shardbearers you’ll need to defeat to progress in its story.
4. Liurnia of the Lakes
Once Godrick is finally felled, continue into Liurnia of the Lakes. This large region is full of lots of bosses and areas to explore, some of which can be quite mean at this point, so sticking to the southern half for now is perfectly fine.
5. Raya Lucaria Academy
Eventually, you'll be wanting to head towards Raya Lucaria Academy, and you'll need to grab the Academy Glintstone Key before you can open the main gate. Here, you'll find the Red Wolf of Radagon and spell-slinging main boss Rennala, Queen of the Full Moon to add a second Great Rune to your collection.

6. Caria Manor
With the south of Liurnia of the Lakes tidied up, head to the north-west of the region to find Caria Manor. Royal Knight Loretta can prove an especially tricky boss - her Greatbow and Glintblade projectiles can be particularly nasty - but bringing her down opens up an important side area above the manor where you can start and progress a number of major side quests.
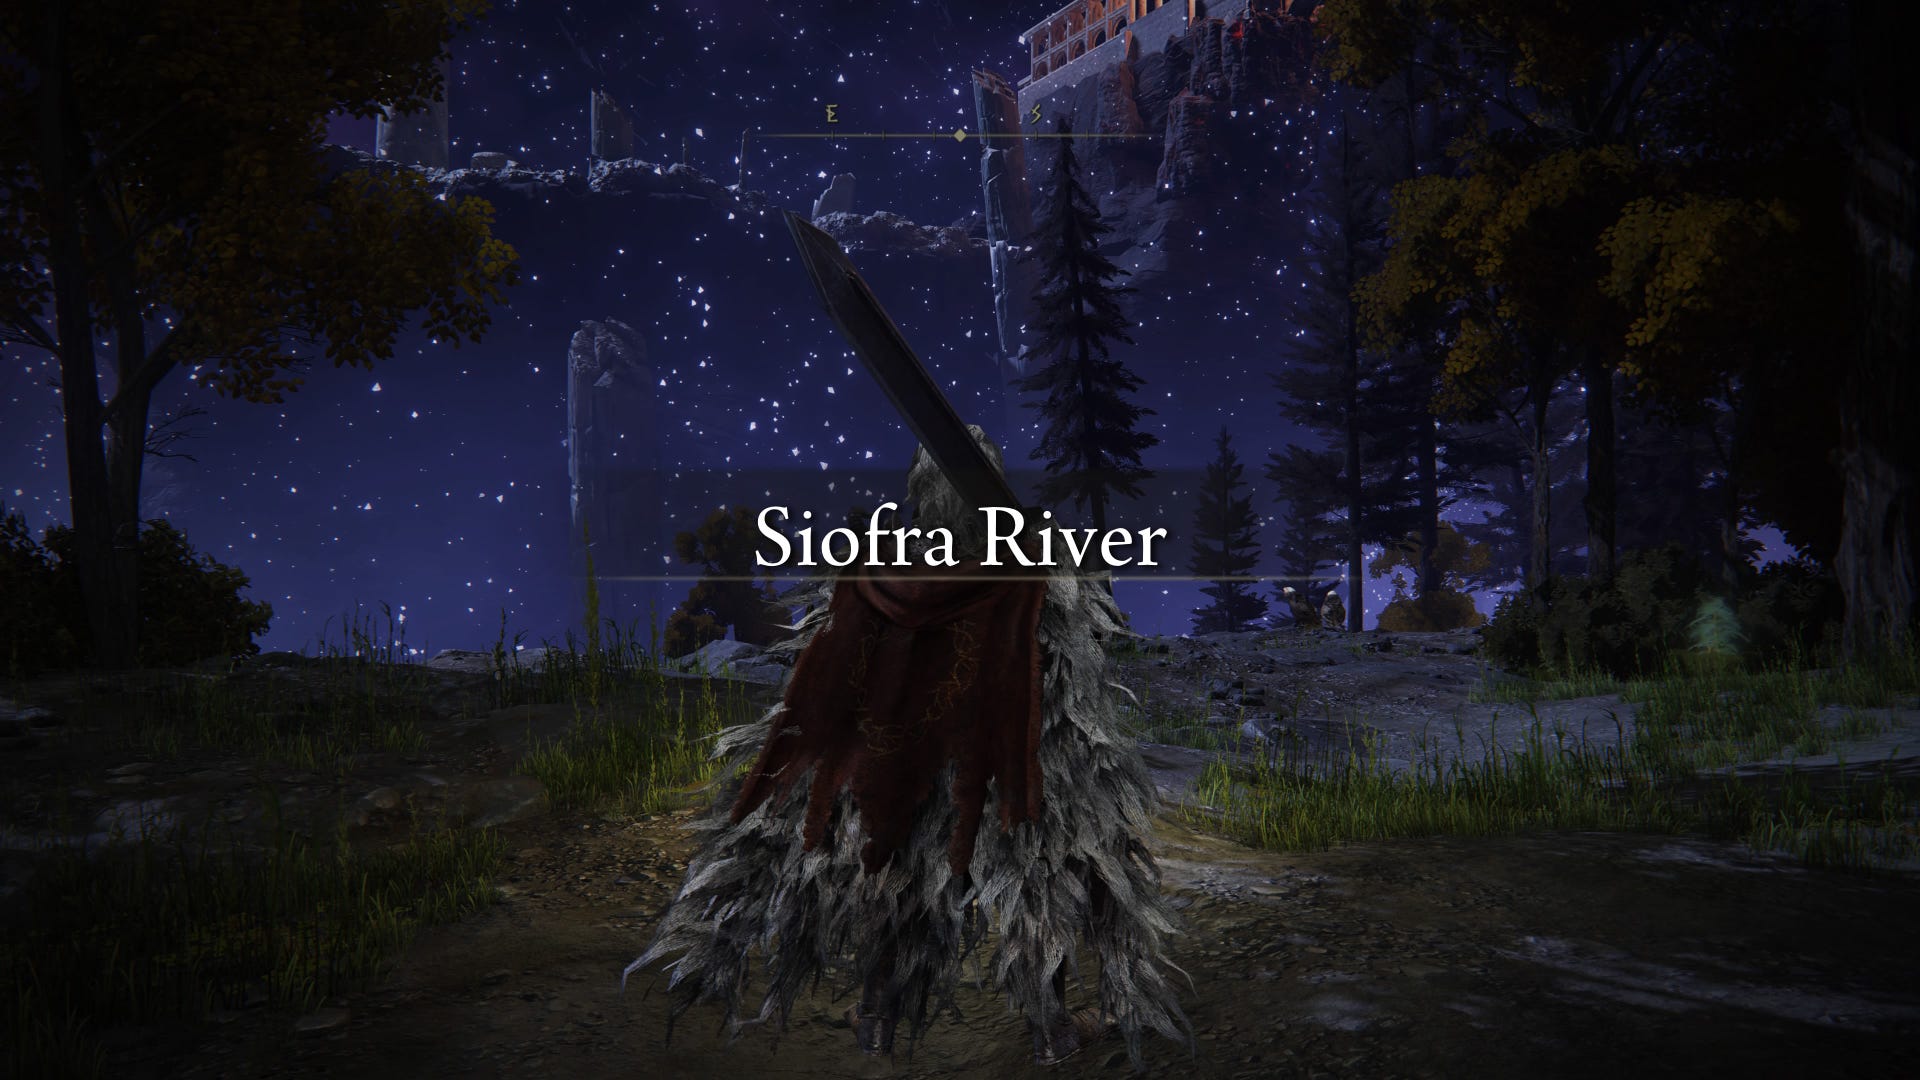
7-8. Siofra River and Ainsel River
Once you’re done in Liurnia, it’s time to head underground! You may have discovered several elevators during your travels that lead far beneath the Lands Between. Now is a good time to explore the subterranean zones of Siofra River and Ainsel River as much as you can, defeating Ainsel’s Dragonkin Soldier of Nokstella boss and progressing Ranni’s quest - which you should’ve encountered after Caria Manor - by talking with Blaidd in Siofra.
9-10. Caelid and Redmane Castle
While you can technically discover the eastern region of Caelid from the very start of the game, we’d recommend waiting until now to brave this rot-infested hellscape due to its powerful enemies and the risk of scarlet rot. Avoid wandering too far north into Dragonbarrow - we’ll tackle that especially hard area later on - as you make your way to Redmane Castle to participate in the Radahn Festival (which should start once you’ve progressed Ranni’s quest far enough) and clash swords with a particularly formidable shardbearer, Starscourge Radahn.
11. Altus Plateau
Altus Plateau is another option for your next stop after Liurnia of the Lakes. Though you’ll likely be strong enough to tackle here at the same time as Caelid, we’d recommend exploring Caelid first as Atlus Plateau leads directly towards Elden Ring’s later-game story. You can also find half of the Dectus Medallion needed to activate the lift to Atlus Plateau if you dare to explore Dragonbarrow to the north of Caelid, making it more natural to head beyond Liurnia of the Lakes afterwards. The mountainous region has lots to discover, eventually leading you towards Mount Gelmir. Before we continue climbing, though, it’s time to go back underground.
12. Nokron, Eternal City
After racking up a few more levels and upgrading your weapon, we’d recommend visiting some side areas before you move from Atlus Plateau to Mt. Gelmir. If you've beaten Radahn, you can now discover a new underground area by heading down into the hole formed by the crater that appeared after his defeat. This is Nokron, Eternal City.
13-14. Siofra Aqueduct and Deeproot Depths
As you explore Nokron, you'll eventually come to the Siofra Aqueduct. By laying down in the coffin found after the tough Valiant Gargoyles boss fight, you can then travel to the secret area of Deeproot Depths, where a few more side quests can be progressed, including Fia's questline.
15. Carian Study Hall
Once you're done in Deeproot Depths, come back topside for a spell with the Carian Study Hall dungeon. You should now be able to access the secret version of this dungeon, unlocked by using the Carian Inverted Statue acquired through Ranni’s quest, and defeat Preceptor Miriam.
16-17. Nokstella, Eternal City and Lake of Rot
We're not done spelunking yet either. Whether you warp to Ainsel River Main using the portal at the top of Ranni’s tower or by travelling in a coffin found in Deeproot Depths, the new northern area of the Ainsel River will lead you to another underground surprise: Nokstella, Eternal City. This area is largely for progressing Ranni’s quest and collecting loot as you make your way through Nokstella to the imposing Lake of Rot.
18. Moonlight Altar
Once your pass through the deadly waters, you’ll come upon Astel, Naturalborn of the Void, a cosmic creature who may prove tricky to bring down. Do so, and you’ll finally reach the Moonlight Altar to the south of Liurnia where Ranni’s quest can be completed to unlock one of Elden Ring’s multiple ending choices.

19-20. Mt Gelmir and Volcano Manor
With our underground expedition over, we’re now headed in the opposite direction by scaling Mt. Gelmir. There’s plenty to do here, but the highlight is visiting Volcano Manor’s legacy dungeon. This will lead to a number of quests and bosses, culminating with a fight against towering serpent-man and shardbearer Rykard, Lord of Blasphemy.
21. Dragonbarrow
Before you journey on to the capital, it’s time to revisit a previous area again. By now you should have a high enough level and good enough equipment to venture into the north of Caelid to Dragonbarrow, where it’s worth completing the Divine Tower of Caelid, Fort Faroth - if you hadn’t already obtained the Dectus Medallion half from here - and defeating dragons for a haul of precious runes.

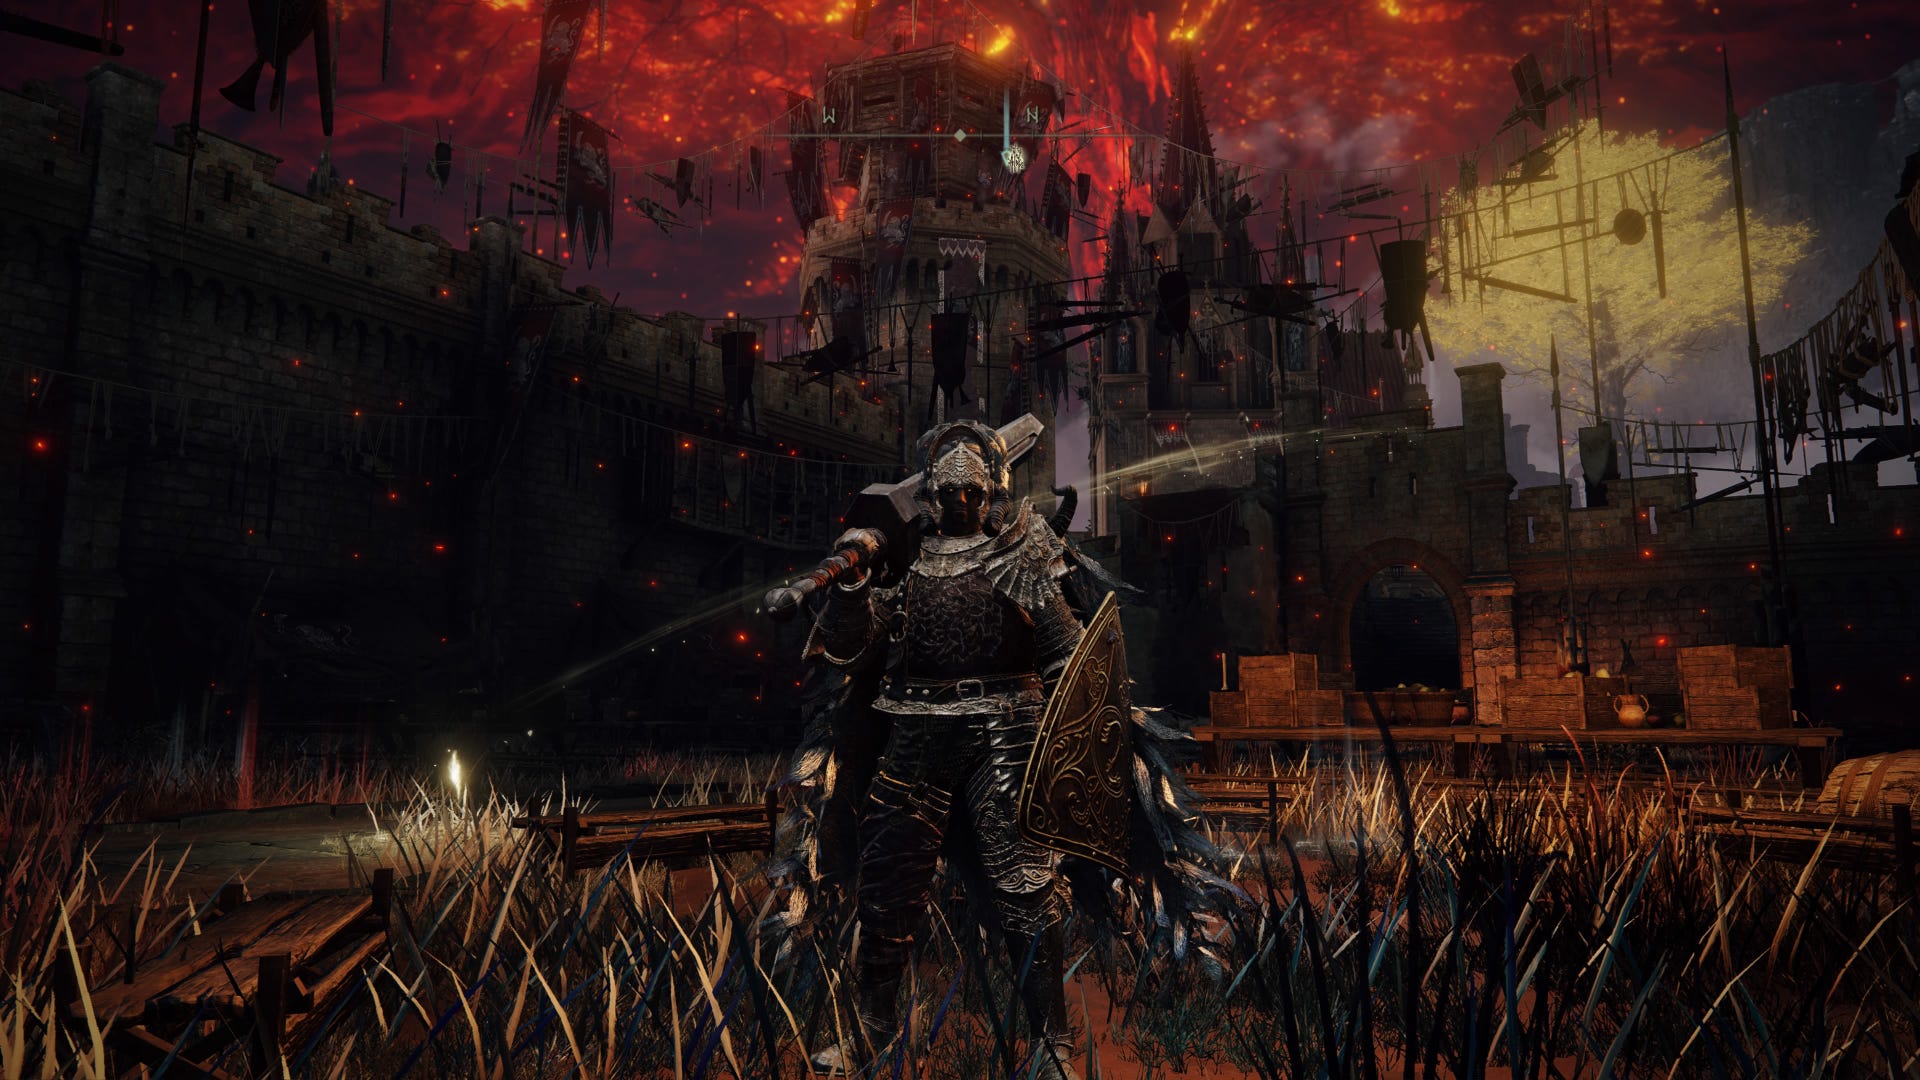
22. Leyndell, Royal Capital
Return to Atlus Plateau and head towards the glowing towers of the capital city. We’re finally at Leyndell, Royal Capital, one of the biggest and most important locations in Elden Ring. If you’ve been following this guide you should have plenty more than the two Great Runes you need to enter the city’s legacy dungeon by now, where you’ll need to defeat Morgott the Omen King to open up a route further north through the Forbidden Lands.
23-24. Forbidden Lands and Mountaintops of the Giants
Once you’ve passed through the Forbidden Lands, defeating the Black Blade Kindred boss standing in your way, you’ll take a lift up to the frosty Mountaintops of the Giants. Fight your way through the area and you’ll meet the very un-frosty Fire Giant, whose defeat will open the way to one of the game’s very last areas. Before you go on to the Fire Forge, though, we’d highly recommend making your way back to some optional side areas.
25. Consecrated Snowfield
The first of those side areas is Consecrated Snowfield, accessed by finding the two halves of the Haligtree Secret Medallion hidden around the Lands Between and using the combined trinket at the Grand Lift of Rold. This snowfield has some tougher foes and dungeons to delve into, but it’s mostly notable for leading to two of Elden Ring’s most dangerous but important side areas and bosses - including the area you’ll need to clear to play DLC Shadow of the Erdtree.

26. Mohgwyn Palace
That area is Mohgwyn Palace, found by defeating the Sanguine Noble invader in Consecrated Snowfield and activating the nearby teleporter. There’s just one boss here, Mohg, Lord of Blood himself, but he’s powerful enough to feel like several bosses rolled into one. Defeat him and you’ll not only earn another Great Rune, but also fulfill the requirements to start Shadow of the Erdtree via the cocoon at the back of the boss arena if you've bought the DLC expansion.
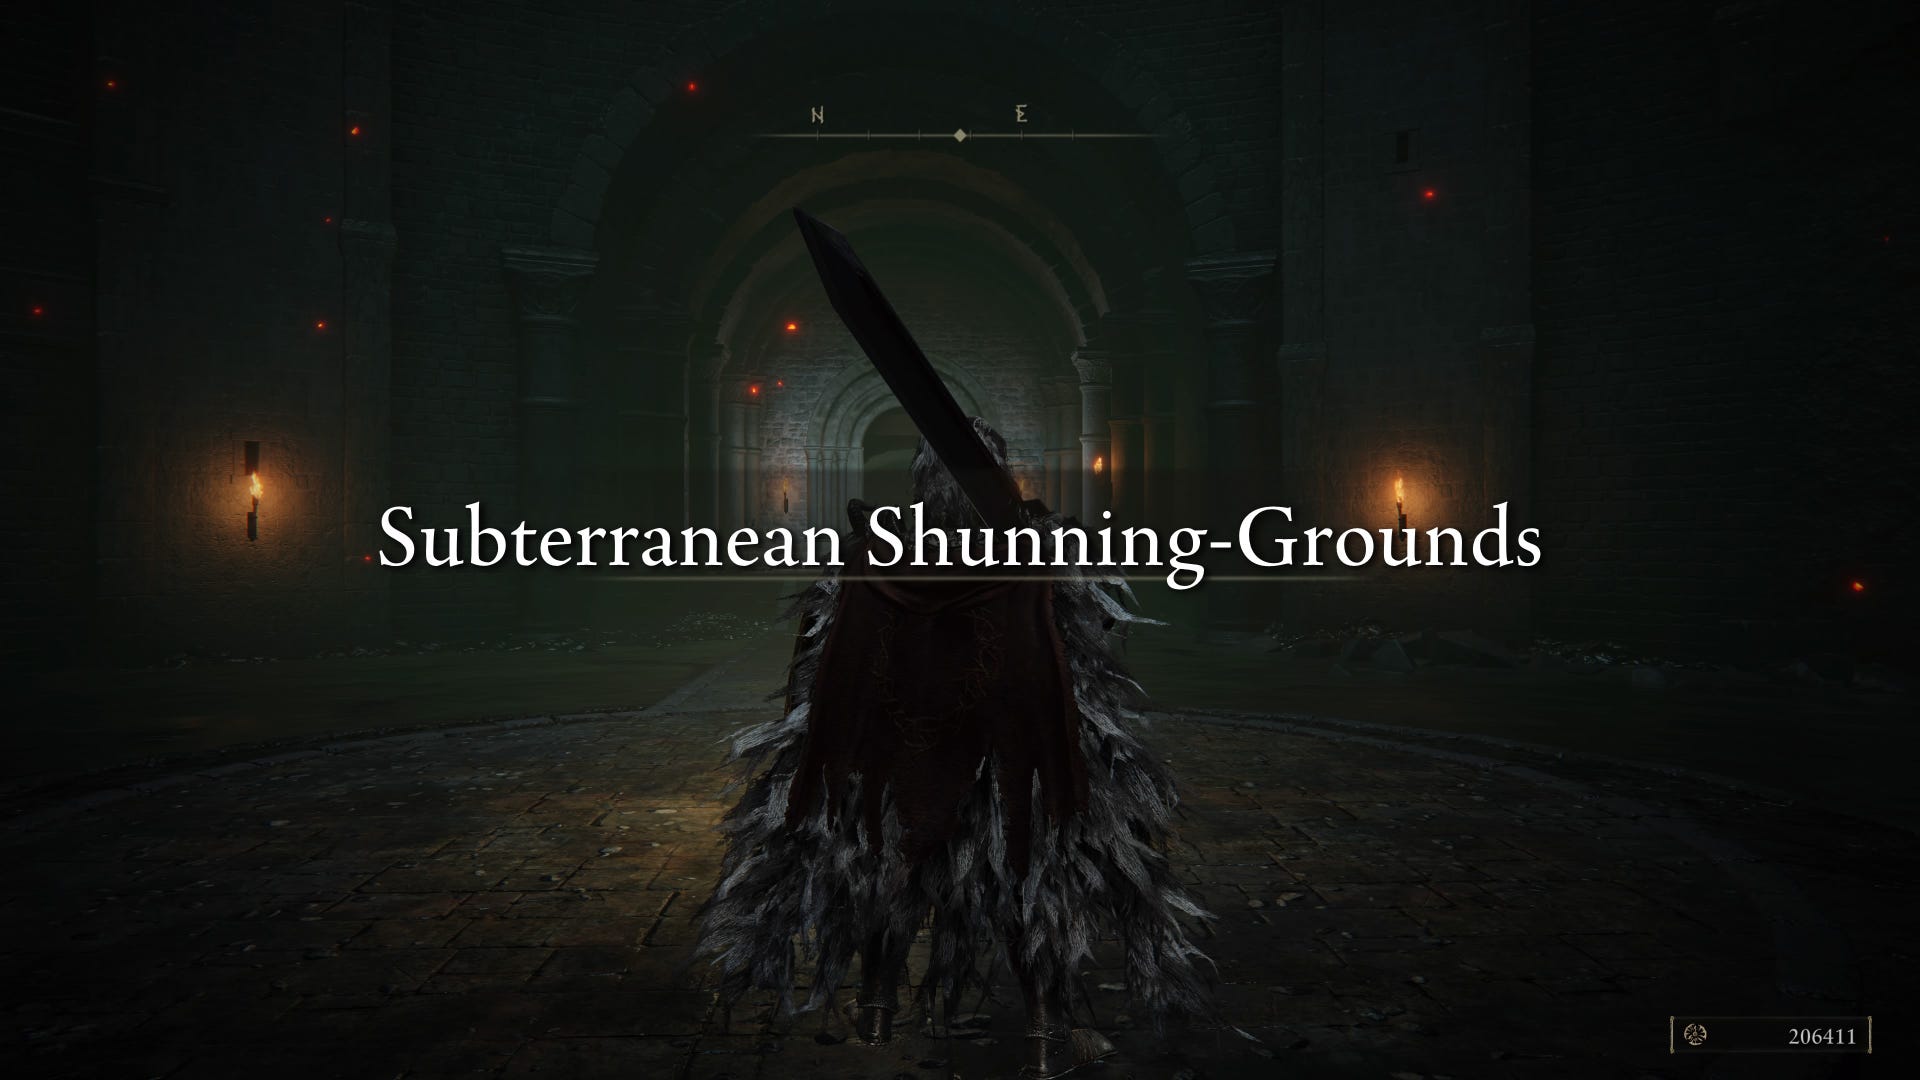
27. Subterranean Shunning Grounds
As we near Elden Ring's end-game, this is a good time to revisit Leyndell, Royal Capital and trudge your way into the city’s sewers and complete the Subterranean Shunning-Grounds area, which can be reached as soon as you visit Leyndell, Royal Capital but have some mean enemies - including boss Mohg, The Omen - that make waiting until later a smart approach.
28. Miquella's Haligtree
Miquella's Haligtree can be accessed as soon as you reach Consecrated Snowfield, but we would highly recommend leaving this final side area as late as you can - which is why we've put it here in our recommended area order. Not only is it a nightmare to even gain entry to - requiring a highly frustrating and challenging encounter with invisible ghost enemies in Ordina, Liturgical Town - it’s also full of some of Elden Ring’s most punishing enemies, and its most difficult boss: the iconic Malenia, Blade of Miquella. You will want to make sure your equipment upgrades are maxed out and you have levelled-up as much as you can before confronting the scarlet rot-inflicted powerhouse.
29. Crumbling Farum Azula
Now, it’s time to hop back to where you defeated the Fire Giant and be warped to Elden Ring’s penultimate zone: Crumbling Farum Azula. This strange floating dungeon is home to some of the hardest boss fights in the whole of Elden Ring, including the Godskin Duo and Maliketh, the Black Blade, both of which you’ll need to defeat to progress in the main story. Exploring the ruins carefully will also lead you to an optional encounter with Dragonlord Placidusax, a massive dragon who can prove extremely difficult to take down. Once you’ve defeated Maliketh, you’ll find yourself back in Leyndell - although a lot has changed.

30. Leyndell, Ashen Capital
With every main area and side area in Elden Ring now cleared, all you’ve got left to do is face the game’s gauntlet of end-game bosses by defeating your former ally Sir Gideon Ofnir, the All-Knowing and then the ultra-muscled Hoarah Loux, Warrior, before finally slaying Radagon of the Golden Order and the Elden Beast back-to-back. With that, you’ll be able to choose an ending - depending on which side quests you finished and decisions you made - and complete Elden Ring. Congratulations!
Back to walkthrough: Elden Ring walkthrough