Elden Ring: Crumbling Farum Azula walkthrough
How to beat the game's final Legacy Dungeon.


Crumbling Farum Azula is a location in Elden Ring in the far east of the game's world and also a Legacy Dungeon.
Depending on how you look at it, Farum Azula can even be considered a separate area of The Lands Between. In any case, it is a late-game location that is not suitable for low-level characters. To help you get through it, read on below to find our Crumbling Farum Azula walkthrough, which tells you how to get to Crumbling Farum Azula, and where to find all the important items inside it.
On this page:
- How to get to Crumbling Farum Azula
- Crumbling Farum Azula walkthrough
- Exploring the Dragon Temple
- Boss: Godskin Duo
- Exploring the Dragon Temple Lift
- Dragon Temple Rooftop and path to the boss
- Exploring the Great Bridge
- Boss: Maliketh, The Black Blade

How to get to Crumbling Farum Azula
There are several ways to reach and enter the Crumbling Farum Azula:
- Via the lower teleporter at the The Four Belfries in Liurnia of the Lakes. This route will take you to a small section of the area where you can fight a few beastmen. They are guarding the Pearldrake Talisman.
- Via Forge of the Giants on the Mountaintops of the Giants. This is the story path to Farum Azula, which will take you through the entire dungeon.

Crumbling Farum Azula walkthrough
After you have answered Melina's question in the Forge with "Yes", you will awaken in the Crumbling Farum Azula. We find 1x Smithing Stone (8) on the first corpse.
The second corpse has 1x Golden Rune (9), while we have to drop down on the right side. Follow the path and it won't be long before you encounter the first beastmen, who are active throughout Farum Azula.
One of the first mini-bosses in the game, here they're just a normal opponent: the Beastmen of Farum Azula.
Fortunately, most of them are busy eating and have their backs turned, letting you backstab them all for an advantage. You will also find 3x Old Fang here. Follow the passage to the south-west and you can sneak past more enemies. The corpse on the right has 1x Lightningproof Dried Liver to claim from it.

The corridor on the left leads you to the first Site of Grace 'Crumbling Beast Grave'. After resting, you can finally use fast travel if you came here prematurely after the Forge of the Giants.
Follow the path leading out to the west and the first Farum Azula dragon in this area will land on the long area in front of you. You will come to the first corpse with 1x Smithing Stone (6) before he appears.

The dragon's appearance is strikingly reminiscent of Lansseax, but you can skip it if you don't fancy a fight.
Just run on behind him and grab 1x Smithing Stone (8) and 1x Dragonwound Grease on the way. On the left behind the dragon, you will discover an entrance with the next Site of Grace 'Crumbling Beast Grave Depths'. Just opposite is a corpse with 1x Smithing Stone (8).
Cross the north-west room where two beastmen are active. They are guarding some stretchers with skeletons on them. Grab 1x Smithing Stone (7).
The path forks here:

First jump onto the roof and loot the room on the right.
Then go outside to the left and jump onto the roof. This will take you to a room with five beastmen guarding several items: 3x Gravel Stone, 1x Smithing Stone (6) and at the very back 1x Great Grave Glovewort.
You can drop down in the centre and reach the same room that you would have reached without the passage across the roof.
There are several beastmen in the room, including a mage with lightning attacks that makes it difficult to explore without fighting them directly.

Once things are quiet, you can loot the surrounding area. You'll find 14x Lightning Bolts, the Ancient Dragon Prayerbook and a corpse with 1x Golden Rune (12) on the ledge behind the north-west exit.
The path forks again at this point:

- Behind the north-east exit we reach the next Site of Grace 'Tempest-Facing Balcony'. The corpse on the ledge behind it has the Somberstone Miner's Bell Bearing (4).
- Behind the south-western exit, we can collect 1x Hero's Rune (2) behind some pots on the right and reach a lift.
We first continue along the lower path and thus get to the lift. It takes us to the lower levels of Farum Azula. Follow the path on the left to some Lesser Wormfaces and take them out.
Then follow the path as far left as possible to a corpse with 4x Fulgurbloom, guarded by another Wormface.

If you follow the path up here straight ahead, you will come to a river and, on the right, a lake with three Wormfaces in it. They guard 1x Smithing Stone (8) and 1x Rejuvenating Bolus as well as a pavilion with the Glovewort Picker's Bell Bearing (3).
From the lake, you can follow the path eastwards to a Wormface standing in the corner guarding a few units of Gravel Stone.

Now run back the way you came. At this point, look to the left:

You will see a ladder which you follow upwards (take out the Wormface first, otherwise it will annoy you with its cloud of death pestilence). At the top, stab the enemy in the back and take 1x Smithing Stone (8) from the corpse.
Now head back down the ladder and past the Wormfaces (there is 1x Somber Smithing Stone (9) on the tree). Take the way you came. To the left of the lift, you can drop down at this point and jump over the rock platforms:

You will find 1x Smithing Stone (8) on the large area, but the next dragon in this section will appear before you collect it. Decide whether the fight is worthwhile.
Then go back to the Site of Grace 'Tempest-Facing Balcony', where the exploration of Farum Azula goes into the next round.
From the Site of Grace, you will see a dragon if you look to the north-west. You can't reach it yet, but it will soon get on your nerves.

Run towards the north-west and drop down. You will encounter the first skeletal Azula Beastmen in the area, which have a similar behaviour to the normal skeletons. This also means you have to destroy their remains, otherwise they will keep getting up.
We find 1x Somber Smithing Stone (7) and 1x Golden Rune (9) in the area. Drop further north-west, collect 14x Golden Arrow and you will land on another ruined area.

Here you'll meet two of the tougher, sturdier skeletons, which will take more hits to topple (and they can spit fire). Destroy the remains and loot the area. There is a Somber Smithing Stone (9) and 3x Gravel Stone. We'll get to the Site of Grace in the east in a moment.
Drop into the hole and collect 1x Golden Rune (10) from the corpse in front of the chasm in the south-west.
We'll go straight to the next checkpoint, but first go down and collect some loot.
Head north-east, turn left at the first opportunity (there is 1x Golden Rune (12) behind the second staircase), kill the skeletons and you can jump onto a pillar above the chasm on the left. It will take you to a ladder and ultimately to the annoying archer.

You can push the archer off the ledge with some well-timed attacks, and you'll find 1x Great Grave Glovewort at the end of the corridor on the left (be careful, as beastmen will spawn behind you and use the moment of surprise for a nasty attack). Then drop down into the familiar area of the ruins.
Exploring the Dragon Temple
Heading north-east, we reach the next Site of Grace 'Dragon Temple'. We have fought hard for this little respite.
Enter the building, jump over the rubble on the left and collect 1x Golden Rune (11) at the end of the path. The path on the right leads to a corpse by the chasm with 1x Smithing Stone (6). Kill the exiled knight on the stairs and follow them deeper into the temple.
Another knight attacks from the left, this time with sword and shield. Kill the guy, run to the right and turn left into the corridor before the stairs.

After another sword-and-shield knight, you will come to an enemy who is defending a Stonesword Key. Follow the steps to the left and stab the knight in the corridor in the back.
At the end, collect 2x Dragonwound Grease and drop safely onto the steps, where 1x Golden Rune (12) awaits you.
Since the patch to version 1.03, Bernahl can be summoned - and the help is sorely needed for this section.

You can enter the main hall of the Dragon Temple next door. You would also have reached this point if you had marched down the spiral staircase on the right after the last Site of Grace.
On this path you will also find a summon sign for Knight Bernahl, because the next boss fight is coming up. And this one, it's safe to say, won't be easy.
Boss: Godskin Duo
The Godskin Duo is - you guessed it - a pair of mandatory main bosses you need to beat to progress the story. They're exceedingly tough, but luckily you can summon Spirit Ashes for help here.
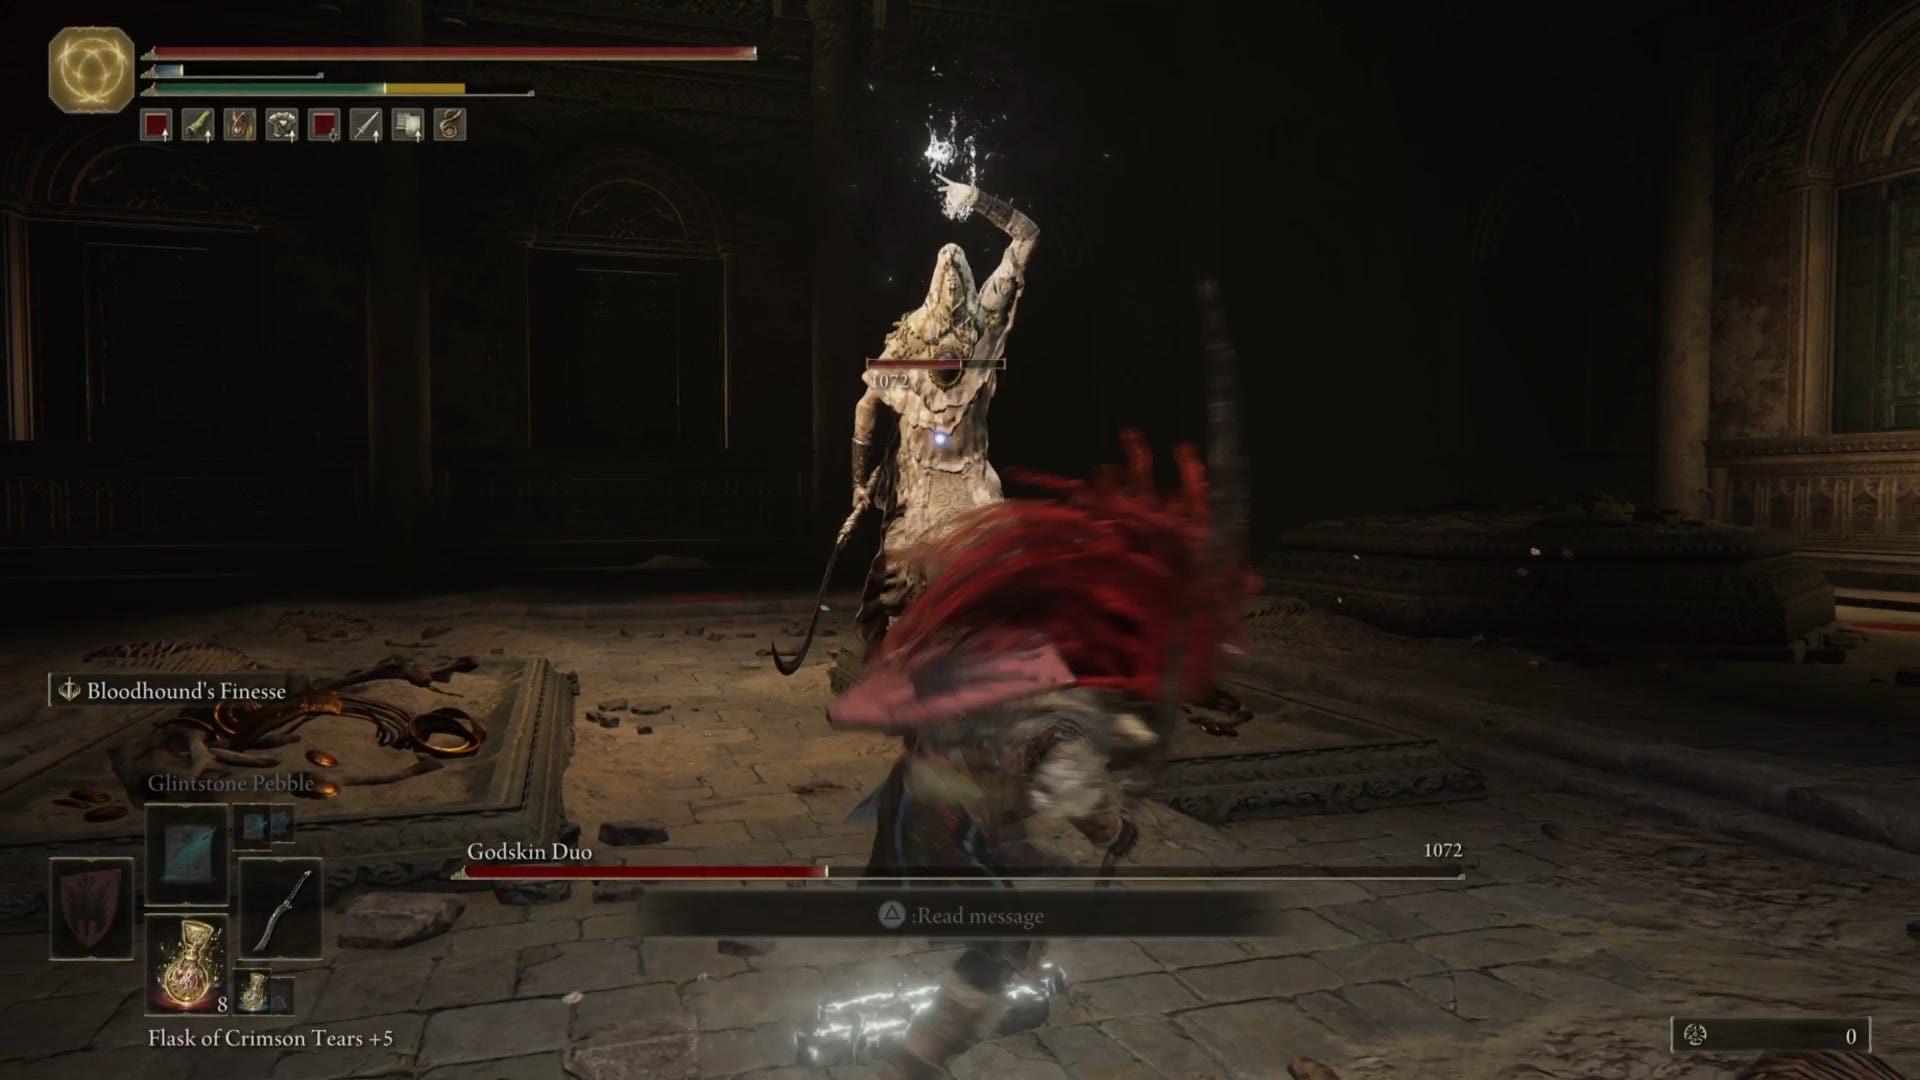
We've got a dedicated walkthrough on how to beat the Godskin Duo if you're in need of some boss tips and strategies for taking him out.
On defeat, the Godskin Duo will reward you with 170,000 runes, Smithing-Stone Miner's Bell Bearing, and the Ash of War: Black Flame Tornado.
Exploring the Dragon Temple Lift
After the fight against the Godskin Duo, activate the Site of Grace 'Dragon Temple Altar' and take the north-east exit. This will take us back outside. This next section involves a fair bit of exploration, and we'll also cover the entirely optional area you can explore here that sits behind a Stonesword Key door.
First, though, you can either drop down or take the steps on the right to get to your next destination, as both paths lead to the same point. Kill the two beastmen and follow the steps down to the west.
There's also a dog behind the rubble, so once you've taken it out, collect 1x Golden Rune (11) and jump to the area south-west below you. There are two more dogs and another beastman here, the latter of whom will attack you from behind with his throwing blades, so consider yourself warned.

You can then pick up 5x Old Fang. Directly behind the wall, you will find another corpse with 1x Hero's Rune (5), accessible via the narrow ledge on the outside.
Then continue northwards behind the dogs. Defeat yet another beastman behind the dragon altar and ignore the passage on the right for now. Go straight ahead and take 1x Smithing Stone (7) behind the fallen pillar.

Towards the south-west, you will encounter two more beastmen (one sleeping), next to which you can pick up 5x Lightning Grease. Now go back and head south-east up the stairs to get to this spot:

The path forks here. If you follow the pillar hanging diagonally over the abyss, you will find 1x Ancient Dragon Smithing Stone - a very rare and necessary for upgrading weapons to the maximum level +25.
Go back again, down the pillar and straight ahead at the fork in the road in a northerly direction. Eliminate the beastman and return to the fork in the road, then turn right towards the west.

You can push a beastman off the ledge on the right. Soon enough, you'll come to a sealed door on the left that requires 2 Stonesword Keys to open. If you have the right number, use them to open the passageway, giving you access to a new Site of Grace 'Dragon Temple Lift' and an entirely new optional area to explore with lots of valuable items to loot.
If you don't have the right number of Stonesword Keys, though, fret not. Jump to the Dragon Temple Rooftop section of this walkthrough.
Beyond the Site of Grace, you can take aim at some skeletons on the left by the well, but don't overdo it. These four enemies stand close together and are extremely dangerous in a group.

Inside the well, you will find 1x Lord's Rune. To the left of the well, a few weathered steps lead to a tree with 2x Nascent Butterfly. Further east, hop up the rocks shaped like steps.
The skeletons hanging from the tree will drop down if you are close enough. There are also marching skeletons, which makes the spot a little trickier than it might seem at first. Use ranged attacks to shoot the hanging skeletons.

Once you've taken care of the skeletons, collect 1x Smithing Stone (7) from the corpse to the north and 1x Golden Rune (12) next to the tree. Continue south-west and up the stairs on the left.
At the eastern end, a skeleton guards a corpse with 1x Smithing Stone (8). Head west and you will find 1x Rune Arc and 1x Golden Seed.
Head southwest down the small slope by the pillars and you'll find a scarab - defeating it will earn you the Incantation 'Golden Lightning Fortification'. Turn around and you will see a sleeping dragon, which you can sneak up on to bag 1x Smithing Stone (8).

Then go back to the place where you found the Golden Seed and continue westwards, where you can jump over some stone structures. Continue south-west to reach the sleeping dragon that you could already see from the Site of Grace 'Tempest-Facing Balcony'.
Under his wing (you can sneak there if you're careful!) lies a corpse with 1x Golden Rune (12). Follow the neighbouring ruins further southwest and you will find 1x Smithing Stone (7).

Follow the fallen pillars next to it until you reach a pavilion in which you will find the Ancient Dragon Apostle's Cookbook (4). Two beastmen are lurking here waiting for their chance to stab you in the back, though, so watch out as you approach.
Nearby, you'll also find a corpse hanging over the abyss with 1x Somber Smithing Stone (8) on it. Drop down and collect another 1x Smithing Stone (8). Underneath is the familiar area at the Site of Grace 'Dragon Temple'.
Dragon Temple Rooftop and path to the boss
Starting at the Site of Grace 'Dragon Temple Lift', take the lift back down and head east down the spiral staircase. Turn left and go through the archway on the left, which we have skipped so far.
Drop over the floating debris and you'll find a corpse with 1x Golden Rune (12) and the Dragoncrest Shield Talisman +2 on a free-floating section of stairs at the southern end.

The path divides in the north-east building:
- Continue straight ahead to a Crucible Knight.
- On the left, an opponent stands on the edge, but is not noticeable.
- On the right you can follow a winding staircase.
First, take the stairs on the right and take out the beastman there. The floating debris behind it will take you back to the familiar area.
Drop down at the ledge and now continue straight, following the path to the Crucible Knight. You've fought this enemy before in both Limgrave and the Siofra Aqueduct, and this one is no different, so use the same tactics as you did before and you should be on you way to victory in no time. Even better, the Crucible Knight will not return once you've defeated him and rested at a Site of Grace.
Once the Crucible Knight has been dealt with, you can either jump eastwards over the railing to the next Site of Grace 'Dragon Temple Rooftop' or head north-eastwards onto the floating rock, where you can pick up 1x Smithing Stone (8).
From the Site of Grace, head east. In the area with the red flowers, you will encounter a harmless-looking eagle. However, another bird of prey will swoop out of the tower on the left to peck you in the back. Take 1x Smithing Stone (6) with you and continue southwards.
You can already see a dragon raging from afar, with lightning strikes that cannot harm you up here. This changes as soon as you climb down the ladder, though, so be careful.

Turn left at the foot of the ladder and you can drop down to the lower level of the tower with the falcon. Run around it, take the Drake Knight Armor set from the chest (consisting of helm, armour, gauntlets and greaves) and take the lift back up.
Kill the beastman at the vantage point on the bridge, take 5x Lightning Greatbolts and drop back down to the Site of Grace. Rest up, as it's now time to face that raging dragon you saw earlier.

To dodge the dragon's lightning bolts, watch the floor to see where they'll appear. The path to the dragon is made more difficult by other birds, but you can simply skip them.
The dragon itself is badly weakened and has only a fraction of its life bar left. Stay between its legs and hack at its feet to finish it off. It's worth it, as you'll be rewarded with 32,400 runes and an Ancient Dragon Smithing Stone for your trouble.

Among the corpses we find 1x Golden Rune (12) and 8x Fulgurbloom and in the small pavilion above 1x Somber Ancient Dragon Smithing Stone, which is even rarer than the regular Ancient Dragon Smithing Stone.
From this pavilion, you can make a few more detours before continuing south-westwards:

Run along the cliffs to the north, jump over the roof, then onto the area on the left and you will find a Golden Seed and 1x Smithing Stone (7).
Return to the pavilion behind the dragon. In a north-easterly direction, you can drop down the cliffs several times and reach a building where an exiled knight will meet you on the stairs.

Behind it we reach an eagle next to a corpse with 1x Golden Rune (12).
The ladder next to it takes us to more knights. On the left-hand side, we find a treasure chest with the Dragon Towershield. We can use a lift in the building next to it.
At the top, follow the path north-westwards into a room where a Crucible Knight is fighting a beastman. It will remain in the chamber and you can simply sneak to the ladder if you don't want to fight it.

At the upper end, you will find the Boltdrake Talisman +2, guarded by an eagle. Collect it and drop into the familiar area.
Now take the path behind the deceased lightning dragon, which continues through the level towards the south-west.

Behind some sleeping beastmen, you will find a corpse with 1x Somber Smithing Stone (7) on the cliffs to the right. Continue across the pavilion spanning the abyss to the north-west, where an enemy with its throwing blades makes it difficult to cross. Take your time and plan accordingly.
There are three beastmen in the flooded building on the right. Two of them use lightning attacks and can really get on your nerves. A good way to approach them is to lure one of them to the door, kill it, and then kill the other two inside. Once you're clear, make sure to get the Somberstone Miner's Bell Bearing (5) before you leave.

In front of the building entrance, you will find a path to an optional hidden Elden Ring boss. Drop down a few times behind the group of trees and you will come to a piece of ruin where there seems to be no way forward. However, if you lie down in this specific location, it will trigger a cutscene and pull you into the boss arena for the Dragonlord Placidusax.

Otherwise, follow the stairs to the right of the altar to a lift that will drop you off next to the Site of Grace 'Beside the Great Bridge'.
Exploring the Great Bridge
In this final section of the Crumbling Farum Azula, we'll discover an essential item for the upcoming boss fight, along with other important rewards. Not much further to go now!
Starting at the Site of Grace 'At the Great Bridge', go outside and up the steps on the left. You will reach the Great Bridge of Farum Azula.
You are right in the centre of the bridge here, which means you've got the choice of marching left to the north or right to the south. The final boss is located in the colosseum at the end of the right-hand path leading upwards, so to complete our exploration of the area, head left to the north first.

Go through the building and keep to the right until you come out into the open again. On the left you will find a corpse among the dead beastmen (be careful, as one of them is only sleeping). The corpse has 1x Somber Smithing Stone (8) to loot from it.
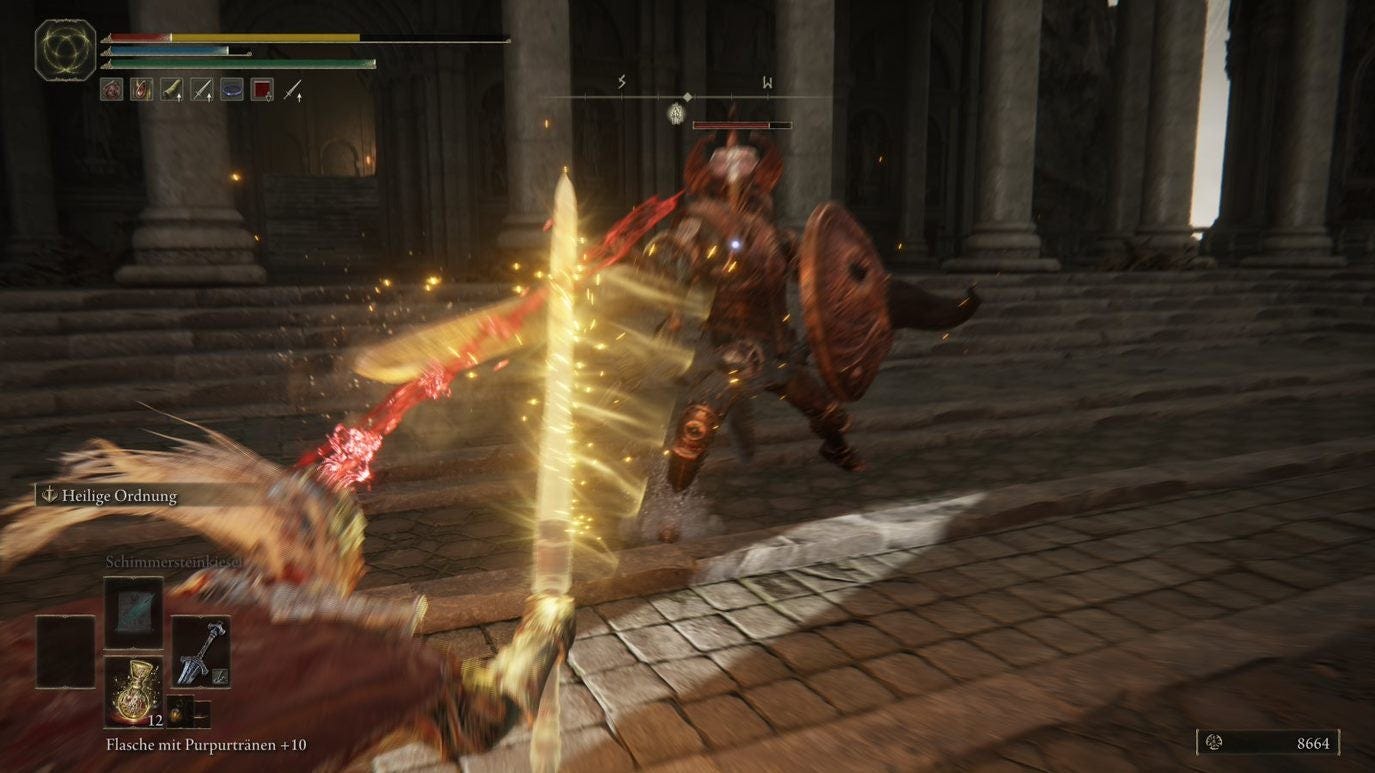
On the right is a ladder, which we follow down to reach a bridge. Run towards the tower, in front of which Recusant Bernahl appears as an intruder. Previously, we knew him as Knight Bernahl.
The fight is pretty tough, and we'd recommend luring him back towards where you came from. There are still three beastmen lurking in the tower and you don't want to take on four enemies of this calibre at the same time.

Bernahl alone is fierce enough. He wields a massive warhammer - a Devourer's Sceptre - and strikes like he's possessed. The damage is astronomical. What's more, Bernahl has a large HP bar and will heal himself during the fight.
With his special attack (the red aura when he raises his hammer), he can steal your HP and pull you in with a jerk. Definitely not an easy fight, so be well prepared.

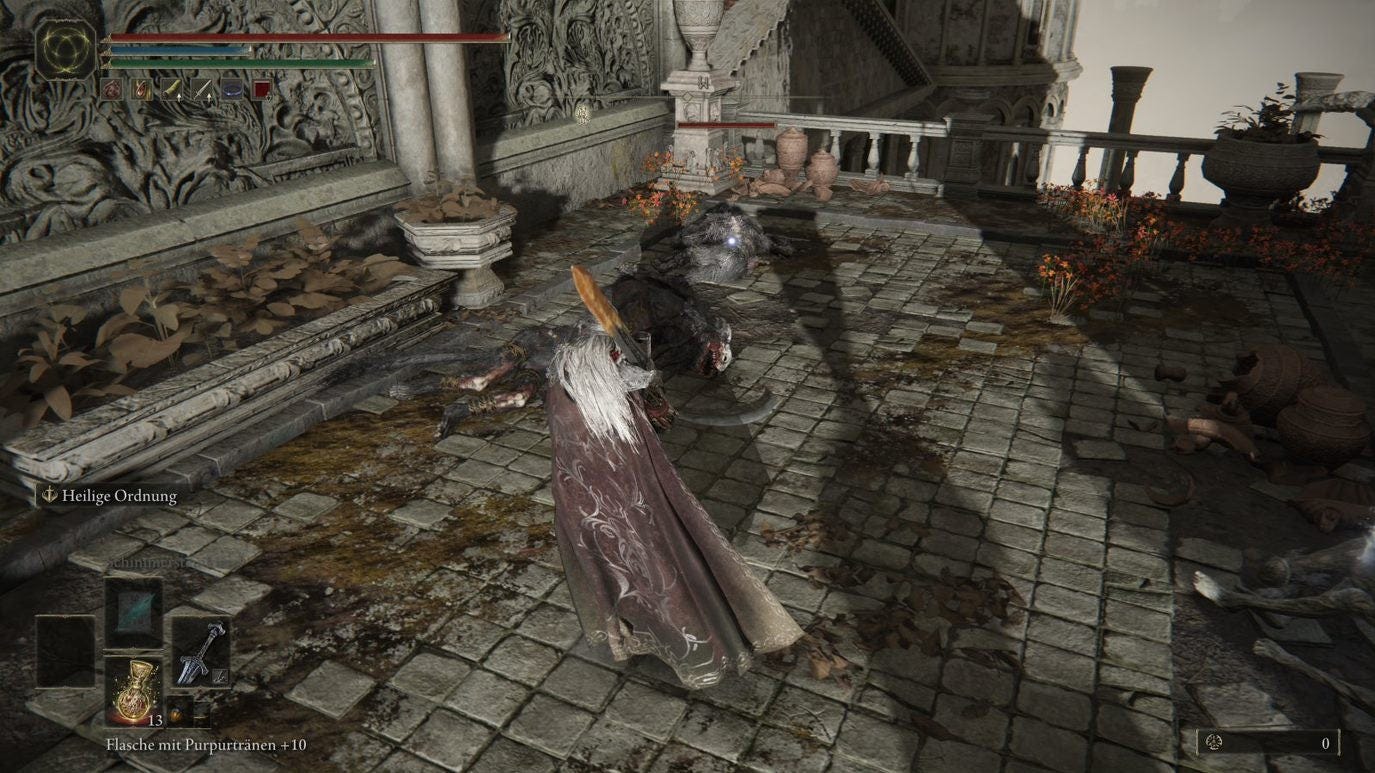
On defeat, you'll be rewarded with:
- 16,000 runes
- Blasphemous Claw (very important for the following boss fight)
- Devourer Scepter Warhammer
- Beast Champion's Helm
- Beast Champion's Armor
- Beast Champion's Gauntlets
- Beast Champion's Greaves
You can now enter the tower. The three dormant beastmen will all wake up when you approach, so take them out on the bridge and loot the treasure chest. It will give you the Old Lord's Talisman which extends the effects of sorceries and incantations.
This completes our exploration of the area and now all we have to do is make our way to the boss. Back at the Site of Grace 'Beside the Great Bridge', we can recharge and take a rest.
Then enter the bridge and head to the south The corpses on the way have 1x Golden Rune (12) and 1x Somber Smithing Stone (7) to loot. If you like, you can defeat the Draconic Tree Sentinel here, but this is not necessary.

You already know this type of enemy as a boss from the outskirts of the capital. His behaviour hasn't changed (and neither has his annoying lightning attack, which is difficult to escape).
The final battle begins behind the wall of fog, leading us to the boss of this area: Maliketh, the Black Blade.
IMPORTANT: defeating Maliketh will result in the destruction of Leyndell, Royal Capital, locking off several weapons, items, spells and armor sets there - including the legendary weapon Bolt of Gransax.
As a result, make sure you've done everything you want to in Leyndell, and collected all the items you want, as they won't be available after this point. With that in mind, let's proceed to the final boss.
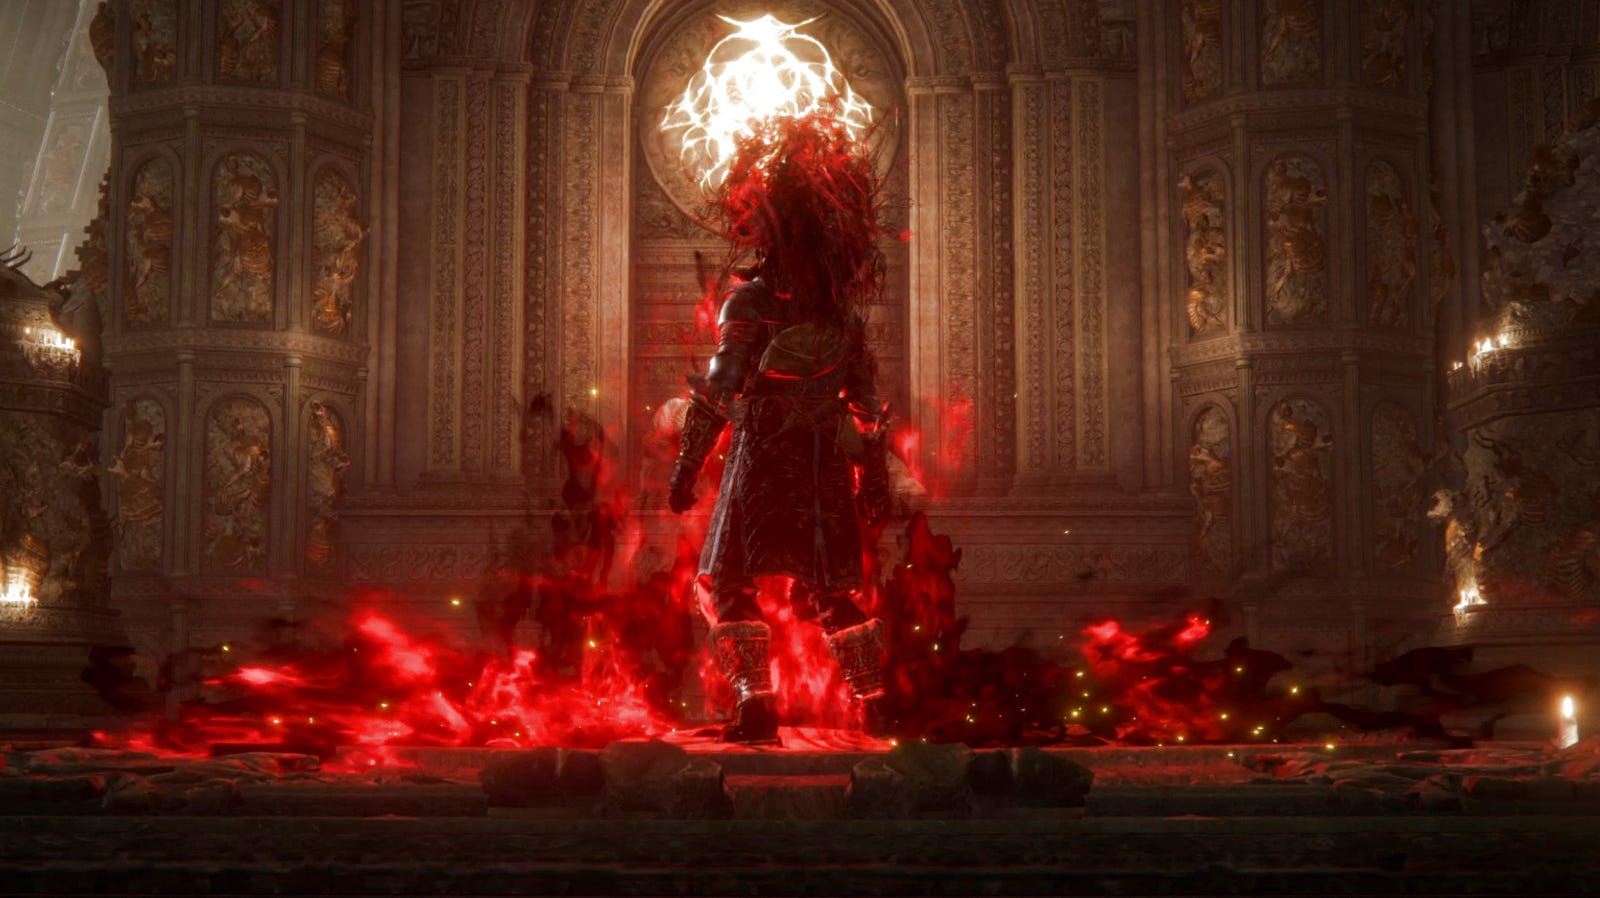
Boss: Maliketh, The Black Blade
Maliketh, the Black Blade is an extremely tough mandatory boss, and a fitting conclusion to the Crumbling Farum Azula dungeon. To begin with, though, Maliketh's identity is hidden - for the first phase of the fight, he's known as the Beast Clergyman, and it's only once his health bar hits 50% that his true name (and second phase) is revealed.
We've got a dedicated walkthrough on how to beat Maliketh, The Black Blade (including his Beast Clergyman phase), so make sure to give it a read if you're in need of more detailed boss tips and strategies to help take him down.
On defeat, Maliketh will reward you with 220,000 runes and the Remembrance of the Black Blade. You'll also be transported to Leyndell, Ash Capital, to begin the final stretch of the game.
Next destination: Leyndell, Ash Capital
Back to walkthrough: Elden Ring walkthrough