Gears of War 4 - Act 1 collectible locations
Where to find every hidden collectible in Act 1 of the campaign.
Below is a list of Gears of War 4 Act 1 Collectible locations, from the opening prologue through to the end of chapter 4. Once you're done with Act 1, you can roll straight onto other Acts in our Gears of War 4 collectible guide:
Gears of War 4 - Act 2 collectible locations
Gears of War 4 - Act 3 collectible locations
Gears of War 4 - Act 4 collectible locations
Gears of War 4 - Act 5 collectible locations
Gears of War 4 - Act 1 collectible locations
Act 1, Prologue
There are a total of seven collectibles in this chapter.
1. UIR Security Report: After you work your way past the front of the bunkers and lob a grenade in through the side, you have to open a large door to continue the mission. Before that, go into the bunker to the right to find the document on the desk inside.

2. COG Tag (T. Thubron): After you've gone into the right bunker, and before you proceed, exit out the side and run down the steps. On the side, behind the concrete block, is a fallen soldier with the collectible.

3. Anti-COG Pamphlet: After you first enter the weapons facility on the way to securing the Hammer of Dawn, after the first blast doors open, turn right and you'll find a poster on the wall that you can collect.

4. Jacinto Herald: During the Emergence Day section, near the start a Corpser will emerge on the street. Before getting the Hammer of Dawn, on the left is a booth to the side of the road, with a stack of newspapers on the desk inside.

5. COG Tag (G. Wagner): During the 'Defend the House of Sovereigns' section, go to the right side (ideally as soon as you begin before it gets too hectic) to find a body tucked away by the wall, with a COG Tag next to it.
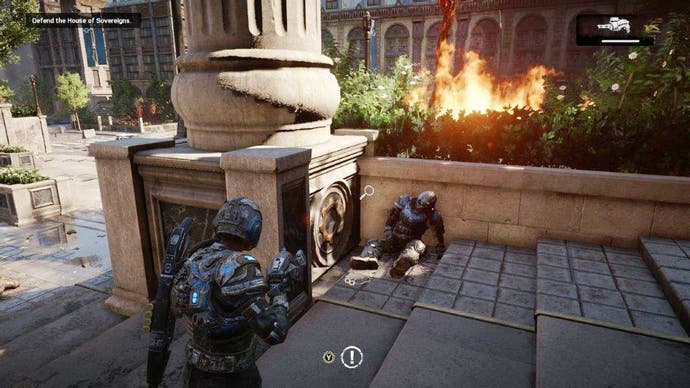
6. COG Tag (J. Beckman): As soon as you start the Anvil Gate section, before you head up the ladder to the next area, to the left is a burning vehicle with a soldier helping his pinning comrade in front. To the left, by the door, is a collectible COG Tag on the ground.

7. Bernie's Last Will and Testament: Also as soon as you start the Anvil Gate section and before you head up the ladder, to the right of where you climb up is the collectible on a desk.

Act 1 Chapter 1
There are a total of five collectibles in this chapter.
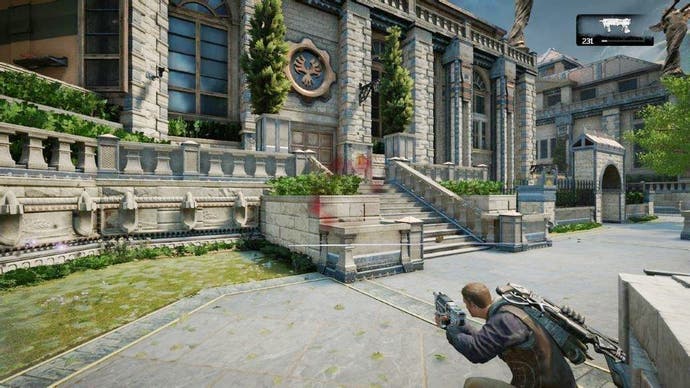
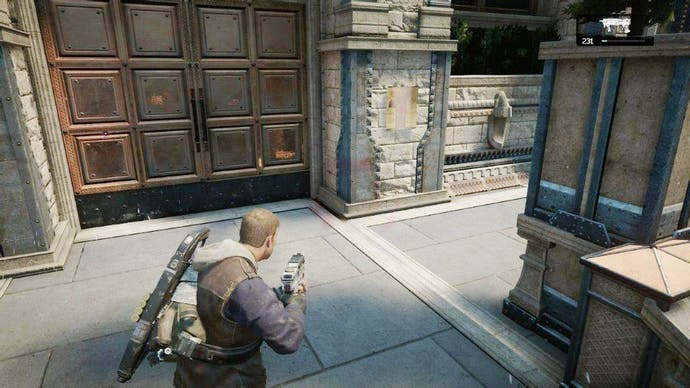
1. Rubble Reclamation Manifest: After you shoot down the fence, but before you approach the crane, turn right as soon as you cross the threshold where the fence was, where the document is tucked away. Easy to miss!

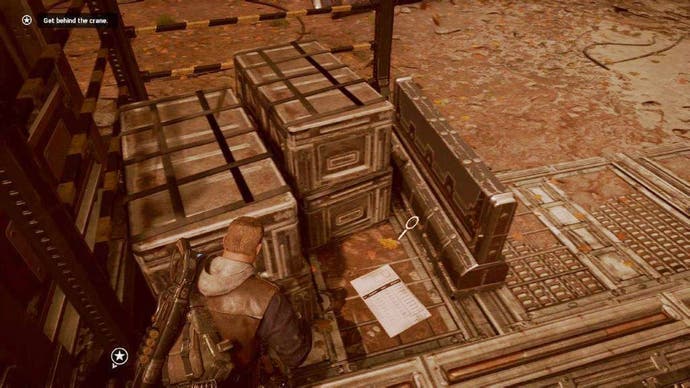
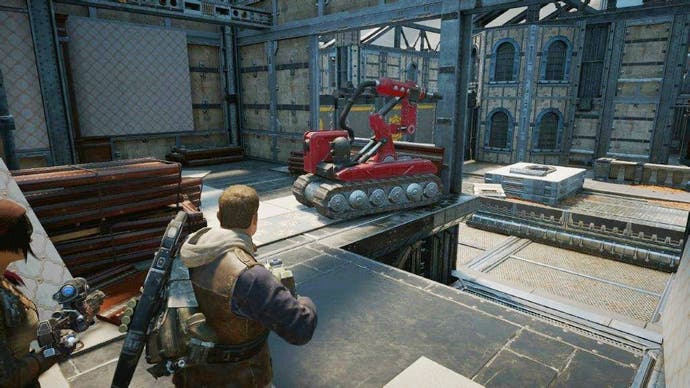
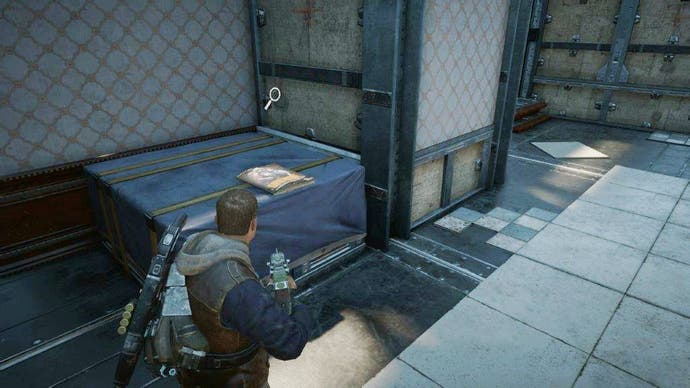
2. Shephard Protection Pamphlet: As you find a way into the construction hub and work your way through the complex while the robots are working, you'll smash through a door, take a left, and can drop down right by the red robot. Instead, go left here to the end, where you'll find the pamphlet on a crate along the end wall.
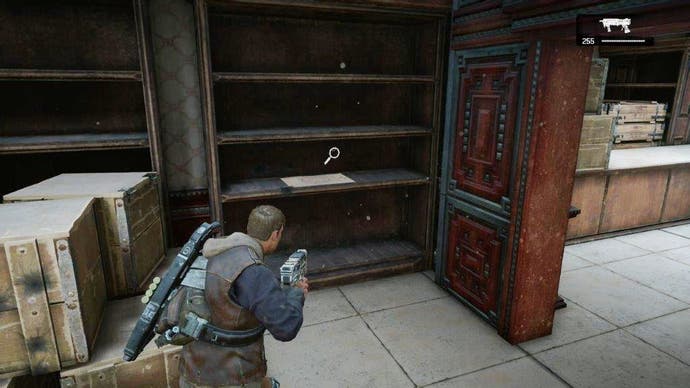
3. Settlement 5 Resident Assignment List: When you go to the second ring of the settlement, during the DB security bot fight, there is a building on the corner with a stock room in the back. Collect the List on the shelf.
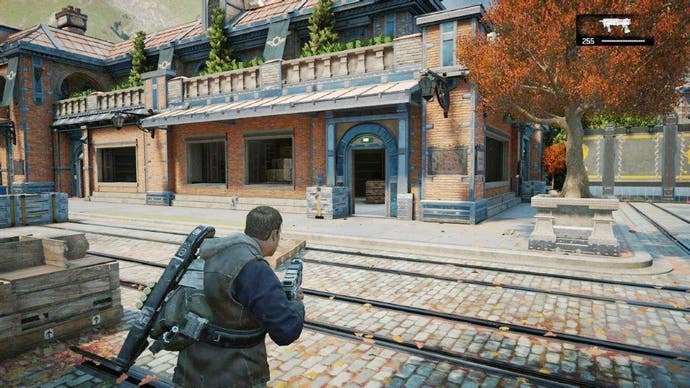
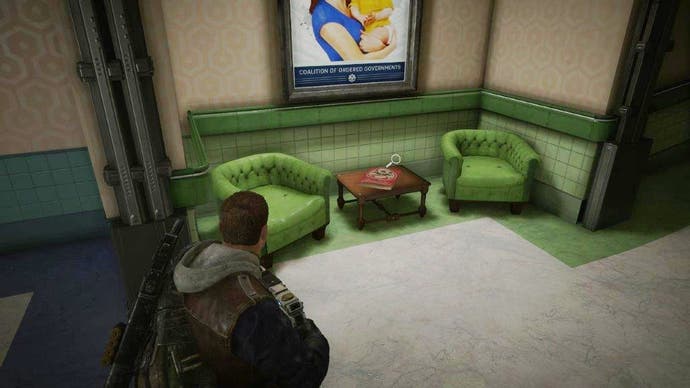
4. COG Birthing Pamphlet: Inside the maternity building, after the cutscene discussing the fabricator, go into the proceeding corridor and the Pamphlet collectible is on the green chairs on the left.
5. Windflare Lockdown Procedure: After you leave the maternity building, during the DB firefight before you enter the maintenance door, there is a step of steps leading to a building to the left. To the right of the door is a collectible poster.
Act 1 Chapter 2
There is one collectible in this chapter.
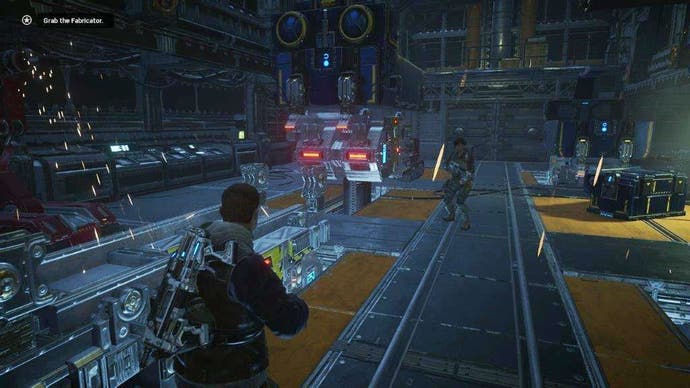
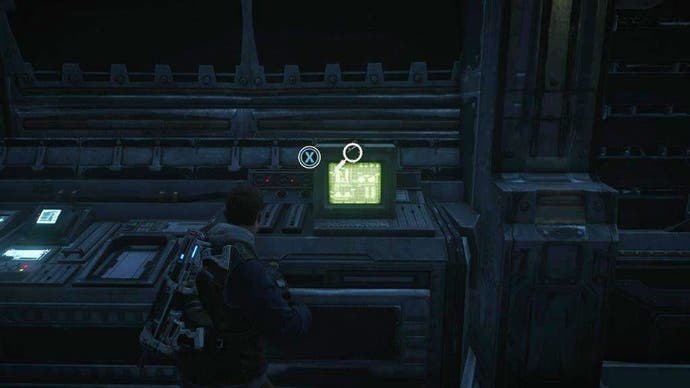
1. DBI Schematics: After you get off the lift and just before you get the fabricator, there is a bank of consoles on the left side of the room. Investigate the green screen to get the Schematics collectible.
Act 1 Chapter 3
There is one collectible in this chapter.
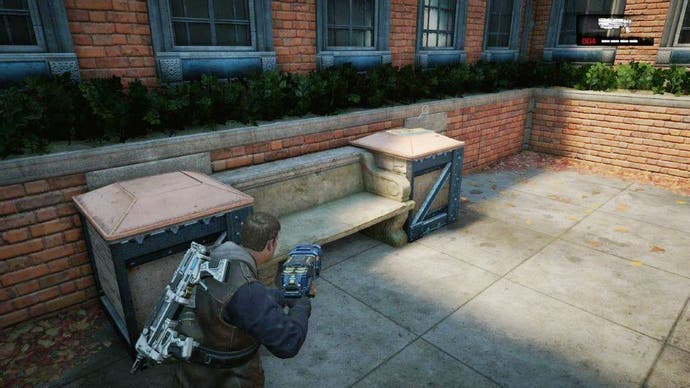
1. Shepard Safety Phamplet: As you're taking the fabricatior out of the settlement and face another set of DBs in the open courtyard (the first time you encounter a Tri-Shot wielder) you can go round to the left corner where, up a short set of steps and on top of the bench, is the collectible.
Act 1 Chapter 4
There are three collectibles in this chapter, all within the village while you fight off enemies. It's best to collect them either between waves, or better yet, before the encounter starts proper, by setting down the fabricator and running round the area.
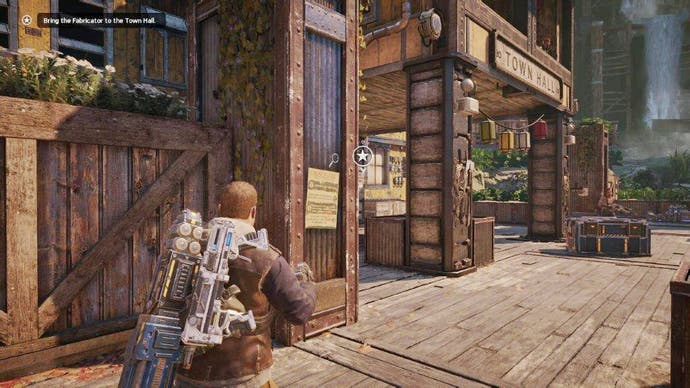
1. Village Windflare Lockdown Procedure: You'll find this poster to the left and outside of the Town Hall entrance, on a pillar.
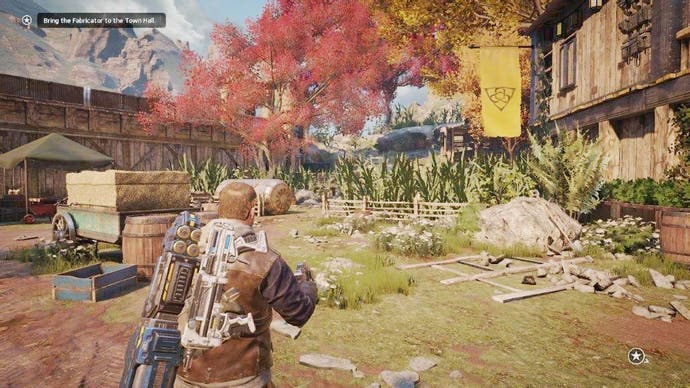
2. Village Mare Breeding Record: If you're facing the Town Hall, to the left is a set of crops with a yellow banner above. Behind this area is a workshop up a short set of stairs, with the collectible on the ground on the right.
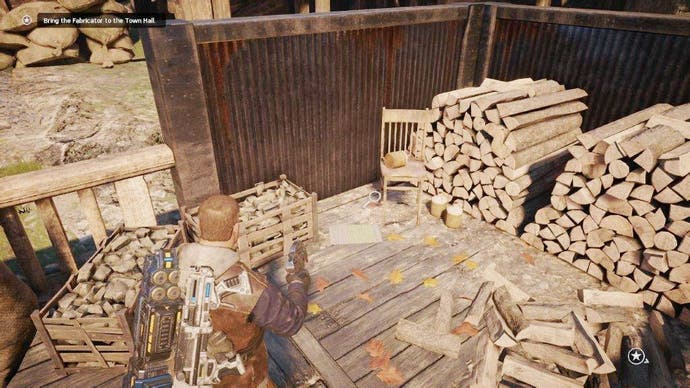
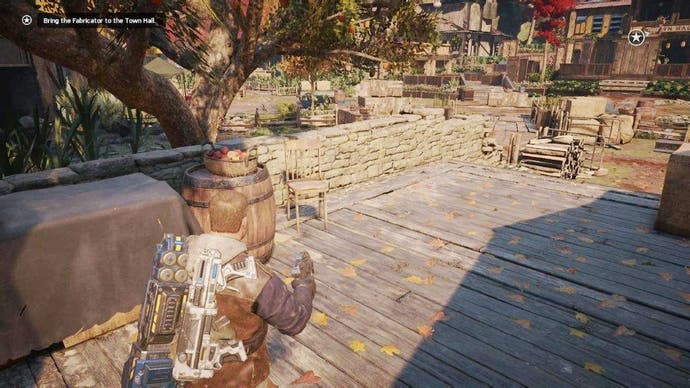
3. Book Inscribed to Kait: Opposite the Town Hall - at the far end of the area - go right at the hay bales then left up the slightly elevated area, and you'll find the Book on the ground next to the barrel.
