Genshin Impact In the Mountains walkthrough
All shard and Scarlet Quartz locations for this tricky Dragonspine quest.
In the Mountains is an early Mondstadt World Quest in Genshin Impact that takes place on the snowy Dragonspine mountain.
You might be tempted to just give up on the quest, as it's not very clear where to go a lot of the time, but it is very easy to die from the cold up on Dragonspine. We recommend taking it on to at least unlock the Frostbearing Tree and its rewards (which includes a way to mitigate some cold damage while exploring).
However, to get access to the Cryo Hypostasis and Peak of Vindagnyr Domain in Genshin Impact, you need to complete the entire quest, so we've got a detailed In the Mountains walkthrough below to make things clearer, which includes how to continue upwards to investigate and all shard locations.
On this page:
For more help, check out our beginner's guide with tips and tricks, and our Elemental Reactions chart and guide.
How to investigate the strange ice for In the Mountains
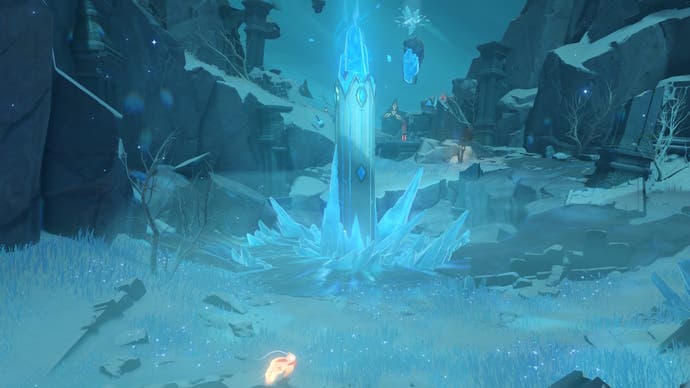
After speaking with Iris at the camp on the base of Dragonspine, your first task is to investigate the strange ice on the Snow-Covered Path area of the mountain. This strange ice is actually the Frostbearing Tree reward system, but you need to collect Scarlet Quartz particles and hit the strange ice in order to smash it and reveal the tree.
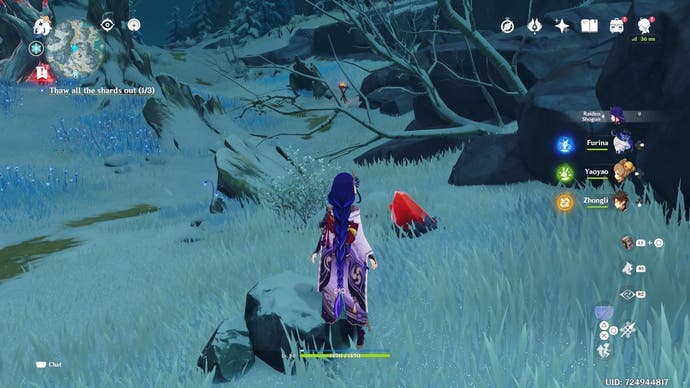
Scarlet Quartz particles are obtained from the red mining veins dotted about the immediate area. Destroy one red vein at a time and then take its particle to the strange ice, then hit the ice to lower its health bar. There's a timer on how long the orb lasts, so we recommend killing any nearby enemies first to speed-up your travel time to the tree.
There are four Scarlet Quartz particles to find while investigating the ice during the In the Mountains quest:
Scarlet Quartz location 1
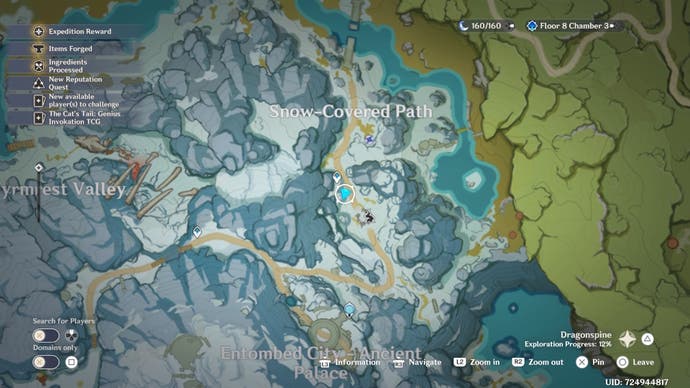
Scarlet Quartz location 2
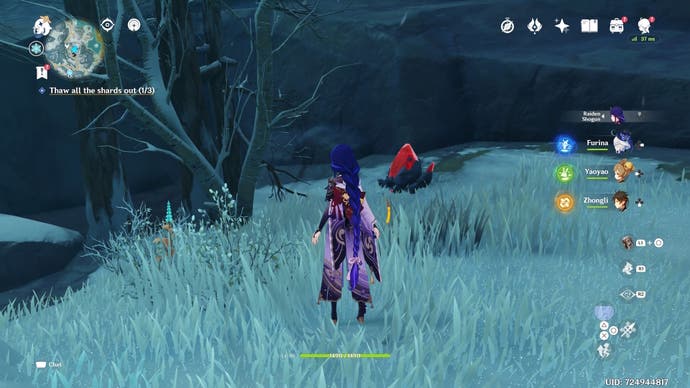
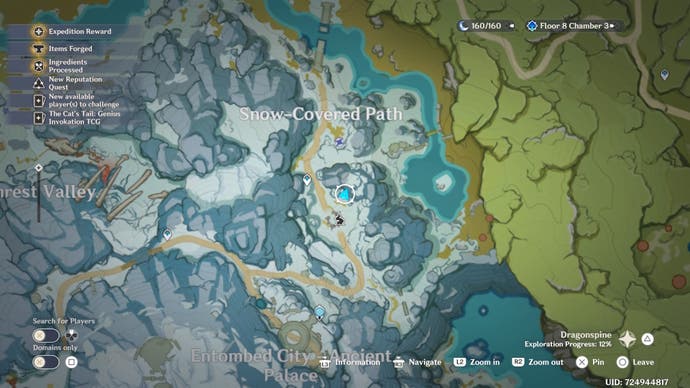
Scarlet Quartz location 3
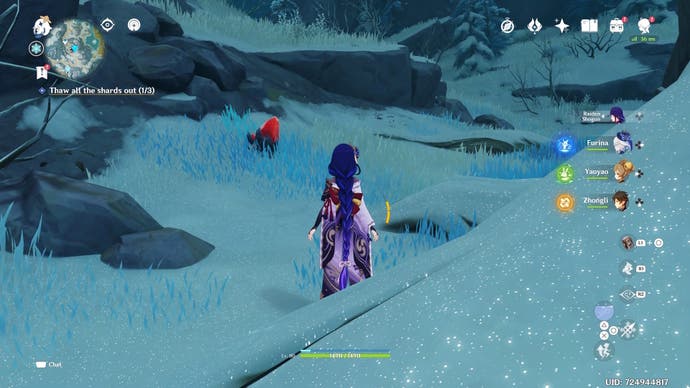
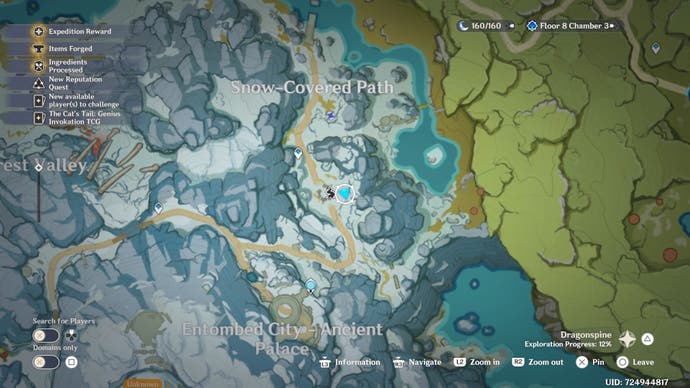
Scarlet Quartz location 4
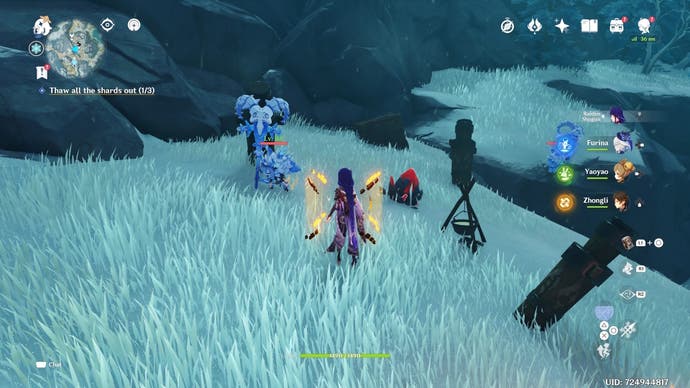
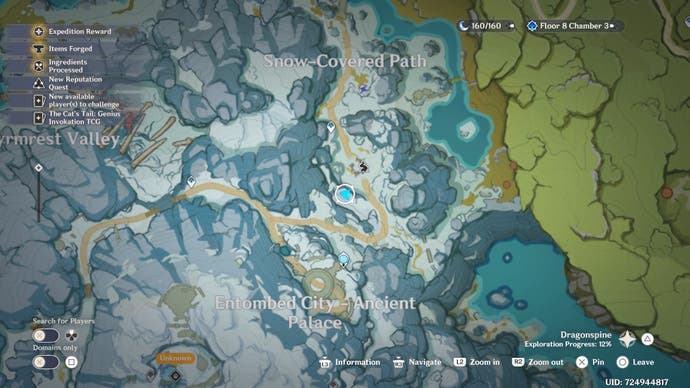
After hitting the strange ice for the fourth time with a Scarlet Quartz orb, the Frostbearing Tree will unlock, and you can now offer it any Crimson Agates you find on Dragonspine in exchange for rewards.
How to continue upwards to investigate for In the Mountains
Your next task during In the Mountains is to continue upwards to investigate, which sounds simple enough, but the quest marker is very misleading, as it looks like you have to climb higher than you actually do.
To clear the 'Continue upwards to investigate' task in Genshin Impact you should follow the main path until you come to a small set of stairs on the left by a Scarlet Quartz mining vein, which is just past a group of Hilichurl enemies. This is the entrance to the Entombed City - Ancient Palace area.
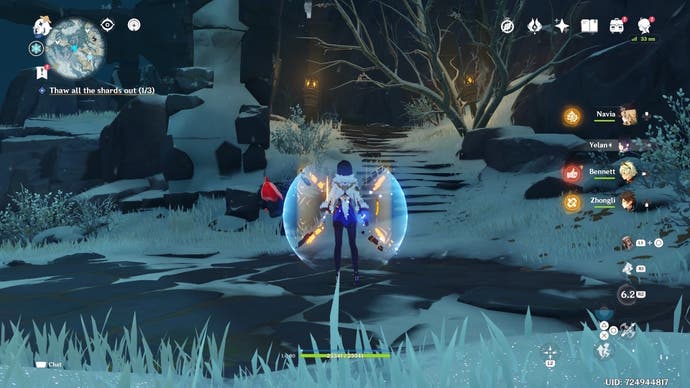
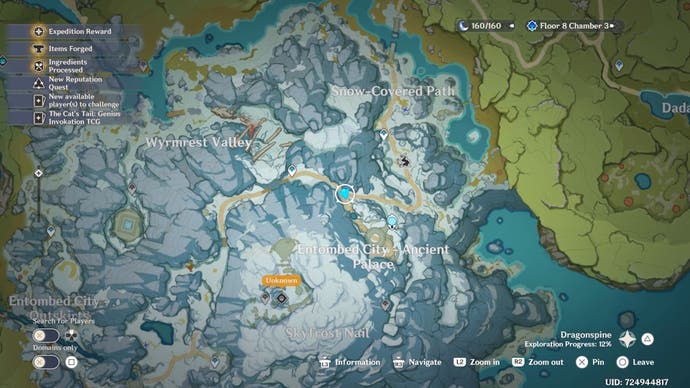
Keep following this main spiralling path and head up past the enemies to a windy ice cavern, close to the Statue of Seven. Try walking into the windy cavern to trigger the next part of the quest, then head back to Iris in the camp by the Teleport Waypoint at the base of the mountain.
Next up, you have to thaw all of the shards out for Iris, and there are two remaining. They're both located on the western side of the mountain, so you're in for a bit of a trek though the cold if you haven't already unlocked Teleport Waypoints nearby.
Remember that you can warm up by standing next to Teleport Waypoints, fires, fire Seelies, and at activatable fire beacons.
Genshin Impact In the Mountains Shard location 2
Once you get to the western side of Dragonspine, you need to go to the underground Starglow Cavern area to find the second shard location.
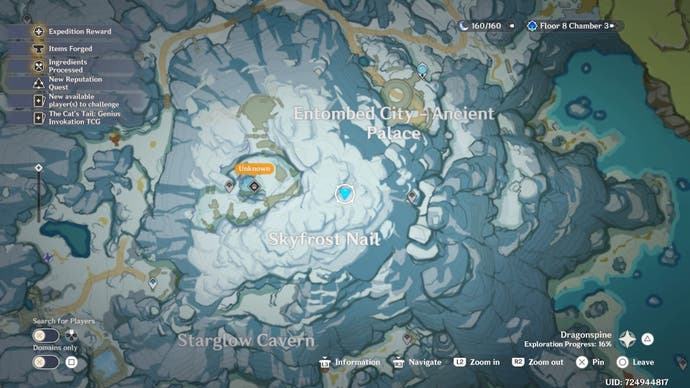
To get to Starglow Cavern, go to the Teleport Waypoint on the western side between Skyfrost Nail and Starglow Cavern, then jump down the nearby circular opening and make your way to the red challenge totem at the very bottom of the cavern.
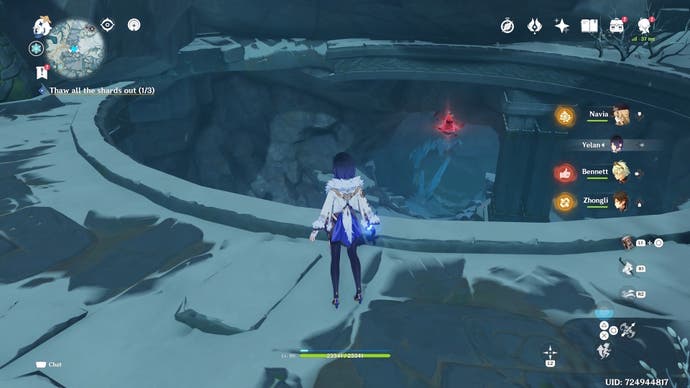
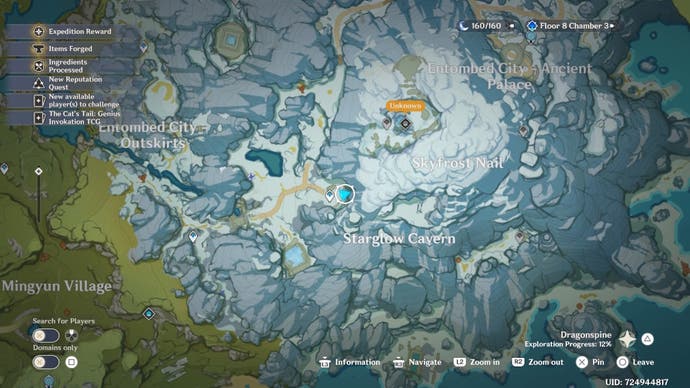
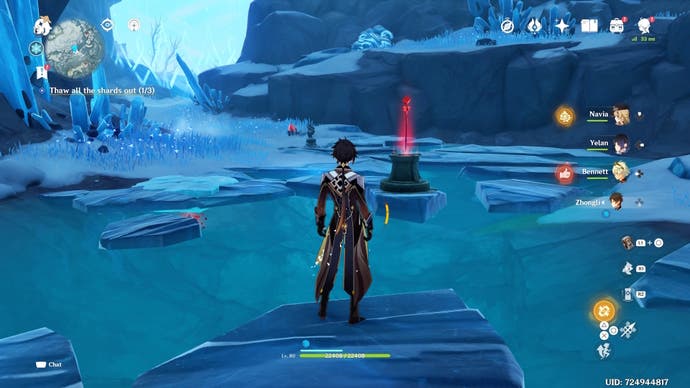
The shard is in a large tree close to the challenge totem, but you need to activate the totem and defeat all 14 enemies within the time limit to lower the shard's first shield. This can be tough while also battling the cold (and avoiding the freezing water), so we recommend guiding at least one fire Seelie in the area to its resting place, so you can return to it and warm up during the fight.
We also recommend you use Pyro or Electro characters to quickly lower the enemies' Cryo shields.
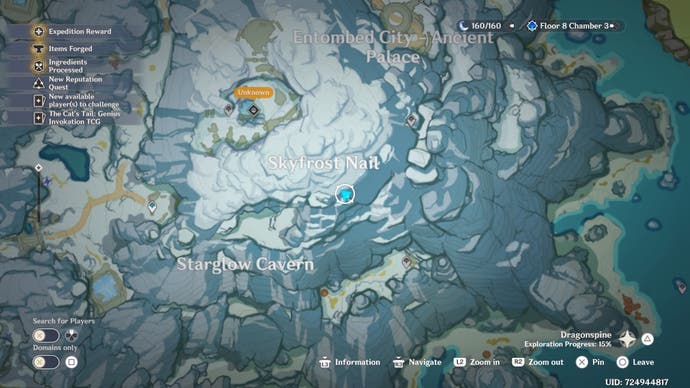
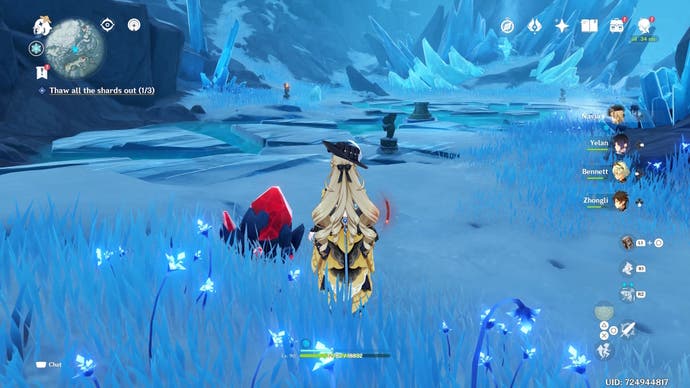
Once you complete the combat challenge, you can now open a Precious Chest and then go hunting for four more Scarlet Quartz orbs to lower the health of the shard in the tree. Here's where to find all of the Scarlet Quartz orbs in Moonglow Cavern:
Scarlet Quartz location 1
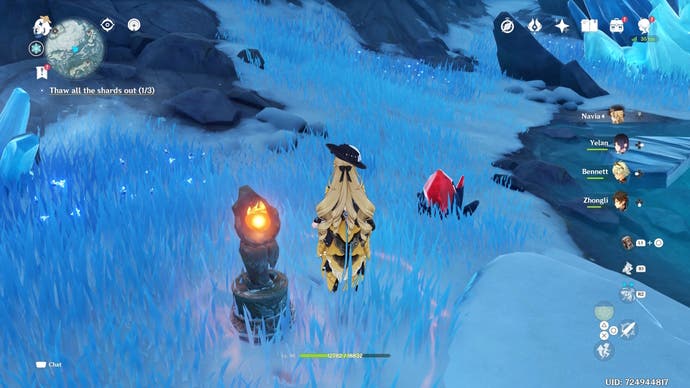
Scarlet Quartz location 2
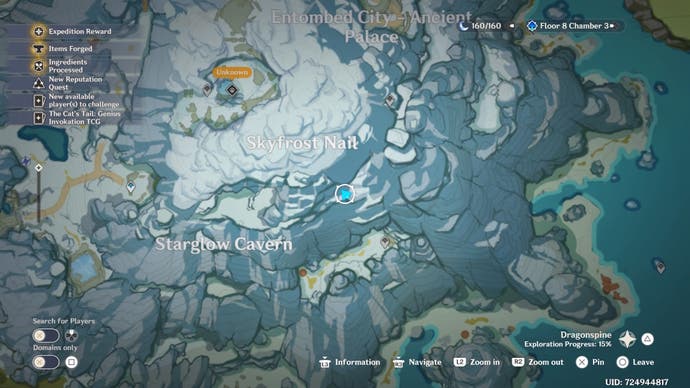
Scarlet Quartz location 3
You have to destroy the rubble here first to reveal the Scarlet Quartz vein behind it. Geo or Claymore characters can do this the quickest.
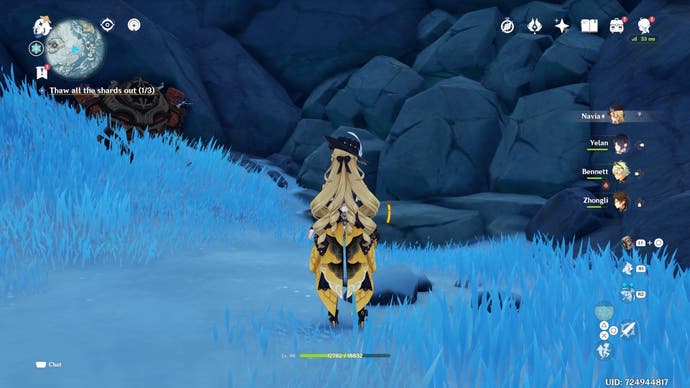
Scarlet Quartz location 4
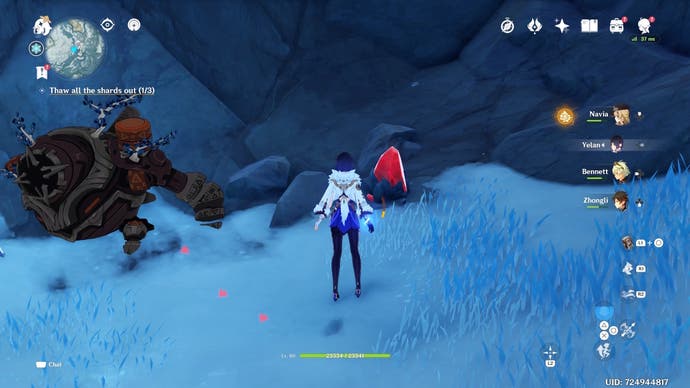
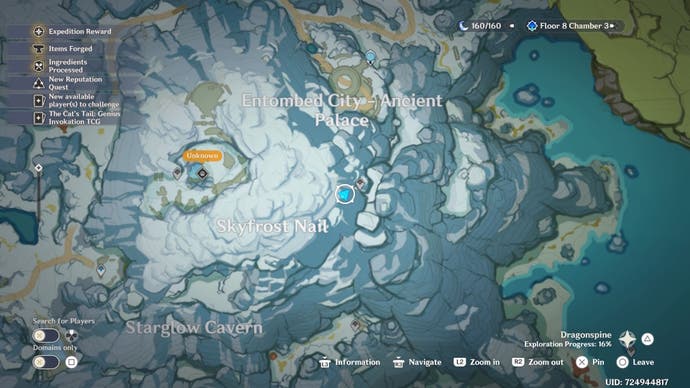
Press the 'Start' option when it appears after hitting the shard with a Scarlet Quartz orb four times to finish up in Moonglow Cavern, then make your way to the final shard.
Genshin Impact In the Mountains Shard location 3
The directions in your quest log are a little misleading, as the final shard for In the Mountains in Genshin Impact is located south of the Teleport Waypoint between Entombed City - Outskirts and Wyrmrest Valley. It's the circular area that cuts into the mountains when looking at the map.
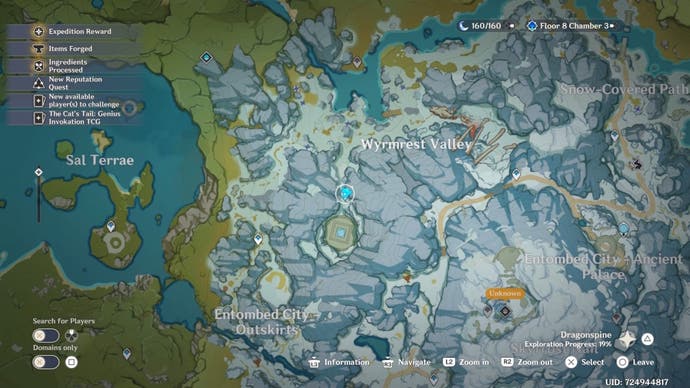
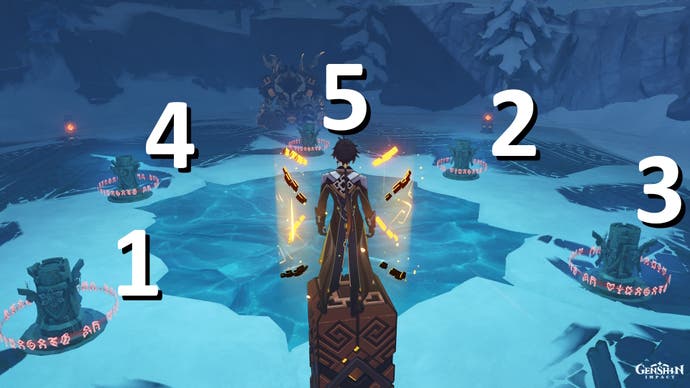
The actual shard is below the ice, and to get to it you need to solve the totem puzzle by using a Cryo character to repeat the Seelie pattern after activating the cubic switch.
Here's a picture showing the correct solution to the Cryo totem puzzle:
Be careful after solving the puzzle! Once you open the Precious Chest three Ruin Guard enemies awaken, and you have to defeat them first before you can jump down to the cavern between the Cryo totems.
After you jump down, it's time to find the four Scarlet Quartz veins again. Here's how to find all of the Scarlet Quartz orbs in the final shard location:
Scarlet Quartz location 1 and 2
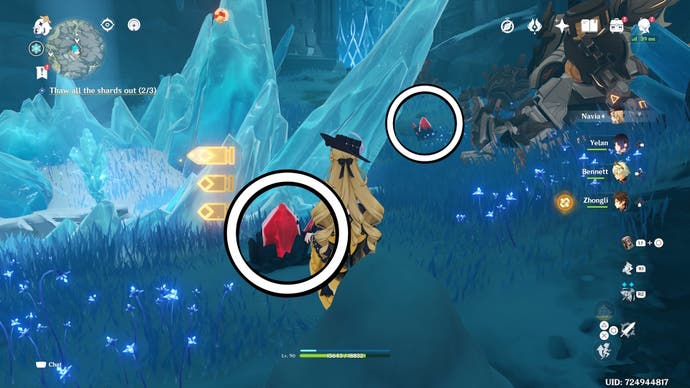
Scarlet Quartz location 3
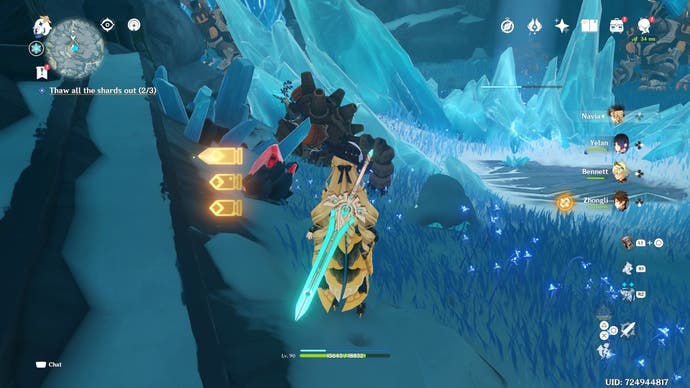
Scarlet Quartz location 4
The last Scarlet Quartz is a little trickier to find, as you need to guide two fire Seelies to their resting spots to open the gate that leads to it. The first fire Seelie is on a large ice spike above the shard in the middle. You can glide down to get it or switch to a tall character and jump beside it to get the Seelie moving.
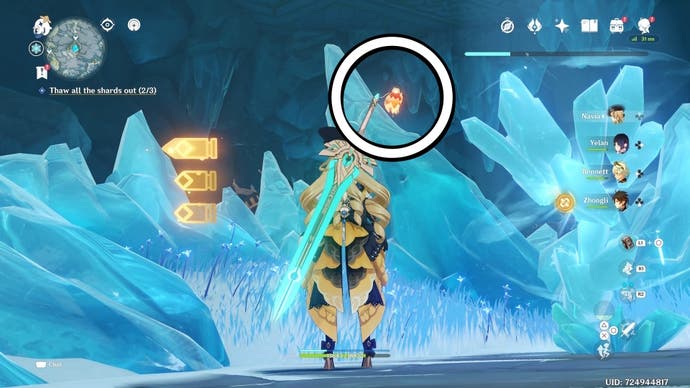
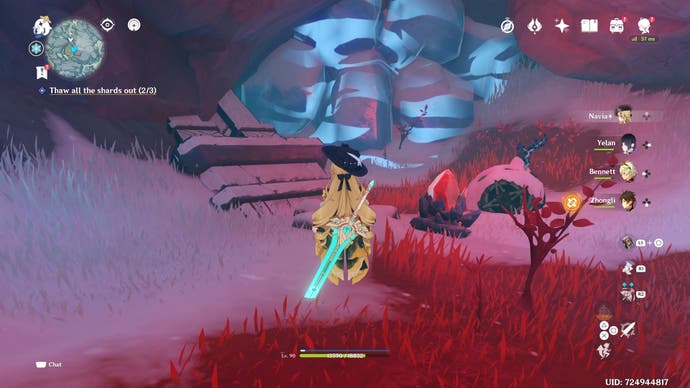
The last Seelie is either inside a snow pile or by the gate behind the shard (not the gate with the Scarlet Quartz behind it). You have to use a Pyro character to melt the snow piles if the Seelie isn't by this gate.
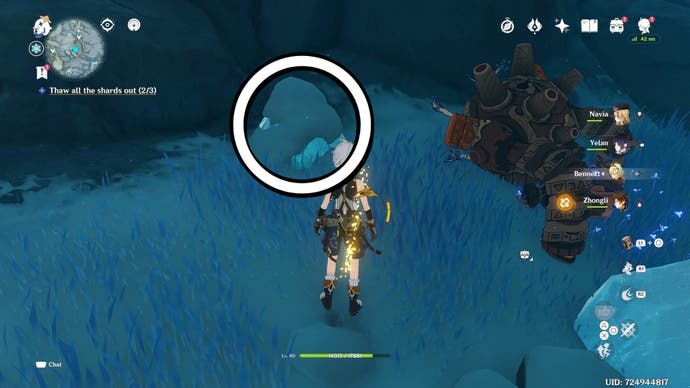
After guiding both Seelies, you can now enter the open gate to get the last Scarlet Quartz orb and return it to the shard. Remember to press the 'Start' option when it appears to continue with the quest.
Version 5.3 with Mavuika and Citlali is nearly here! In the mean time, during version 5.2 we have Zhongli and Neuvillette. So don't forget to redeem new codes for Primogems to help pull them, and check out our regularly updated tier list. You need luck from the Pity and 50/50 systems to Wish with Fate for characters on Banners, and you always need the right Adventure Rank for events. Elsewhere, we have tips and tricks for beginners.
How to head for Dragonspine's summit for In the Mountains
Now that you've located all three shards and let them loose, it's time to go back to the windy cave by the Statue of Seven in Entombed City - Ancient Palace and follow the cave up to Dragonspine's summit.
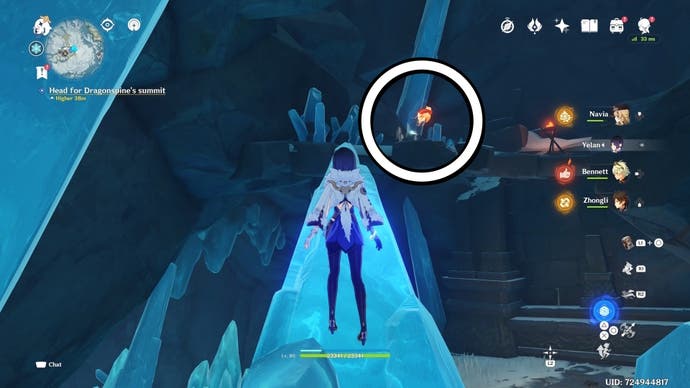
Watch out for the icicles that fall above the Hilichurl enemies on the square platforms on your way up. Using an archer on the enemies can make the icicles fall on them instead of you.
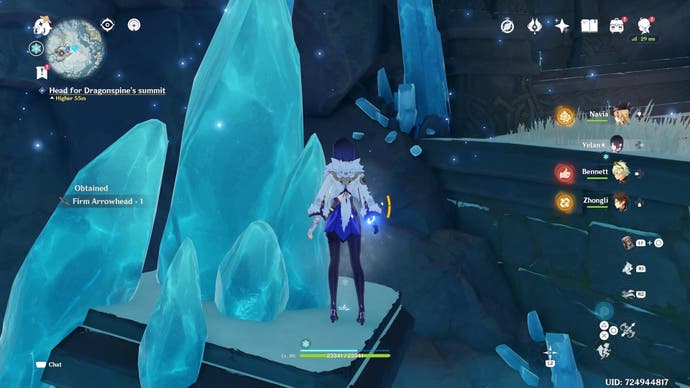
At the end of this cave, you'll come to a dead end, and the only way out is to go up. To do this, you have to follow the fire Seelie to collect three Anemo butterflies. Once all three have been collected, a wind current will activate. Use it to finally get to Dragonspine's summit.
How to thaw all the shards out again for In the Mountains
The last big step for the In the Mountains quest is to thaw all of the shards out again, but don't worry, it doesn't take as long as it did before, and all three shards are close together on Dragonspine's summit.
Shard location 1
The first shard is right in the middle, floating on a platform you need to climb and jump onto.
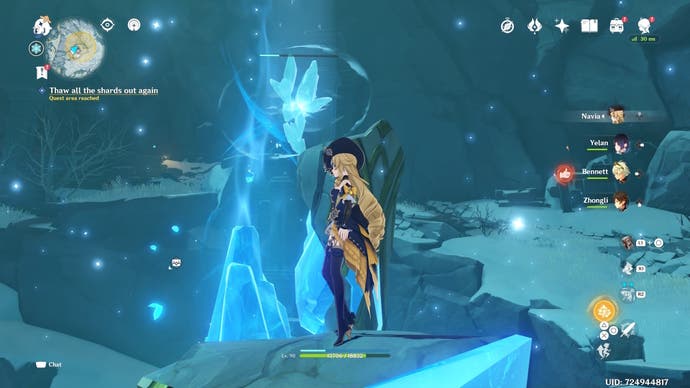
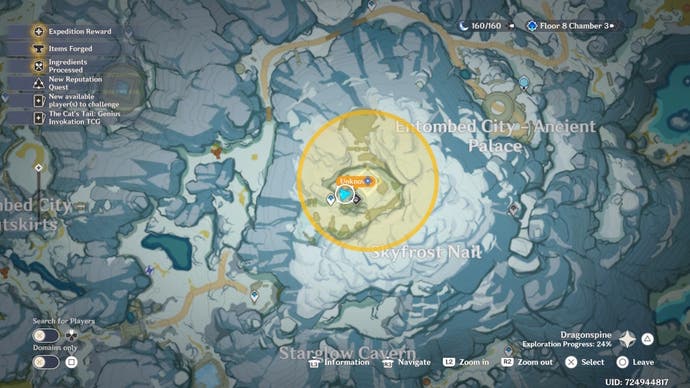
Only one Scarlet Quartz orb is required this time, and it's found up the slope that contains a path of flying enemies. If you're a little weak at this point, either shield yourself and run past the enemies to get to the orb at the end of the path quickly, or try picking them off from a distance with a bow.
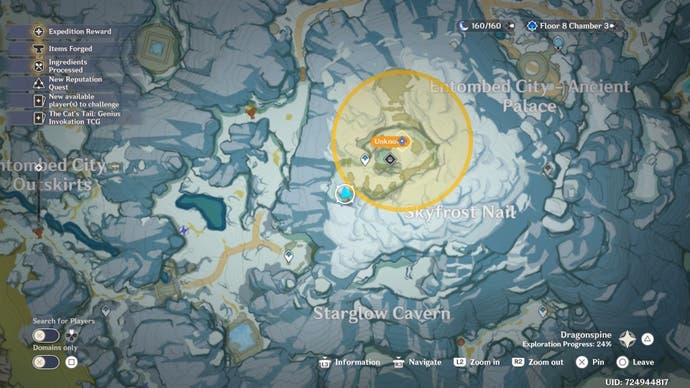
With the orb, head back to the shard in the middle and hit it once to thaw it.
Shard location 2
The second shard is also floating in the middle, but it's higher up, so you have to follow the path to the very top to get to it. Don't forget to activate any fire beacons you see along the way to help combat the cold.
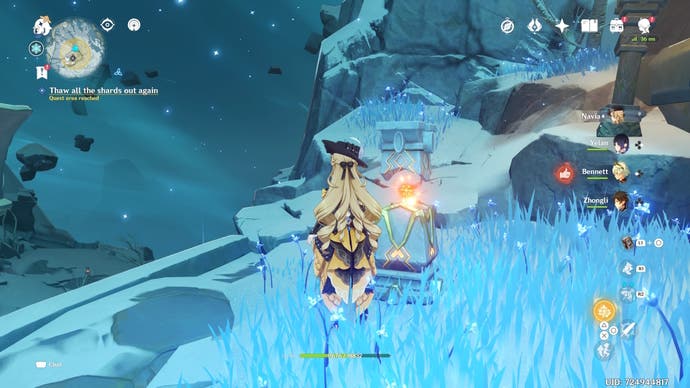
At the top, enter the circular area to find the Scarlet Quartz vein, then take its orb back to the shard floating across the way. Make sure to jump back to this circular area after pressing the 'Start' option, as the platforms will start to take you back down the mountain.
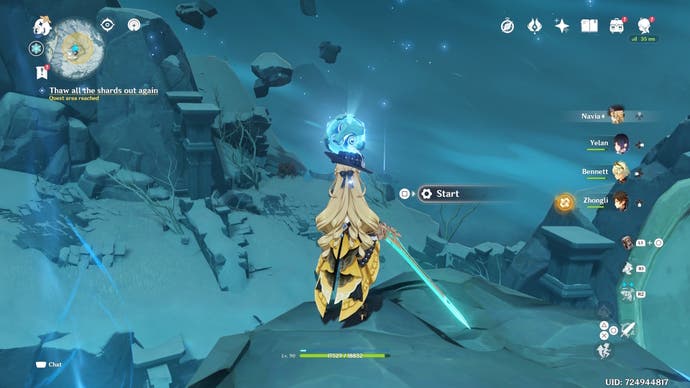
Shard location 3
The final shard is floating high up above the Domain's location, and the easiest way to get to it is to follow the fire Seelie in the circular area at the top of the mountain to find the Scarlet Quartz first, then jump down to the shard.
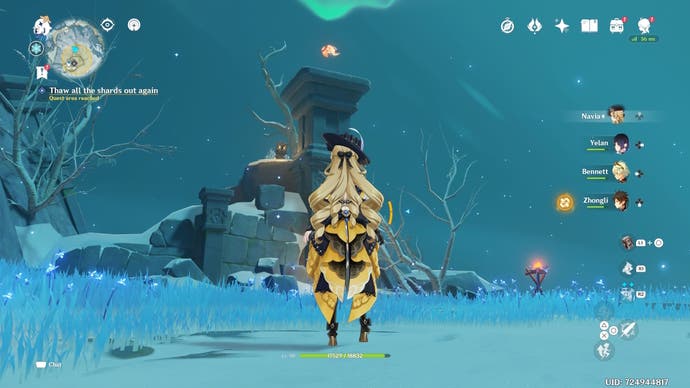
After following the fire Seelie and climbing up as far as you can go, switch to an Anemo character to activate the Anemo totem. A group of rings will appear, and you can now fly though them to get the final Scarlet Quartz to the right of a chest.
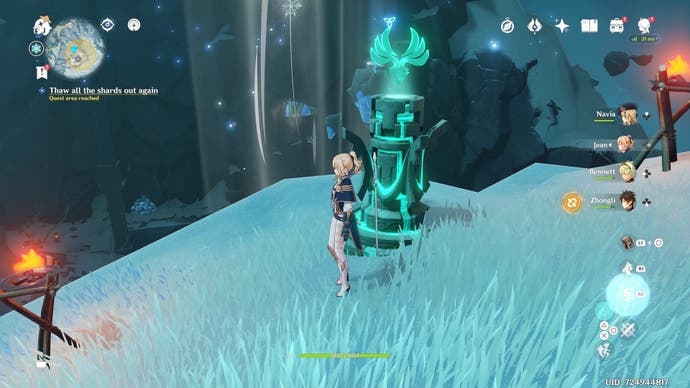
Look down at the edge of this area to spot the final shard, then glide down and hit it after collecting the final Scarlet Quartz.
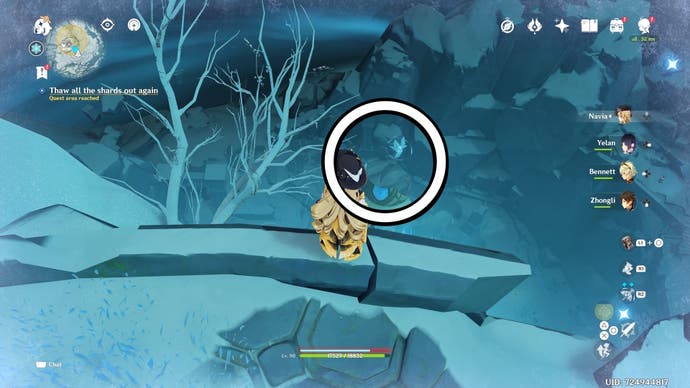
Jump back down to the bottom to investigate the area below to unlock the Peak of Vindagnyr Domain, then report back to Iris to finally complete In the Mountains and unlock the Cryo Hypostasis.
