How to beat Yellowbrow in Black Myth: Wukong
It’s browbeating time!
In Chapter 3 of Black Myth: Wukong, you’ll have fought multiple dragons, bugs and bats, but the big bad Yaoguai King of The New West isn't a beast, but a powerful monk called Yellowbrow.
Even though he doesn’t take a bestial form, he still makes for a formidable boss, not least because you actually have to fight him in multiple phases, with another boss battle taking place in between each stage. In order to help you take Yellowbrow down, this guide will provide all the information you need on how to beat Yellowbrow in Black Myth: Wukong.
On this page:
- How to prepare for Yellowbrow
- How to beat Yellowbrow (1st encounter)
- How to beat Yellowbrow (2nd encounter)
- Yellowbrow rewards
How to prepare for Yellowbrow
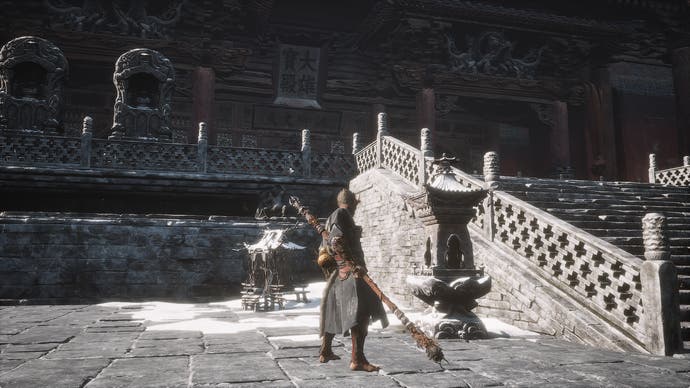
Yellowbrow is the final boss of Chapter 3, who you will find in New Thunderclap Temple at the very end in Mahavira Hall.
The temple grounds are pretty vast, and to the right before reaching the hall is another building where you can fight the optional boss Non-Pure. It’s worth fighting this boss as well as any other optional bosses and challenges now since we’re coming to the end of the chapter, and any additional XP and Sparks gained will be in your favour.
Much like with Captain Wise-Voice, Yellowbrow makes use of lightning-based attacks that can inflict Shock status, so it will be worth having some Shock-Quelling Powder with you as well as increasing your shock resistance either with armour or by trading in Mind Cores with the Xu Dog from Chapter 2. As he’s more of a threat with magic than physical attacks, we’d also recommend equipping Cloud Step rather than Rock Solid, and then reallocate Spark points to that accordingly, including increasing the damage of a critical hit when using the spell.
While this fight is actually a few different phases in different locations, the good news is that they are checkpointed so you won’t have to start the whole fight from scratch if you die.
How to beat Yellowbrow (1st encounter)
This is definitely the easiest phase of the fight. While a giant monk more than twice your size, Yellowbrow moves quite slowly, attacking with his sceptre, which he can make wide swings or slam down on the ground, or stomping you with his foot. These come slow enough that they’re easy to dodge but what makes them more of an issue is that they’re all charged with lightning energy, so getting hit will also build up to inflicting shock.
It’s best to try and get use your resources early on if you want to make this phase of the fight quick, so use Immobilize, preferably when he’s in the middle of an attack animation, use Wandering Wight’s spirit attack to stun him, as well as Wind Tamer vessel to boost your defence temporarily. For any attacks you’re less certain about the timing of, especially when’s charging one up, use Cloud Step to avoid and then close in with a critical counter, which can also stun him out of his attack.
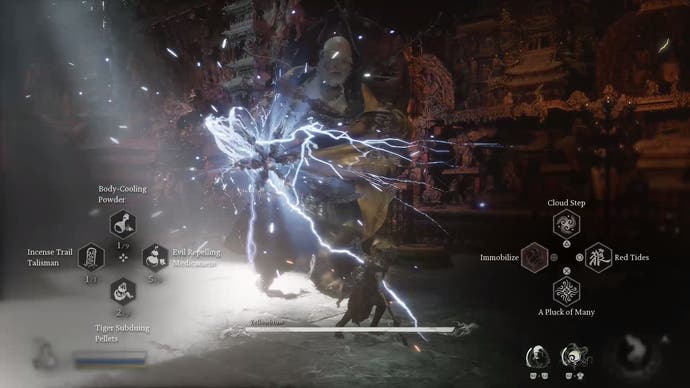
Focus on full combos and focused heavy attacks, as these can all stun him out of attacks too, leaving him open to more free hits. He’ll occasionally break away from your offensive by teleporting away, sometimes reappearing on the other side of the room, although rather than ambushing you he just stands and taunts you, so just rush in and interrupt him with more attacks.
When Yellowbrow is down to a third of his health bar, he’ll get a bit more serious and start charging up parts of the floor with lightning-based AOE attacks or send trails of lightning towards you, which is your cue to get out of their range. He’ll also try teleporting away and then raise his sceptre in the air to charge up a powerful lightning attack, but when this happens just rush for him and perform a full light attack combo on him or a focused heavy attack and that should stun him out of the attack altogether.
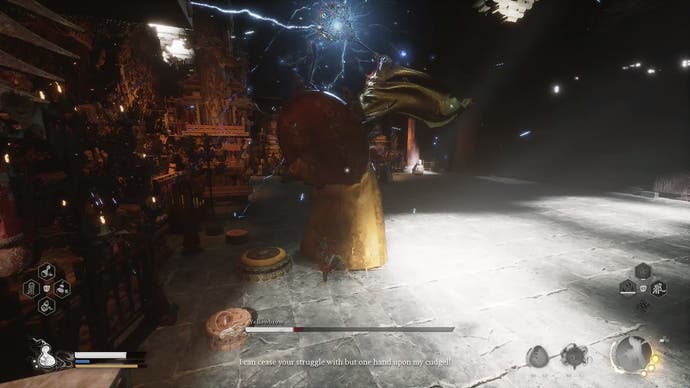
You should finish this phase without having to break much of a sweat, and because each phase is checkpointed, you don't need to worry about burning through your mana or gourd resources too quickly. Of course, this is just the beginning and a cutscene will play out where Yellowbrow traps you inside his jar.
At this point, you’ll have to fight Macaque Chief once more, although you will have help from Zhu Bajie this time. If you’re killed during this phase, you’ll respawn back at the Mahavira Hall shrine, but you fortunately won’t have to fight Yellowbrow again. Once this fight is over, you’ll drop into another part of the temple where you’ll eventually encounter Yellowbrow again in his second and more powerful phase.
How to beat Yellowbrow (2nd encounter)
The good news is that if you’re killed by Yellowbrow in this phase, you respawn at a checkpoint in this deeper part of New Thunderclap Temple and can just run back into try again. However, it’s only a spawn point rather than a shrine so you won’t have the opportunity to respec abilities or craft new gear or medicines here.
Yellowbrow’s new trick in this phase is that he can turn himself into gold, essentially making him invulnerable to attacks as your staff will just bounce off him, and also increases his size. Meanwhile, he will be charging up his sceptre with lightning, which he will then strike you with, and it won’t just be the sceptre’s swings you have to watch out for but the shockwaves that shoot out along the ground afterwards.
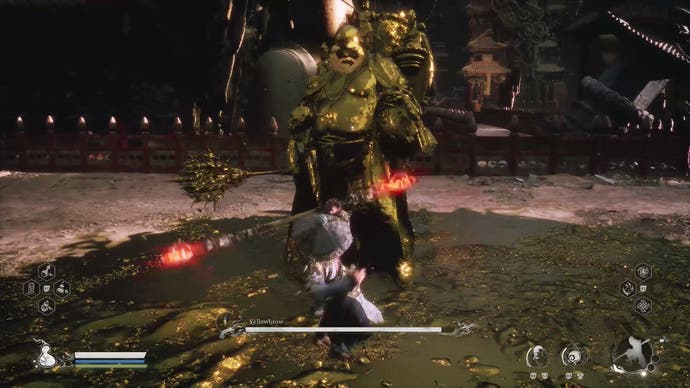
Fortunately, while you won't be able to use combos against him when he's gold, it only takes a few charged hits in order to knock him out of his gold form, eventually staggering him and making him revert to his normal form. It’s best to charge up focus heavy attacks in this case, and any stance should do. Then, once he’s reverted, he’ll be left open for you to get in a free combo.
When about a third of his health is down, Yellowbrow will let out a roar that stuns you so that you can’t move and then he’ll plunge his sceptre into the ground, emitting lightning all around. A cutscene will play out as he hits you with an attack, which takes a lot of damage - rather unfair seeing as it’s a mandatory cutscene (if you’re low on health at the time it shouldn’t kill you though but have you down to your last pixel health). At least the cutscene can be skipped if you’re having to replay the fight. Needless to say, once you're back in control, heal immediately.
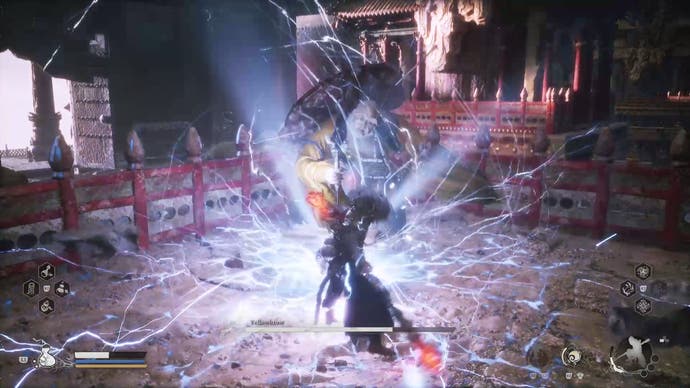
Second phase
The next phase is very similar to his very first phase, as he can disappear for a while and then teleport to another part of the arena, and he’ll continue swinging and slamming his sceptre charged with lightning that you’ll also have to dodge. He can also still turn into gold so you have to deal with knocking him out of this status before you can actually deal any damage yourself.
When Yellowbrow is down the last third of his health bar, he will cause another roaring shockwave, and once again another cutscene plays out as you’re at the receiving end of a devastating attack that again unfairly takes off a lot of your health. We hope you still have a few drops of your healing gourd to spare, because once again, you'll need to heal immediately as you enter the last phase of this long boss fight.
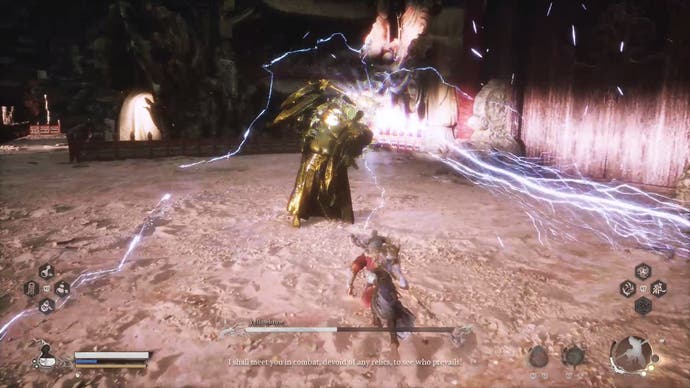
Third phase
This last phase is the same as previous, including how in the first fight he can also just charge up a huge lightning blast unless you can deal enough damage to stagger him. Of course, he can also do this when in gold form, which presents more of a difficulty. Ideally, you’ll have saved a few abilities for this final part of the fight. If you’ve equipped Wandering Wight’s spirit then that transformation attack on its own should be able to knock him straight out of gold form. Otherwise, you can also use Wind Tamer to boost your defence or transform into yaoguai to absorb the attacks. Rock Guai is the best one in this case because the damage it receives also quickly boosts its ability to use its special move.
Otherwise, continue dodging his lightning-based attacks, making sure to use Shock-Quelling Powder if you’re hit by Shock status, and then exploit his openings while using spells like Immobilize and Cloud Step if you still have mana remaining, and it should be enough to get his Yellowbrow down to the last of his health.
Yellowbrow rewards
With Yellowbrow defeated, so concludes the end of Chapter 3. You’ll receive the third Relic, Hubris Nose, which offers one of three following buffs:
- Lingering Aroma - buffs damage shortly after casting a spell
- In One Breath - charges up to 4 Focus Points when you’re in the Ring of Fire spell
- Hold Breath - extends your dodge invincibility duration
You’ll also earn the following items and rewards:
- 4330 XP
- 2267 Will
- 1x Cosmo Radiance
- 1x Gold Tree Core
- 2x Refined Iron Sand
- 2x Fine Gold Thread
- 3x Cold Iron Leaves
- 1x Mind Core
You’re now halfway through the Destine One’s journey. Now, it’s time to move on from The New West and onto Chapter 4.


.png?width=291&height=164&fit=crop&quality=80&format=jpg&auto=webp)


