How to build and all building blocks in Enshrouded listed
Cottage industry.
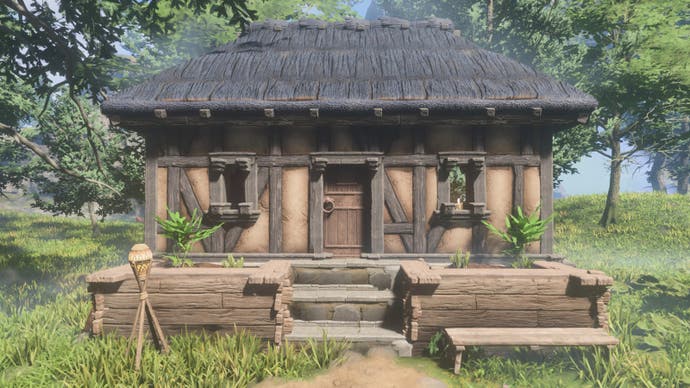
Enshrouded boasts a nifty building system that allows you to construct anything from a cosy hobbit hole to a magnificent fortress.
Beyond just looking pretty, your base plays an important role in your adventures across Embervale: this is where you can craft food, weapons, and armour before setting out on expeditions. Relaxing in your home also gives you a Rested buff, which is helpful in combat.
To help you build the Enshrouded castle of your dreams, we've compiled a list of useful building tricks to get you started. Below you will find information on how to craft Enshrouded's many different Building Blocks - and even a tip on how to terraform without using a pickaxe.
On this page:
How to build in Enshrouded
Base-building is a fundamental part of Enshrouded's gameplay: your house is where you rest, process materials and make weapons. Certain NPCs, such as the Carpenter, require shelters to be built around them before you can craft certain items. For this reason, one of Enshrouded's first quests tasks you with building a base.
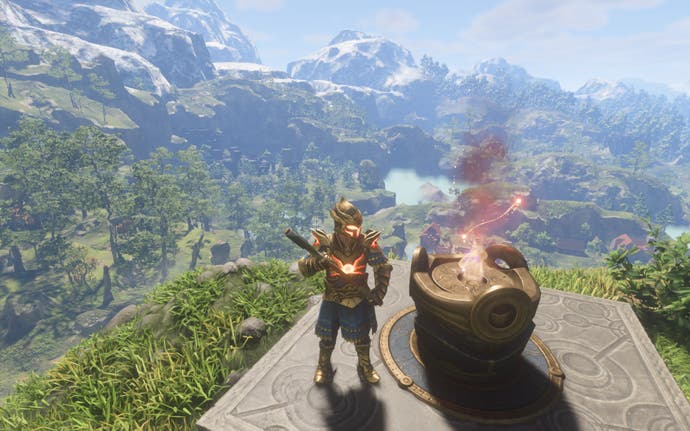
Your first step will be crafting a Flame Altar. This is a placeable item that creates a protected zone where you can build a base. A Flame Altar requires x5 Stone to make, and can be made in the manual crafting menu under 'essentials'. Once the Flame Altar has been crafted, put it in your hotbar to place it on the ground.
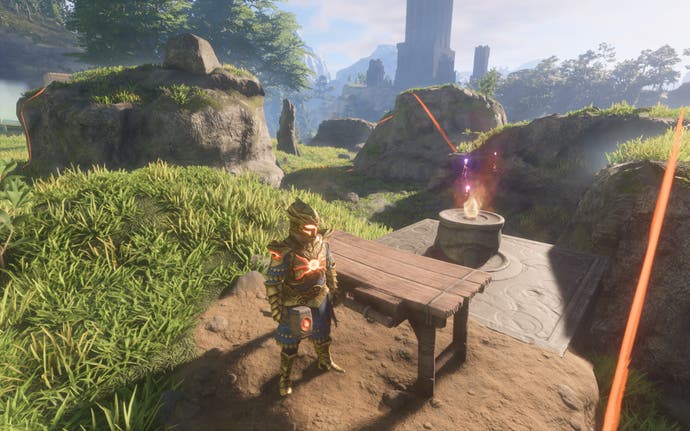
The next step is to make a Workbench. This requires x3 String and x8 Wood Logs, and can also be made in the manual crafting menu. Once crafted, put the Workbench in your hotbar to place it on the ground.
With your Flame Altar and Workbench now placed, the next step is to make a Construction Hammer. This can be crafted at the Workbench, and requires only x1 Stone.
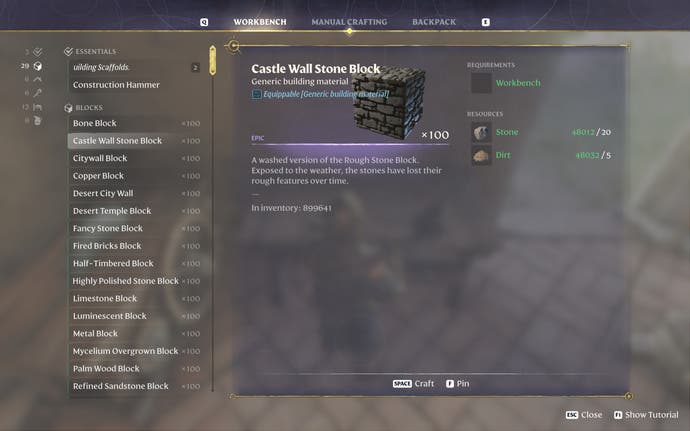
Before you can start building, you will first need to craft some Building Blocks. Enshrouded requires players to convert raw materials into blocks before they can be placed as buildings. These are usually crafted at the Workbench. For example, x2 Stone can be converted into x100 Rough Stone Blocks. You will need to use the same method to craft Roof Blocks.
For a full list of all the Building Blocks and their crafting recipes, check out our section on Building Blocks below.
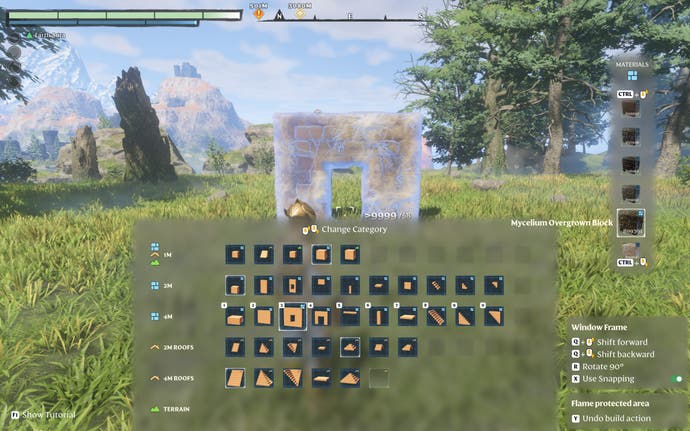
Now that you've crafted a Construction Hammer and Building Blocks, you are ready to start building. Equip the hammer and use it to enter the building menu by pressing the Tab key. From here you can cycle through different building shapes using ALT + scroll, and different materials using CTRL + scroll. You can also rotate build pieces by pressing R, or delete building sections using right click.
There is also an option to toggle 'snapping' on or off. If you want pieces to align easily and look neat, then keep the snapping option on. If you want to create more complicated buildings, you can turn off snapping, giving you greater flexibility in where you can place build pieces, and allowing you to merge structures into one another.
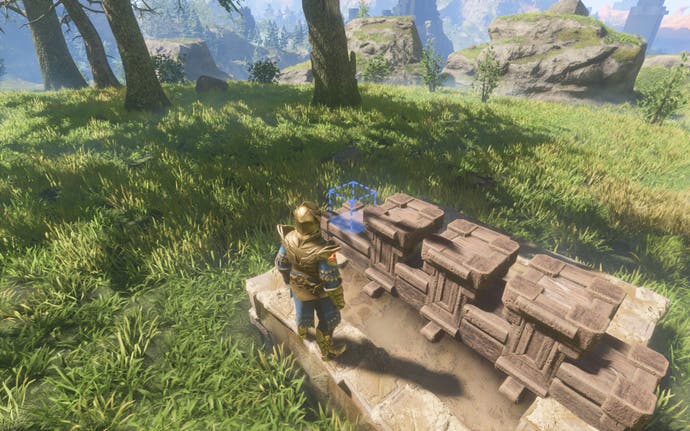
We recommend that you start your building project by placing some foundation blocks, as this will provide a flat base layer, and help you map out the design of your base.
To create fine details on your buildings, you can also place blocks individually. To do this, cycle up to the highest tab in the building menu, and select a 1x1 single wall block. Alternatively, you can put your chosen Building Block in your hotbar, and then 'use' the block to place a 1x1 brick. Remember you can also use the building system to delete individual blocks using right-click.
How to expand your base in Enshrouded
If you want to extend your building area, you will need to upgrade your Flame Altar. This expands your building area both horizontally and vertically, allowing you to build both lofty towers and sprawling towns.
To upgrade your Flame Altar, you will need to feed it materials, with the first upgrade requiring x1 Shroud Core. Shroud Cores can be scavenged from enemies within Shrouded areas, or crafted by the Alchemist for x10 Shroud Spores and x10 Shroud Liquid.
Later Flame Altar upgrades will require your world to have a higher Flame Level. This can also be upgraded at your Flame Altar, in a separate tab called 'Strengthen the Flame' that lists required materials.
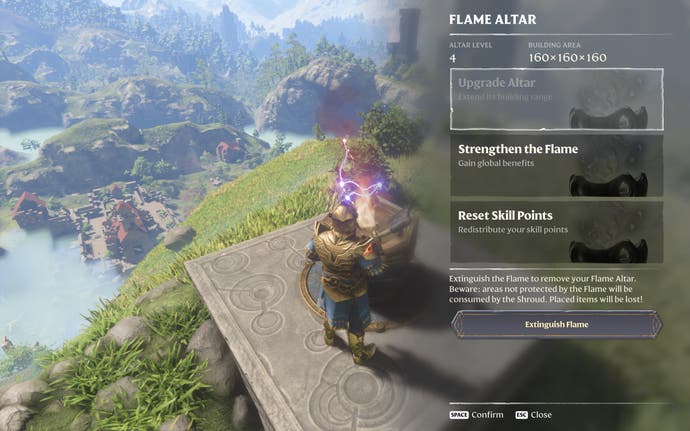
The highest possible upgrade level for your Flame Altar is Level 4. Here are the materials required to upgrade the size of your Flame Altar:
- Flame Altar Level 2: x1 Shroud Core
- Flame Altar Level 3: x5 Shroud Core, Flame Level 2
- Flame Altar Level 4: x10 Shroud Core, Flame Level 3
If you want to extend the size of your building area further, you can always place two Flame Altars near each other to make the building areas overlap.
You will initially be allowed to build two different Flame Altars. To increase the number of Flame Altars you can place, you will need to upgrade your global Flame Level. At Flame Level Two, you will be able to place four Flame Altars. At the maximum Flame Level, you will be able to place eight Altars.
These player-built Altars are useful as fast travel points, allowing you to quickly zip across the map, and providing a respawn point should you die. Flame Altars are also particularly handy if placed near a particular resource, allowing you to travel there to gather materials quickly. Check out our pages on clay locations and amber locations to pick out a spot where you can mine these useful resources.

If you want to delete a Flame Altar, you can do so by interacting with the Altar and choosing the 'extinguish flame' option. Be warned that this will eventually delete all of your building and terraforming work within the Altar's zone, so only remove an Altar if you're happy to lose anything you've created in the surrounding area.
Activating the extinguish option will start a 30-second countdown, giving you a short amount of time to reverse your decision if you change your mind.
All Building blocks and Roof Blocks in Enshrouded listed
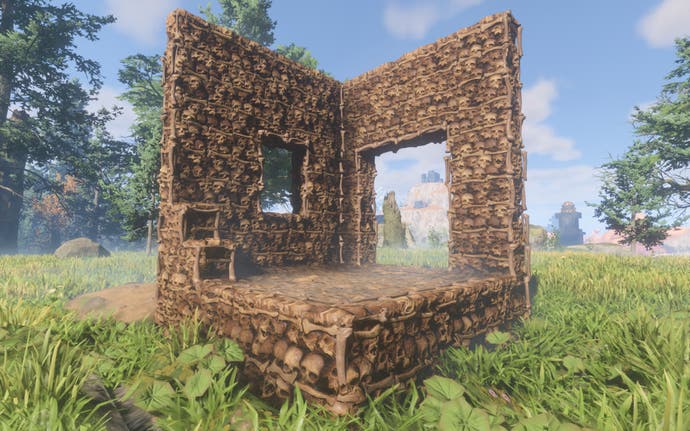
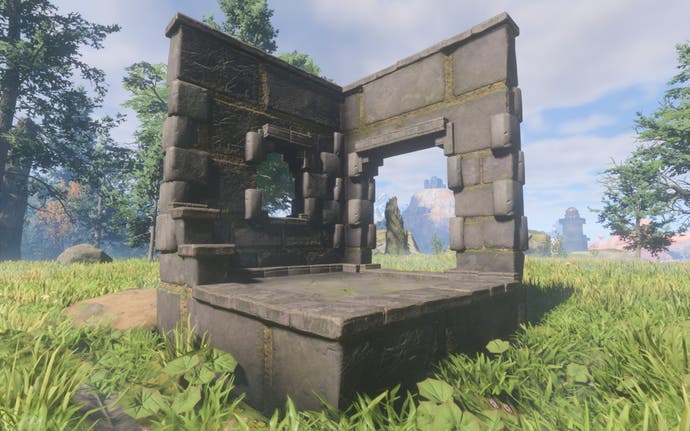
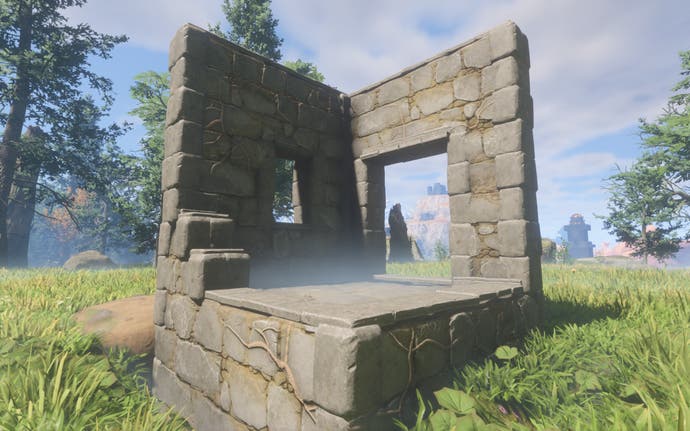
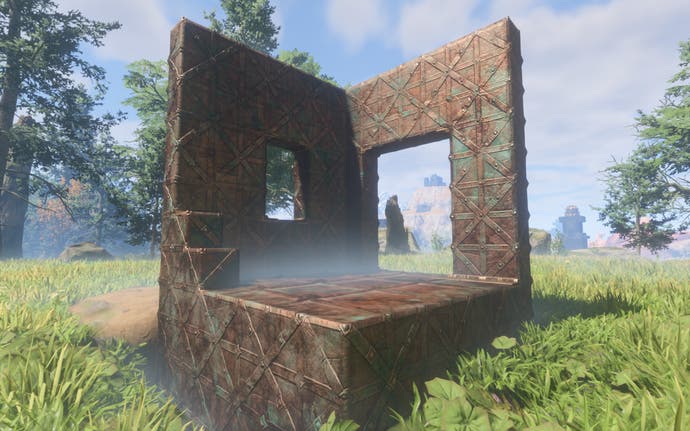
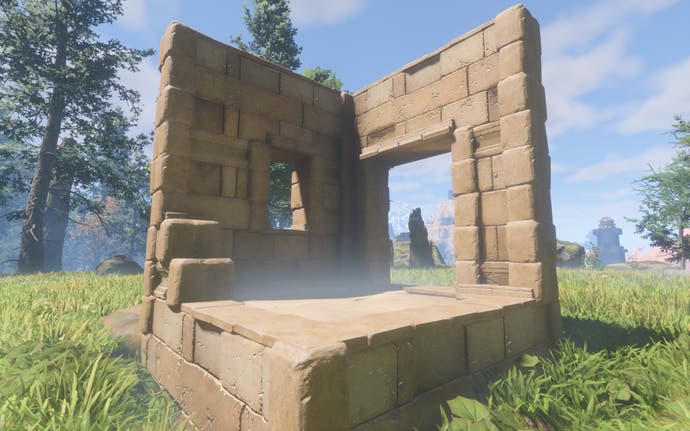
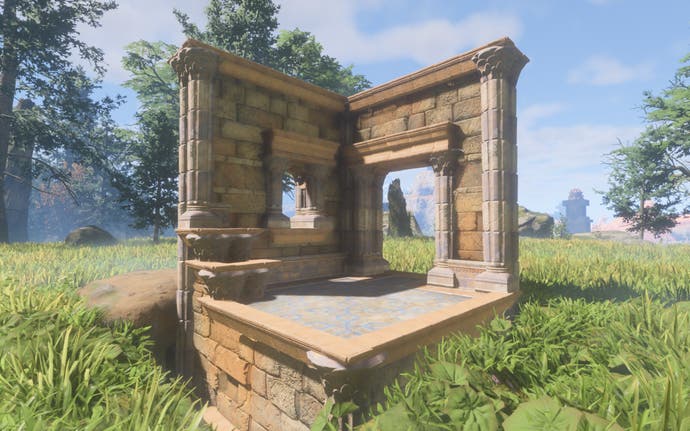
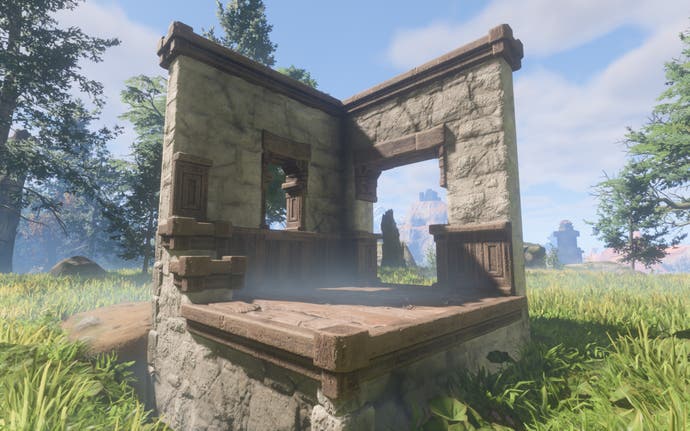
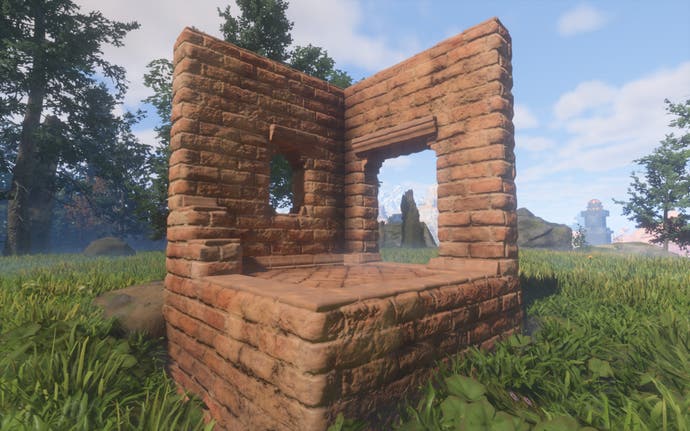
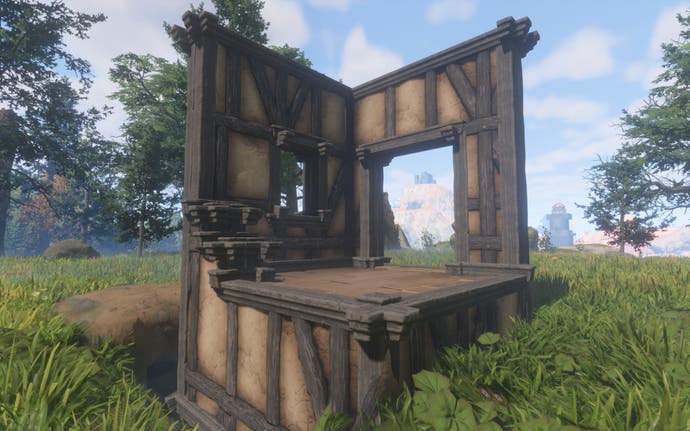
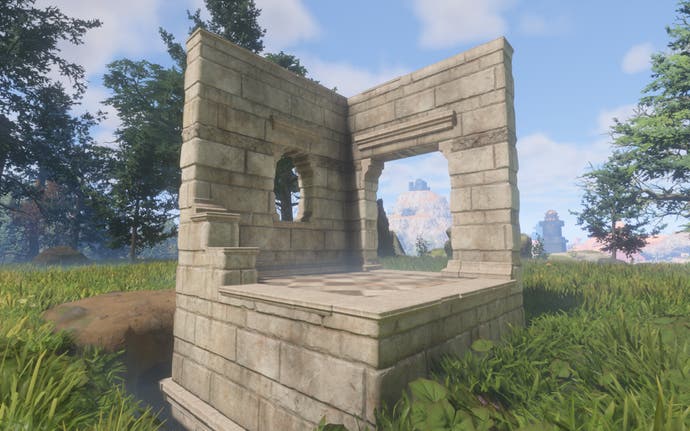
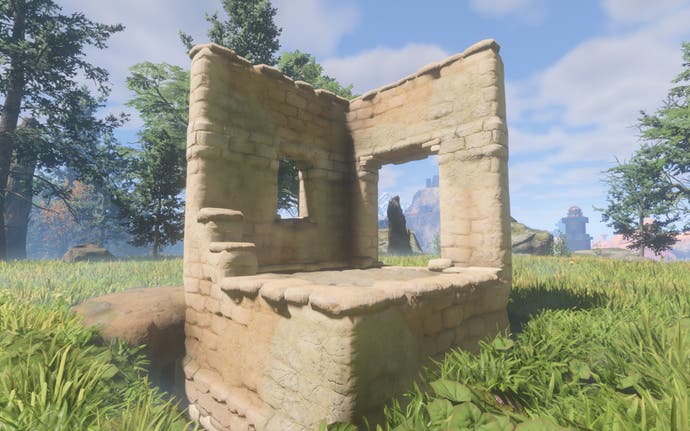
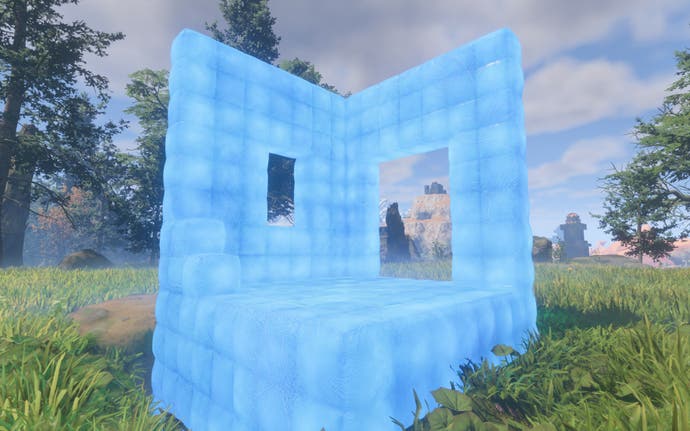
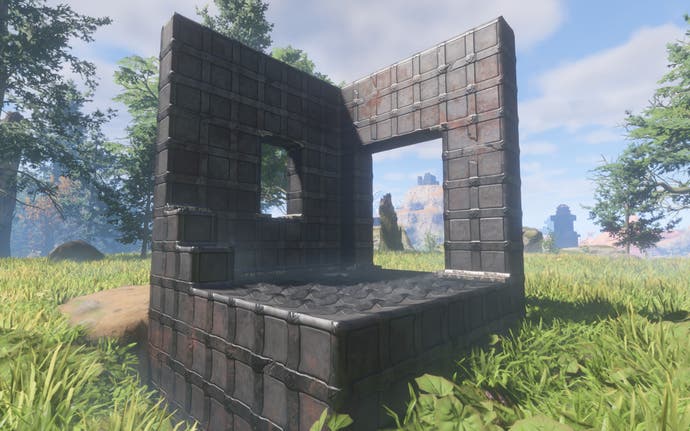
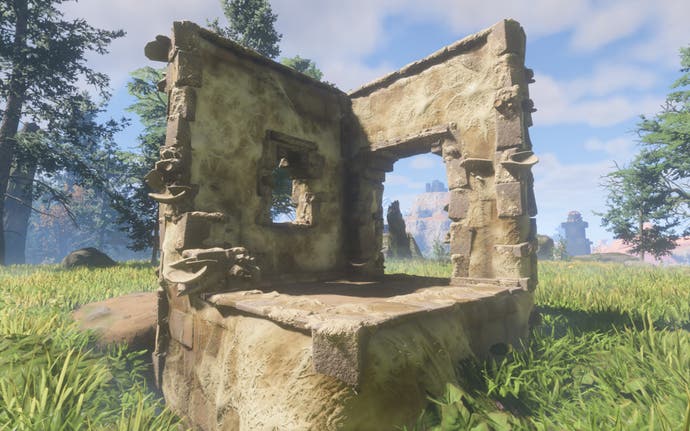
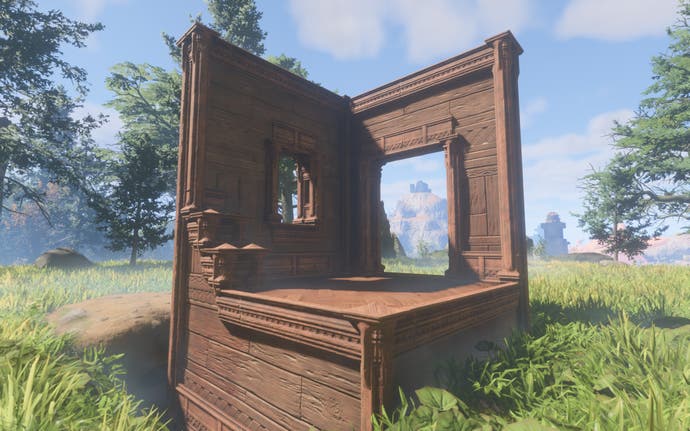
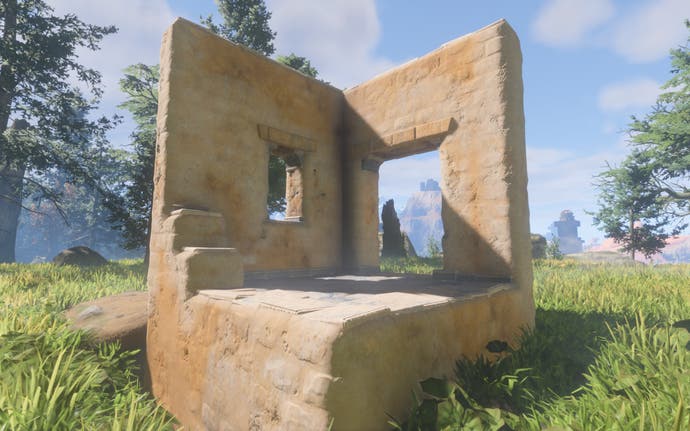
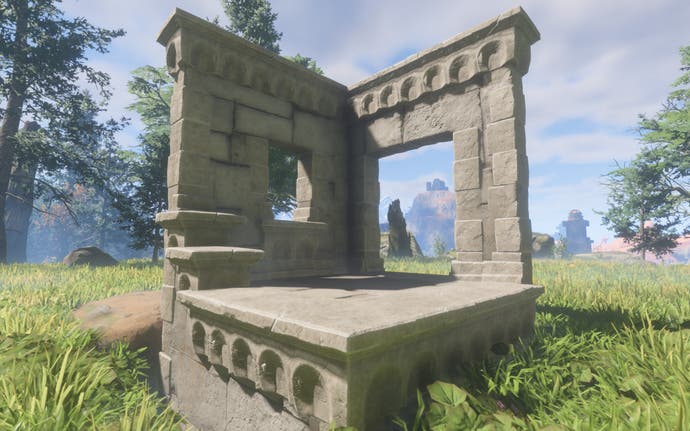
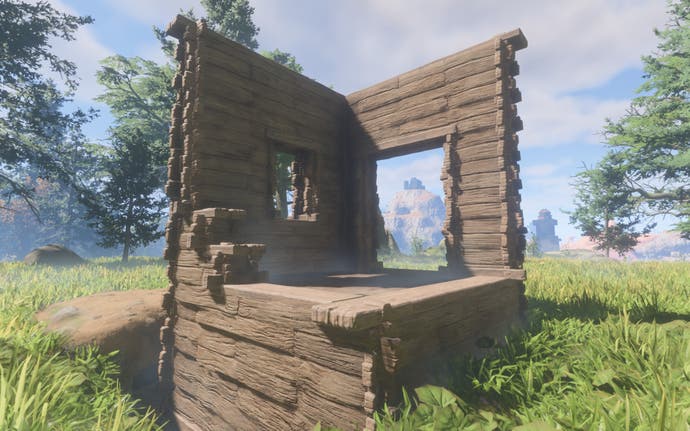
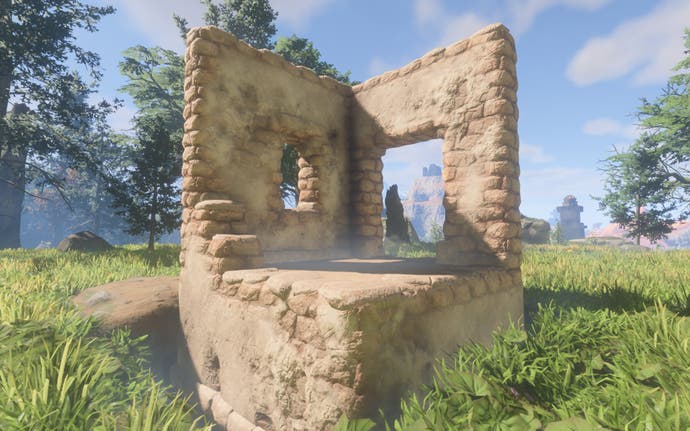
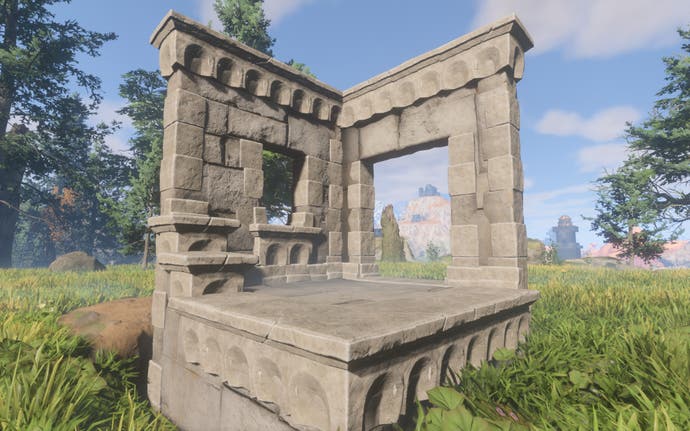
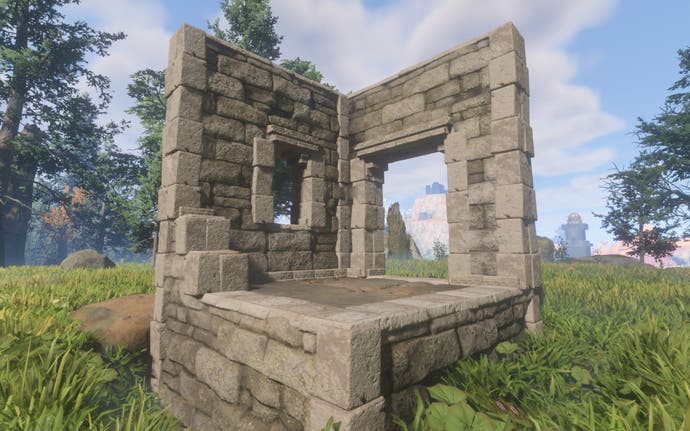
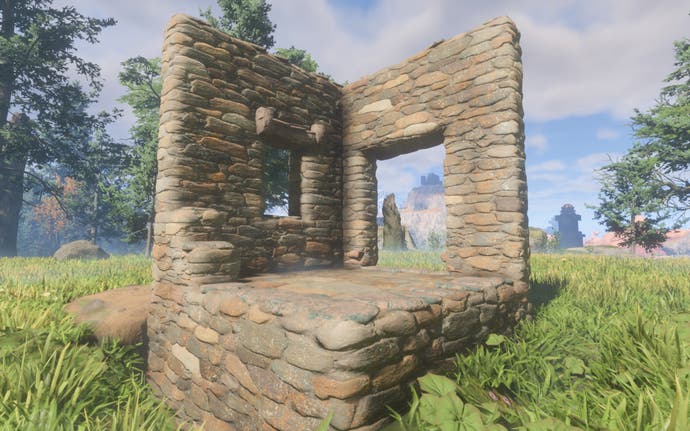
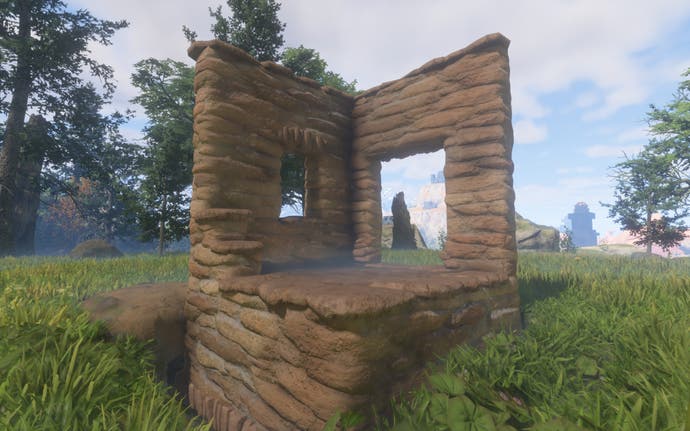
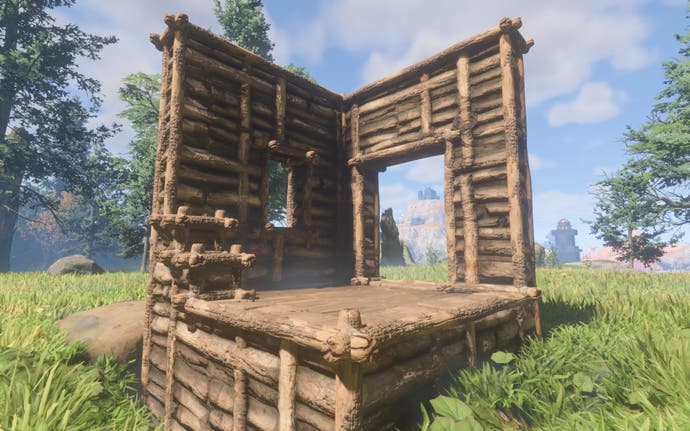
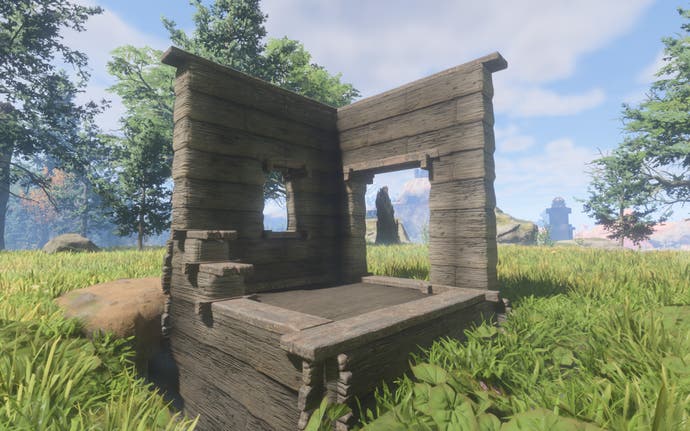
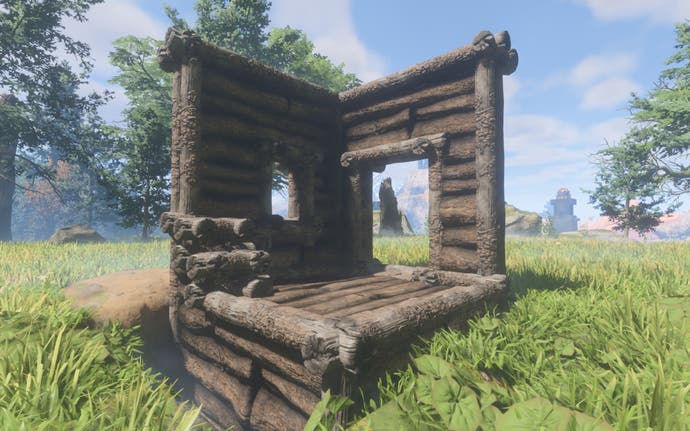
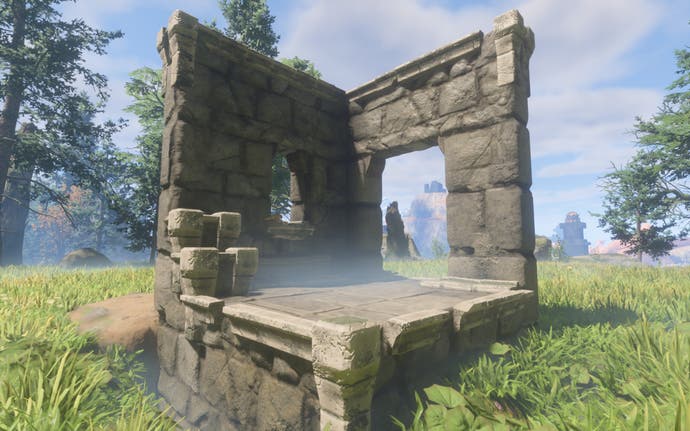
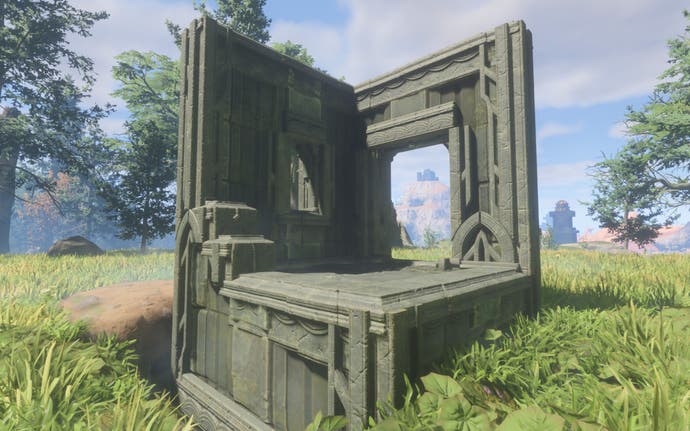
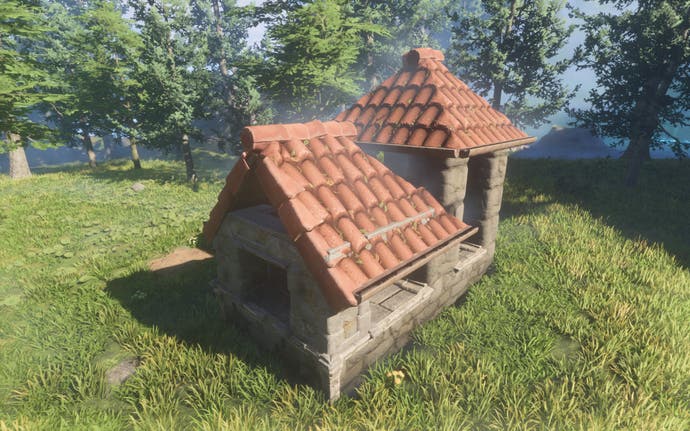
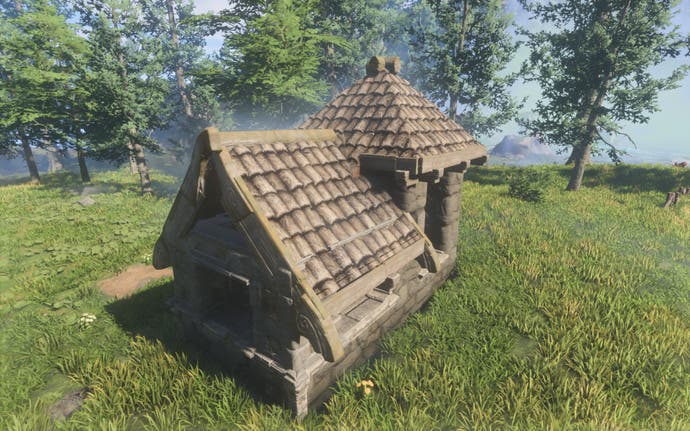
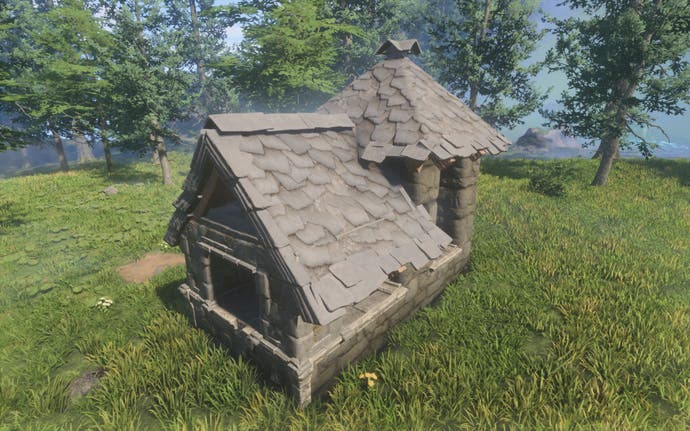
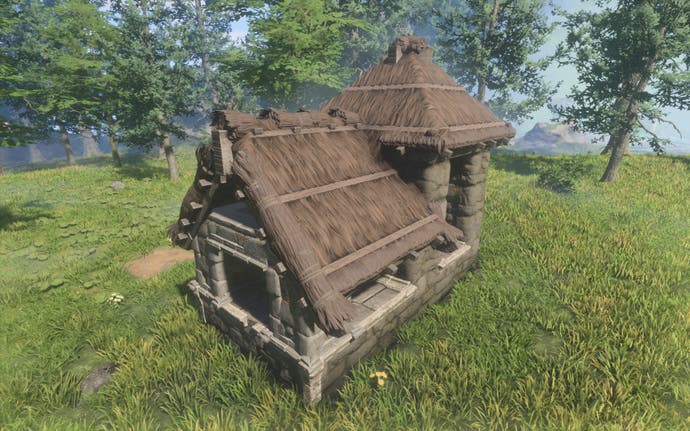
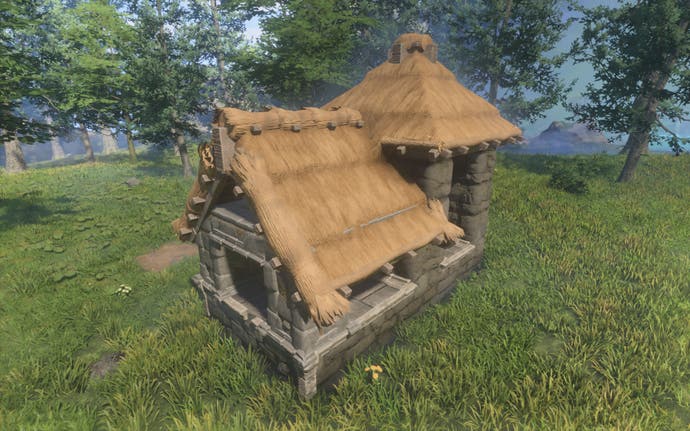
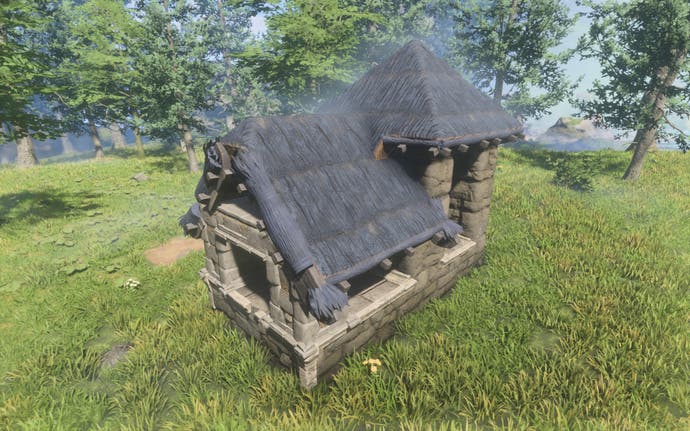
There are an impressive number of different Building Blocks and Roof Blocks on offer in Enshrouded. Walls of iron, glowing blue bricks and bone partitions are among the available options.
You can unlock new Building Block recipes in a number of different ways. The first is by collecting a new resource, which is often done by mining. Crafting a new material at your base, such as wooden planks, can also unlock Block options.
Certain quests will give stacks of Building Blocks as a reward, unlocking the recipe for that Block in the process. Blocks are sometimes hidden inside treasure chests, so make sure to check any chests that you find in the world.
All Building Blocks listed
Here is a table of all the Building Blocks in Enshrouded. Each Building Block recipe will make x100 Blocks, but some of the Roof Block recipes will only make x50 Roof Blocks.
All Roof Blocks listed
Here is a table of all the Roof Blocks in Enshrouded:
How to terraform in Enshrouded
Have you been using a pickaxe to remove dirt and stone around your home? Time to put that down - there's an easier way of doing things.
Enshrouded has a very flexible terraforming system, allowing you to dig up anything from dirt to limestone. This means you can create elaborate underground bases: perfect if you want to roleplay as a hobbit or dwarf.
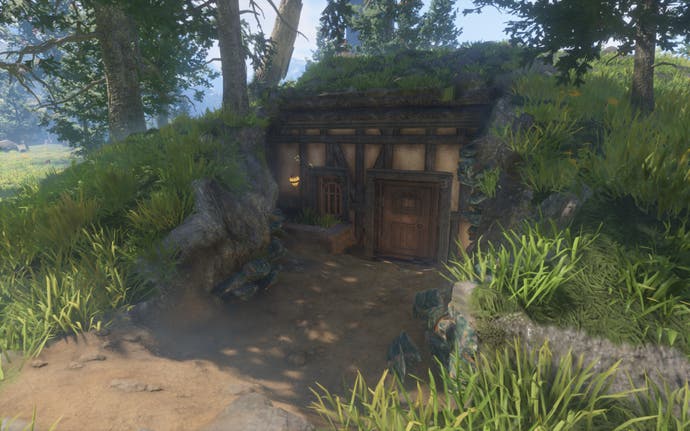
While you can excavate an underground space using a pickaxe, you can use Enshrouded's building system to remove dirt more efficiently. To do so, equip your Construction Hammer and enter the building menu, then cycle down using Alt + scroll to reach the terrain options.
Select one of these and use the same 'delete build piece' (right click) function that you typically would for a wall. This will remove that section of terrain, in the shape of the selected block.
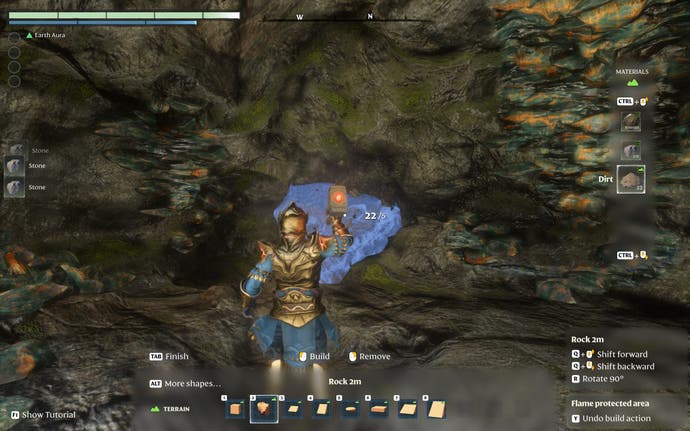
Although this terrain removal method is useful for base-building, it's not a viable option for resource mining. You will receive Dirt and Stone for removing terrain, but using a pickaxe will earn you a higher yield of these materials.
You also cannot mine valuable resources using the building system - we found ourselves unable to remove resources such as Flintstone or Mycelium in our tests.
After excavating dirt and rock using the building system, you can then use tools to refine your hollowed-out area. The Pickaxe can be used to remove small chunks of terrain, but another tool called the Rake provides another option for levelling ground.
To craft a Rake at a Workbench, you will need:
- x6 Wood Logs
- x2 String
- x2 Stone
Equally, you can use the building system to place chunks of terrain around your base. The terrain types that can be placed are:
- Dirt
- Farm Soil
- Fertilized Farm Soil
- Limestone
- Luminous Growth
- Sandstone
- Sand
- Stone
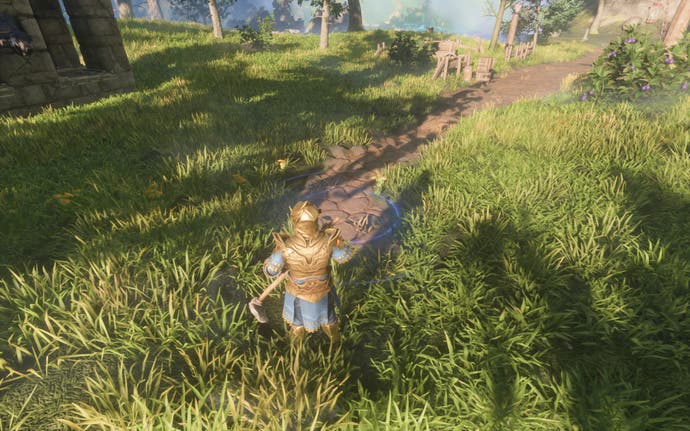
You can also create roads using Dirt Road Blocks. These can be mined with a Pickaxe from the many paths and roads found in Embervale.
The Rake can also be used to extend Dirt Roads, although be warned: the process of doing this can be rather fiddly.
Scaffolding in Enshrouded explained
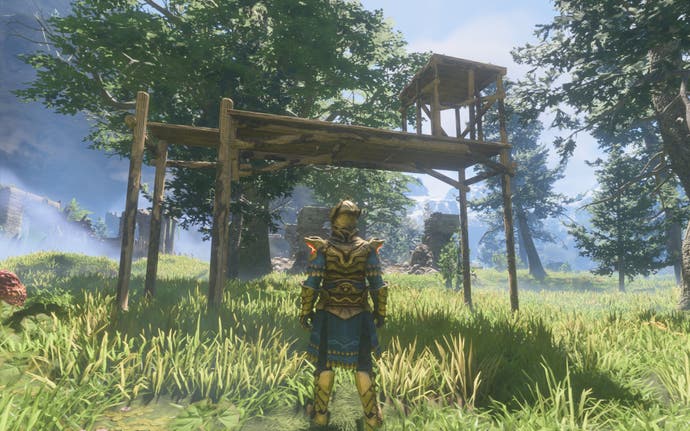
If you want to construct a building that's particularly tall, one way to make things easier is by using scaffolding. A cheap building piece to make, Scaffolding will allow you to reach higher places without spending valuable resources on stairs.
Scaffolding is also particularly useful if you want to renovate an old building, as this will allow you to navigate the exterior without accidentally deleting some of the original blocks. When you want to remove Scaffolding, you can simply pick it up with E, like other pieces of furniture in the game.
It's also possible to stack Scaffolding, so you can keep climbing ladders to reach the highest part of your building.
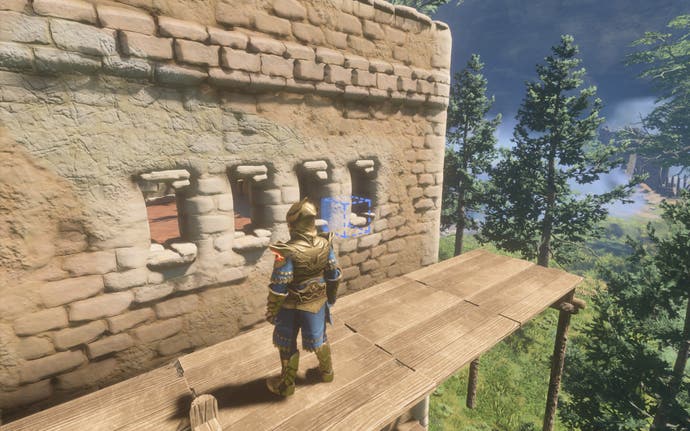
Similar to Building Blocks, Scaffolding must first be crafted at a Workbench before it can be placed in the world. It will first become available once you have built the Construction Hammer, and can be found in the 'essentials' section of the Workbench.
Both types of Scaffolding, A and B, require the following:
- x5 Wood Logs
- x1 String
Building tips and tricks in Enshrouded
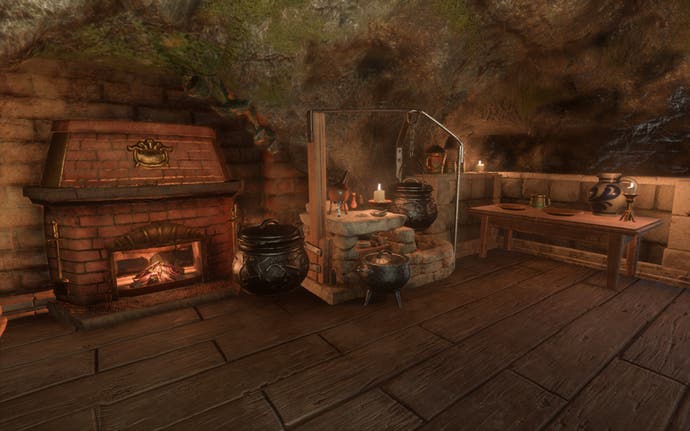
There are plenty of options for extravagant exteriors - but don't forget to get fancy with your interior design, too. Similar to games such as Valheim, Enshrouded will give you a Rested buff if you fulfil three separate criteria: Sheltered, Warmth, and Comfort.
Once active, the Rested buff will increase your total Stamina, and improve your health regeneration.
To increase the duration of this buff, you will need to improve the Comfort level of your home. A Comfort level of 24, for instance, will net you a hefty 34 minutes of buff time. This can be done by placing hearths, beds, and other decorative items in your home.
If you're stuck for inspiration and have no idea where to start building, you can always try renovating an existing building. Pick a run-down building in Enshrouded's world, and see if you can patch it up.
To add complexity to your buildings, try removing single blocks from walls and replacing them with a different type of block - you may be able to make some unusual patterns that look more complicated and visually interesting.
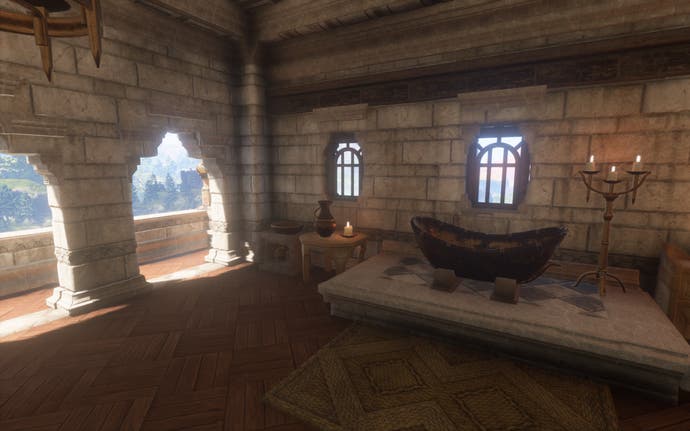
Enshrouded also has no rules regarding structural support, which means that you can take some real liberties with your builds. Fancy some magical floating candles? Simply build a pillar of blocks, place an item, then delete the blocks underneath: your item will levitate in the air. You can even make an entire floating base.
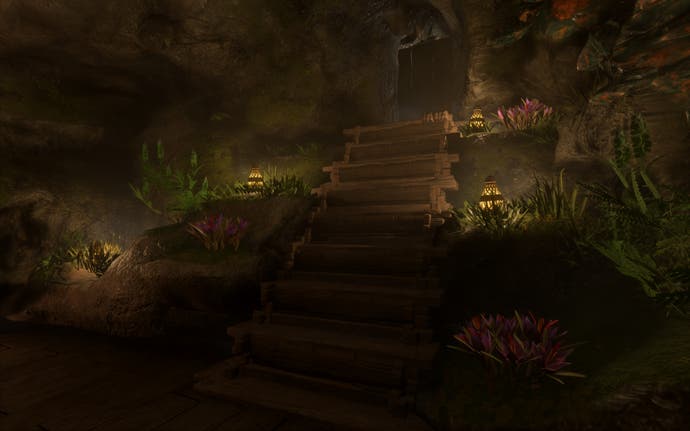
And finally, if you want to (quite literally) spruce up your builds, you should consider ways to use dirt and plants indoors. Adding some vegetation can really liven up your interior design - particularly if you're following a fairy or hobbit-inspired theme.
Good luck building in Enshrouded!
