How to get to Abyssal Woods in Elden Ring Shadow of the Erdtree
How to reach one of the lowest depths of the Shadow Realm.

Although Elden Ring Shadow of the Erdtree doesn’t have an underground map, Abyssal Woods is in one of the lowest depths of Shadow Realm and one of the trickiest to reach since you cannot simply jump down to it.
It also has its own Map Fragment, making it an essential place to visit for players who want to have a complete map Elden Ring Shadow of the Erdtree.
You will need to have reached the Shadow Keep first but from there on you still have a few more obstacles in order to reach this secluded location. This guide will give you the full details on how to get to Abyssal Woods in Elden Ring Shadow of the Erdtree.
On this page:
How to get to Abyssal Woods in Elden Ring Shadow of the Erdtree
To get to Abyssal Woods, you first need to reach a lower area of the Shadow Realm via a hidden coffin in the Shadow Keep. Starting from the Shadow Keep’s 'Main Gate Plaza' Site of Grace, head up until you reach an area with burning boats. While you will normally head up the steps to reach the next part of the Shadow Keep, continue to the next row of burning boats where to the left there is a ladder that you can take down to the keep’s water level.


Walk around this perimeter, taking care now to step off into a watery death and pass under a waterfall where you’ll find another ladder taking you even further down. Here, you’ll come to a room where you can find a painting from a wandering artist titled 'Domain of the Dragons'. Seems like a dead end though, or is it?
Conspicuously to the right to this room is a large blank wall with lit torches on both sides. If you didn’t already guess, it’s a fake wall, so hit it and you’ll find a new path. Follow it and you’ll eventually come to a coffin with its lid slightly open, positioned conveniently at the edge of a waterfall. When you’re ready, approach it and rest inside it.


After a cutscene plays, you’ll find your awake in the lowest part of the keep and there’ll be a Site of Grace called 'Castle Watering Hole'. You’ll come out to an area called Ruins of Unte, a site where a number of Furnace Golems have been felled, and you’ll even be able to collect Furnace Visages from some of their remains. Beware, however, that one Furnace Golem will come back to life when you approach it, so you can fight it if you wish.

Otherwise, carry on until you reach a waterfall and then take the rocky path to the left where you’ll have another Site of Grace called 'Recluses’ River Upstream'. Follow this path and use Torrent as you’ll need to jump over some gaps, while you gradually enter an area with less visibility and some large-ish flies, which you’re better off ignoring instead continue until you reach another Site of Grace - Recluses’ River Downstream.
From here, you have two options. You can continue heading straight along the safer route, albeit still precarious low-visibility, which will take you through Village of Flies and eventually leads down to a much lower grassy and marshy area. If you'd prefer the more direct route, head off the cliff edge to your left and carefully traverse down some stone platform - just keep in this route carries the risk of you messing up your platforming and getting killed by fall damage.

The second route also leads you to a marshy area where you can fight a Hippopotamus, which will drop a Scadutree Fragment when defeated. This isn’t your destination though as you will notice there’s still another level you have to go down and more stone platforms to navigate. But, once you get to the bottom of these platforms, you’ll be southeast of the map. Stay next to the cliff wall and you’ll find the entrance to the Darklight Catacombs.

This is much like the smaller optional dungeons you’ll have encountered in the base game, but, in order to reach Abyssal Woods, you must go through the Darklight Catacombs. These catacombs are quite long and much of it is in complete darkness until you can find a lever to light up some of the rooms, so equipping a torch is very important. You’ll also encounter stone imps, including a new bigmouth type that fires explosive cannonballs. On the bright side, there are also a few stakes of Marika so that you don’t have to start from the beginning if you die.
Towards the end of the catacombs, you will encounter a giant Bigmouth Imp who shoots even more powerful fireballs at you in the dark. You can technically just avoid it, but you can also run down a pathway to a room with a lever which both turns back on the lights in that area and lowers the platform the imp is standing on allowing you to attack it. Just try and run in a zig-zag to dodge the incoming fireballs and once you’re up close, it doesn’t take more than a few hits to defeat it.

The giant Bigmouth Imp drops a Great Ghost Glovewort, while if you drop down to an alcove behind it you’ll find a chest that contains Bigmouth Imp Ashes. There’s a ladder that you can then climb up to get out of this alcove, where you can drop back down to a path leading you further down the catacombs and a lift that takes you out of the catacombs. Well, almost, except you have to fight a sub-boss, Jori, Elder Inquisitor.
This boss is tricky from a distance since he will send both small and large waves of light magic toward you that you have to dodge, though his staff has less impact up close. He does, however, have an annoying knack of teleporting out of danger and will also summon in other priests to help, including an obese priest who can spew holy flames in your direction or just jump and crush you with a groundpound. Summoning a Spirit Ash will definitely help balance the numbers.

Once defeated, Jori will drop his Barbed Staff-Spear, along with 260,000 Runes. You’ll also be able to activate another Site of Grace called 'Forsaken Graveyard'. After all that, you’ve made it to Abyssal Woods!
What to do in Abyssal Woods in Elden Ring Shadow of the Erdtree
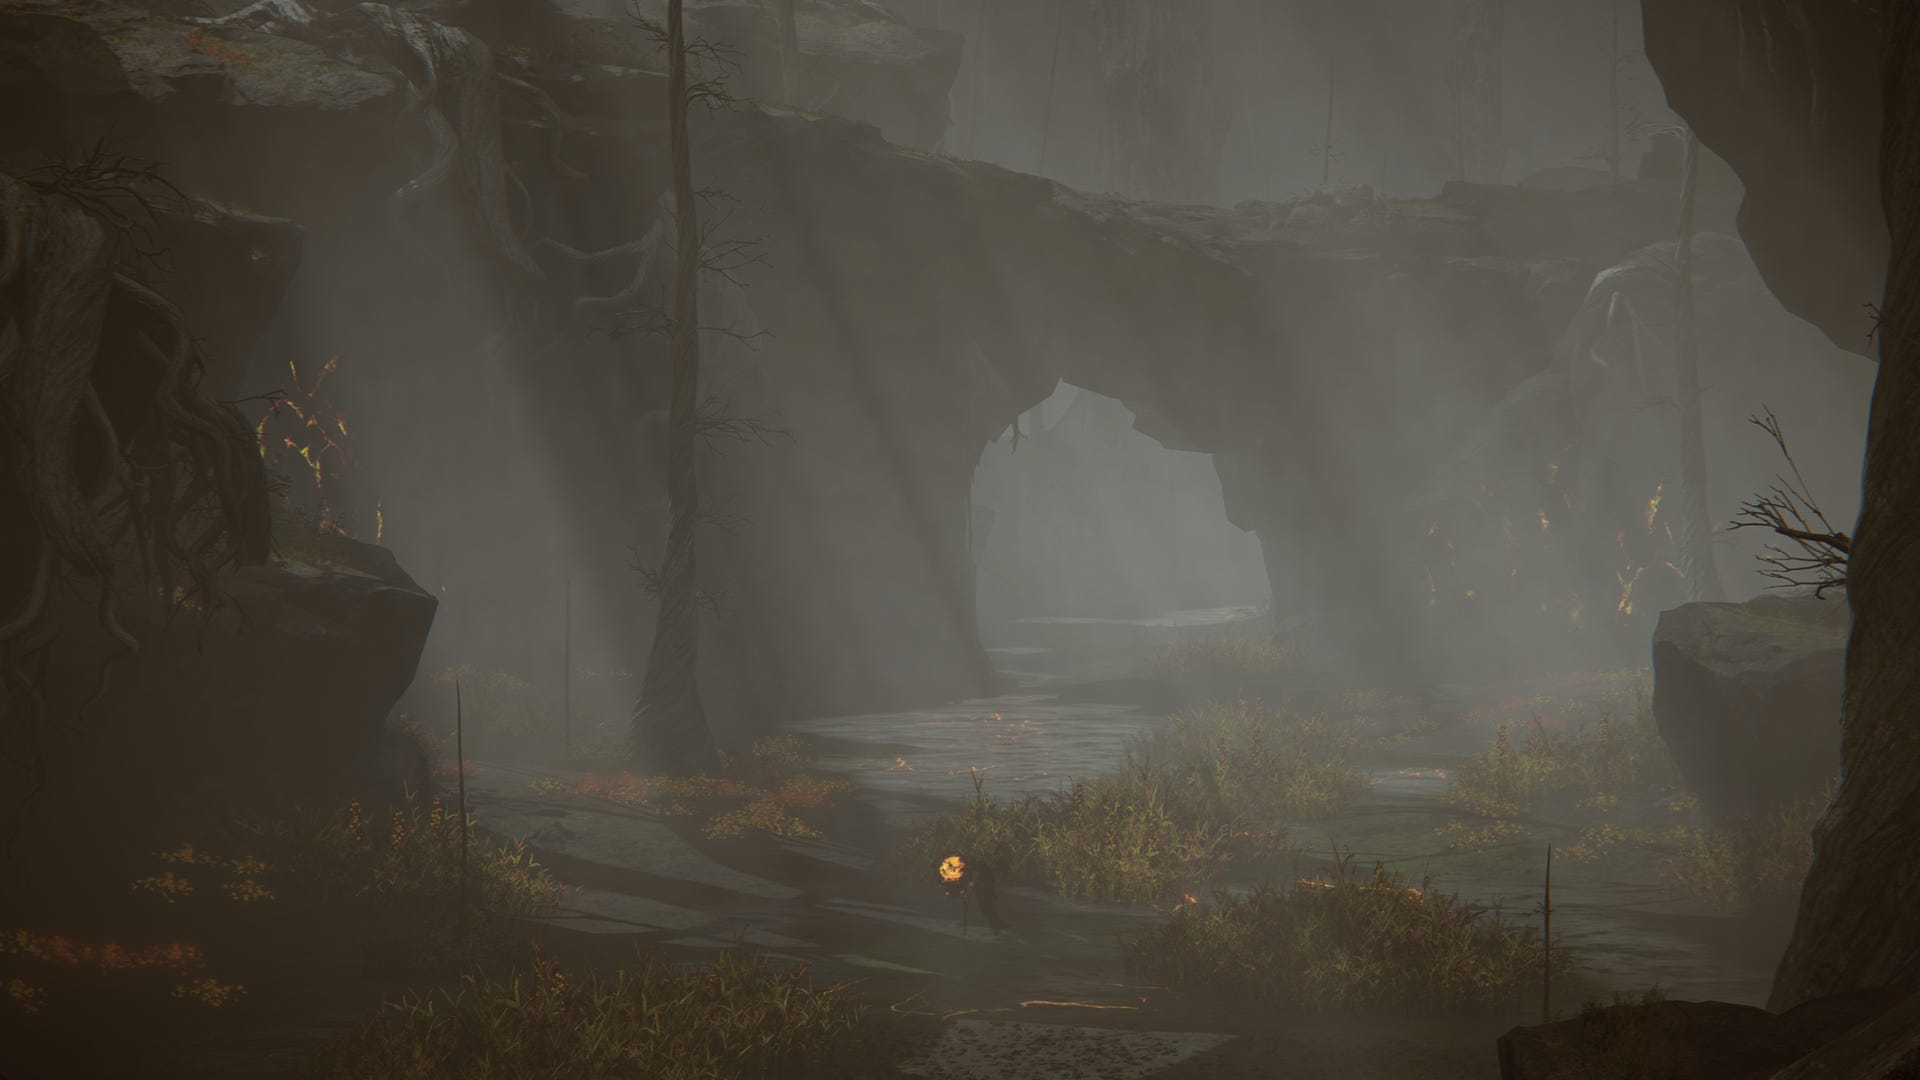
While Abyssal Woods is quite a large field area, there’s something in the air that means that you’re unable to summon your spectral steed - if you try riding Torrent from the Forsaken Graveyard’s Site of Grace, he’ll abruptly evaporate, as if some sinister force has just knocked you off.
It’s certainly an unsettling area, although strangely enough a place that contains official messages on the ground from the developer warning you of something dangerous. This alludes to an enemy that you cannot touch or defeat, and will instead need to avoid stealthily in the long grass.

If you continue along the visible path from the Forsaken Graveyard, you’ll soon reach another Site of Grace called 'Woodland Trail'. From there, you can continue the path that gradually takes you to the southeast of the map. There’s a red invader NPC here called Madding Hand who you can fight, and will drop their weapon Madding Hand. More importantly, following this path will eventually lead you to the stele where you can find the Abyss area’s map fragment. It’s located next to an abandoned church, where inside you’ll also find a Site of Grace called 'Church Ruins'.

From here, the main goal in Abyssal Woods is to travel to the southwest of the map to a place called Midra’s Manse. It’s along this path that you will encounter and have to avoid the gazing eyes of enemies that will cause your frenzy meter to build up, which will cause huge damage if filled. Worse, if they close in on you, they will grab you and you’ll most likely be killed by the overwhelming concentration of frenzy.
Once you reach Midra’s Manse, you can finally take on Midra, Lord of Frenzied Flame.
Need more help? Improve your stats by finding all of Shadow of the Erdtree's Scadutree Fragment locations and Revered Spirit Ash locations. Alternatively, see which Erdtree bosses you've still got left to beat, and track down some great new early weapons to help you on your adventure.