Maquette - The Spiral puzzle solutions: How to solve the wall puzzle, key puzzle and house grid puzzle explained
Wandering through the void...
The Spiral is the sixth chapter of Maquette and is reached once you complete the short walk through the previous chapter, The Escape.
During this chapter, you'll finally venture into the corridors within the base of the dome, solving new puzzles like the house grid or wall puzzle as you go.
If you'd like more help, visit our full Maquette walkthrough or learn how to unlock Maquette trophies.
On this page:
Navigating the pavilions in Maquette explained
You begin The Spiral chapter of Maquette in a tunnel, which you need to follow until you reach a small pavilion. Here you'll find a lever which, when pulled, will create a new path for you to follow.

It will begin you to a second pavilion and another lever to pull for the next pathway.
In the third pavilion, you'll find a model of the pavilions, along with a pathway model.
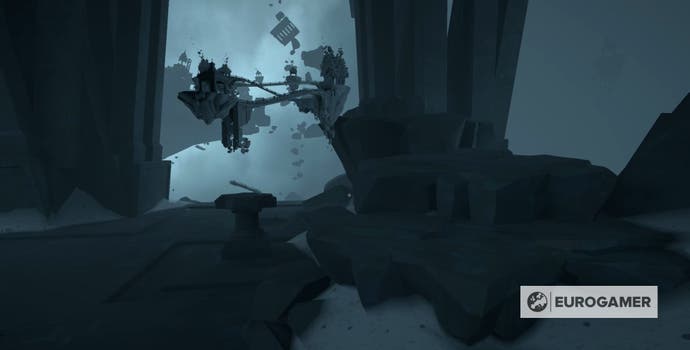
Place the pathway model in the gap between the previous pavilion you visited and the one you haven't.
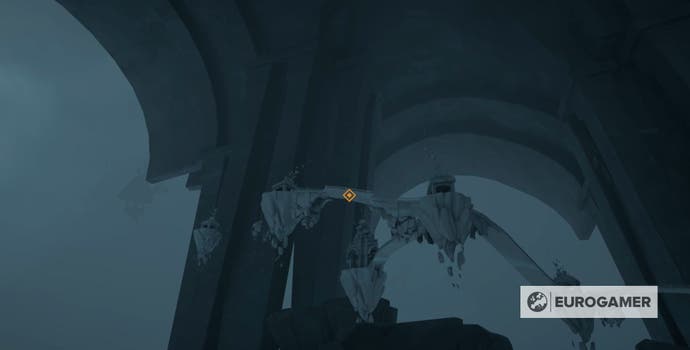
Next, climb the rocks near the model so you can see the final pavilion model and pull the lever on it.
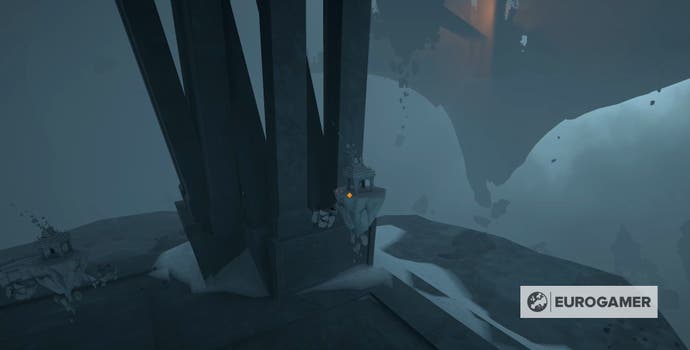
With these tasks done, you can now return to the previous pavilion and cross the new bridges you've created. After this, carry on your journey into the building beyond, until you find yourself locked in a corridor.
How to solve the wall puzzle in The Spiral chapter of Maquette
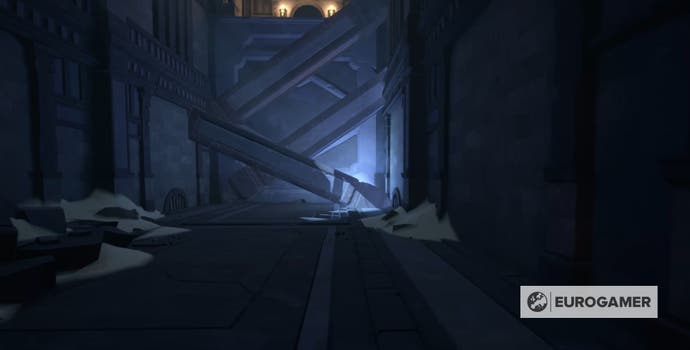
If you want to climb the wall in The Spiral chapter of Maquette, you first need to head through the hole in the wall to your right.
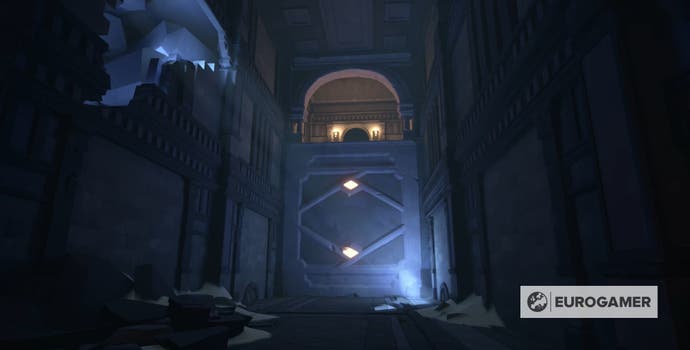
In this room you'll find a replica of the wall you need to climb and three pillars you can pick up.
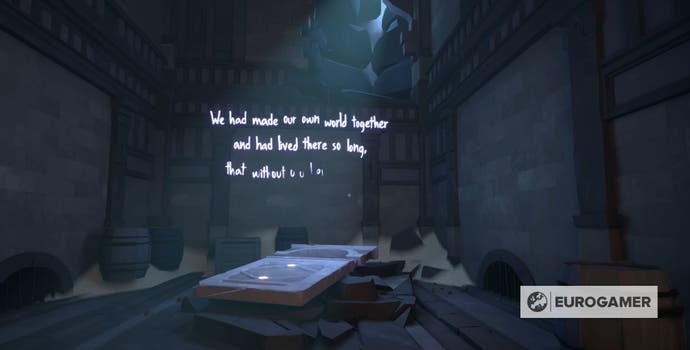
To solve this puzzle you need to place the pillars on the replica of the wall to create a pathway for you to climb.
The easiest way to do this is to place two of the pillars diagonally over the sections which contain the yellow gems. The third pillar then goes in front of these two, but closer to the floor, so you can jump up onto it.
You must use two of the pillars as support or else the third may topple over when you place it, destroying your pathway.

When you return to the previous room, you'll discover the pillars have appeared where you've placed them and, with a bit of jumping, you'll be able to make your way up the next floor.
How to solve the key puzzle in The Spiral chapter of Maquette
Continue forward in Marquette until you reach a room catching a lock door and two replicas of the room beforehand, each containing a key. To unlock the door, you need to find the correctly sized key, which can only be done by solving the key puzzle.
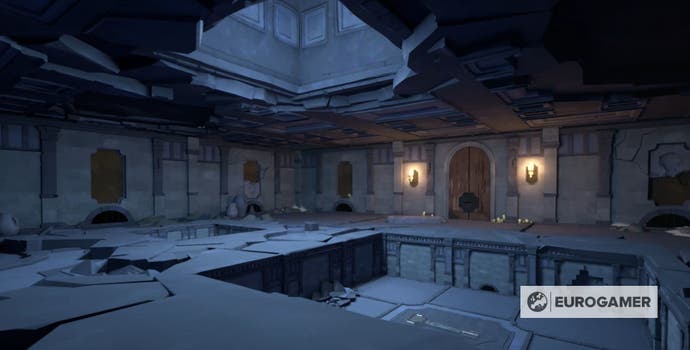
First, you'll want to pick up the key held within the pit on the right-hand side of the room.
Carry this key over to the left pit and use it to create a ramp which leans against the outer wall.
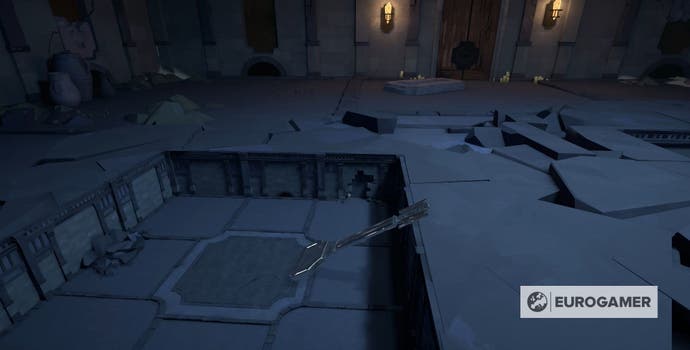
Now return to the previous room, climb up the key and walk to the collection of candles. Here you'll find another key which can be used to unlock the locked door in the other room.
How to solve the house grid puzzle in Maquette
Walk through the corridors in Maquette until you reach a room containing the two house grids. These are two five-by-five grids, one yellow and one blue, which have a number of model houses placed upon them.
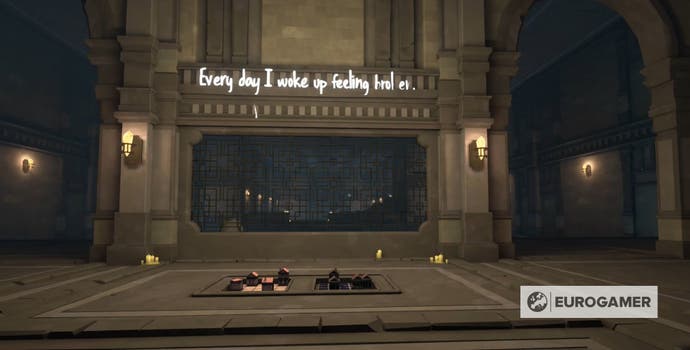
Both grids correspond to the space in the room beyond which you can't currently pass through due there being no path. To solve this puzzle, you need to use the two bridge pieces, found on either side of the room, to create this pathway.
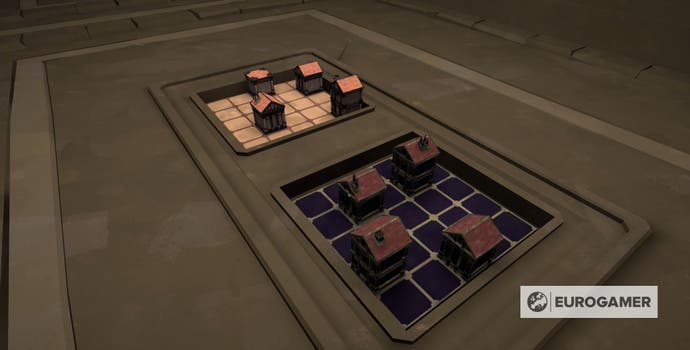
Each bridge piece can only be placed on one of the grids - yellow or blue - and they both end with a small gated section.
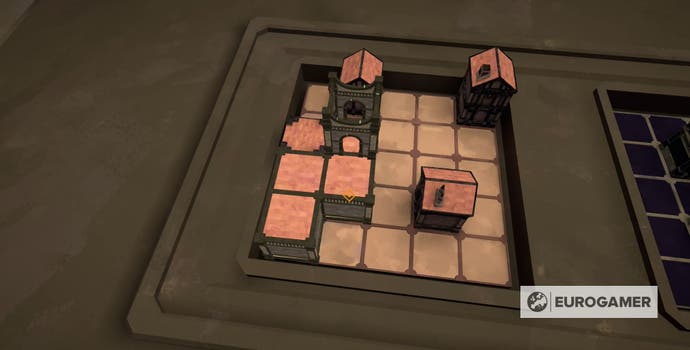
Collect the bridge piece on the left-hand side of the room first. This piece can only be placed on the yellow, left-hand, grid and you need to ensure the end without the gate is placed within the lowest square on the left.
Doing so will ensure that the gated section of this piece is located to the right of the unmoveable brick platform on the grid.
For a better idea, check the image below:
Now you need to collect the second bridge piece on the right-hand of the room. This piece is longer than the first and can only be placed on the right, blue, grid.
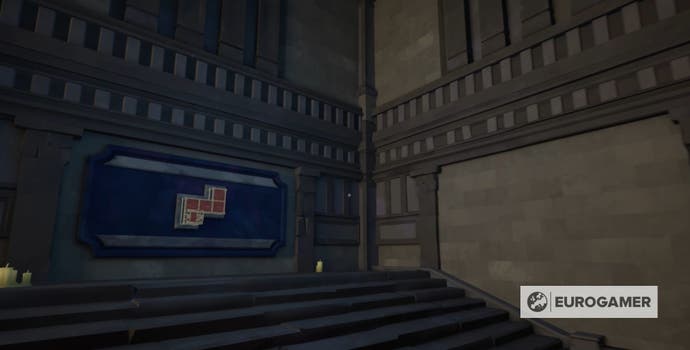
You need to ensure that the gated end of this piece is in the square next to the house in the far-right column of this grid. This means the non-gated end will be located above the top-most house on the left-hand side of the grid.
For a clearer idea, check the image below:
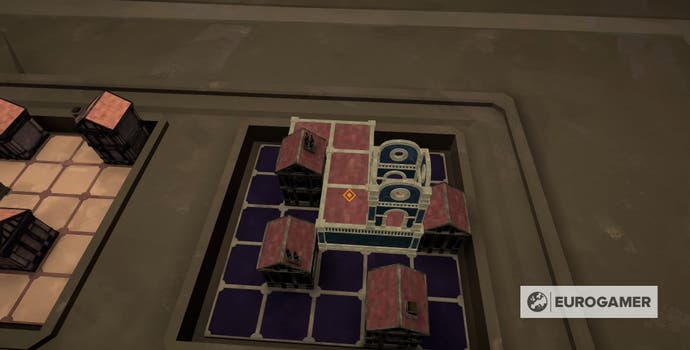
Once you've placed both pieces correctly, you'll be able to make your way across the gap.
You then need to carefully make your way down the buildings, making sure you don't fall into the void below, and enter the cave on the far wall.
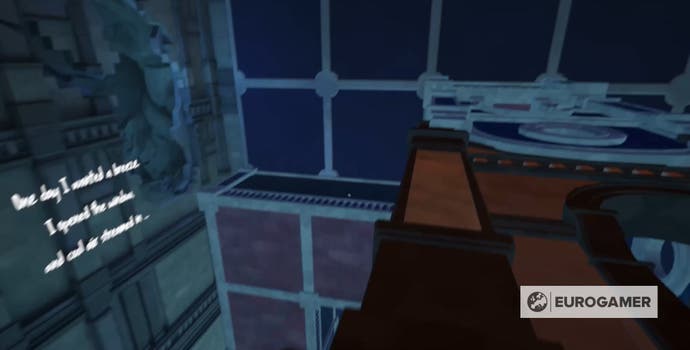
After watching a short cutscene, you'll be transported to the final chapter of Maquette - The Exchange. Don't forget that there's also a collection of trophies for you to earn throughout Maquette.


