PS5 Capture Settings - How to record video, take screenshots, save recent gameplay, the Media Gallery and the Create button on the PlayStation 5 explained
Everything you need to know about taking screenshots and recording gameplay on the PlayStation 5.
At some point while playing on your PS5 you're going to want to take either a screenshot or record your gameplay.
This could be to demonstrate to a friend how to complete a certain level or maybe you're proud of how you defeated a difficult boss - either way you're going to find yourself using the Create button.
The Create button on the DualSense controller is where you'll find all of the screenshots and capture related features on the PS5.
This page will explain how to take screenshots and record gameplay on the PlayStation 5, along with everything else you need to know about the Create button and Creative menu.
On this page:
If you'd like to learn more about the PS5, then check out our guides on the PS stand, Control Centre, user accounts, Remote Play, PS5 save files explained and how to change your online status.
Create button and Creative menu for the PS5 explained
The Create button on the DualSense controller is the PS5's version of the Share button from the DualShock 4. While it can be found in relativity in the same place, to the right of the D-Pad, it's labelled with three lines.
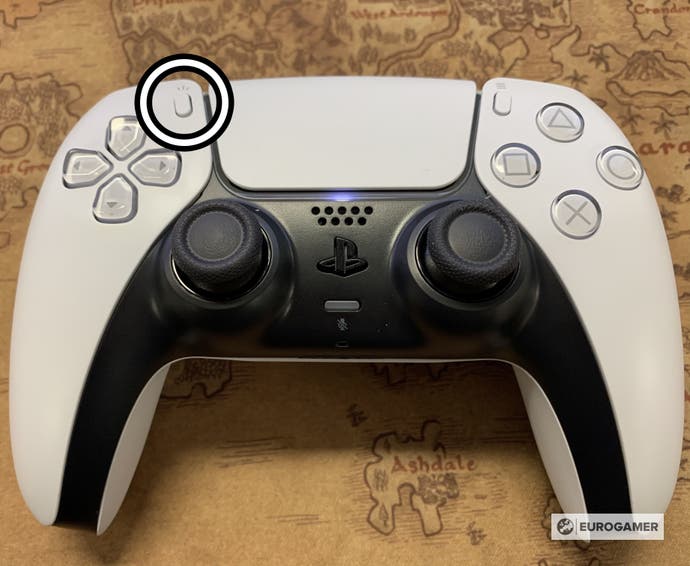
Pressing the Create button will pause your game, or whatever other activity you might be using the PS5 for, and open the Creative menu.
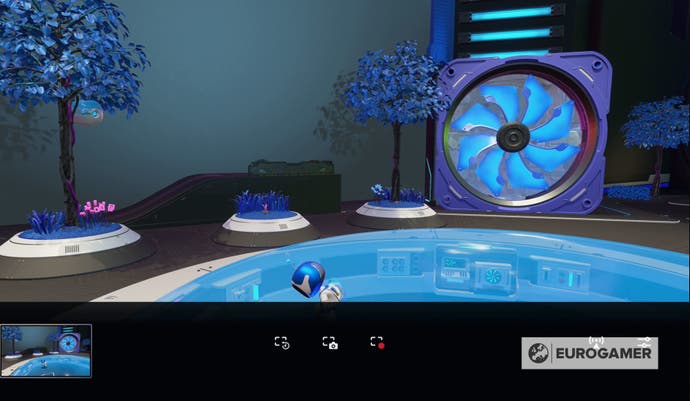
Here you'll be able to take a screenshot of your game, start recording gameplay, review any videos that you might have previously taken or make a video of your recent gameplay.
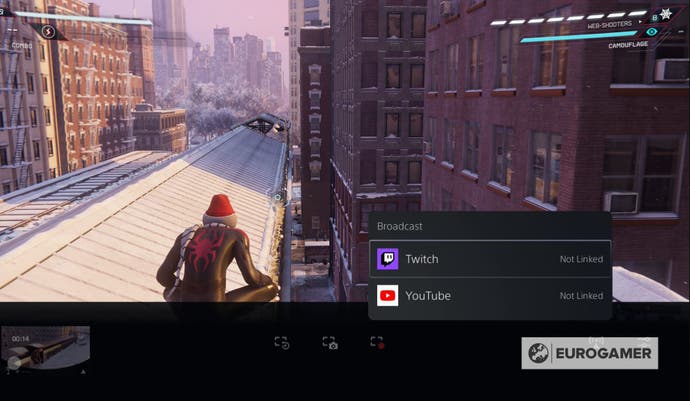
You'll also be able to change your capture options and use the Broadcast option to start streaming directly to either YouTube or Twitch.
How to take a screenshot on the PS5
To take a screenshot on the PS5 you must first press the Create button on the DualSense controller to open the Creative screen, which will also pause your game.
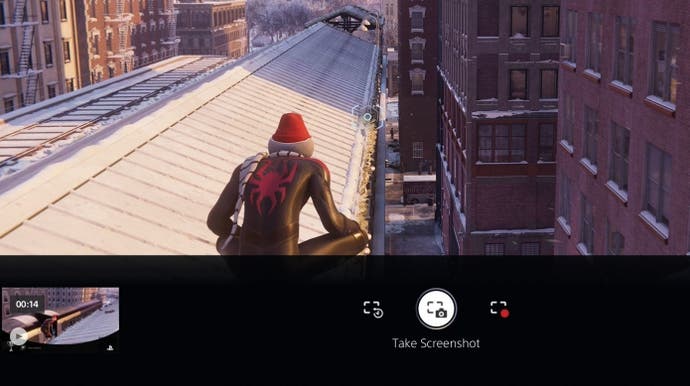
On this menu, you'll find a small icon of a camera, titled Take Screenshot, which, when pressed, will take a screenshot of your game.
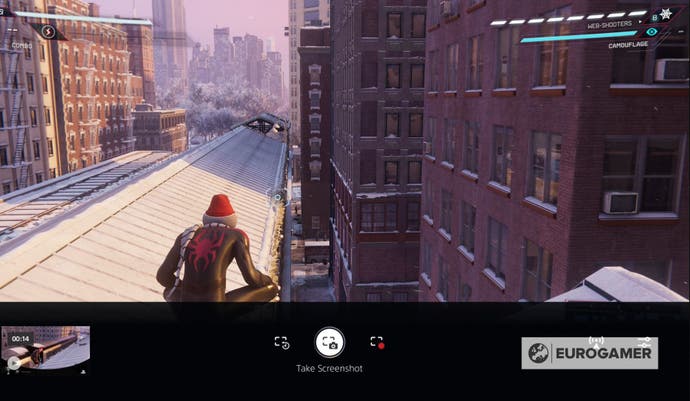
Depending on your settings, the screenshot will either be a JPG or PNG file.
Since opening the Creative screen pauses your game, you can take a screenshot of your gameplay whenever you like without having to worry about losing a fight or missing an important moment in a cutscene.
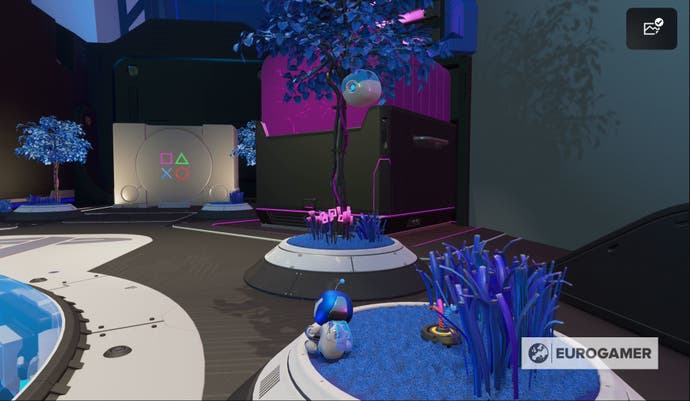
You can also take a screenshot by holding the Create button down until an icon of a picture appears in the top right-hand corner of the screen.
How to record video on the PS5
If you want to record gameplay capture of you playing a specific game on the PS5, then first need to press the Create button on the DualSense controller to open the Creative menu.
There you'll find the option 'Start New Recording' which will allow you to record as much gameplay footage as you like.
Once you select this option, a small black box will appear at the top of the screen to remind you that you're recording and including a timer, so that you know how long the video currently is.
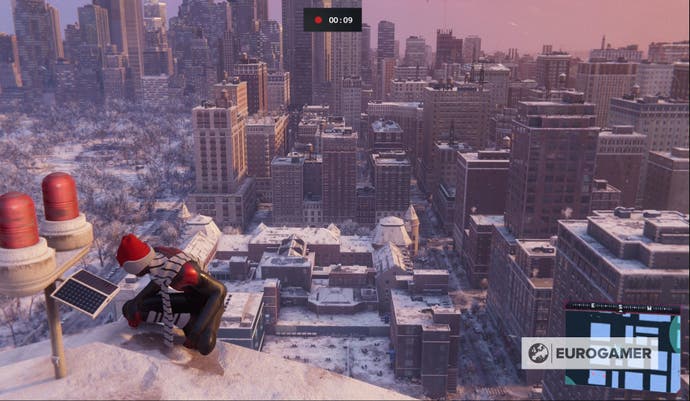
You can freely play your game, knowing that the recording is going on in the background.
When you're ready to stop recording press the Create button again and then the option, 'Stop Recording.'
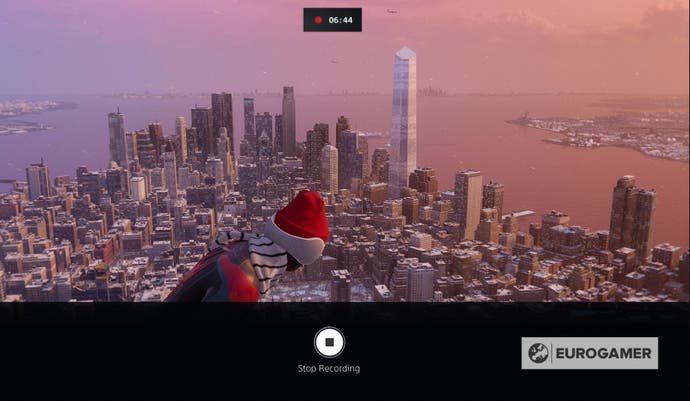
Depending on the length of your video, you may have to wait a while before you return to the game, but you can rest assured that your capture is safe.
You can also record short video clips by pressing the Create button twice in quick succession, which then be found in the recently created section of the Creative menu; you'll know when you've done this correctly, because a small icon will appear in the top right-hand corner of the screen.
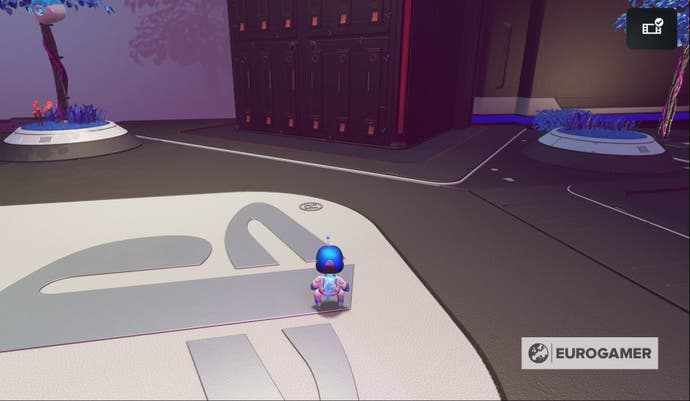
Save recent gameplay on the PS5 explained
The Creative menu for the PS5 gives you the option to save your most recent gameplay, which means that you can quickly retrieve footage of yourself playing any game if you weren't recording the gameplay. This is great if you want to keep a record of special feats you achieve or difficult bosses you defeat.
You can access the Save Recent Gameplay option by opening the Creative screen by pressing the Create button.
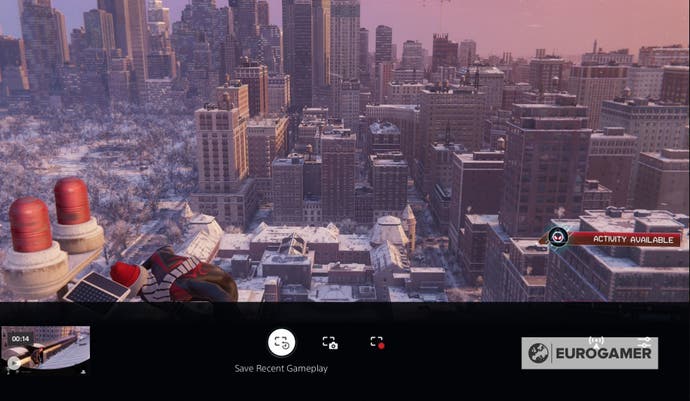
Once pressed, you'll be given two options - Save Short Clip or Save Full Video.
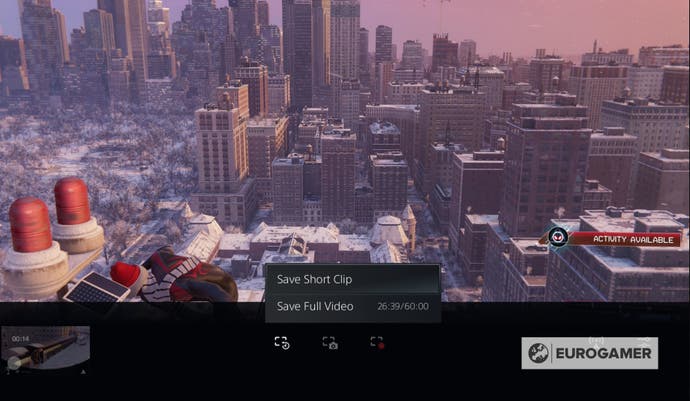
Save Full Video allows you to record up to an hour's worth of footage, with a timer keeping count of how far into that hour you are. Once that timer clocks over an hour, it will reset and prevent you from recording anything that occurred in the previous hour.
Save Short Clip, however, allows you to record a specific amount of minutes, offering you the choice of the :
- Last 15 seconds
- Last 30 seconds
- Last 5 minutes
- Last 15 minutes
- Last 30 minutes
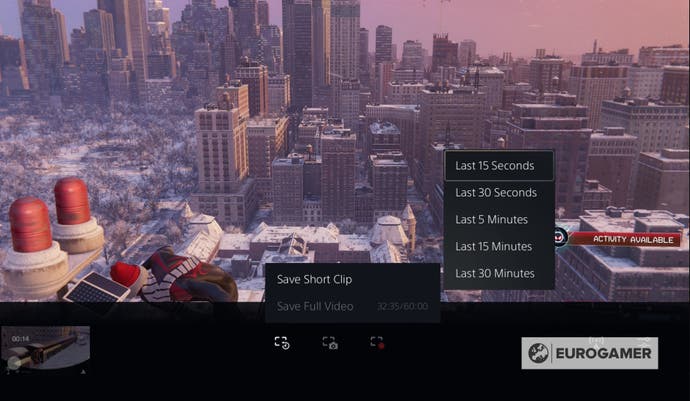
Remember - the Creative menu pauses your game, but it doesn't pause the timer in the Save Recent Gameplay options, so keep that in mind when deciding what to record.
Recently created on the Creative menu and the Media Gallery for the PS5 explained
The Creative menu on the PS5 allows you to quickly access all the screenshots and videos that you've recently created. You can access this by pressing the Create button on the DualSense controller and scrolling to the far left-hand side of the Creative menu.
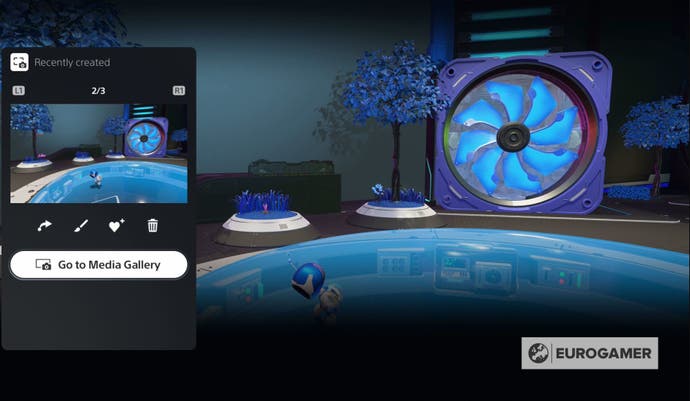
Not only can you view these creations, including watching the videos in full, but you can share, edit, favourite or delete both screenshots and videos.
You'll find yourself dealing with different options depending on whether you wish to edit a screenshot or a video.
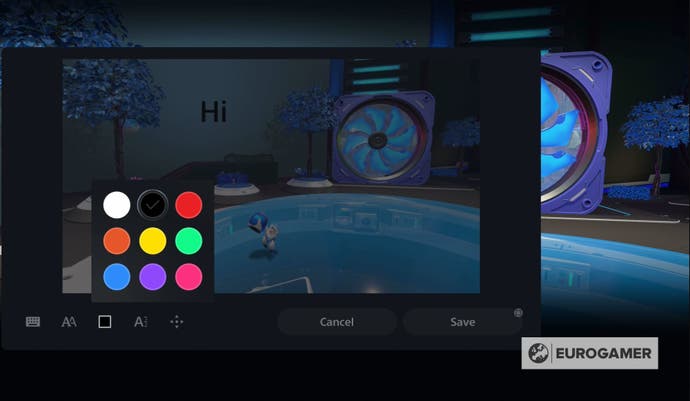
For screenshots, you'll be able to crop the image or add text. If you decide to add text, you'll be able to position the text on the image, change it's colour, change it's size, change it's alignment - left, centre, right - and choose between three font types - modern, strong or standard.
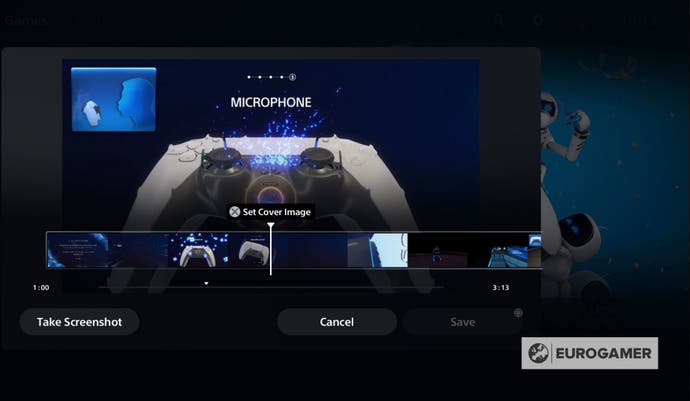
When it comes to editing videos, you'll be able to trim the video and pick a cover image by scrolling through the remaining footage. It's important to note, however, that you can trim videos while playing a game, you can't watch the playthrough, so it's always a good idea to return to the home screen if you're planning on editing a video.
You'll also find a link to the Media Gallery in the recently created section, which is also accessible from the PS5 home screen.
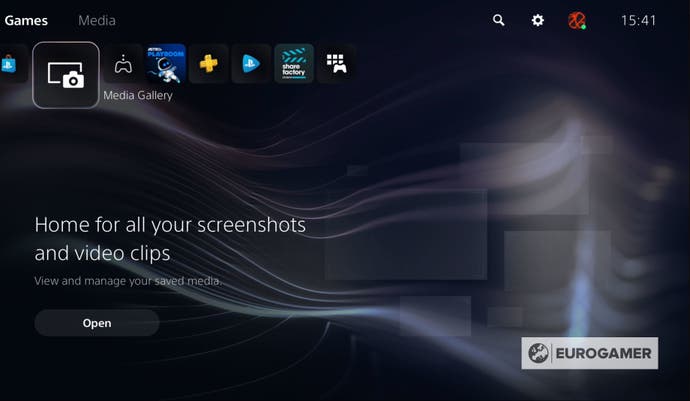
The Media Gallery is divided into four sections - All, Favourites, Trophies and Albums.
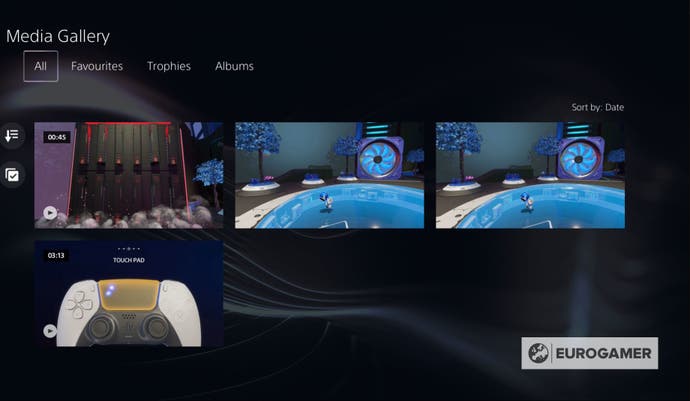
Here you freely edit, delete, share and even transfer your videos and screenshots to a USB Drive.
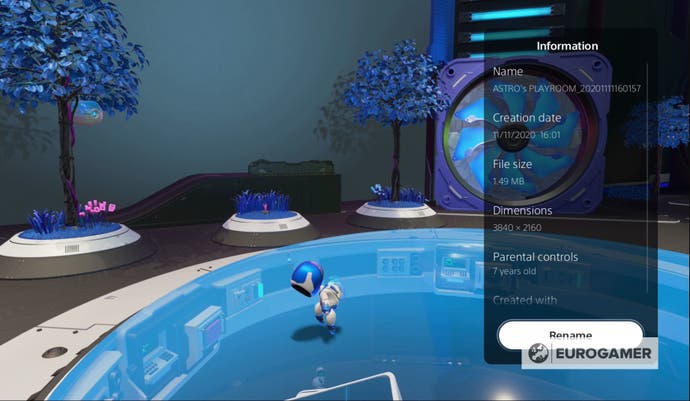
You can also view all the important information about a video or screenshot, such as when it was created and its file size, and you'll be given the opportunity to rename it.
Capture options for the PS5 explained
There are a number of capture options for you to play around with on the PS5, which can be accessed by pressing the Create button on the DualSense controller.
You'll then want to scroll to the far right-hand side button to find the Capture Options menu.
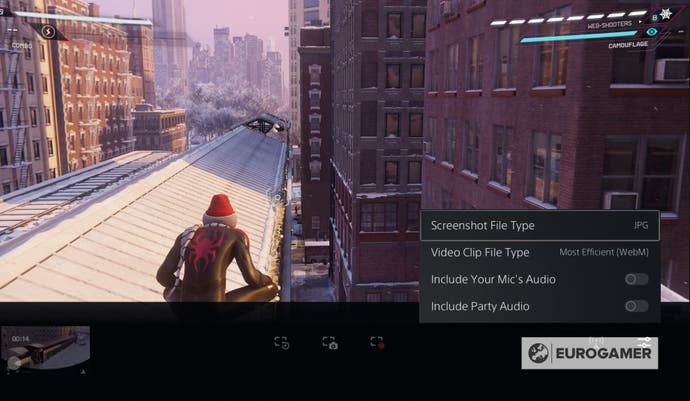
There are a number of options available, including whether you want to include the audio from your mic and / or the party audio when recording capture.
You can also decide whether you want the file format of your screenshots to be JPG or PNG.
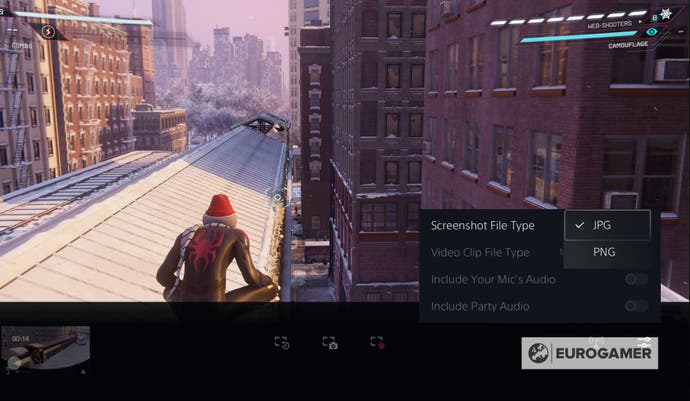
Finally, you can also change the video clip file format to either WebM, described as the most efficient, or MP4, described as the most compatible.
If you'd like to learn more about the PS5, then check out our guides on the PS stand, Control Centre, user accounts, Remote Play and how to change your online status.
