"Sterness of Stone, Keeness of Tiger" explained in Black Myth: Wukong
Here's what this strange message means in Chapter 2.
In Chapter 2 of Black Myth: Wukong, you'll come across several locked gates that require Sterness of Stone, Keeness of Tiger to unlock, but what does this strange and cryptic message mean? Luckily, we're here to help. Below, we'll tell you what these requirements are and how you get them, but be warned: you'll have to defeat some fearsome Yaoguai Kings in order to proceed.
What does "Sterness of Stone, Keeness of Tiger" mean in Black Myth: Wukong?
Sterness of Stone and Keeness of Tiger refer to two key items that are obtained by defeating two of Black Myth: Wukong's bosses: the Tiger Vanguard and Stone Vanguard.
You will need to defeat both bosses in order to unlock these gates, as the items fill in parts of the missing statues you need to interact with to open the way forward. The good news is that both key items can be used more than once, so you don't need to obtain multiple copies. Once you've got them, you can open all three gates you'll find around Chapter 2.
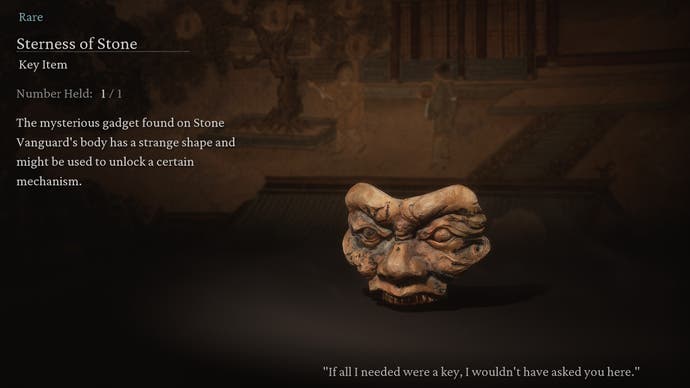
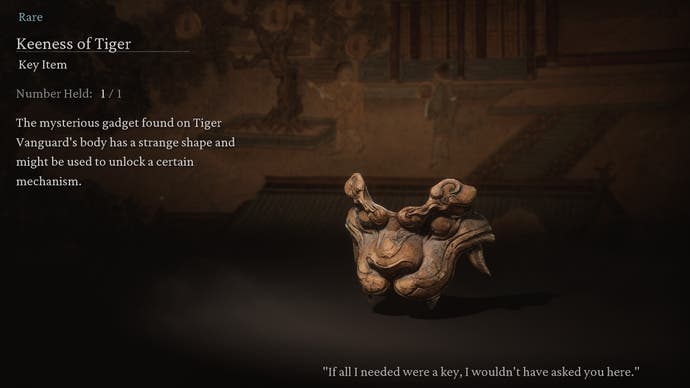
Tiger Vanguard and Stone Vanguard locations
To find each Vanguard, you'll need to start at the shrine 'Valley of Despair' in Sandgate Village. This requires defeating the King of the Flowing Sands and the Second Prince of the Flowing Sands Yaoguai Chiefs.
Once the area is clear, you'll have two options on where to proceed next: left, going through some caves, or right, across the bridge:
- Left will take you to the Tiger Vanguard and the Crouching Tiger Temple, though you'll also need to beat the First Prince of the Flowing Sands before you get there.
- Right will take you to Fright Cliff, where you'll eventually meet the Stone Vanguard near the Rockrest Flat shrine.
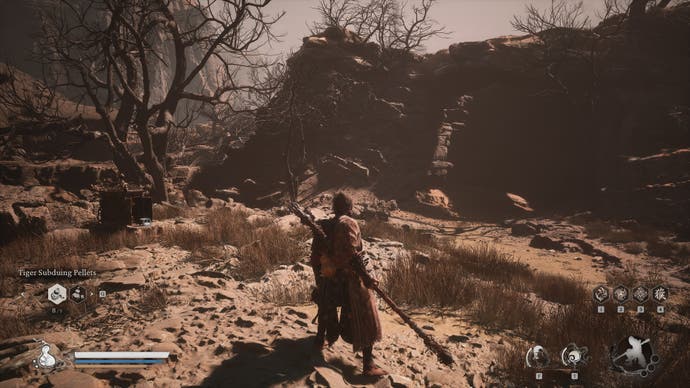
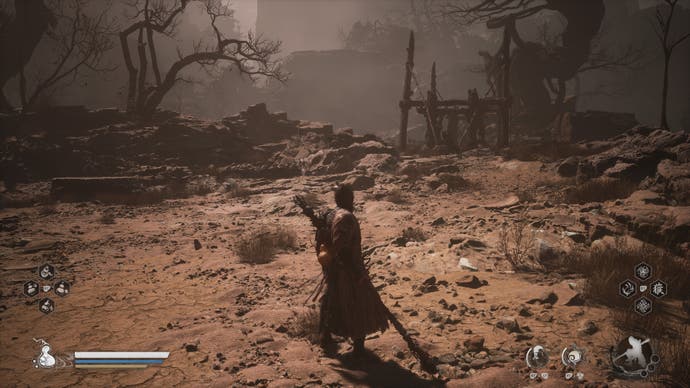
It doesn't matter which route you take, and you can approach each Vanguard in any order. If you tackle the Tiger Vanguard first, as I did during my playthrough, the route beyond the Crouching Tiger Temple will loop back round, right into the boss arena for the Stone Vanguard (though I'd recommend skirting round the edge and heading right to activate the Rockrest Flat shrine first, otherwise it's a long walk back to this particular boss).
Either way, you'll need to defeat both bosses in order to open the gates leading to the chapter's final boss, the Yellow Wind Sage.
Sterness of Stone, Keeness of Tiger gate locations
There are three locations where you can use these key items to open up new paths in the level:
- Valley of Despair - main gate.
- Crouching Tiger Temple - hidden underground route.
- Windseal Gate - main path leading to final boss of Chapter 2.
All three lead to the final boss of Chapter 2, the Yellow Wind Sage, so opening all of them isn't strictly necessary, though they will, of course, give you some valuable shortcuts for exploring the level at a later stage. Below, we'll list where you can find each gate location, and what you'll find beyond them:
Valley of Despair
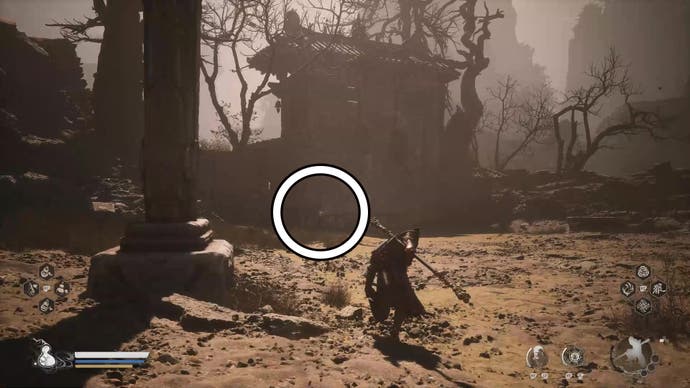
In the arena where you first fought the King of the Flowing Sands and the Second Prince of the Flowing Sands, you can now open the large gate here that was previously locked. Down this path, you'll find the following treasures and bosses:
- Shortcut to the First Prince of Flowing Sands arena - a slightly pointless shortcut, given how little time it saves you, but you can finally open the locked doors from this side, leading you back into the First Prince cavern. Handy, say, if you get to the Windseal Gate before defeating the Tiger Vanguard, and need a way back to that side of the valley without simply fast travelling back to an earlier shrine.
- Old Rattle-Drum sidequest location - before you get to the bridge, you can use the Old Rattle-Drum obtained from the Tiger's Acolyte sub-boss in an area off to the right, initiating a conversation with a ghost. Following this quest will lead you to the hidden boss, Mad Tiger, and reward you with a special Gourd.
- Gore-Eye Daoist - a Yaoguai Chief sub-boss, who you can summon as a Spirit once defeated (also drops 1x Blood of the Iron Bull material for upgrading your Spirits).
- Luojia Fragrant Wine - upgrade material for your Gourd.
Technically, this gate is really just a shortcut to get to Windseal Gate, as you'll find it comes out by that shrine, opposite the sandy hill you'll likely have slid down as part of the main story path.
Crouching Tiger Temple
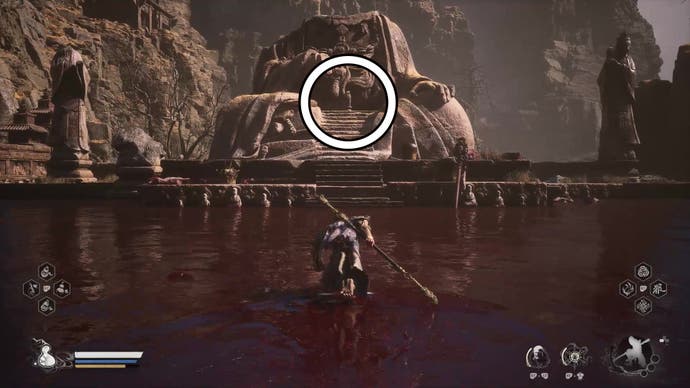
You'll find another statue in Crouching Tiger Temple, just up the stairs where the Tiger Vanguard once stood. This will open up a hidden entrance in the pool of blood, leading you underground. Here, you will find the following treasures:
- Celestial Jade Lotus Pill - increases maximum health.
- Civet Sergeant - a summonable Spirit.
- The Cellar Shrine - a fast travel point for Xu Dog's pill medicines.
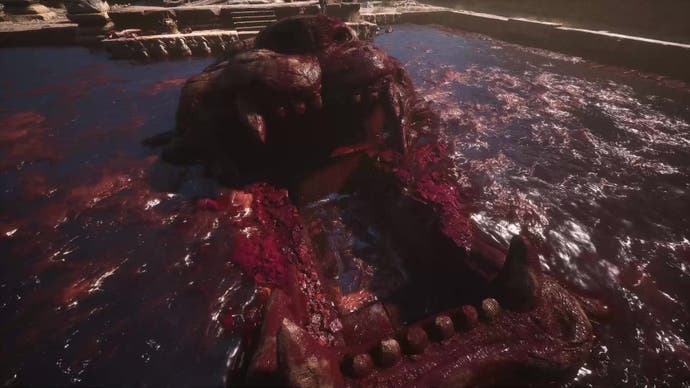
Xu Dog is an important NPC to find at this point in Black Myth: Wukong, as he can turn your Mind Cores into vital stat boosts to make you stronger and increase your resistance to elemental effects. You'll likely have collected a fair few of these on your journey, and considering how difficult the Yellow Wind Sage is, you'll do well to give yourself every advantage possible.
NB: to find the Xu Dog here, you'll need to assist him earlier in Chapter 2, retrieving a formula for him that was stolen by the Yaogaui Chief Lang-Li-Guhh-Baw (a large frog). You'll find this sub-boss very near the start of Chapter 2, just round the corner from the shrine 'Outside the Village'. Once you've done this, Xu Dog will move to the Cellar shrine location, offering you the full range of his medicinal wares.
Windseal Gate
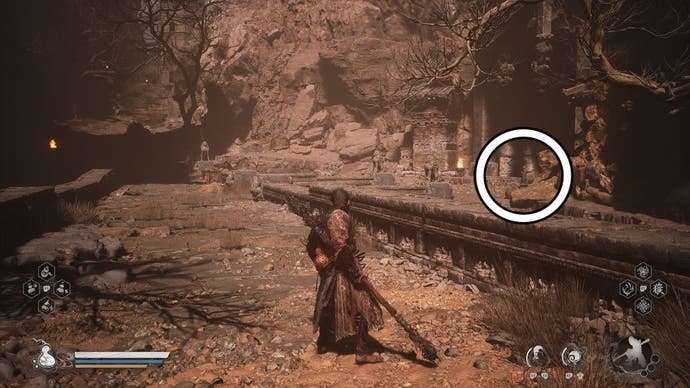
You'll most likely come across this gate after defeating the Stone Vanguard and following the main story path, sliding down a large sandy hill that you can't go back up again. With any luck, you'll have reached this location with both key items in your pocket, allowing you to open the gate straight away. However, if you've yet to defeat the Tiger Vanguard, then you'll probably want to fast travel back to the Valley of Despair. You can still explore the path ahead of you, though, as this will lead you back to the gate by the Valley of Despair - you can also use the side gate leading to the First Prince of the Flowing Sands boss arena to get past the locked gate at the end of the path.
There aren't any further treasures to find by going through this route, but you can still find the following points of interest here:
- The Cellar Shrine - head straight across the valley up the hill to access the Xu Dog's pill store, and the Cellar shrine.
- Meditation Point - head left after going through the gate and you'll find the Blessed Gourd Master at the end of the path, next to a Meditation Point. The Blessed Gourd Master doesn't have anything to give you, but it's nice to see him pop up again.
At the other end of the valley, you'll find the final boss of Chapter 2, the challenging Yellow Wind Sage.


.png?width=291&height=164&fit=crop&quality=80&format=jpg&auto=webp)


