The Last of Us Part 1 toolbox locations and upgrades
Where to find all five of the toolboxes hidden throughout The Last of Us Part 1, so you can upgrade your weapons to pack a meaner punch in combat.
There are five individual toolboxes spread throughout The Last of Us Part 1, and you'll need to locate all five of them if you want to upgrade your weapons to the highest possible level.
While they're not too tricky to spot, missing out on even on of them will make life much harder as you approach the end of the The Last Of Us Part 1.
Here's where you can find every toolbox.
Toolbox locations in The Last Of Us Part 1
Below you'll find the location of every toolbox in The Last Of Us Part 1:
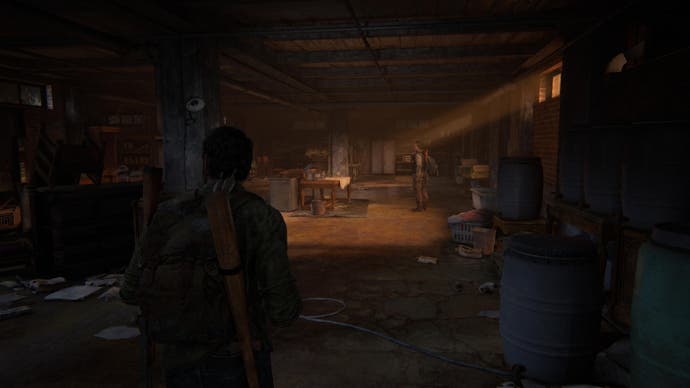
- Bill's Town - In the church where you first get the proximity bomb is a metal shelf in the corner. You'll find the toolbox here.
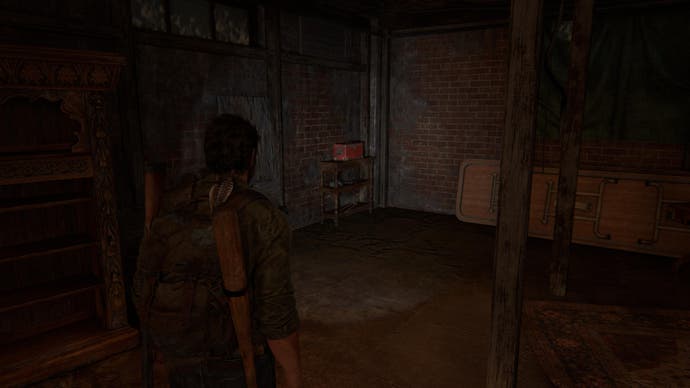
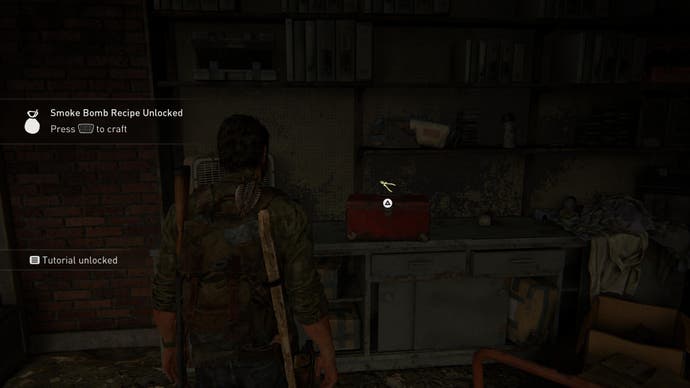
- Pittsburgh - After killing the first wave of enemies after being ambushed, you'll open up a shutter to access a garage. The toolbox is next to the Smoke Bomb inside.
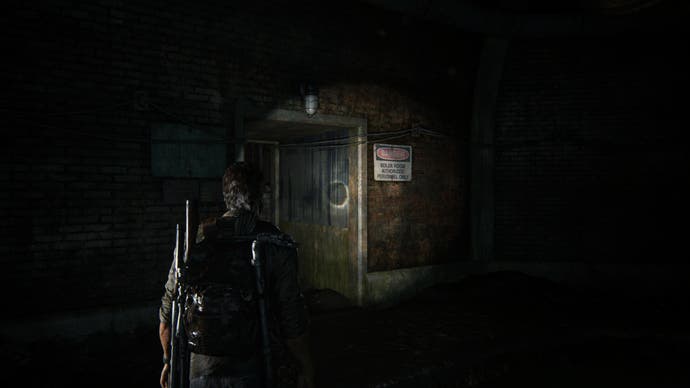
- The Suburbs - Once you've helped Ellie use a pallet to reach and activate a generator, head into the next corridor along. You'll find the toolbox in a room to your left.
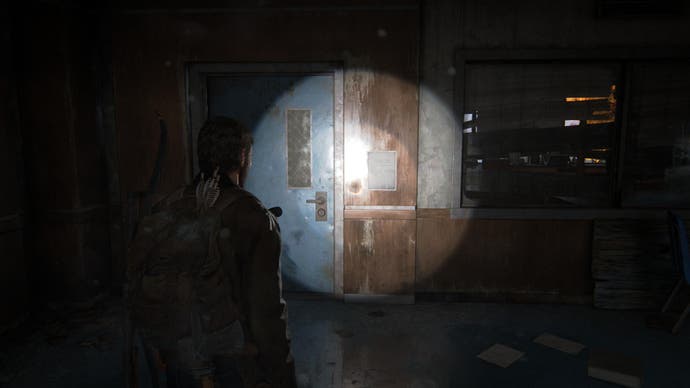
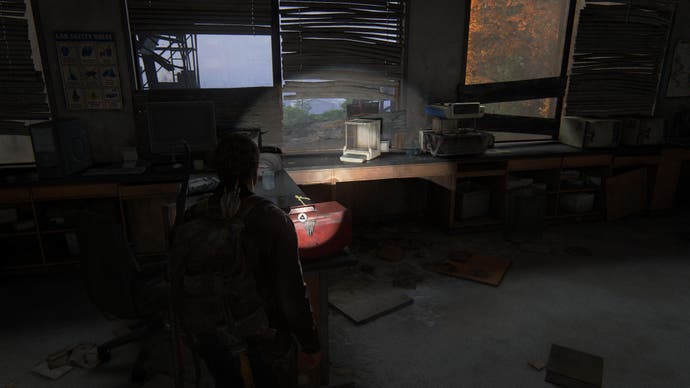
- The University - After meeting up with Ellie after entering the Science Building, carry on down the long corridor with a locked door on your right. Use a shiv to open it and take the toolbox from the workbench inside.
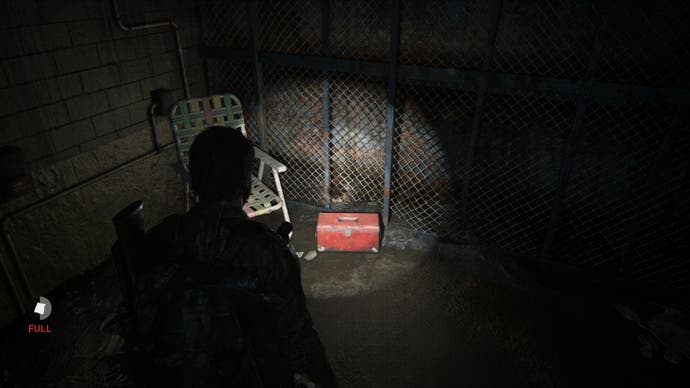
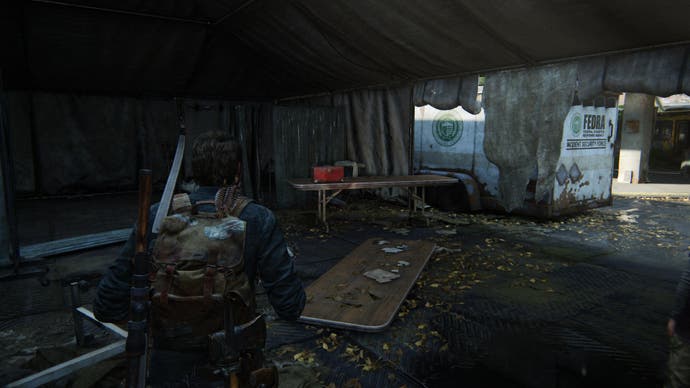
- Bus Depot - Look for a big white tent on the left-hand side of the triage area outside the depot. The toolbox is just to your right as you enter the tent.
Phew. All done? If you have a PS4, then you can get started with the sequel thanks to our The Last of Us Part 2 walkthrough.
Head over to our The Last Of Us Part 1 Walkthrough hub for more help with the rest of the game.

