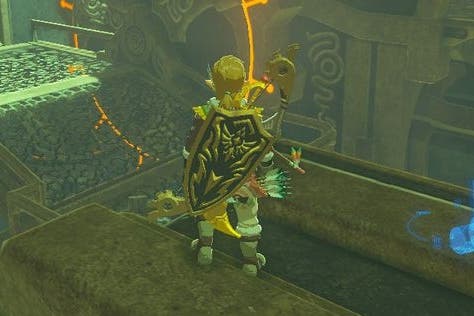
Zelda Breath of the Wild DLC 2 guide: EX Champions' Ballad, Divine Beast Tamer's Trial quests and new gear explained
Everything on the second DLC expansion explained, including in-progress explainers on its trials.
The Zelda: Breath of the Wild DLC 2: The Champions' Ballad is the second of two add-on chunks of content for the huge Switch and Wii U adventure.
Like DLC 1 The Master Trials, this expansion introduces new gear for you to find and collect, but also expands on the end game with new quests and Shrines to explore - which this Zelda: Breath of the Wild DLC 1 guide will explain how to complete.
It's not an easy expansion to complete, which is why you'll need to do a good chunk of the game's story before you can access it
If you're after help for the main game itself, then consult our Zelda: Breath of the Wild walkthrough and guide.
What is in the Zelda: Breath of the Wild DLC 2?
When you purchase the expansion pass and patch the game to the latest version (on Switch, select the Zelda game icon, press the + button then System Update) you'll be told about all the new content on the home screen.
There are essentially three new additions to the game:
- The Champions' Ballad (new post-game quest)
- Treasure Rumours (nine new items across EX Treasure quests Dark Armor, Usuper King, Garb of Winds, Merchant Hood and Royal Guard Rumors)
- Ancient Horse Gear (Saddle and Bridle in the EX Ancient Horse Rumors quest)
- Master Cycle Zero (available once the main quest is complete)
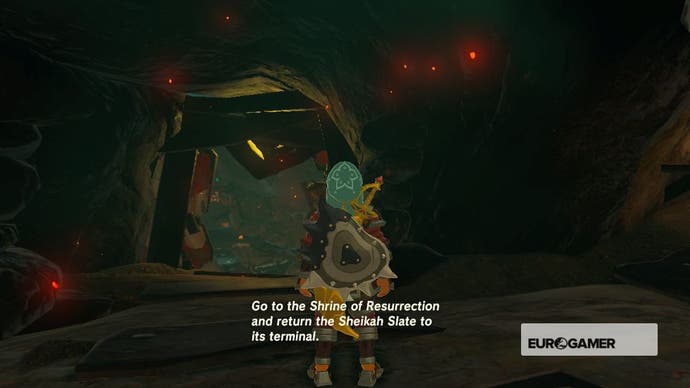
Loading into your save will activate all the gear quests, which must be completed before you can access their relevant additions. The Champions' Ballad, meanwhile, requires you take down all four of the Divine Beasts before you can begin.
EX The Champions' Ballad: How to start the DLC 2 main quest
Again, first, make sure you have completed all four Divine Beasts to first activate the quest. This means all four dungeons and defeated each of the four Ganon Blight bosses that inhabit each one.
This is important because you'll need to have unlocked all of the special Champion powers (there are four in total) so you can upgrade them as part of the DLC's story.
Also, you'll be returning to each Divine Beast a second time, so knowing how to defeat each boss will become very hand again later in the game.
Make sure that each Divine Beast questline has been completed, including speaking to any characters tied to that part of the main questline.
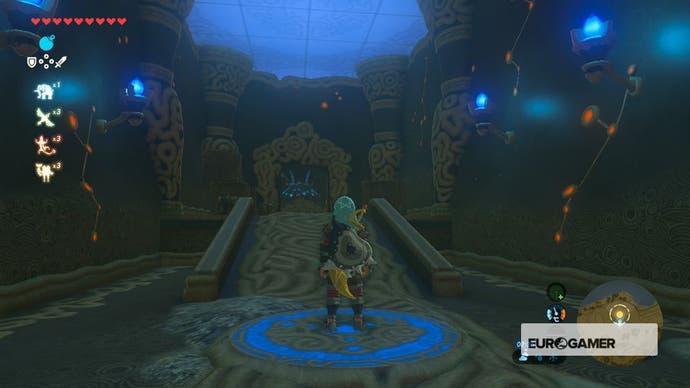
Once this is completed, Zelda will speak to you in a ghostly voice, beckoning you to visit the Shrine Of Resurrection where you started the game in the first place.
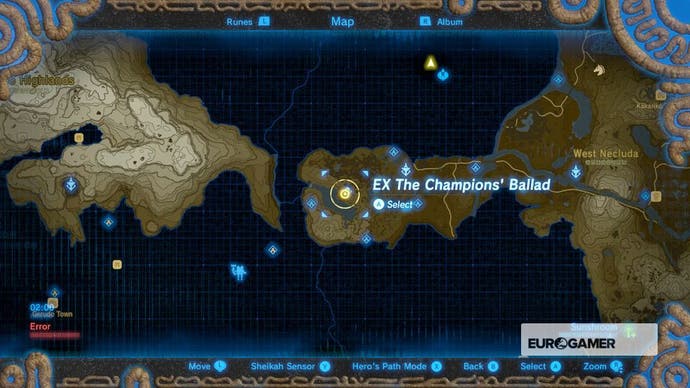
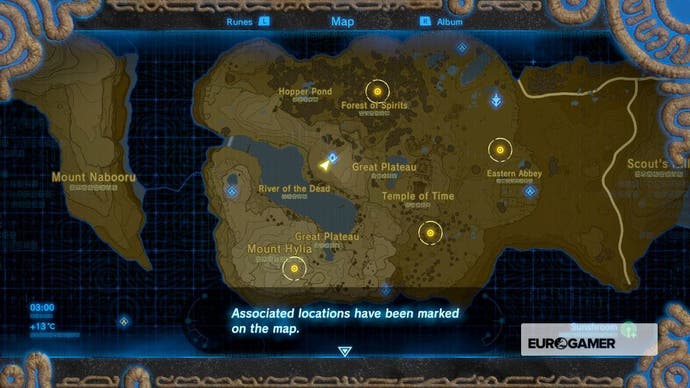
The Shrine Of Resurrection is based in the Great Plateau, but don't worry if you can't remember where it is as a marker will appear on the map.
You can also fast travel to the Shrine Of Resurrection, just like any other shrine. Interact with console to your right as you enter the doorway to begin the DLC.
How to use the One-Hit Obliterator
Following a brief cutscene, you'll notice a special weapon that's appeared in the shrine. This is the One-Hit Obliterator.
As its name suggest, one hit from this melee tool will kill any enemy dead, but there's one very powerful caveat - regardless of how far you've upgraded your health, it will be stripped to a quarter of heart.
This means you're as fragile as porcelain and everything from fall damage to running into spikes will kill you immediately. The One-Hit Obliterator is also a short-range melee weapon, so you'll need to be careful when dealing with enemies with poles, spears and arrows.
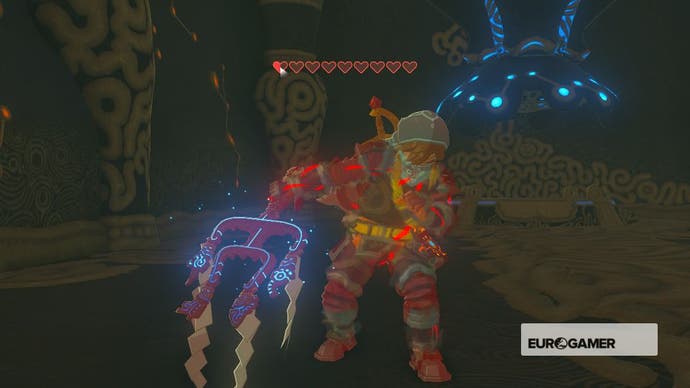
Here's a tip that isn't immediately clear when you start the DLC - you can still use ranged weapons and shields.
Both of these things will become hugely important to dealing with the four camps of enemies you'll need to clear in order to progress to the next part of the DLC, so consider heading back into the rest of Hyrule to stock up on multiple arrow types.
Just keep in mind that arrows such as Bomb Arrows have a splash damage radius that will need to be taken into account if you're using them in the heat of battle.
This part of the DLC is self-contained within the Great Plateau, so you won't be able to take the One-Hit Obliterator into the rest of the game world. Any enemy camps you're currently part way through will also be reset if you leave, so stock up before you start proper.
Also, have a strong and durable shield to hand to deflect any enemy attacks that slip through. Your dodge and backflip will also serve you very well through this early section.
Thanks to a new update, it's now possible to play Zelda Breath of the Wild in VR. Want help with the main game? Our Zelda: Breath of the Wild walkthrough can help complete Divine Beasts Vah Ruta, Vah Rudiana, Vah Medoh and Vah Naboris and more. There's also how to get the Master Sword, Hylian Shield and all Zelda Captured Memories and Great Fairy Fountain locations, while our Shrines locations and Shrine maps hub explains where to find and solve every puzzle room, including dragon locations and Labyrinth solutions. We also have a DLC 1 guide and DLC 2 guide, including all Tingle, Majora's Mask, Phantom, Midna outfit locations.
EX The Champions' Ballad guide: How to complete The Divine Beast Tamer's Trial
From collecting the One-Hit Obliterator, you'll be taking taking down four camps, each one unlocking the following Shrines. They can be completed any order:
- Zelda - Yokawa Ita and Collected Soul
- Zelda - Rohta Chigah and Stop To Start
- Zelda - Ruvo Korbah
- Zelda - Etsu Korima and Path Of Light
Four new locations will then appear in the map, all located near or relatively close to the Divine Beasts you conquered and purified in the main story. You'll now need to travel to each location where you'll be given three more coordinates.
Each one corresponds to a new shrine - that means you'll have to complete a total of 12 more shrines to progress to the final part of the DLC. Oh, and there's a few boss fights to come as well, naturally.
After that, you then have four new quests, each of which containing three shrines each. You must complete all of these - in any order - to then reach the final dungeon.
- Zelda - Kee Dafunia, The Melting Point
- Zelda - Sato Koda, Support and Guidance
- Zelda - Mah Eliya, Secret Stairway
- Zelda Illusory Realm boss Waterblight Ganon
- Zelda - Shira Gomar, Aim for Stillness solution
- Zelda - Kiah Toza, Master the Orb
- Zelda - Noe Rajee, The Four Winds
- Zelda Illusory Realm boss Windblight Ganon
- Zelda - Kami Omuna, Moving Targets
- Zelda - Sharo Lun, Blind Spots
- Zelda - Rinu Honika, Block the Blaze
- Zelda Illusory Realm boss Fireblight Ganon
- Zelda - Keive Tala, Big or Small
- Zelda - Takama Shiri, Dual Purpose
- Zelda - Kihiro Moh, Inside the Box
- Zelda Illusory Realm boss Thunderblight Ganon
Once you have done all 12 (!) shrines and their bosses, the final dungeon and boss will be available:
Once you have done that, the DLC is yours - along with the prize of Master Cycle Zero, which allows you to explore Hyrule in a whole new way. Congratulations - you deserve it!
Additional reporting by Matthew Reynolds.
