Zelda: Breath of the Wild - Yiga Valley Hideout in Karusa Valley, how to beat Master Kohga
How to reclaim the Thunder Helm before taking on Vah Naboris.
Zelda: Breath of the Wild's Yiga Clan Hideout is required before you can board Divine Beast Vah Naboris, the sandstorm beast that's in the far south west corner of the map.
After you've paid a visit to Gerudo Town and completed Forbidden City Entry, you have to take back the stolen Thunder Helm from a band of thieves just a short ride from the settlement.
If you're after help for parts of the game, consult our Zelda: Breath of the Wild walkthrough and guide.
How to get to Yiga Valley Hideout in Karusa Valley
After you've spoken to Gerudo Town village chief Riju and the soldiers next door, head north out of the barracks and take the first left to find a small gate.
Ask the guard there Laine to show you the direction to the north. You can also hire a sand seal here, but if you don't want to pay, head back to the main entrance and catch one yourself just outside by crouching up close slowly.
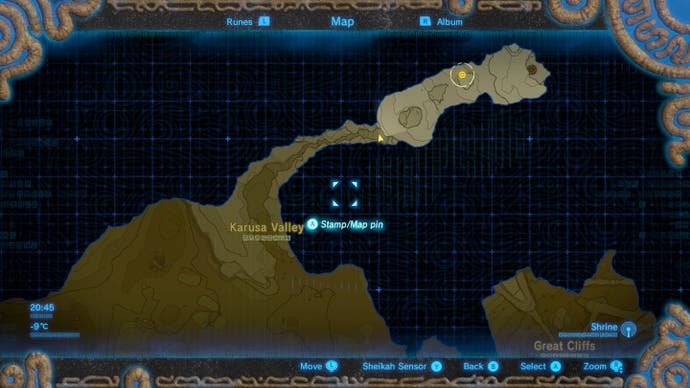
Head north and go to the canyon where the waypoint leads to. If you haven't fleshed out the above region, it cuts right into it.
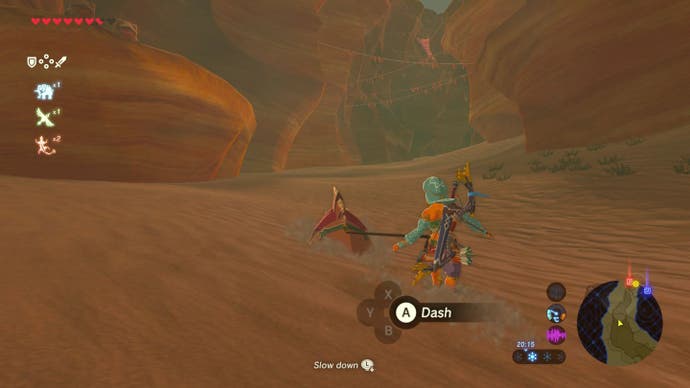
With a sand seal you'll get there surprisingly quick, and after an incline, detach yourself at the cliffs and climb up further in. Be wary of assassins on the way; keep your shield up for their arrow attacks, and get close when they teleport and strike them quick to take them down.
Not only do they shed Rupees upon defeat, but the bows they drop fire a couple of arrows for the price of one, so are worth fighting if you can.
Soon you'll come to a room that spokes off with multiple staircases, torches and high banners, and seemingly no way forward.
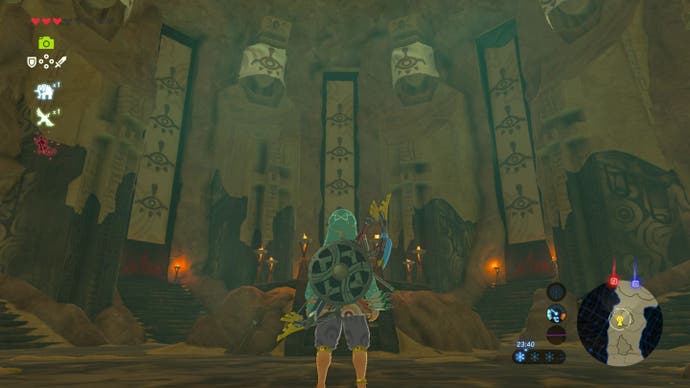
To progress, you have to light the banners with fire. There's a couple of ways of doing this; the torches lying around can be lit and thrown with the R button, or you can aim your bow over a lit lantern, lighting the arrow, to then be fired off.
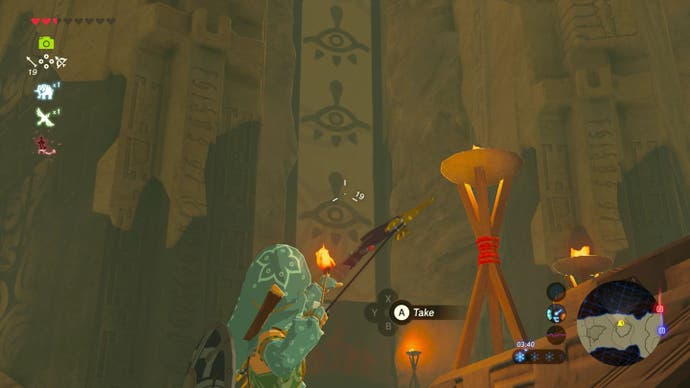
You'll want to light the one at 2pm from the central plinth to continue, but you also will want to open those one left of the way ahead, as well as the first on the left as you enter, for 50 Rupees and a Sapphire respectively. The other mostly contain Keeses.
Yiga Valley Hideout
Head forward, and you'll enter the hideout proper. Ahead is Barta, who you may have heard from the barracks had gone missing, and was obviously captured. Chatting to her reveals the guards love bananas, info which will surely be useful.
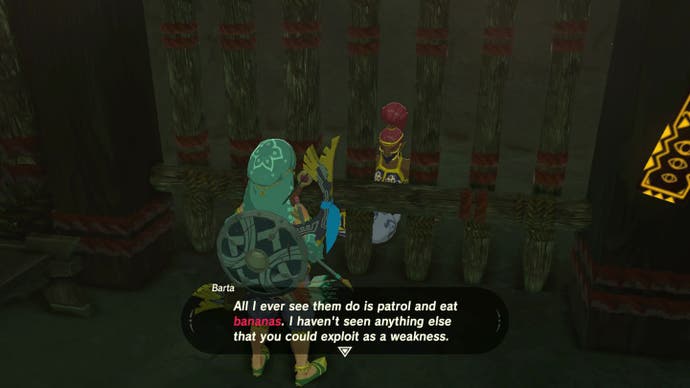
What follows is a stealth section where you must get past a series of guards, so stay crouched whenever you can and stay out of sight. If you get spotted briefly, they'll come over and investigate - you can use this to your advantage to move them out the way and slip past.
If you get spotted, the area will shut down and you'll have to fight them off. Most will teleport to your location, so just wait for them to appear and swing away. If you die, you restart the entire section, so be careful.
Head down the steps here and you'll come to your first guard.
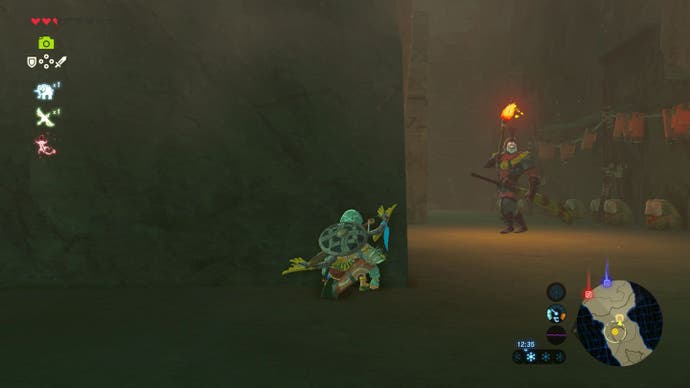
The guard is slowly circling the central column clockwise. Wait until they appear, and slowly follow them round (they can see to the sides of them, so ensure they are slightly ahead). Follow them so you are at the far side of the column and almost back on yourself, where in the far corner is a set of steps leading down. The following guard is blocking the doorway.
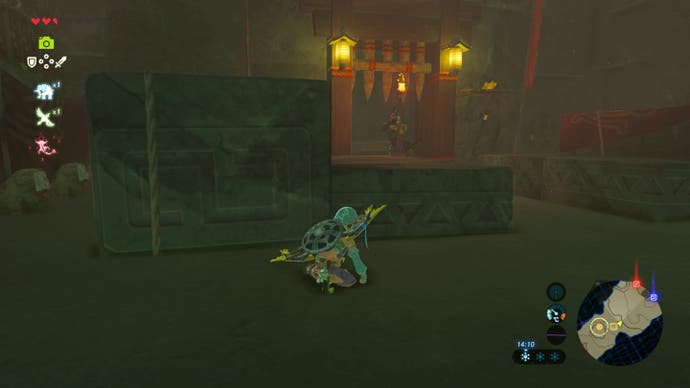
To progress, shoot the shelf with the bananas on to your right, which will cause the guard to walk over and investigate. You can walk (not sprint!) while they're distracted past.
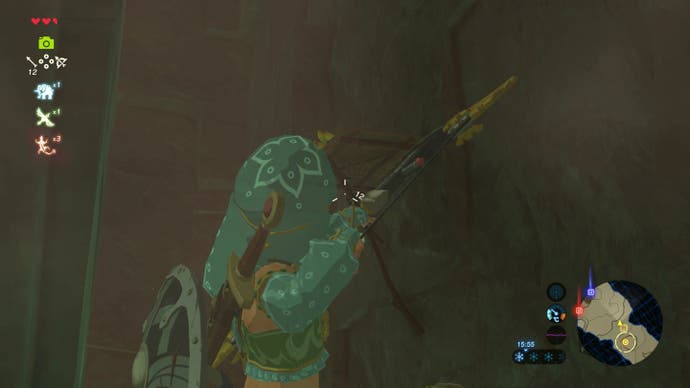
If you want the chest in the far corner, then before you do that, shoot the banana shelf to the right of the guard so you can walk in front, then the shelf opposite so you can get past.
Next is a ladder straight ahead and an area to the right. Go ahead, up the ladder and to the end of the walkway, where there is a room full of Bananas (fill your boots!) and a chest containing a Topaz.
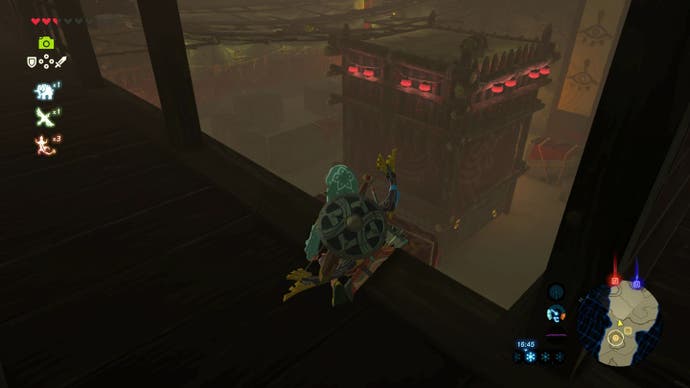
Head back down the walkway, and drop down where it opens up and onto a red box below that overlooks the room. There are several guards patrolling here. There's a few options - you can inch your way round each corner, and or use a large barrel on the north side of the central column to hide in, where guards won't see you.
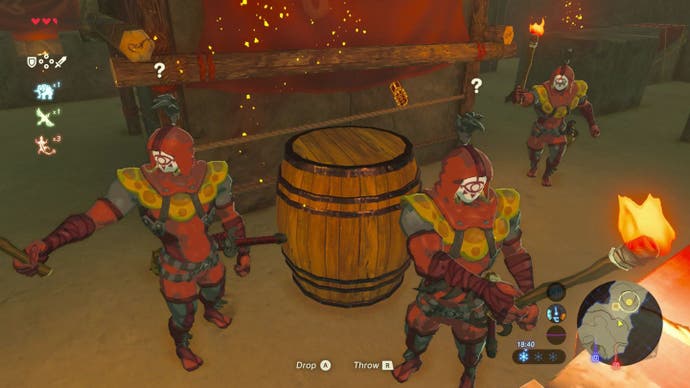
We recommend heading to the north west corner, climbing the ladder to the rafters, allowing you to get around undetected. Heading on top of the central column will take you to a chest with 100 Rupees inside, too.
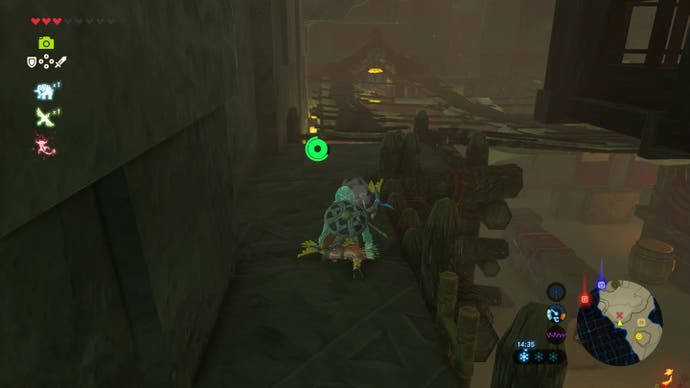
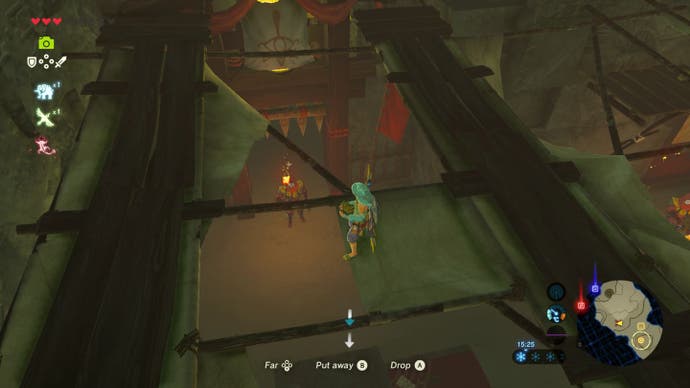
Head to the north east corner, where there is a guard blocking the doorway. Go into your inventory and choose to Hold a Mighty Banana, then return to the game. Drop it off the edge of the rafter in front of the guard, so they get distracted and run over. Run above him and drop behind to slip into the doorway.
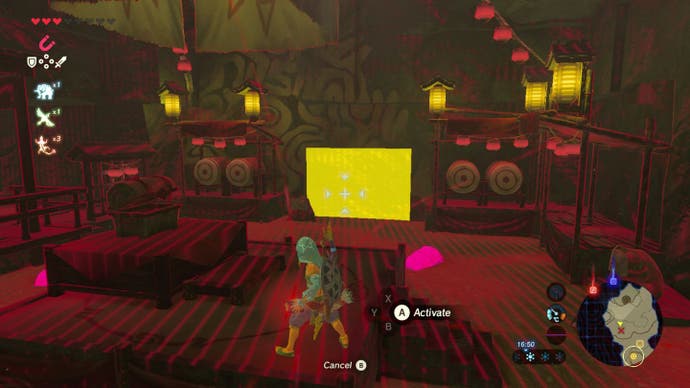
The final room has a chest in the middle and no guards. After you've looted the chest of Mighty Bananas, use Magnesis on the wall on the right. It's a bit awkward to rotate, but if you have latched on the right side, pull it towards you to open. What follows is a boss fight with Master Kohga.
Thanks to a new update, it's now possible to play Zelda Breath of the Wild in VR. Want help with the main game? Our Zelda: Breath of the Wild walkthrough can help complete Divine Beasts Vah Ruta, Vah Rudiana, Vah Medoh and Vah Naboris and more. There's also how to get the Master Sword, Hylian Shield and all Zelda Captured Memories and Great Fairy Fountain locations, while our Shrines locations and Shrine maps hub explains where to find and solve every puzzle room, including dragon locations and Labyrinth solutions. We also have a DLC 1 guide and DLC 2 guide, including all Tingle, Majora's Mask, Phantom, Midna outfit locations.
How to beat Master Kohga
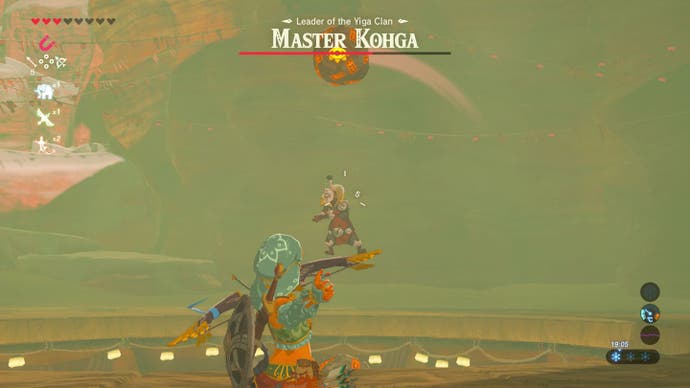
This boss battle comes in three parts. First, Kohga will create a forcefield and raise a projectile over his head then launch it at you. Just before it's thrown, the forcefield will drop. If you fire an arrow at him in this period, he'll get dazed, dropping the projectile on himself, leaving him open to melee attacks.
The second phase sees him hover over the central pit, revolving two projectiles around him. When one of the projectiles is directly above him, fire an arrow at him, dropping the projectile down and flinging him towards the ground, open for attack.
The final phase has him permanently surrounded by a forcefield and using Magnesis to slowly roll a projectile on the ground. Time to fight fire with fire - use Magnesis to pick it up and mash it into him.
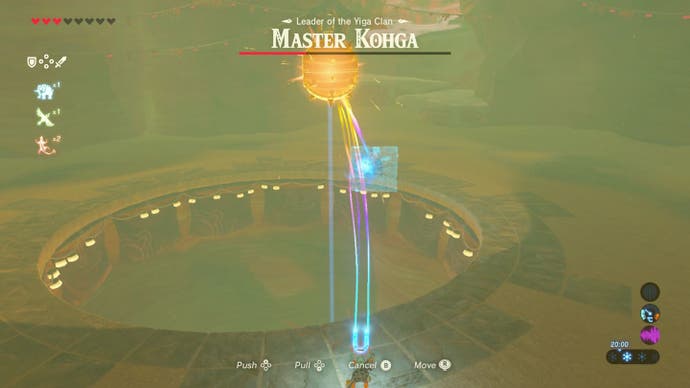
It'll go through the projectile no problem, and remember you can use the D-pad directions to move it further and away from you. Repeat this until his health is down, and the boss is done for.
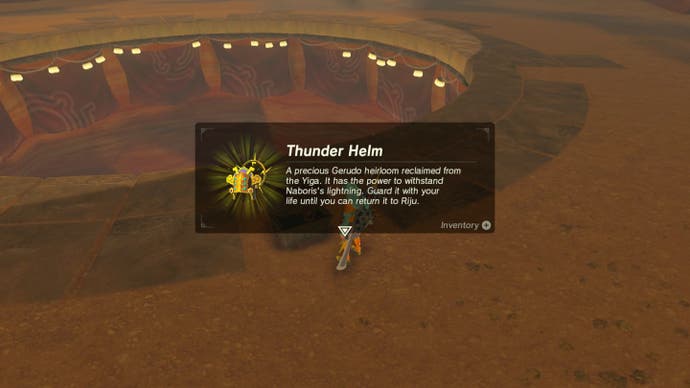
After the cutscene, open the chest for the Thunder Helm you've been looking for.
Before you warp back to Gerudo Town, head to the end of the cavern and climb out to the surface. If you climb up the cavern wall and to the overhanging rock just above the path, there is a sunken chest with a 35 strength Radiant Shield to plunder.
Also, if you climb to the rocks above, Gerudo Tower is more or less south of the Yiga Clan Hideout on the map, and it makes sense to glide from above and afar if you can (you'll see why when up close!)
Whenever you're ready, warp to Gerudo Town, swap back into your Gerudo clothing as a disguise and pay Riju a visit. She's on the second floor, so take the steps either side of the entrance. The cutscene will trigger one of the story specific Memories, and the way to the Vah Naboris dungeon will begin.


