Zelda: Link's Awakening walkthrough and guide to exploring the Nintendo Switch remake
Our walkthrough to the return of high-definition return of Kohohit Island.
Zelda: Link's Awakening returns, some 20 years since its DX colour version for a fully remade, high-definition version on Nintendo Switch.
Unlike remakes such as Capcom's Resident Evil 2, this isn't a game that updates a classic; Nintendo and developer Grezzo has been so faithful to the Game Boy original almost everything is as it once was - in many cases, keeping the exact same placement of the many blocks that form its overworld and many dungeons - meaning those who memorised the original will feel right at home.
That said, even with some welcome quality of life improvements, this is an old-school Zelda game - meaning it can be a real head scratcher, which is where our Zelda: Links Awakening walkthrough and series of Zelda: Link's Awakening guides come in.
Zelda: Link's Awakening walkthrough
For those who have recently played fellow Switch adventure Breath of the Wild, the structure of Link's Awakening is a blast to Zelda's illustrious past, taking you through a linear series of dungeons - and the events and items that gate keep them - in order to complete the game.
Even though it's not an open world, Link's Awakening isn't always straightforward.
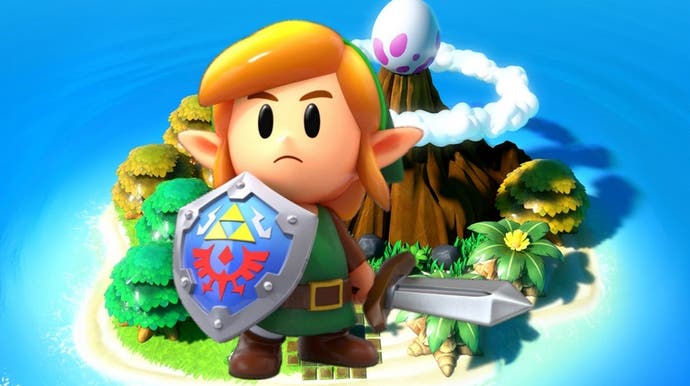
The game won't often tell you explicitly where to go or what items you need to progress, and also encourages exploration through optional collectables - such as Heart Pieces and Seashells - as well as side-quests like the item trading sequence.
Starting Zelda: Link's Awakening
First dungeon
- Zelda: Link's Awakening - Mysterious Forest, how to get past the Raccoon
- Zelda: Link's Awakening - Tail Cave dungeon, how to get Roc's Feather
- Zelda: Link's Awakening - Moldorm boss fight strategy
Second dungeon
- Zelda: Link's Awakening - Rescuing BowWow and Goponga Swamp location
- Zelda: Link's Awakening - Bottle Grotto dungeon, how to beat Hinox
- Zelda: Link's Awakening - Imprisoned Pols Voice and skeletal Staflos solution
- Zelda: Link's Awakening - Genie boss fight strategy
Third dungeon
- Zelda: Link's Awakening - Kanalet Castle Gold Leaf locations
- Zelda: Link's Awakening - Key Cavern dungeon
- Zelda: Link's Awakening - Slime Eye boss strategy
Fourth dungeon (it's now possible to get the Ocarina, by the way!)
- Zelda: Link's Awakening - Yarna Desert, where to find Marin to wake the Walrus
- Zelda: Link's Awakening: Angler's Tunnel dungeon
Fifth dungeon
- Zelda: Link's Awakening - Pink Ghost house and grave with flowers locations explained
- Zelda: Link's Awakening - Catfish's Maw dungeon explored, how to get the Hookshot
- Zelda: Link's Awakening - Slime Eel boss strategy
Sixth dungeon
- Zelda: Link's Awakening - Ancient Ruins, Armos Knight boss strategy
- Zelda: Link's Awakening - Face Shrine dungeon explained, chess piece solutions
- Zelda: Link's Awakening - Facade boss strategy
Seventh dungeon
- Zelda: Link's Awakening - Bird Key, Mountain Tower locations and Signpost Maze solution
- Zelda: Link's Awakening - Eagle's Tower dungeon explained, how to destroy all columns
- Zelda: Link's Awakening - Evil Eagle boss strategy
Eighth dungeon
- Zelda: Link's Awakening - Western Tal Tal Mountains, get past the fire cave
- Zelda: Link's Awakening - Turtle Rock dungeon explored how to get the Magic Rod
- Zelda: Link's Awakening - Hot Head boss strategy
Finishing Link's Awakening (make sure you complete the trading sequence first!)
Other Zelda: Link's Awakening guides
As well as the above steps to take along the game's critical path, there are a number of other additional things to do and see too, which our series of other Zelda: Link's Awakening guides cover:
