Zelda: Link's Awakening - Wind Fish's Egg maze solution, final boss strategies
How to complete Link's Awakening.
Wind Fish's Egg is the final area of Zelda: Link's Awakening, following on from completing Turtle Rock.
Though not really a dungeon, there is a puzzle to solve along the way that requires some preperation in order to get the correct Wind Fish's Egg Maze solution.
After that, you're up against Link's Awakening's final boss.
On this page:
If you're looking for more assistance, our Zelda: Link's Awakening walkthrough can help.
How to get the Wind Fish Egg's maze solution
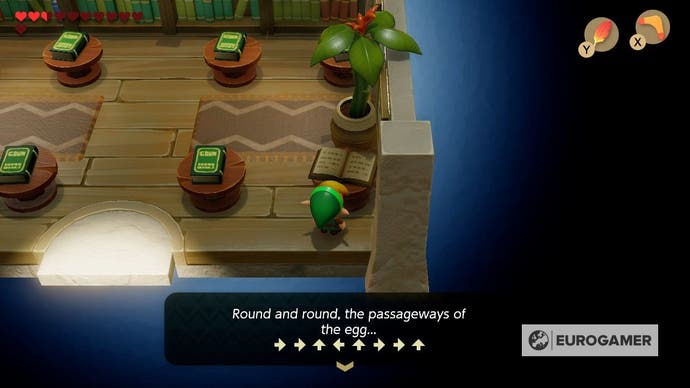
First, make sure you have fully completed the trading sequence, allowing you to get the Magnifying Lens. You need to take this to the Mabe Village Library, and read the mysterious book in the corner. This gives you a list of directions.
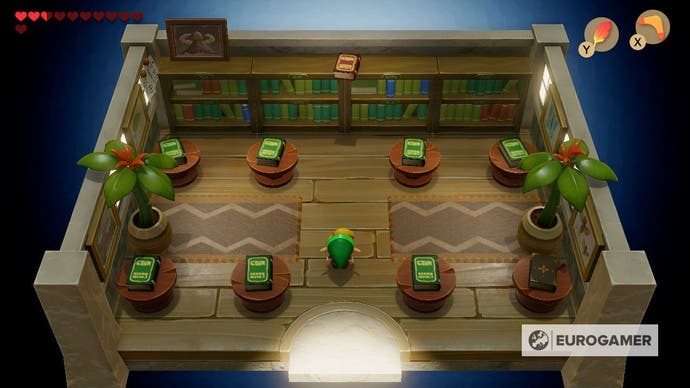
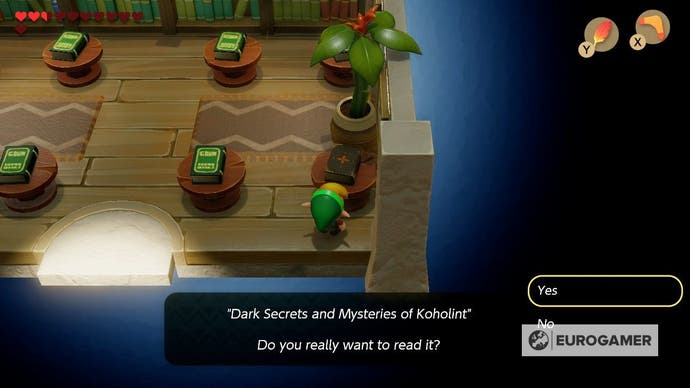
Make note of them - they are different for every playthrough, so those in the below screenshot won't match yours - as you'll need them to successfully navigate the dungeon.
Secondly, make sure you catch up with Marin to learn the Ballad of the Wind Fish for your Ocarina - she will be found in either Mabe Village or Animal Village.
When you're ready - be sure to fill your Bottles with Fairies, and unlock as many Heart Pieces and Secret Seashell locations found as you want to (don't worry, if you want to go back and do these after completing the final dungeon, you can reload the auto-save before the final boss) head to the Dampe's Shack warp point and go up the ladder up to the giant egg on the mountain.
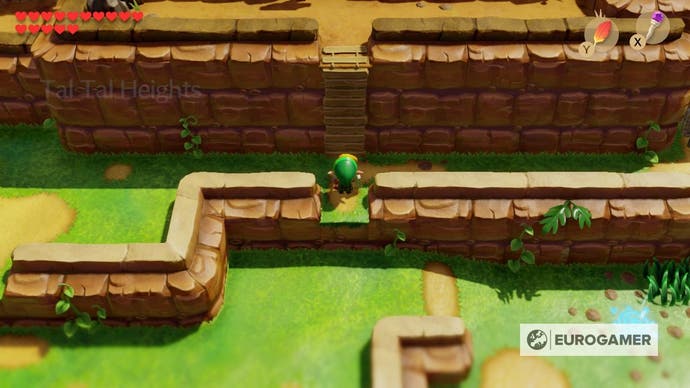
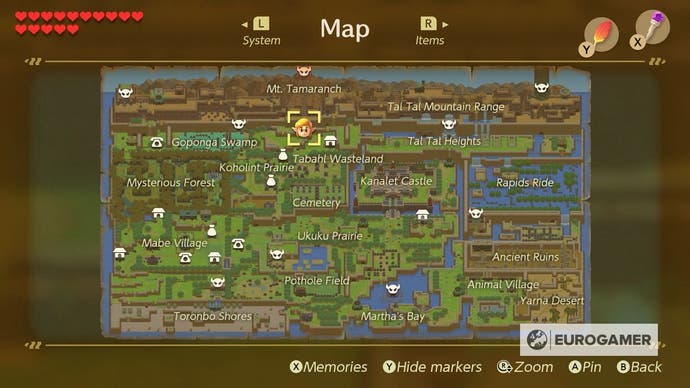
Use your Ocarina and play Ballad of the Wind Fish, opening the way to the final dungeon.
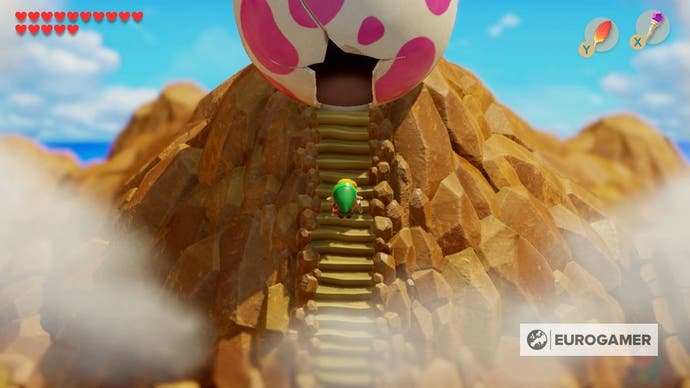
Head north and leap down the chasm, then go north again to a room with four directions to follow.
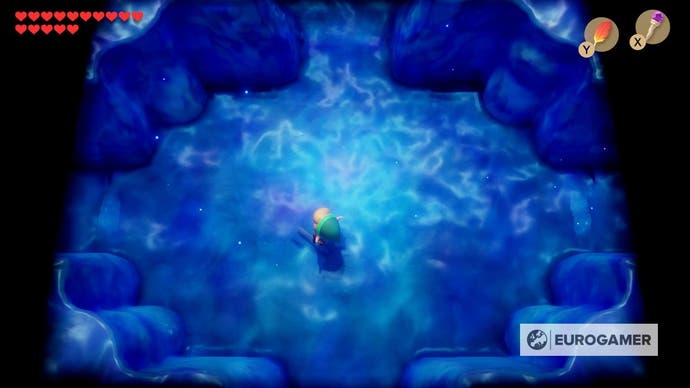
It's at this point you need to follow the instructions given to you in the Mabe Village library. If successful, you'll come to a hole in the ground. Leap in to encounter the final boss.
Zelda: Link's Awakening final boss strategies
The final boss has multiple phases to defeat. Each has a trick that requires a particular move or item to damage it - and you'll go from one to the next, so make sure you have a few Fairies in bottles just in case.
Final boss first phase
The first phase is a bouncing blob that bounces around the room. To damage it, sprinkle with some Magic Powder.

Final Boss second phase
The second phase is a magician that throws red fireballs at you. Swing your sword at the fireball and, if you time it right, it'll be deflected back at the boss. Continue this until it's defeated. It can also throw four smaller blue fireballs too - you cannot deflect or defend these, so just run out of the way.
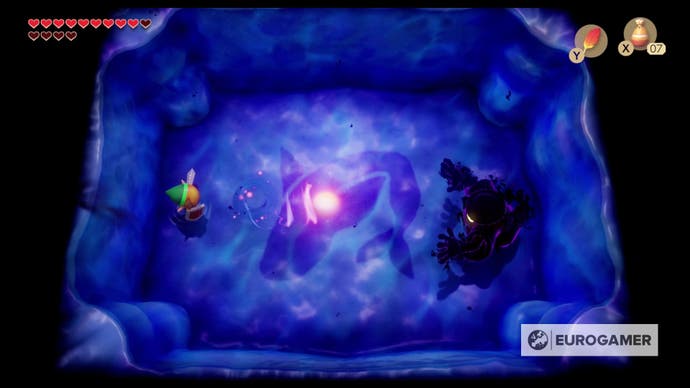
Final boss third phase
The third phase sees it take the form of the first dungeon's boss, Moldorm. Damaging it works the same way - go for the tail with your sword. It'll speed up the more you damage it, so be prepared to use your shield if it comes at you.
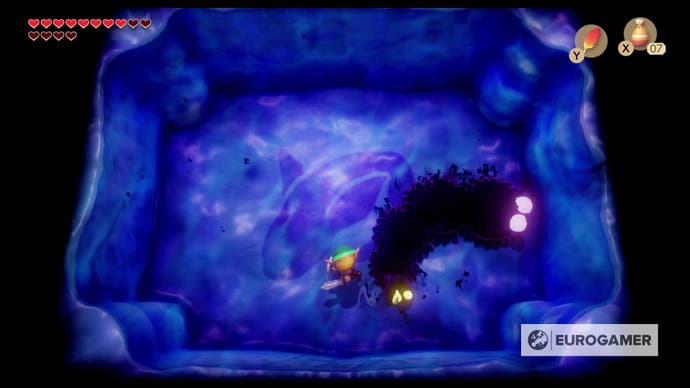
Final boss fourth phase
This fourth phase takes the form of a hog with a trident. It'll first summon a series of bats which swoop at you - run left to right around the room to avoid them. When it throws the trident, line up with the boss and use a Pegasus dash to damage it. Repeat this until it's defeated.
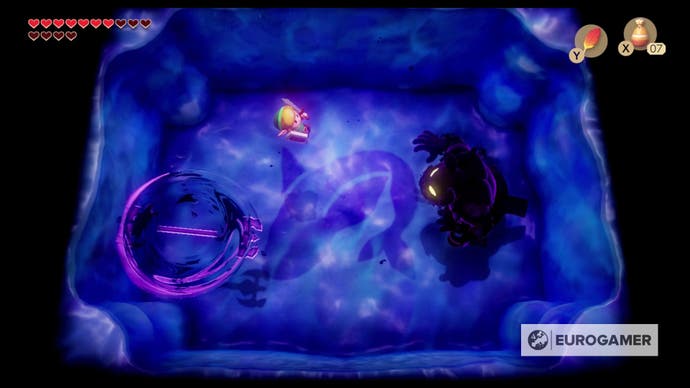
Final boss fifth phase
This sees the boss become into a beaded trail that aggressively comes towards you. Use the Magic Rod to damage and stop its advances as it continues to spawn around the room.

Final boss sixth and final phase
This final phase sees two arms circle its body, with an eye that occasionally opens. Use Roc's Feather to leap over the arms each time it passes you, and use the Magic Rod to fire at the eye when it's open.
The trick to this boss is to note when the two arms will collide, bouncing them the other way. You need to leap over the arm some time before they do this, otherwise it'll catch you as you land.
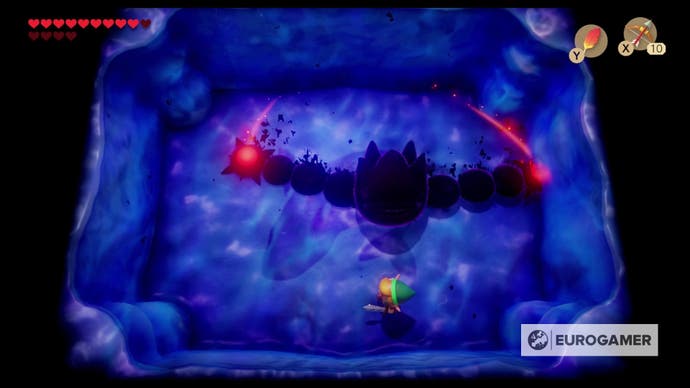
Remember, you can fire the Magic Rod as you leap if you hold a direction and fire, so you can in theory keep hitting the eye as you're dodging. Otherwise, just take your time and fire at the eye when there's a clear opening - there's no other attacks or enemies to be wary of.
Keep this up and eventually this final phase - and the final boss of Link's Awakening - will be defeated. Climb the stairs to watch the ending of the game.

Congratulations! You'll be prompted to save once the credits have rolled, allowing you to continue exploring the island, meaning you can grab any remaining Heart Pieces and Secret Seashell locations if you fancy it.
Our Zelda: Link's Awakening walkthrough and guide can help you with the critical path, including the Eagle's Tower and Turtle Rock dungeons. There's plenty to be done on the side, too - including Zelda Link's Awakening Heart Pieces, Zelda Secret Seashells and the Zelda Link's Awakening trading sequence. Finally, there's also the new Zelda Chamber Dungeons feature to unlock and complete.


