Zelda: Skyward Sword - Empty Bottle locations: Where to get empty bottles explained
The true treasures.
Empty bottles are useful items in The Legend of Zelda: Skyward Sword, because you can use them to carry around a variety of potions and other items.
There are five empty bottles in Skyward Sword and collecting them all will help you finish Link's quest. If you want to find them, however, you need to know the empty bottle locations.
Below you'll discover where to get the empty bottles in Skyward Sword and, sadly, none of them involves hunting down a collection of cuccos.
On this page:
- First empty bottle location in Zelda: Skyward Sword explained
- Second empty bottle location in Zelda: Skyward Sword explained
- Third empty bottle location in Zelda: Skyward Sword explained
- Fourth empty bottle location in Zelda: Skyward Sword explained
- Fifth empty bottle location in Zelda: Skyward Sword explained
If you'd like to learn more, visit our Skyward Sword walkthrough.
First empty bottle location in Zelda: Skyward Sword explained
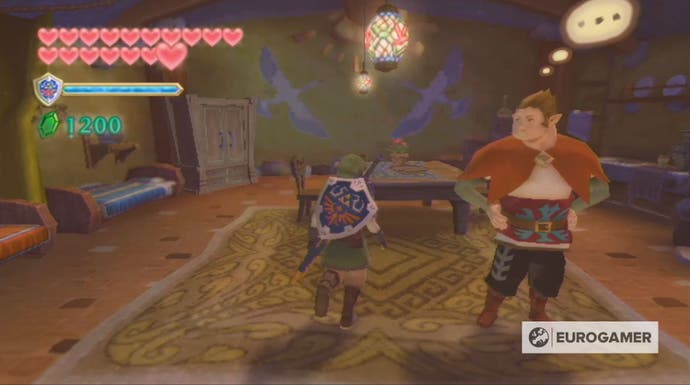
The first empty bottle in Skyward Sword is very easy to find - all you have to do is visit the potion seller in the Skyloft bazaar after you've received the Goddess Sword and she'll give you the bottle.

Second empty bottle location in Zelda: Skyward Sword explained
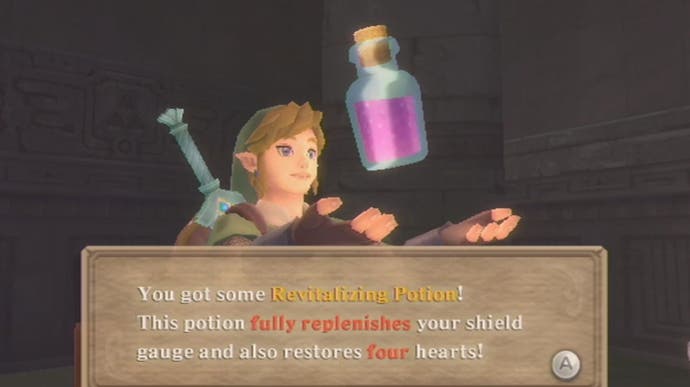
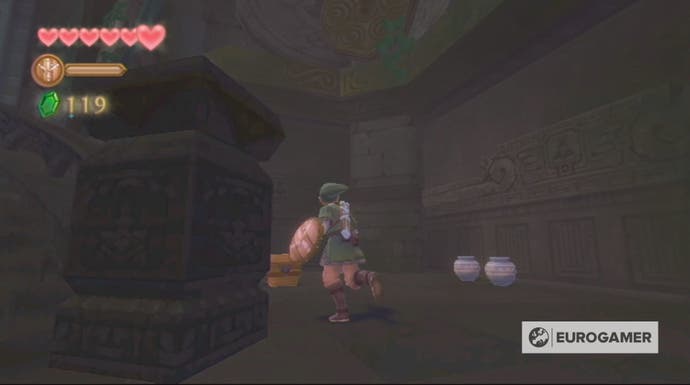
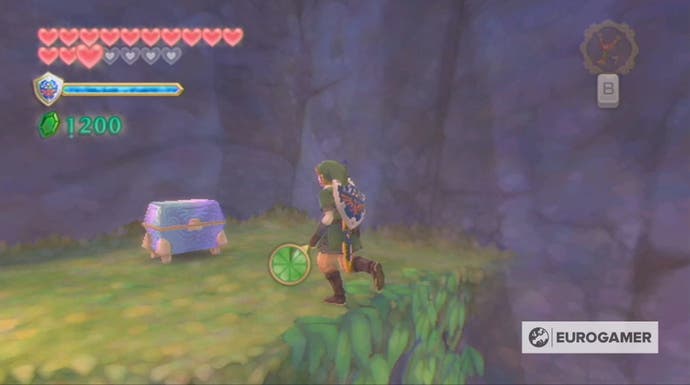
The second empty bottle, like the first, in Skyward Sword is easy to find. To find it, you simply need to open the chest located to the right of the old woman upon your first visit to the Sealed Grounds.
This bottle will contain a Revitalizing Potion, which you may find useful in the upcoming Skyview Temple.
Third empty bottle location in Zelda: Skyward Sword explained
The third empty bottle in Skyward Sword is earned by completing the Missing Sister Gratitude Crystal side quest.
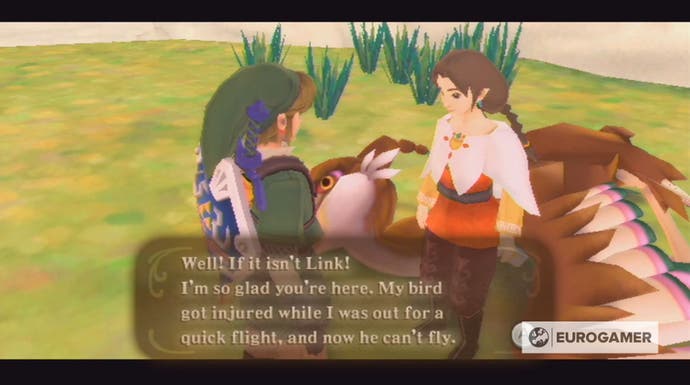
This side quest is unlocked by completing the find Kukiel side quest, which becomes available after you've placed the Ruby Tablet from the Skyview Temple inside the Goddess Statue.
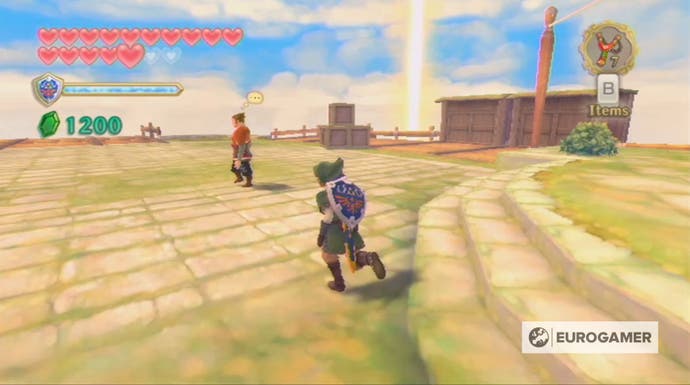
You can start this side quest by talking to Parrow who can be found, during the day, in Skyloft plaza and, at night, in his home, which is located along the path leading to the Knight's Academy.
Fourth empty bottle location in Zelda: Skyward Sword explained
The fourth empty bottle can be found during your exploration of the Fire Sanctuary in Skyward Sword and, first, you must earn the Mogma Mitts.
With the mitts in hand, you can now return to the dungeon's first circular room, which is located close to the dungeon's entrance. You then need to travel to the upper level of this room - using the lava hand to move the platform and climbing the vines - until you reach the area containing the bird statue.
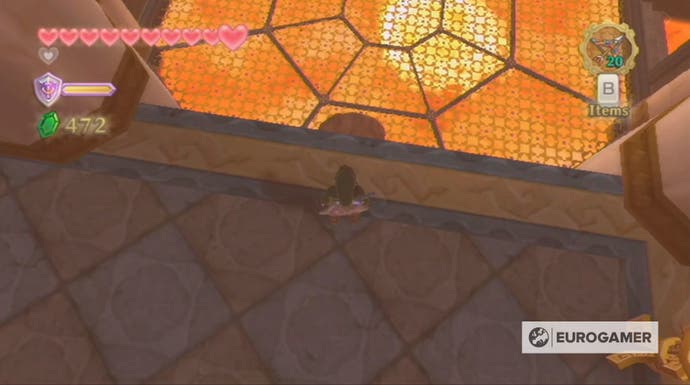
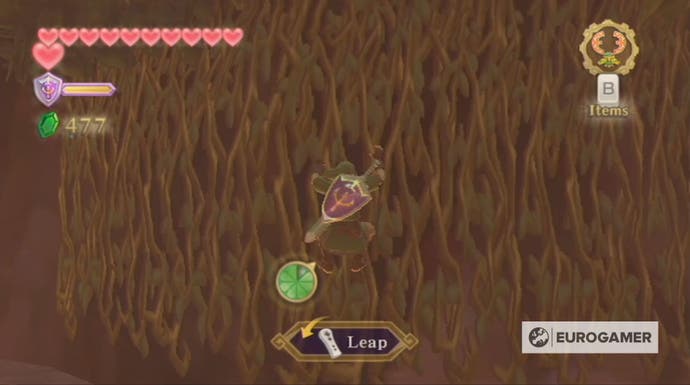
Here you'll find a gate and, close by, a patch of dirt which you need to dig into.
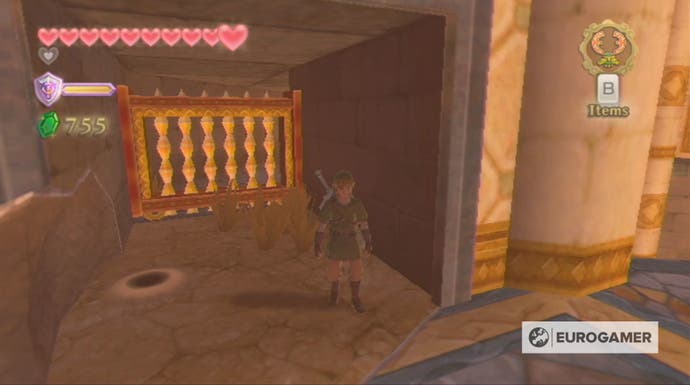
Underground, you simply need to hit the switch to open the gate. With that achieved, leave the burrow and head along the path until you reach some of the green plants which grow throughout the dungeon.
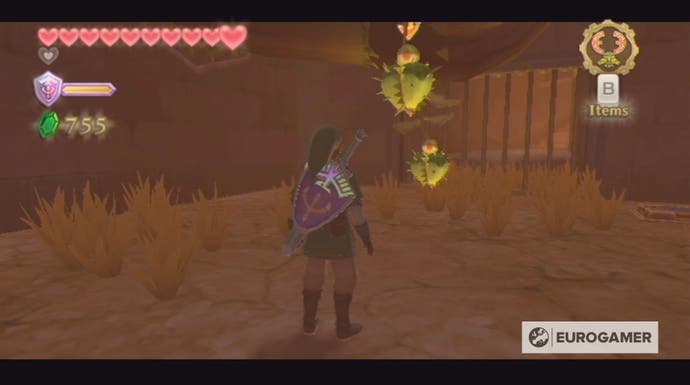
The first thing to do in this area is to stand on the switch to make the bars vanish and, next, impale one of the plants on your sword.
Going down the newly opened passage, you'll find yourself at the bottom of the circular room again and, this time, you need to drop down onto the level just above the lava.
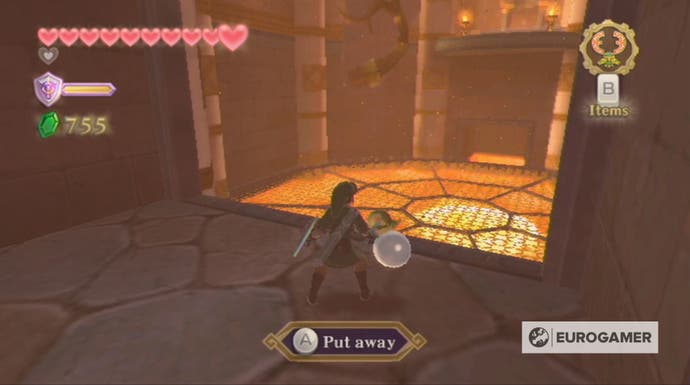
Wait for the lava hand to appear and, when it's coming towards you, toss the green plant. This will cause it to solidify and give you the opportunity to destroy it with your sword.
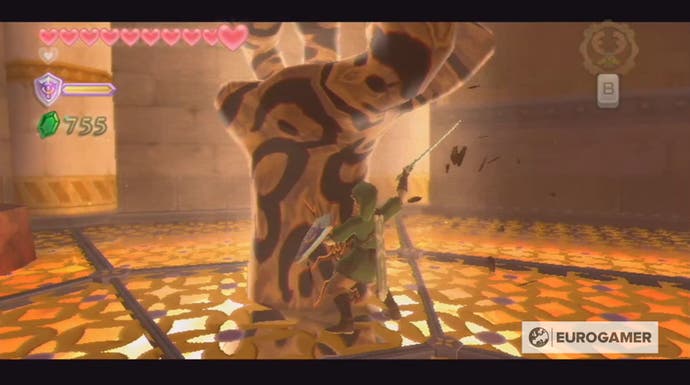
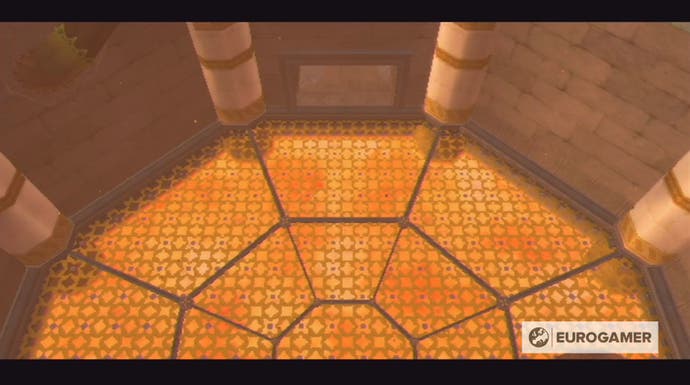
Upon its defeat, the lava below you will recede and grant you access to a new corridor. Head down this corridor and, in the chest beyond the door, you'll find the fourth empty bottle.
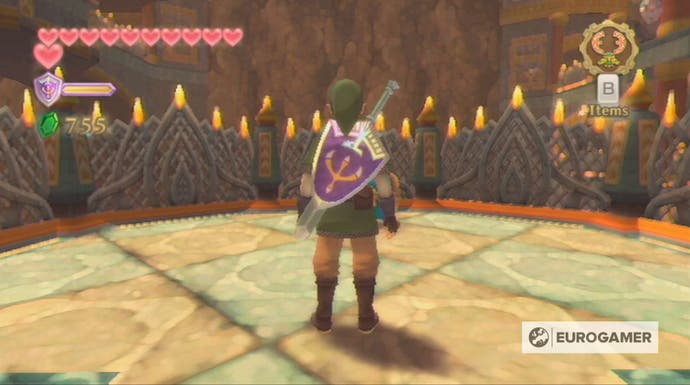
Our Skyward Sword walkthrough will help you find every Heart Piece and Empty Bottle. We can also help you defeat Ghirahim, Scaldera, Moldarach, The Imprisoned, Koloktos, Tentalus, Bilocyte and Demise. You can also discover where to find Kukiel to unlock the Gratitude Crystals and a number of side quests, including the toilet paper quest, missing sister location and party wheel location.
Fifth empty bottle location in Zelda: Skyward Sword explained
To find the fifth and final empty bottle in Skyward Sword, you need to activate a Goddess Cube, but, first, you must have the Fireshield Earring from completing the Silent Realm challenge in Eldin Volcano and the Mogma Mitts from the Fire Sanctuary.
With these earrings you can venture into the Volcano Summit, which is where the required Goddess Cube is located. This cube can be found in the cave located to the right of the two torches that are at the beginning of this location.
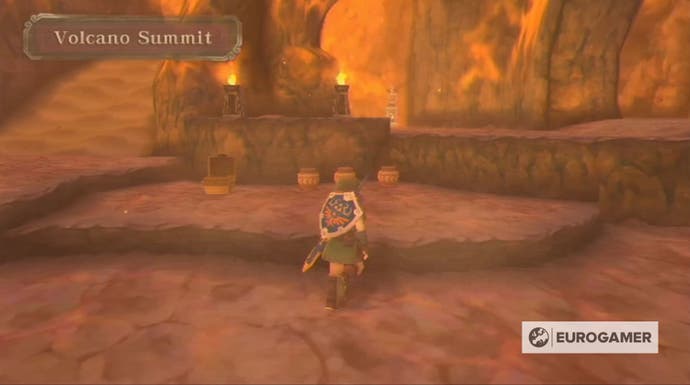
Inside this cave, you'll find the Goddess Cube perched atop a small rock in the middle of the lava.
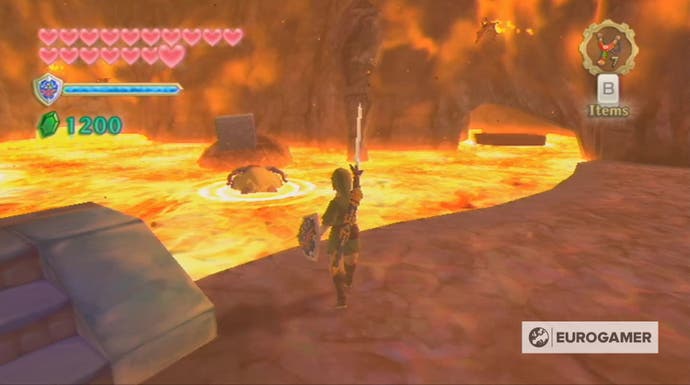
The easiest way to activate this cube is to perform the Skyward Strike while standing on one of the moving pieces of stone, but, if you'd prefer the slightly safer option, you can, with a bit of practice, hit it from the side you enter the cave by. Either way - make sure you kill the Fire Keese and Cursed Spumes first!
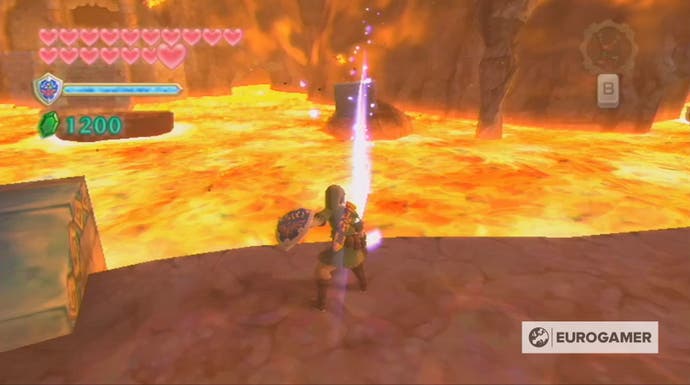
With the Goddess Cube activated, it's time to return to the sky where you'll find a chest on an island in between the Isle of Songs and Bug Heaven in the Thunderhead. While reaching this island is a simple process, reaching the Goddess Chest itself is not, because it's locked behind a set of bars.
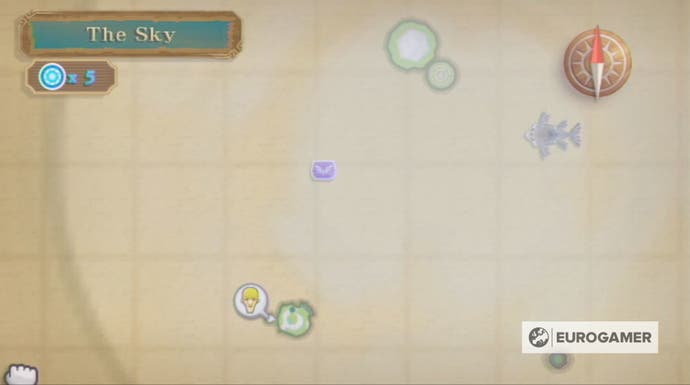
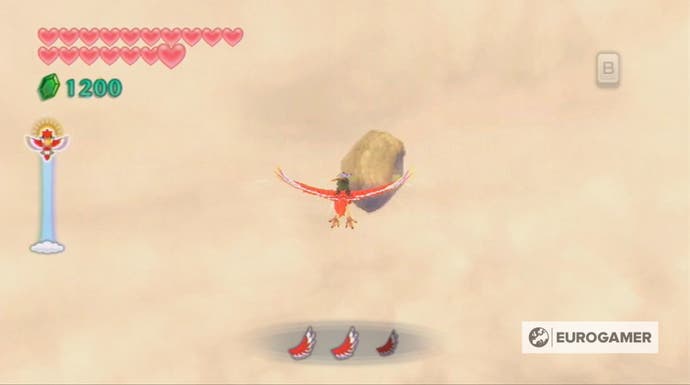
To reach the chest, you must land on the left-hand side of the island where a patch of soft dirt is located.
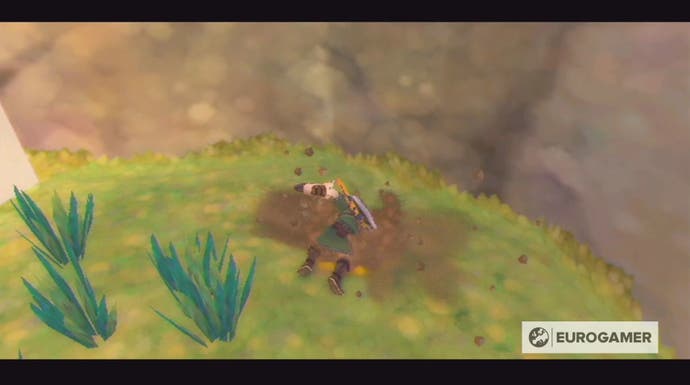
Digging into this dirt will bring you to a burrow containing a centipede, which you can either kill or avoid. Either way, the Goddess Chest can be found by going through the entrance located in the top-right hand corner of the burrow.
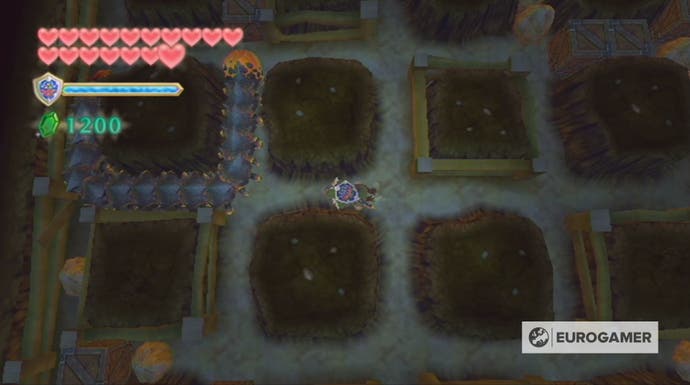
After exiting the burrow, you'll need to climb up the vines to find the chest containing the empty bottle.
It's important to note that this burrow has a third entrance, which can be found in the top left-hand corner. This entrance will take you to a second Goddess Chest, but not the one containing the empty bottle.
Good luck collecting the empty bottles and, if you'd like to learn more about the game, check out our Skyward Sword walkthrough!
