Destiny 2 Zo-Aurc strategy, how to the chasm and reach the Macrocosm
How to take on Zo-Aurc, Explicator of Planets in the Root of Nightmares raid
Zo-Aurc, Explicator of Planets is the first boss of Destiny 2's Root of Nightmres raid.
In order to earn the right to take on this challenges, you and your team must first cross a deadly chasm in this Destiny 2 raid.
Visit our Root of Nightmares walkthrough hub to learn more about this Destiny raid.
On this page:

How to cross the Chasm and reach the Macrocosm in Destiny 2
The next section is a traversal puzzle. At regular intervals a massive pulse of darkness energy envelopes everything, and kills everyone. Your job is to make it across a series of platforms, long running sections, and launchers with your party intact.
Obviously, the pulse of death makes the crossing perilous. To survive it you will need a buff called Darkness’s Refuge. There is a two part process to this. As you move through this area you will see the Light Orbs and Darkness Orbs. Stand near a Light Orb and shoot it to get the Field of Light buff. Find and shoot a Darkness Orb before Field of Light runs out and it will grant a buff called Darkness’ Refuge. This will affect anyone in the aura, whether they shot any of the Orbs or not, and make them immune to the pulse of darkness for a short time.
Move from Orb to Orb, using Darkness’s Refuge to stay alive, and eventually you will reach the start of the next encounter.
The Season of the Deep is here alongside the Into the Depths quest. You can know go fishing too! Don't forget to keep an eye on the Lost Sector and King's Fall challenge rotation schedule!
How to defeat Zo-Aurc, Explicator of Planets in Root of Nightmares
Macrocosm holds the first boss fight of Root of Nightmares. Equip weapons for rapid add clear and boss DPS. Enemies will all be Cabal, and the only shields will be Solar.
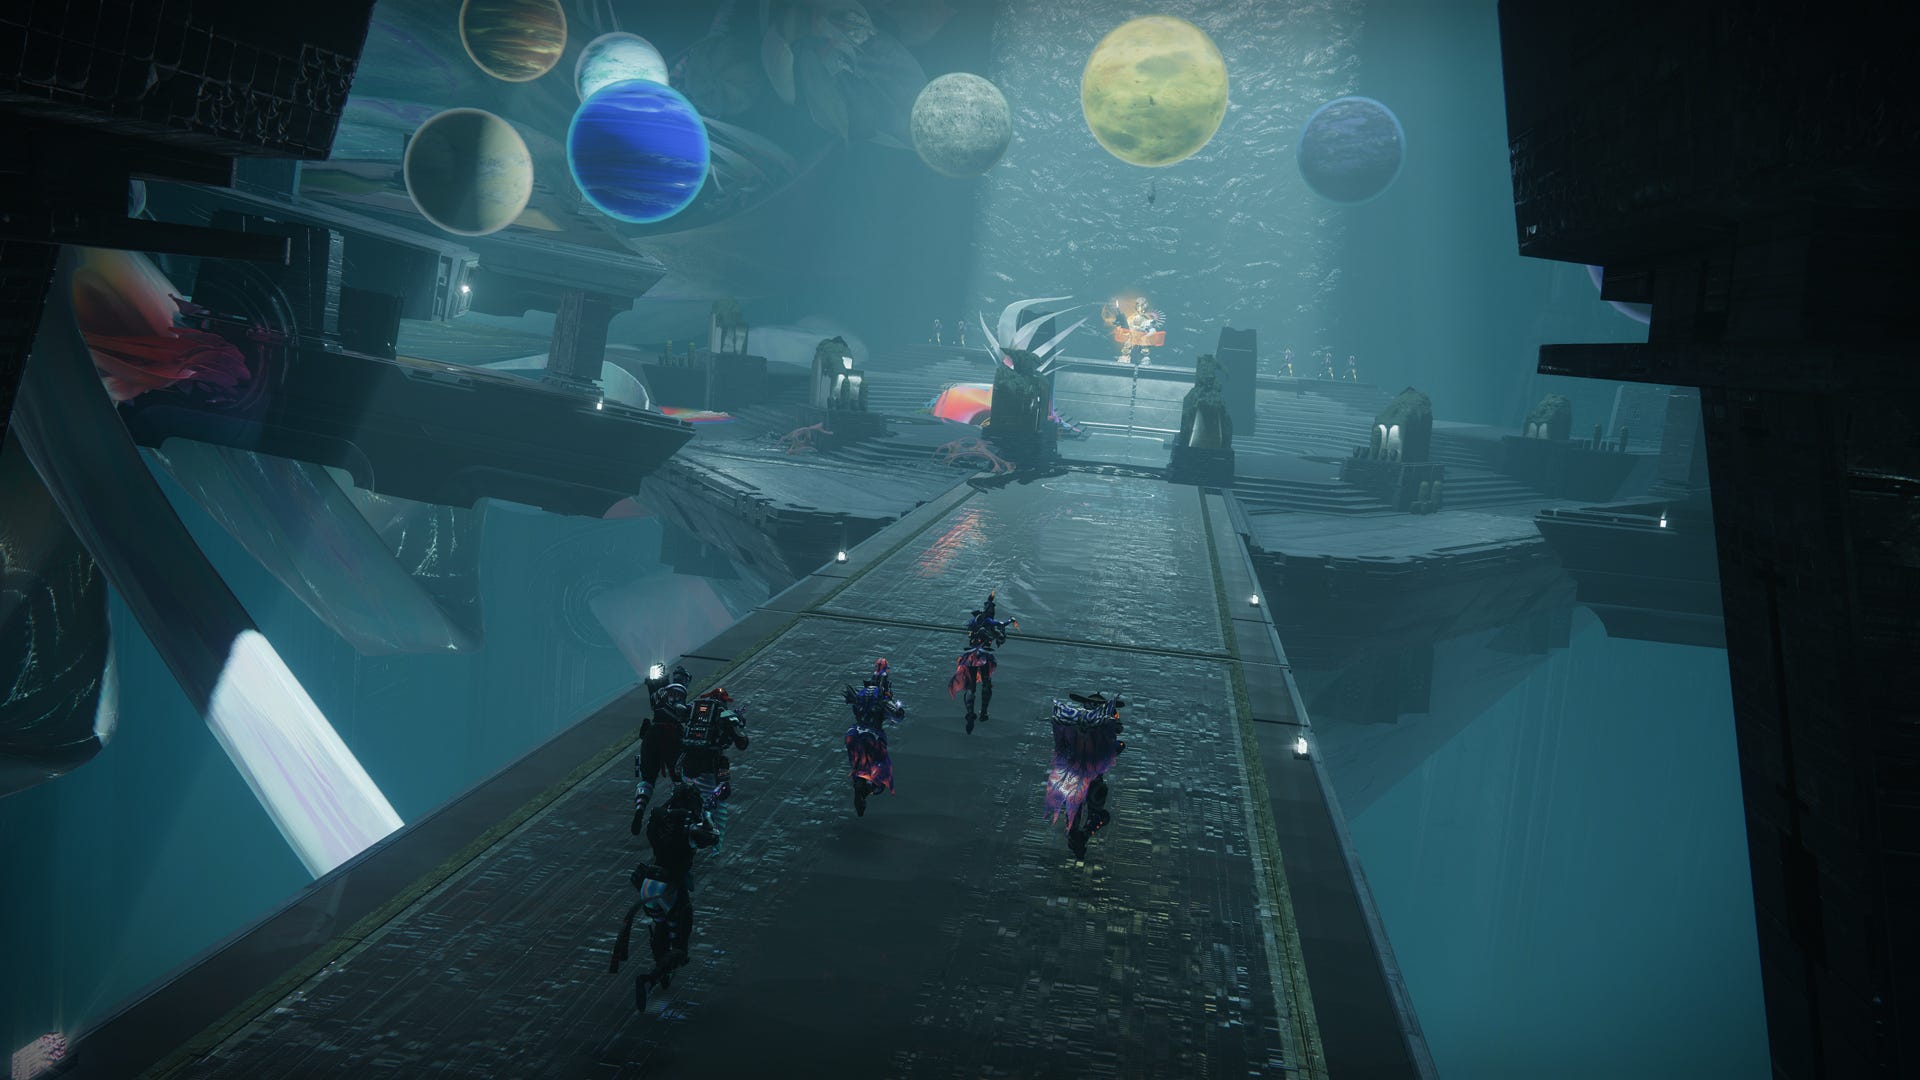
There are projections of planets floating above the battlefield, with three above the centre, and another three above each of the four floating islands on the left and right side of the arena.
Divide into three teams of two. One pair will focus exclusively on clearing enemies. The other pairs will split and cover the front and rear islands, with one person from each on the left and right side (pair one covers the front two islands, pair two the rear.) Kill enemies, and when the centurions fall, a colossus called a Terrestrial Lieutenant will appear on each island. The person on each island is solely responsible for killing their colossus. As soon as they do they will be granted a buff called Planetary Insight.

Now, look at the three planets directly above. Anyone with Planetary Insight will see them as a mix of Light and Dark (two light and a dark on the left islands, two dark and a light on the right). Call out which planet doesn’t match up, stand beneath it, and activate it to take its energy. Your partner on the opposite side will do the same. Switch places, and both plant the energy under the planet called out by your partner.

If done correctly by both pairs all four islands will have complete trios of Dark and Light planets, and a message will be displayed that reads, 'The indexed planets reveal themselves'. Wait for another set of Colossi to appear, and kill them to regain Planetary Insight. Now look to the three planets over the middle and you will again see a mix of Light and Dark. Call out which planets have which alignment, and have three Guardians on the islands take Light or Dark to the matching planets in the middle, and plant Light on Light, Dark on Dark.

If all three planets are correctly aligned, the damage phase will begin. The boss will be enshrouded in either Light or Dark energy. Have your team stand under one of the planets that match this energy to earn Field of Light or Flux of Damage, which lets you deal damage to the matching energy. After a short while the boss will change his shield, and you will need to move to another matching planet to continue damage. He will change one last time, continue damaging him until he becomes immune to damage. Now everyone returns to their starting position, and the cycle starts again.

Repeat this process until the boss reaches the small segment at the end of his health bar. This will begin his last stand. He will be temporarily invincible, as soon as he starts taking damage again everyone will need to pour as much damage as possible into him in order to finish the fight before the last stand ends, and he wipes out your team. Finish the boss, collect the loot, and move on toward the final encounter against Nezarac.
Keep reading for our guide to beating Nezarec, the final boss of the Root of Nightmares raid. Head back to the first page for the rest of our Root of Nightmares raid guide.